---
tags: Documentation, Python
title: PyCharm EDU setup guide
---
# PyCharm EDU setup guide
:::info
If you are having a hard time with installation, please post on [Ed](https://edstem.org/us/courses/12806/discussion/) or come to TA hours!
To follow along with a TA, check out this [**video**](https://youtu.be/axCO_wErTd4) for Macs, and this [**video**](https://www.youtube.com/watch?v=ZUXF2bvCTZI) for Windows.
:::
1. Go [here](https://www.python.org/downloads/release/python-379/), scroll down, and download Python 3.7.9, and install it. Mac users should download the MacOS 64-bit installer and Windows users should download the Windows x86-64 executable installer.
3. Go [here](https://www.jetbrains.com/education/download/#section=pycharm-edu) and hit “Download” with the ".dmg" option for Mac users or ".exe" for Windows.
4. A dialog will pop up, select “Save File”
5. When the file finishes downloading, open the PyCharm app
6. It may ask if you want to give the program permission to make changes to your computer: select yes
7. Click thru the installation dialogs. The default options should be fine. If it asks what Python version you would like, select Python 3.7 (if it only lists 3.8, selecting 3.8 is fine)
8. The application will install; this might take a couple minutes
9. When the installation finishes, select the checkbox that says “run pycharm edu,” and then hit finish
10. The program will launch and ask if you are a learner or an educator. Select Learner
11. You can then hit create new project in the screen that comes up (following along on the video for this might be easier)
1. Give your project a name (perhaps “Homework 7”)
2. Click "Project Interpreter New VirtualEnv Environment"
3. Click the "Base Interpreter" dropdown and select "Python 3.7" or "Python37" (varies by operating system). Look towards the end of this guide for a detailed explanation.
4. Click "Create" and you should get to the code editor
12. It will look something like the above. Double click the “Project” button, which is highlighted in the below image: 
14. It should now look like this. Right click on homework7 (or whatever you named your project), and select New -> Python File. Give it whatever name you would like.

16. You can now edit code, and there should be a little green arrow in the upper left of the editor screen to run the code
17. If you would like a guide line at 80 characters so you know how long to make your lines, go to PyCharm -> Preferences -> Editor (click on the arrow to open down the editor menu) -> Code Style (click on the word, not the arrow), then enter 80 in the box that says "Visual Guides"
18. Go to Editor -> Code Style on the left, and for visual guides put 80 columns.
19. There will now be a guideline, but by default it is almost impossible to see. To fix this, in settings go to Editor -> Color Scheme -> General on the left. Then in the menu that shows up on the right of the settings window, go to Editor -> Guides -> Visual Guides. On the far right of the settings window, it will say Foreground and then have a grey box that says #EEEEEE. Click the #EEEEEE and select a new color for your guidelines that isn’t almost exactly the same as the background of the text editor.
20. After hitting Apply and then Okay, you now should have a colored guideline in your editor!
### How to Change Base Interpreter Version of Python in PyCharm:
PyCharm will often default to the first version of Python that is installed on your laptop.
To change PyCharm settings to run with Python version 3.7:
On a Windows Machine:
- Click File → Settings → Project → Python Interpreter
On a Mac :
- Click PyCharm → Preferences → Project → Python Interpreter
At the top you will see a Settings gear, click on it for the drop down menu for “Project Interpreter," and select "Add".

Select the option for Python 3.7.
If you do not see the option, select “Add”.
There will be another drop down for Base interpreter:

If you do not see Python 3.7 as an option, click “...” to the right of the Base interpreter.
Select the folder to where the Python 3.7 version is downloaded on your laptop.
(It may vary, however usually look for Python 3.7 folder in /usr/local/bin/ on Mac or within C:/program Files on Windows)
Select the option to “make available to all projects”.
Click "OK" to confirm all changes!
### How to Run Your Code in PyCharm
There are multiple ways to run your code!
Method one:
One way is to select the portion of code you want to run, and right click. Select "Run" (with the green arrow).
Method 2:
Go to the top right, and select "Add Configuration".
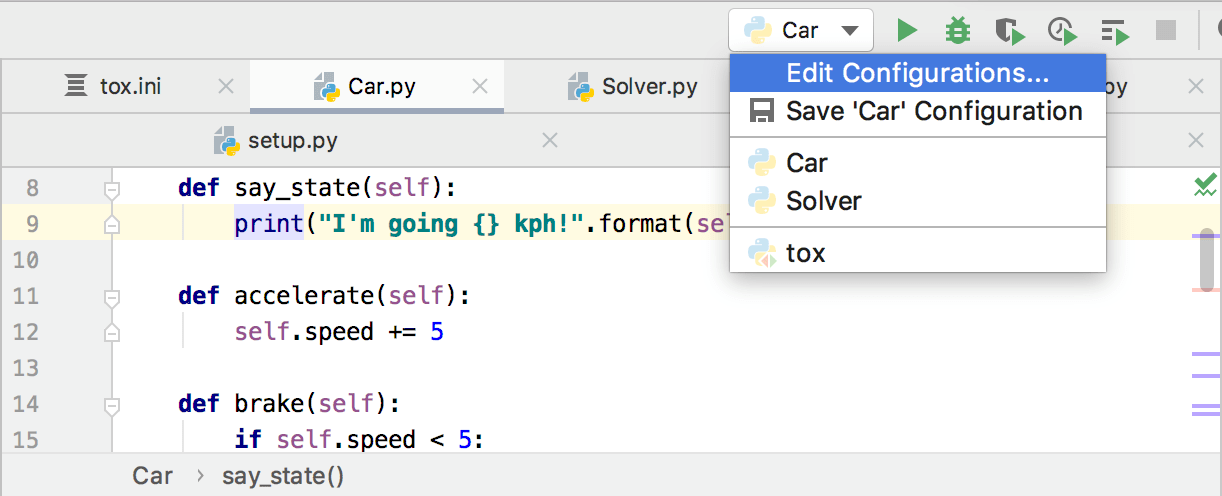
Select the plus sign at the top right.
Click "Python".
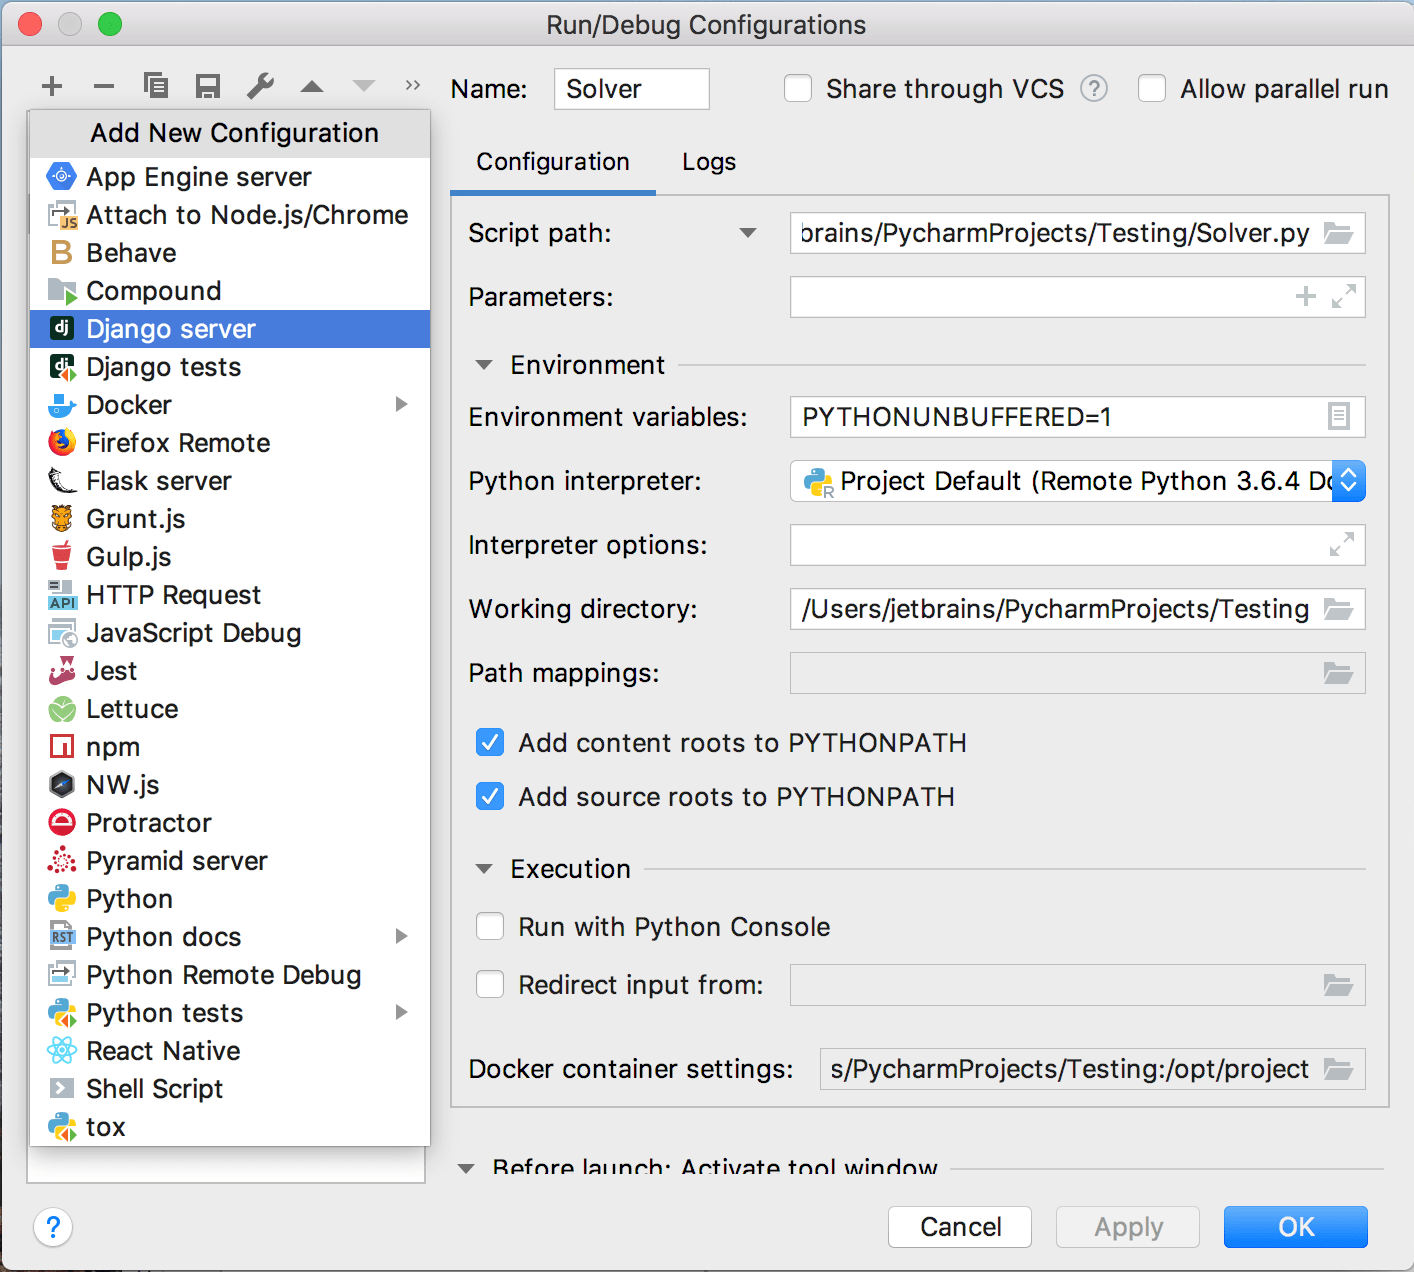
Then change the script path by clicking the folder icon, and double clicking to select the python file you want to run!
Then press "OK" to confirm changes. Now you will see a green play button on the top right! Press to run your code.
Method 3:
Go to the bottom left, and use the "Run" console. Do not use the Python Console.
 Sign in with Wallet


