---
tags: 新人資訊
GA: G-YWCCFEGXSJ
---
[新人資訊](https://hackmd.io/@newman/portal-info)
# 技術-開發板 #1-Arduino 溫溼度感測和 LCD 顯示
一直秉持的雲端至上的觀念最近改變了!雖然「雲端運算 + 網頁操作」應用領域已經大的不得了了,但已經好一陣子沒有新的想法了,腦筋轉來轉去覺得需要把觸角延伸到「端運算」部分,畢竟需要仰賴人員操作的網頁有其侷限性,人需要吃飯睡覺任意時間也只能在一個地方,但人所關切的事物卻龐大沒有極限,需要更多自動運行的的終端裝置才能達到目的。胡亂 google 一堆物聯網,開發版,創客等文章,決定以 Arduino 作為我的帶路雞,希望能開啟一片更大的應用天地。
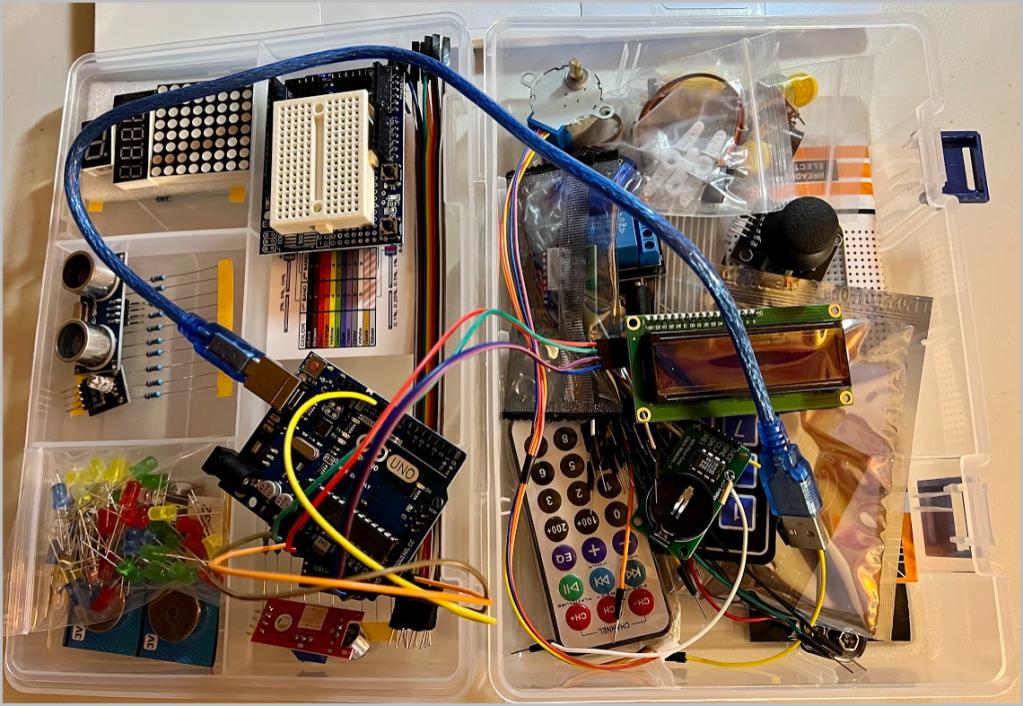
實際動手做後發現,這好像讓我重拾小孩子擁有超級玩具的快樂,終於讓我的注意力從螢幕裡跳動的數字和海量訊息中掙脫出來,看這入門學習包五花八門的元件,就是可拿出去炫耀的玩具盒!
終端裝置要有用,第一個想到的是要連網,第二則是電源問題;這兩個問題我想是物聯網成功應用的極重要關鍵,應該有許多聰明的腦袋都已經在想了吧,留待以後慢慢解決,我還是得按部就班先從板子基本功能學起。板子接上電腦,從 Arduino 官網下載 IDE,簡單幾行程式就可以讓板子內建的 LED 一閃一閃發光,入門上手超容易的,大概翻過一些入門書之後,對 Sensor 部分較感興趣,決定先來實做「溫溼度感測 + LCD 顯示」。
準備器材如下:Arduino Uno 標準板 + DHT11 溫溼度感測模組 + 1602 I2C LCD 顯示器
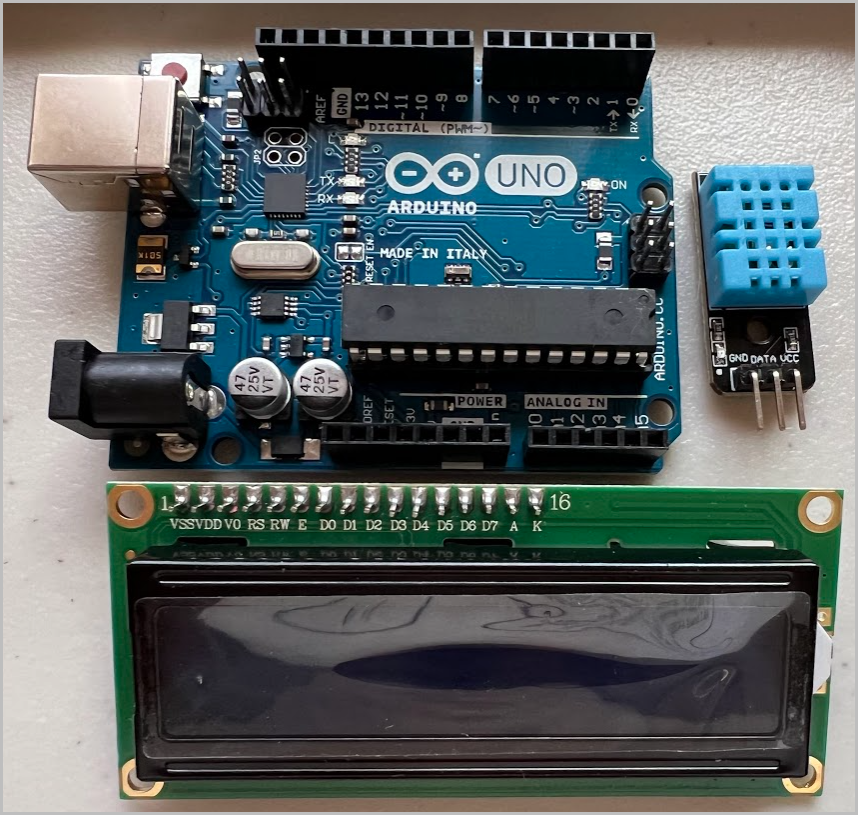
1602 顧名思義可以顯示兩行各 16 個字元,I2C 則是指通訊界面的名稱,如照片上 LCD 上方有一排接腳,如果直接接到 Arduino 主板需要接八條資料線和三條控制線,非常麻煩,但這塊 LCD 後面已經焊接上了另一塊模組,把訊號轉成 I2C 介面,這樣只要四條線就搞定,程式的寫法也變得 非常簡單,真是長知識,這是參考這篇文章:https://jimirobot.tw/arduino-tutorial-lcd1602-i2c-401/。DHT11 則只有三個接腳相對單純,那接下來就來把線接上囉。
1. LCD GND and VCC 接上板上的 5V 電源,SCL (Serial Clock) and SDA (Serial Data) 依序接上 A5 and A4
(附註:當使用 WeMos D1 板時,必須改接板上的 D15 and D14;後來發現,D15 and D14 也可以適用 Arduino Uno)
2. DHT11 GND and VCC 接上板上的 3.3V 電源,DATA 接上任一個 Digital In,我是接 D9
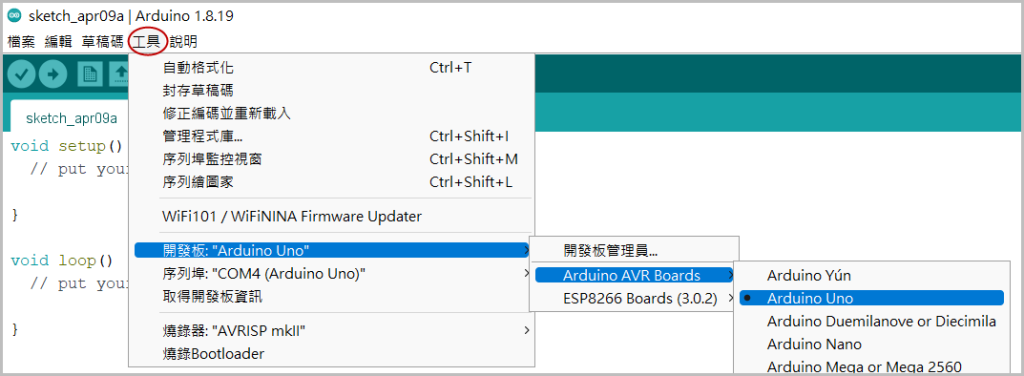
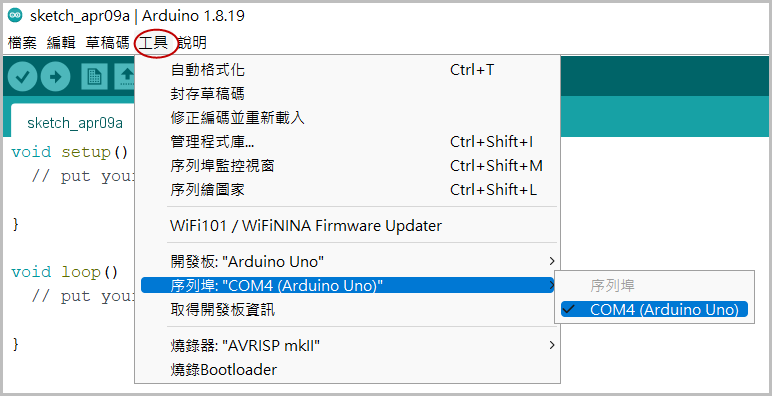
接下來開始寫程式,Arduino IDE 是必要的,安裝完後先做基本設定
1. 選擇正確的開發板型號
2. 選擇正確的通訊埠,用 USB 接上 Arduino 才會亮起來,他會模擬成一個 COM Port
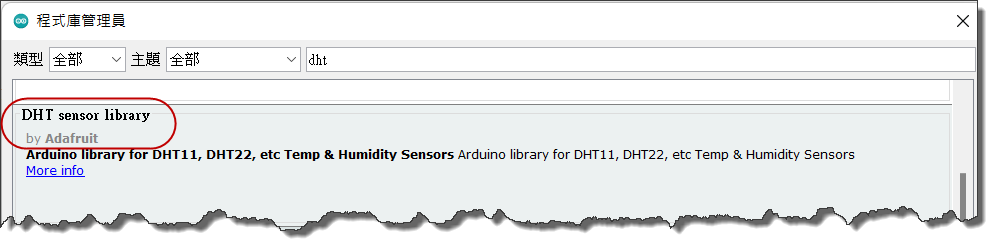
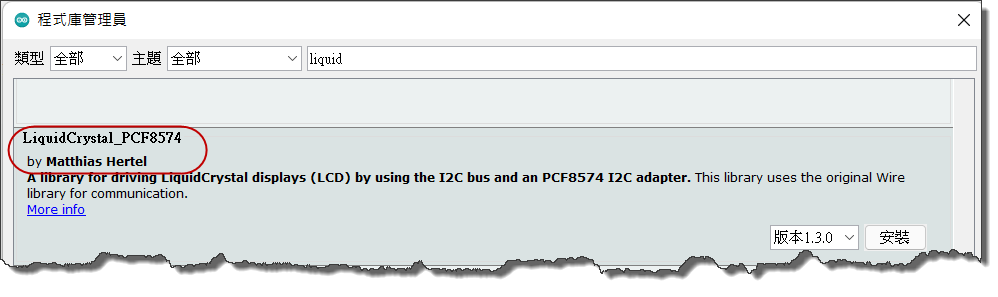
然後因應我們用的元件取得相對應的函式庫,分別是 DHT 和 LCD 會用到的,都可在 IDE 的程式庫管理員中找到。
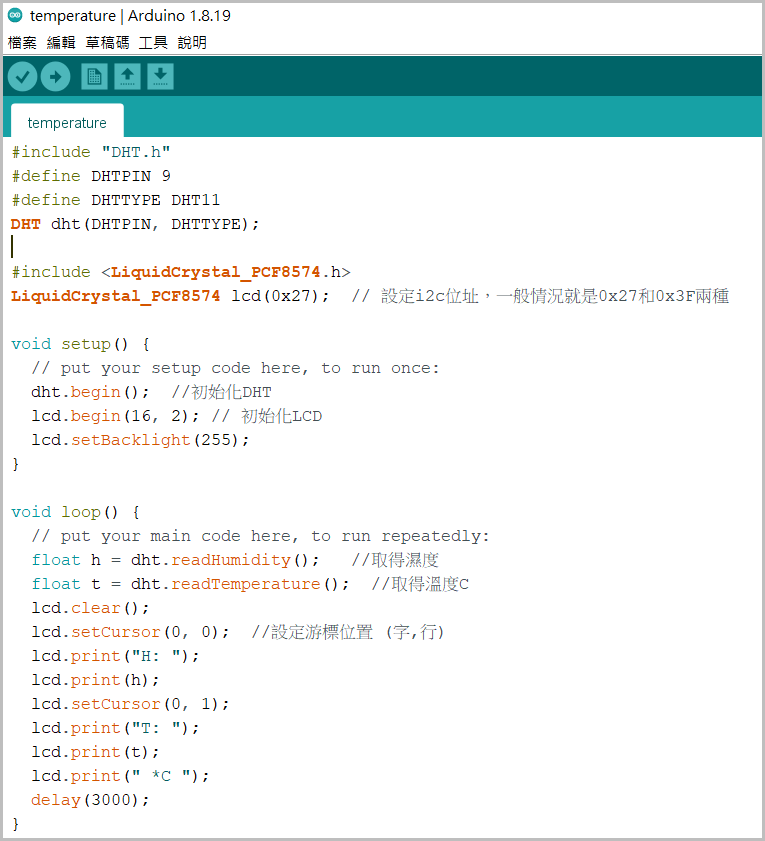
整個程式結構極為精簡,setup() 就是開機後執行一次,loop() 就是接續無限重複執行,終於了解到 Arduino 這個小東西為什麼會這麼受歡迎了。
(附註:當使用 WeMos D1 板時,「DHTPIN 9」 必須改為「DHTPIN D9」,否則就是錯亂!真是無處不坑阿)
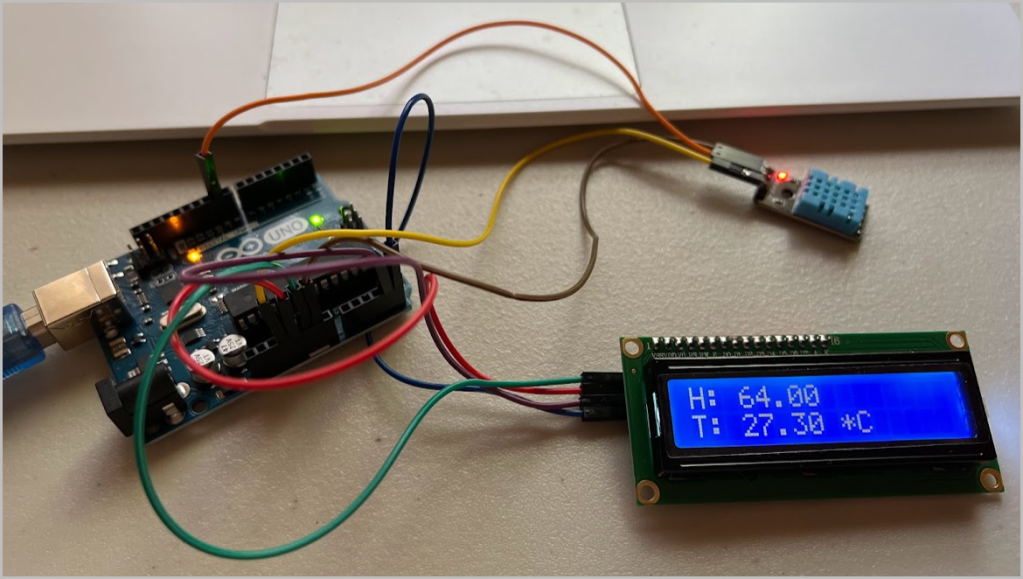
完成後的成品如下。
溫溼度這麼容易就取得了,我想其他的 sensor 應該也大同小異吧,接下來需要突破的是怎樣連上網,把資料拋到雲端,接軌我從前玩的東西,達到實時環境監控的效果。然後進一步研究怎樣控制電器,從雲端接受指令而動作。
By Newman Chen 2022/4/9
參考資料:
https://www.arduino.cc/
https://jimirobot.tw/arduino-tutorial-lcd1602-i2c-401/
https://blog.jmaker.com.tw/dht11-lcd/
https://blog.jmaker.com.tw/lcd1602/