joeykhuang
    • Create new note
    • Create a note from template
      • Sharing URL Link copied
      • /edit
      • View mode
        • Edit mode
        • View mode
        • Book mode
        • Slide mode
        Edit mode View mode Book mode Slide mode
      • Customize slides
      • Note Permission
      • Read
        • Only me
        • Signed-in users
        • Everyone
        Only me Signed-in users Everyone
      • Write
        • Only me
        • Signed-in users
        • Everyone
        Only me Signed-in users Everyone
      • Engagement control Commenting, Suggest edit, Emoji Reply
      • Invitee
    • Publish Note

      Share your work with the world Congratulations! 🎉 Your note is out in the world Publish Note

      Your note will be visible on your profile and discoverable by anyone.
      Your note is now live.
      This note is visible on your profile and discoverable online.
      Everyone on the web can find and read all notes of this public team.
      See published notes
      Unpublish note
      Please check the box to agree to the Community Guidelines.
      View profile
    • Commenting
      Permission
      Disabled Forbidden Owners Signed-in users Everyone
    • Enable
    • Permission
      • Forbidden
      • Owners
      • Signed-in users
      • Everyone
    • Suggest edit
      Permission
      Disabled Forbidden Owners Signed-in users Everyone
    • Enable
    • Permission
      • Forbidden
      • Owners
      • Signed-in users
    • Emoji Reply
    • Enable
    • Versions and GitHub Sync
    • Note settings
    • Engagement control
    • Transfer ownership
    • Delete this note
    • Save as template
    • Insert from template
    • Import from
      • Dropbox
      • Google Drive
      • Gist
      • Clipboard
    • Export to
      • Dropbox
      • Google Drive
      • Gist
    • Download
      • Markdown
      • HTML
      • Raw HTML
Menu Note settings Sharing URL Create Help
Create Create new note Create a note from template
Menu
Options
Versions and GitHub Sync Engagement control Transfer ownership Delete this note
Import from
Dropbox Google Drive Gist Clipboard
Export to
Dropbox Google Drive Gist
Download
Markdown HTML Raw HTML
Back
Sharing URL Link copied
/edit
View mode
  • Edit mode
  • View mode
  • Book mode
  • Slide mode
Edit mode View mode Book mode Slide mode
Customize slides
Note Permission
Read
Only me
  • Only me
  • Signed-in users
  • Everyone
Only me Signed-in users Everyone
Write
Only me
  • Only me
  • Signed-in users
  • Everyone
Only me Signed-in users Everyone
Engagement control Commenting, Suggest edit, Emoji Reply
Invitee
Publish Note

Share your work with the world Congratulations! 🎉 Your note is out in the world Publish Note

Your note will be visible on your profile and discoverable by anyone.
Your note is now live.
This note is visible on your profile and discoverable online.
Everyone on the web can find and read all notes of this public team.
See published notes
Unpublish note
Please check the box to agree to the Community Guidelines.
View profile
Engagement control
Commenting
Permission
Disabled Forbidden Owners Signed-in users Everyone
Enable
Permission
  • Forbidden
  • Owners
  • Signed-in users
  • Everyone
Suggest edit
Permission
Disabled Forbidden Owners Signed-in users Everyone
Enable
Permission
  • Forbidden
  • Owners
  • Signed-in users
Emoji Reply
Enable
Import from Dropbox Google Drive Gist Clipboard
   owned this note    owned this note      
Published Linked with GitHub
Subscribed
  • Any changes
    Be notified of any changes
  • Mention me
    Be notified of mention me
  • Unsubscribe
Subscribe
# Blender Camera Movement Tutorial > **LLUF**: @joeykhuang > 
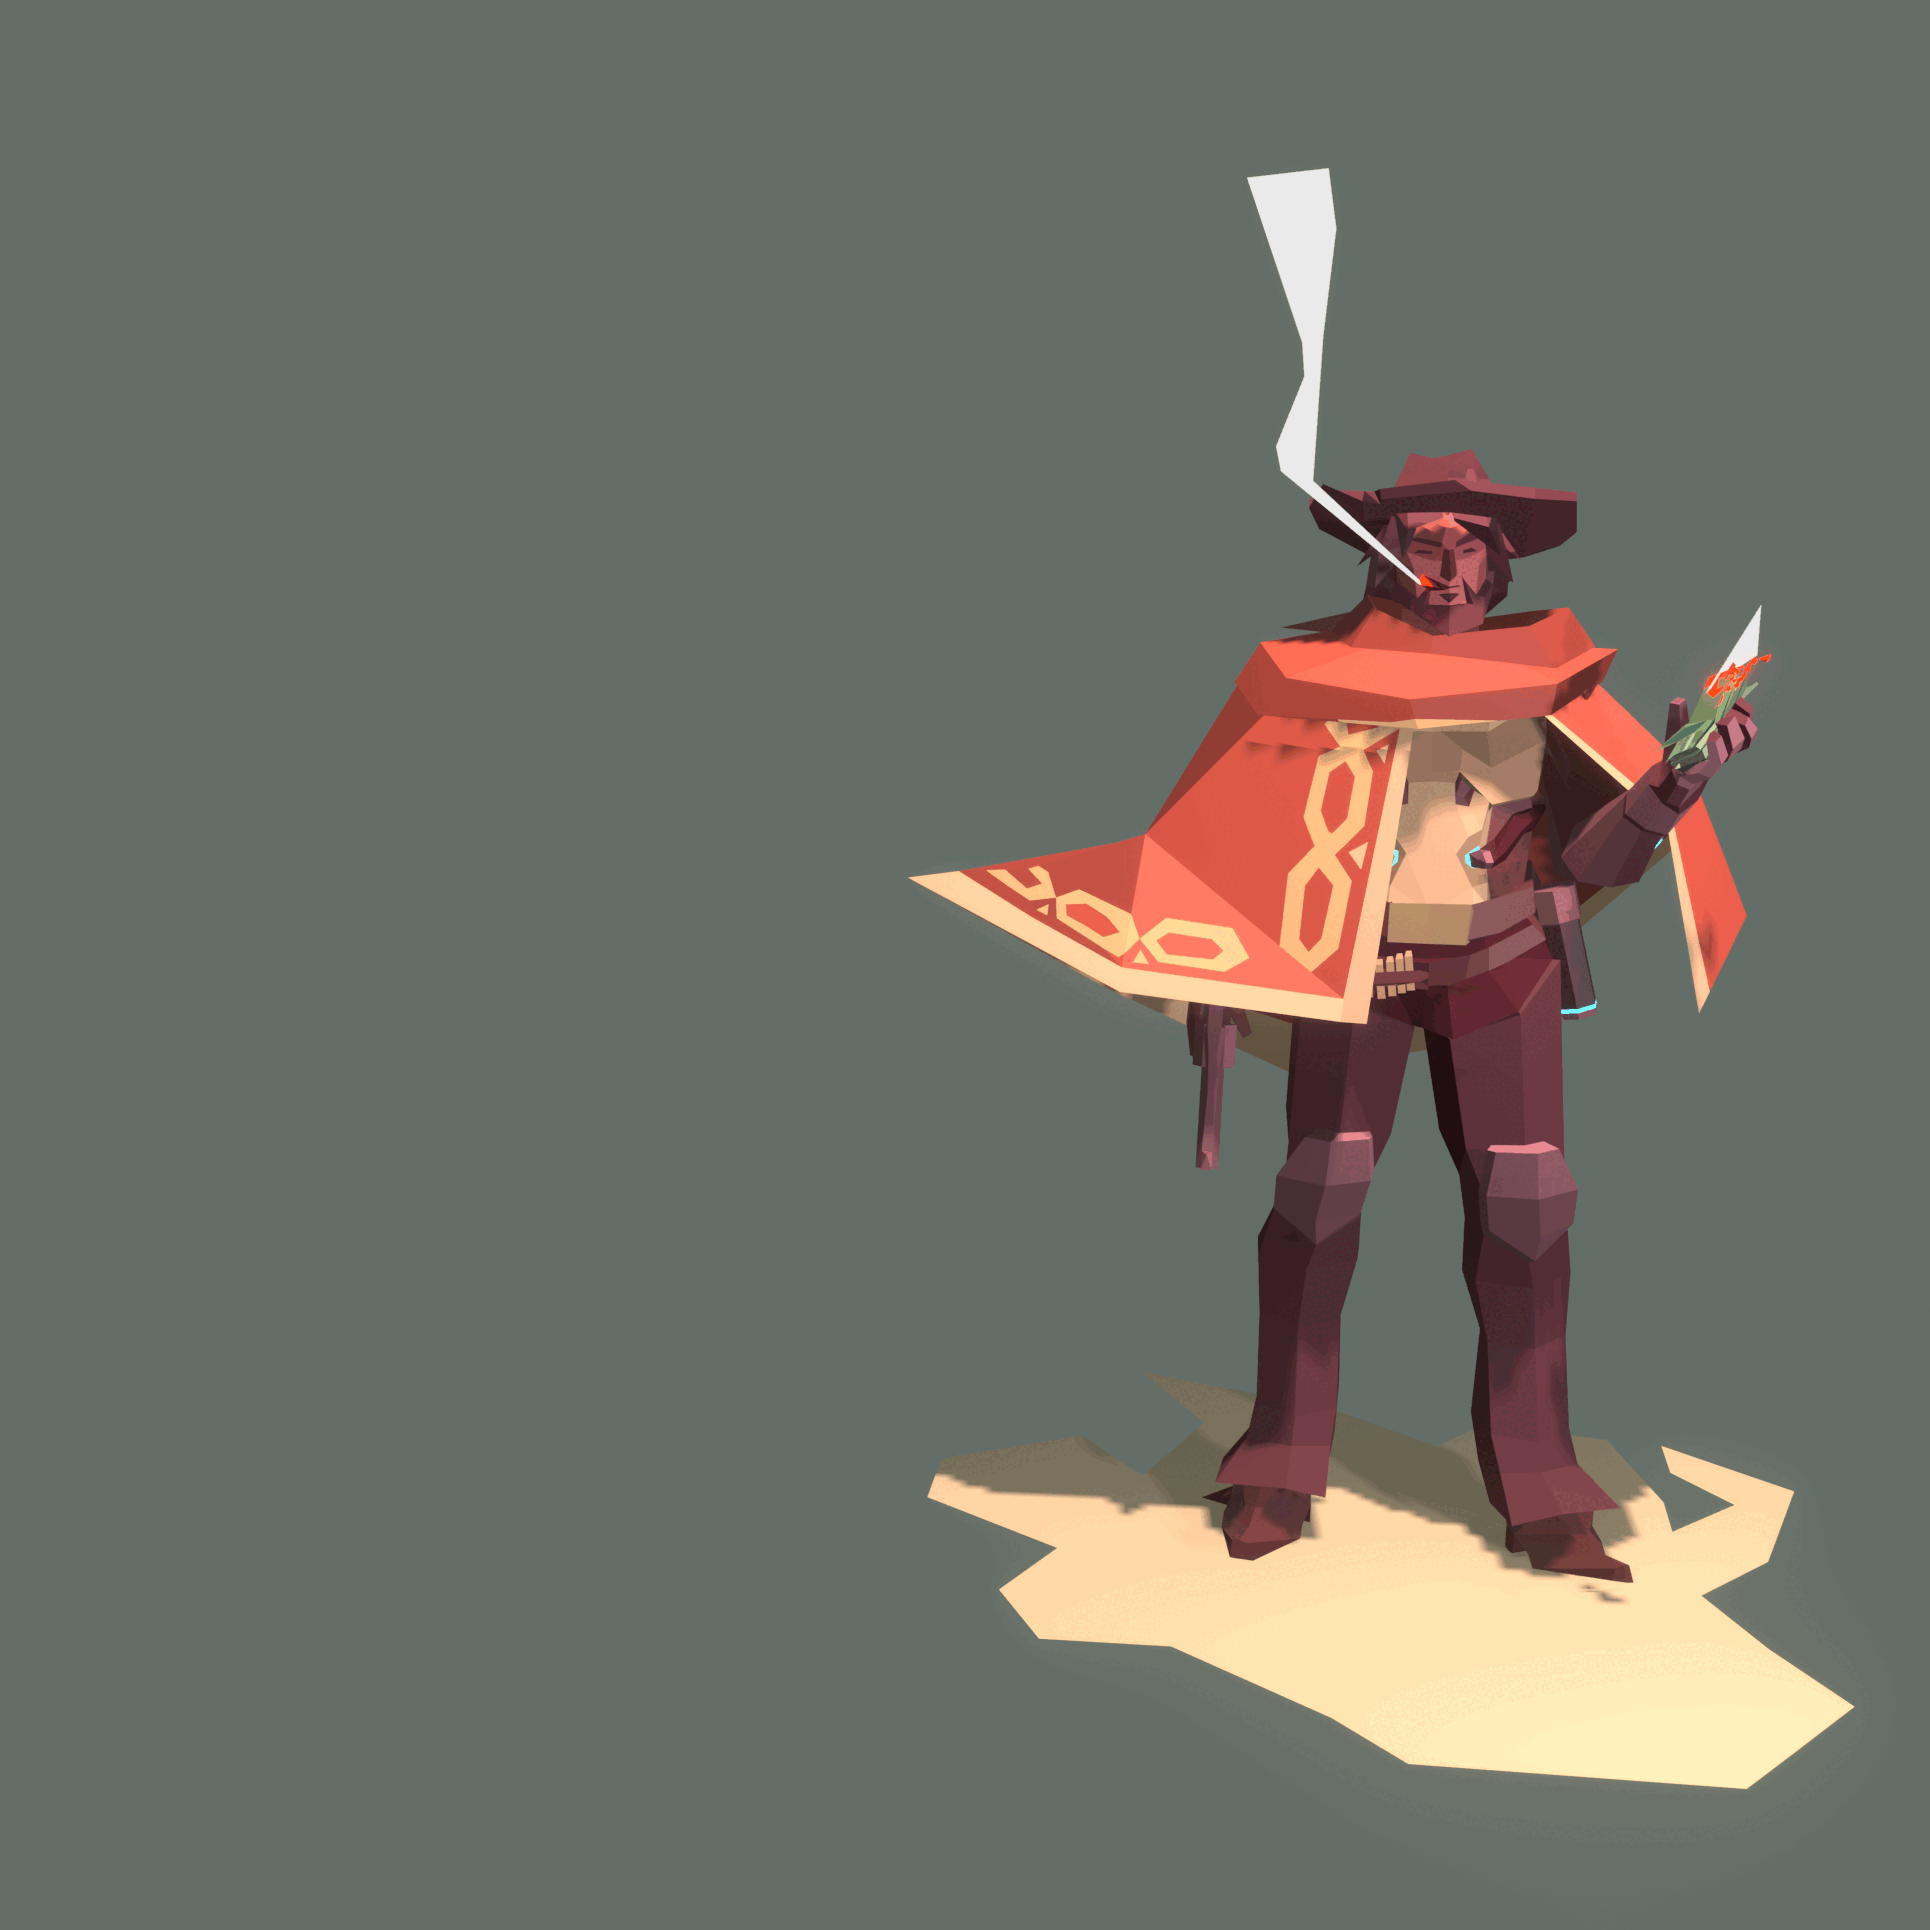
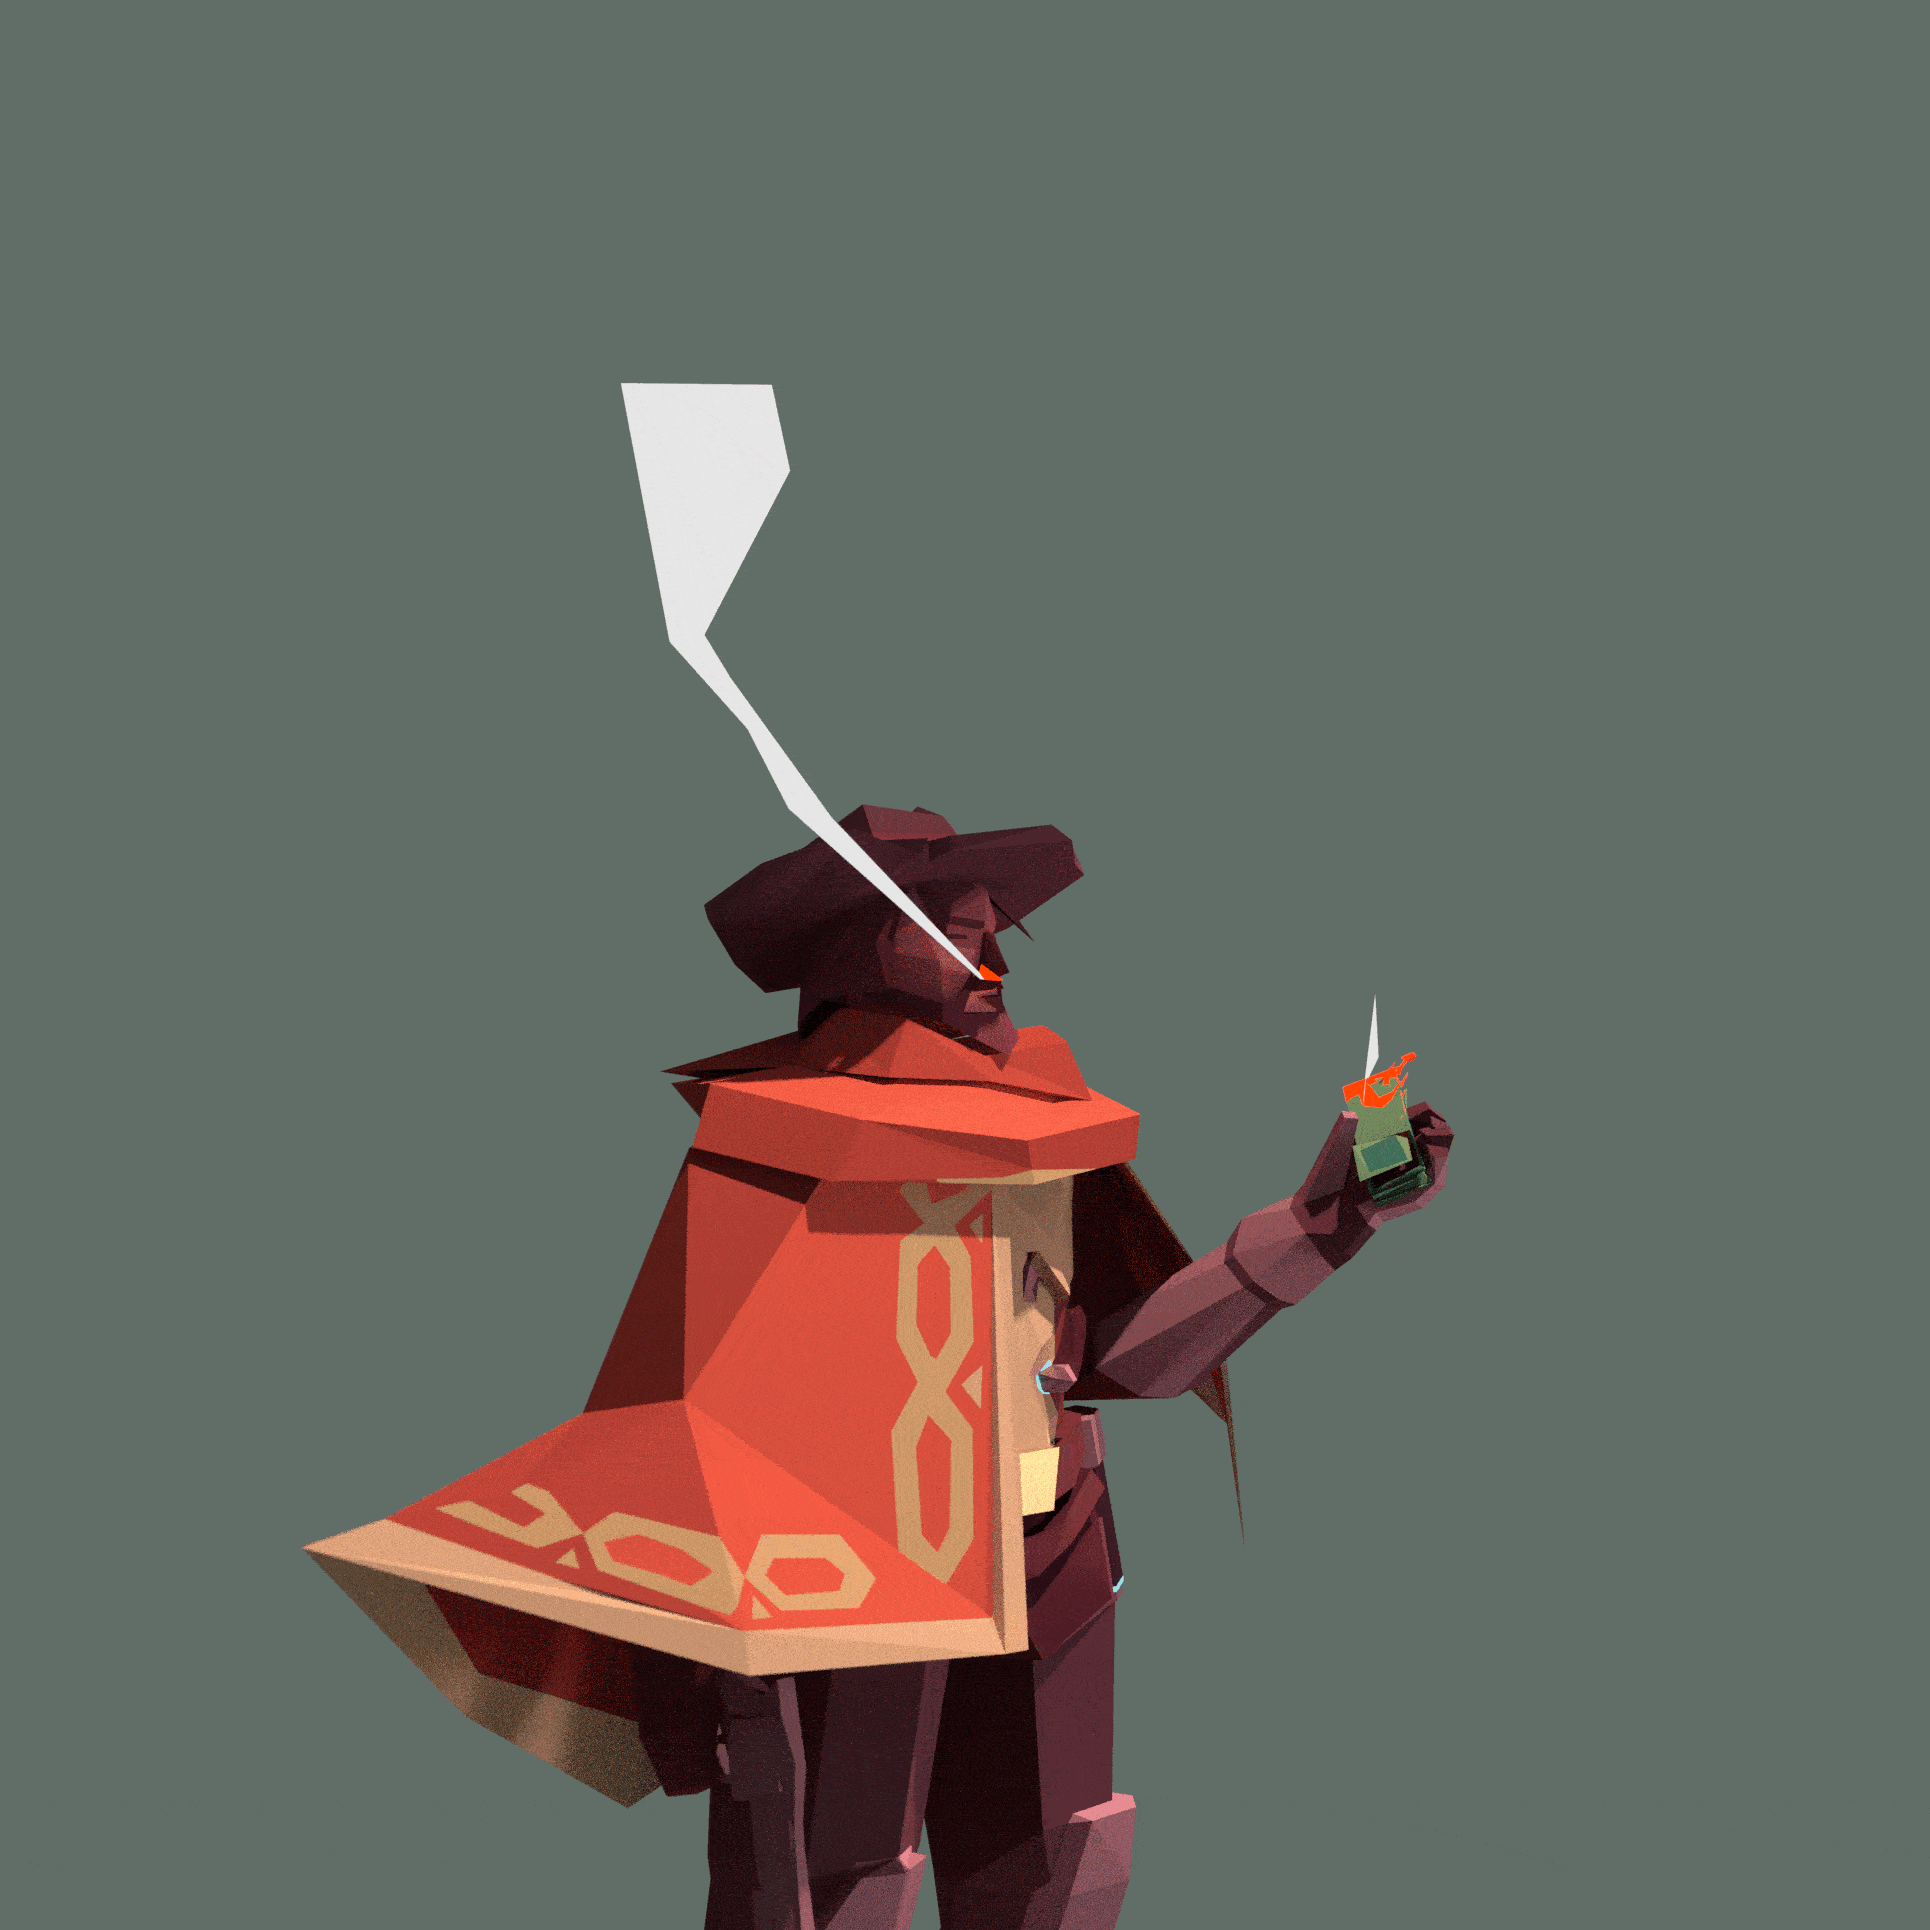
Credits: "Low poly McCree" (https://skfb.ly/6sBDo) by Seafoam is licensed under Creative Commons Attribution (http://creativecommons.org/licenses/by/4.0/). ## Camera Objects in Blender Camera objects are needed in Blender scenes to create renders and animations. We can add a camera to our scene in Add -> Camera. ![](https://i.imgur.com/1SOQR5F.png =600x) The camera will be placed at the location of the 3D cursor. To reset the 3D cursor to the scene origin, we can use the shortcup `Shift-C`. Pressing `0` on the keyboard will take us to the active camera view, where we can view our scene through the camera. ![](https://i.imgur.com/Qsb3uqs.png =400x) In the active camera view, we can pan and rotate the camera by using the shortcut `g` for pan and `rr` for free rotate. (`r` rotates around the Y-axis by default). To have more granular controls over the camera, we can use the Walk Navigation tool, which we can find in View -> Navigation -> Walk Navigation. ![](https://i.imgur.com/oGKGPlK.png =600x) In this view, we can use the keys WASD/EQ to pan and zoom the camera. More detailed key usages can be found at the bottom of the screen. Before we start animating, remember to change the Frame Rate in the Scene tab to 60 fps for a smoother animation. ![](https://i.imgur.com/UdhievO.png =400x) ## How to Create Different Types of Camera Movements A simple way to add animations to camera objects in blender is using auto keying, which we turn on by clicking the circle button and selecting "Only Active Keying Set." From now on, once we made changes to the camera at different keyframes, Blender will add a keyframe there automatically. ![](https://i.imgur.com/l1IxiQr.png =400x) Another thing to keep in mind while creating camera animations is interpolation mode, which we can change by holding the right mouse button and selecting "Interpolation Mode." The default mode is Bezier, which speeds up and slows down camera animations while nearing keyframes. If this behavior is not desired, the "Linear" interpolation can be set. ![](https://i.imgur.com/yJDBEJw.png =500x) ### 1. Pan/Tilt Pans and tilts are the simplest camera movements possible. In a pan/tilt, the camera is moved along a single direction linearly (pan being a horizontal movement and tilt a vertical movement). There are two ways to create a pan/tilt animation. The first way is to directly move the camera at different keyframes. With auto keying turned on, it's only necessary to change the camera's position at the beginning of the pan/tilt. Another way is to go into the active camera view and use Walk Navigation to find the optimal position/angles of the camera at the beginning/end of the shot. ![alt text](https://files.slack.com/files-pri/T0HTW3H0V-F03BJPN1Y2D/animated.gif?pub_secret=ff45a0995b) ### 2. Zoom Similar to pan/tilt, we can either go into active camera view and use walk navigation at the beginning and end keyframes, or we can directly set keyframes on focal length in the Camera object's settings. ![](https://i.imgur.com/uU8pyAl.png =400x) ![alt text](https://files.slack.com/files-pri/T0HTW3H0V-F03AZG9M3N2/animated.gif?pub_secret=2d396525c3) ### 3. Dolly For a dolly shot, we need to do three things: 1. **Create a track-to object on our target** ![](https://i.imgur.com/iLr277k.png) 
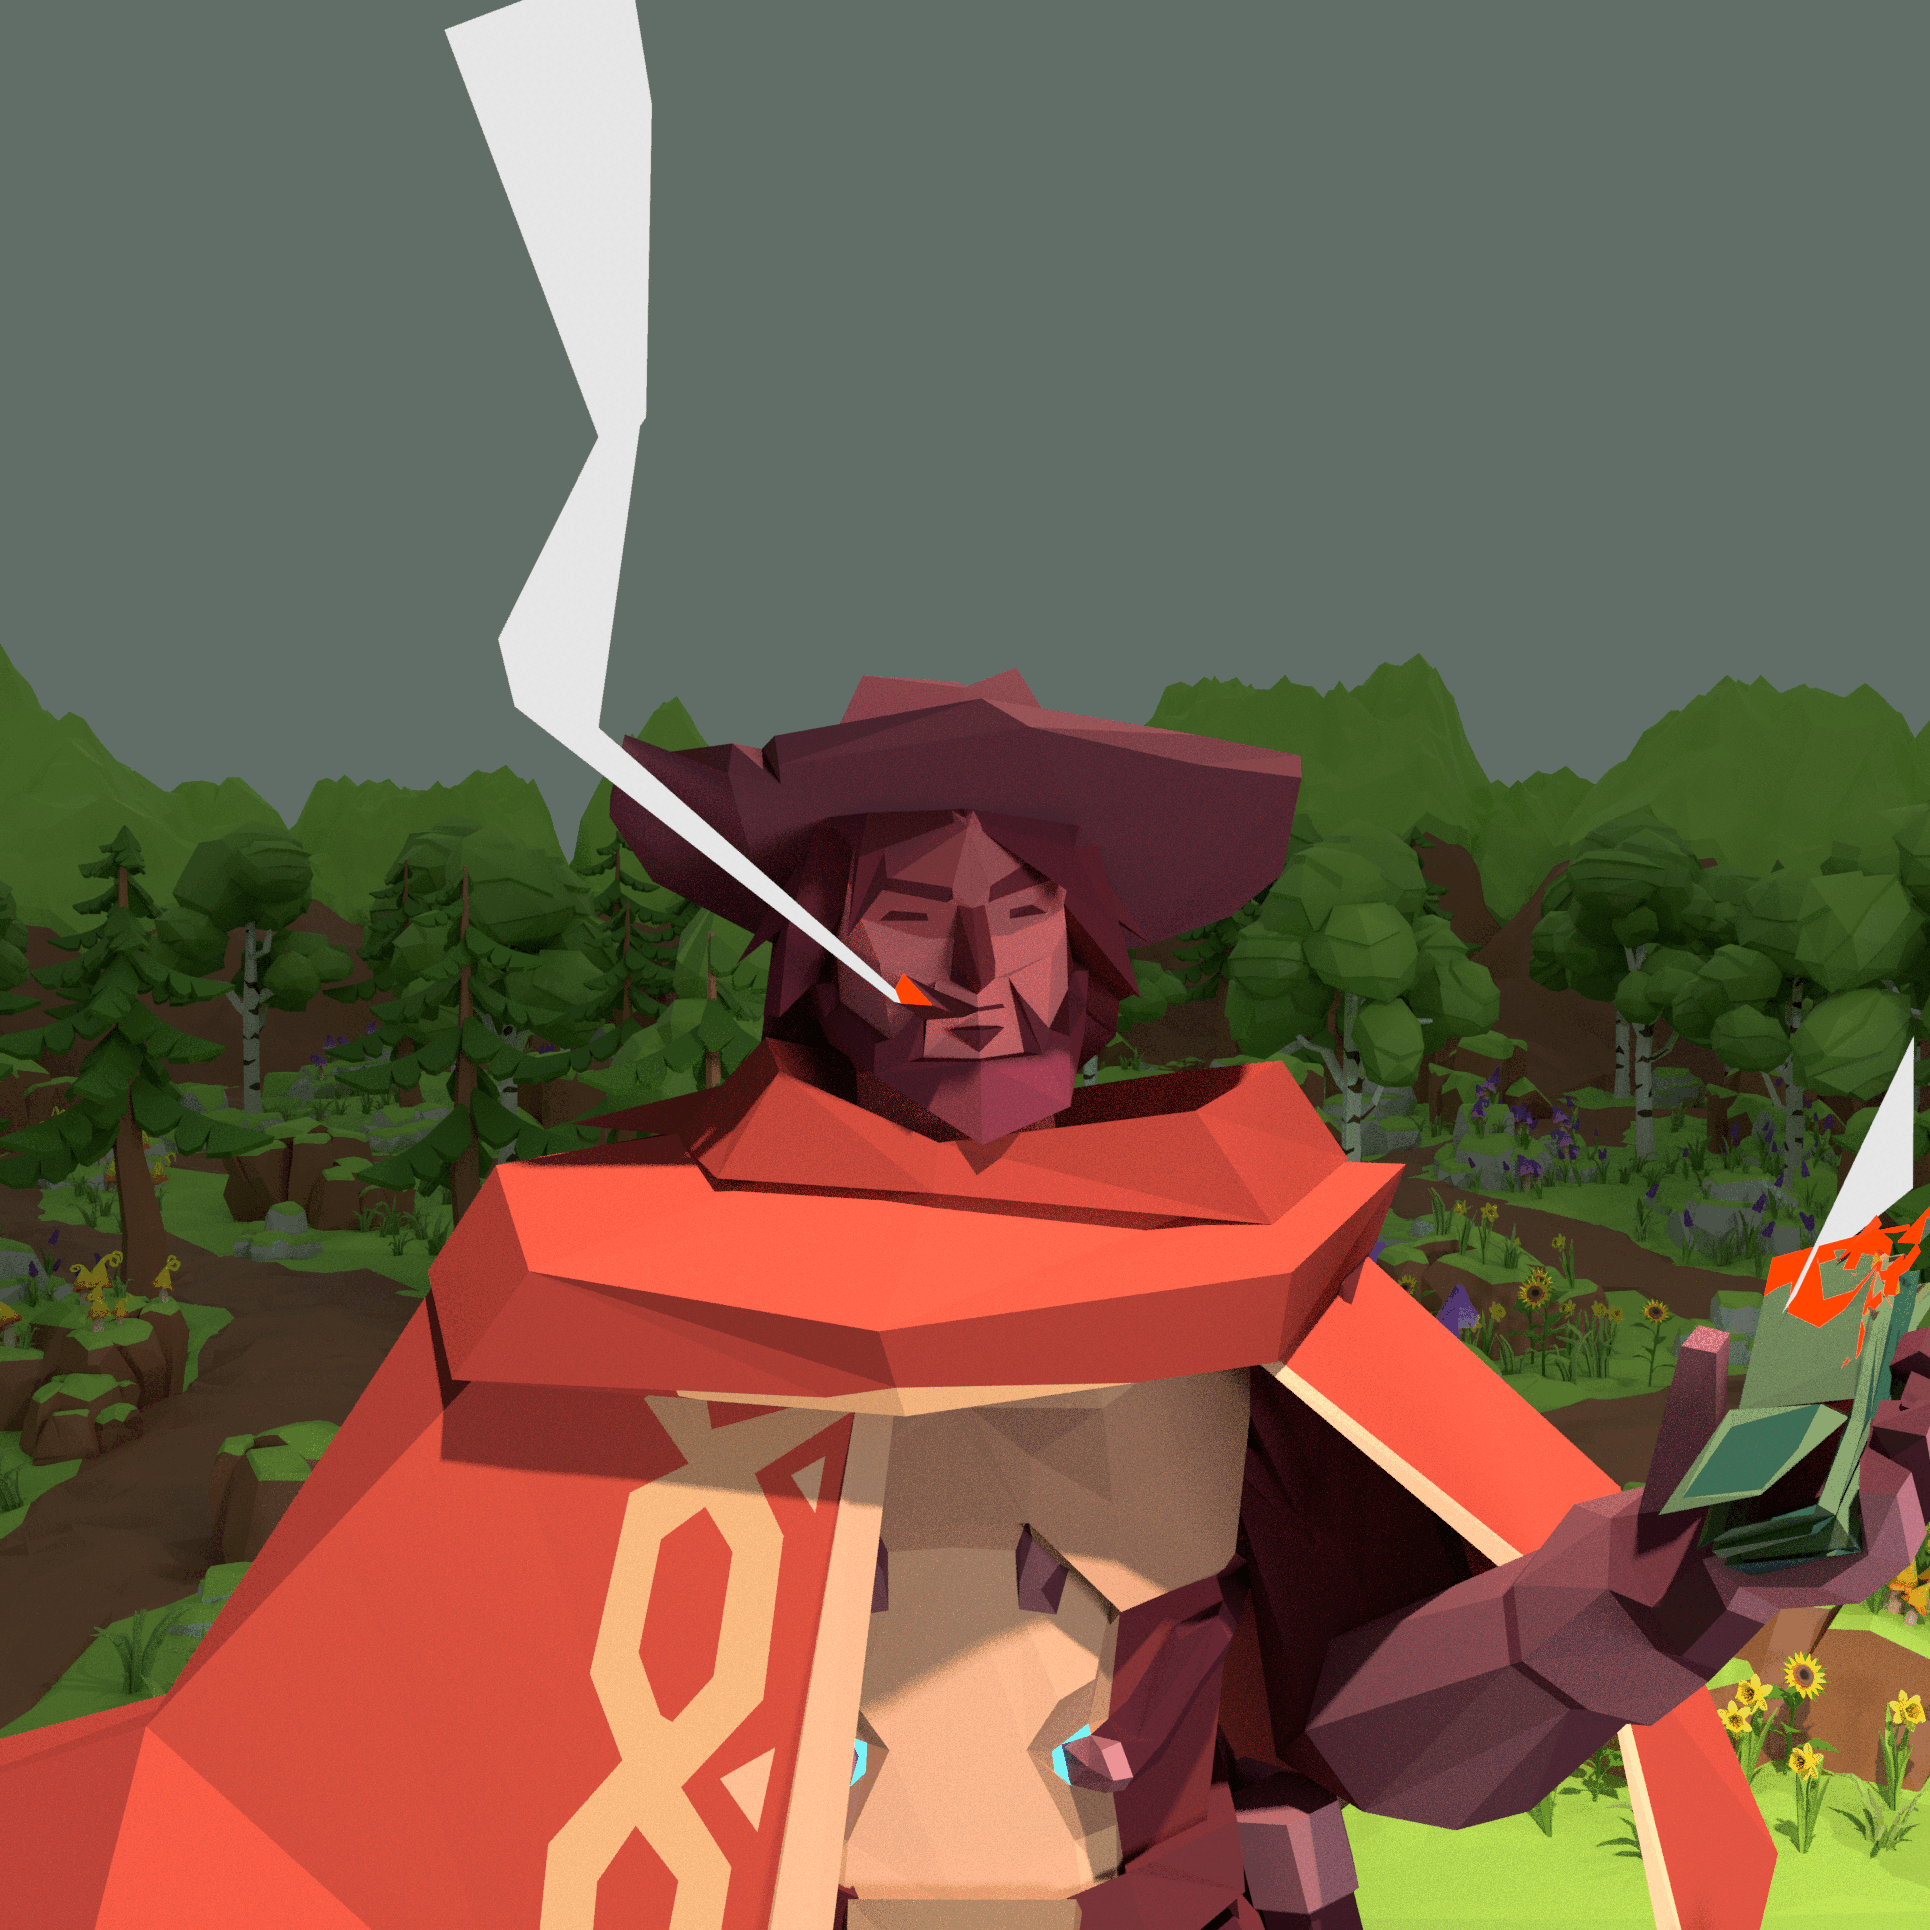
We add a new empty circle (or any other shape) and position it on the place where our dolly shot will be centered on. For this shot, I want the camera to move in an arc around McCree's face, so I placed an empty circle on McCree's face. 2. **Create a path for camera to follow** Now, we create a NURBs path that defines the camera's movement. Using edit mode, modify the path until you are satisfied, then position the path to where you want the camera to be during the animation. After you have finished creating the NURBs path, use `Shift-S` to place the 3D cursor at the vertex where the camera should begin, and then click on the camera and use Shift-S to position the camera at the 3D cursor. After you have done that, the scene should look something like: ![](https://i.imgur.com/J76FGqy.png) 3. **Animate camera on path** Lastly, we add constraints to the camera. We add the Follow Path contraint to the camera under the Constraints panel, and select our NURBs path as the Target. Offset is our animation variable: the value changes from -100 to 100, and by adding keyframes on offset from the beginning and end of the animation, the camera will move in a smooth curve. Second, we add the Track To constraint to the camera so that it aligns to our target's face. Now you are done! The camera should now dolly around our target. ![](https://files.slack.com/files-pri/T0HTW3H0V-F03A2RQH6TF/dolly.gif?pub_secret=3255a61ca2) ### 4. Dolly Zoom The dolly zoom shot combines both dolly and zoom to keep the object the same size in the screen by changes the depth of view. (See this [Goodfellas clip](https://www.youtube.com/watch?v=HZNBtx6RAn4) as an example) To do this in Blender, we animate the position and focal length at the same time. Depending on your intended camera sequence, a dolly zoom can either be *dolly-out-zoom-in* or *dolly-in-zoom-out*. For example, for the dolly-out-zoom-in shot, we walk the camera in the first keyframe close to our object, and set the focal length to a relatively low value: ![](https://i.imgur.com/ULVG9eT.jpg) For the end keyframe, we set the camera to be far away and increase the focal length, like so: ![](https://i.imgur.com/nAZkSpO.jpg) After adjusting the keyframes, the last thing to do is to set the interpolation mode. Under a Bezier interpolation, the dolly zoom will look weird as the camera adjusts in and out, so let's change that to "Linear." ![alt text](https://files.slack.com/files-pri/T0HTW3H0V-F03B63RDQ6P/animated.gif?pub_secret=f3984624da) ### 5. Roll The camera roll is similar to the camera zoom and pan, but here we're animating the rotation of the camera instead of the location/size. You should have all the techniques now to create a realistic camera roll! ## Cuts and Multi-Camera Setups There are multiple ways of creating camera cuts for a Blender animation. One way is to use a single camera, and directly begin the post-cut keyframe one keyframe after the end of the pre-cut animation. However, keep in mind that cameras retain their constraint properties, so if camera movement types change before and after the cut, remember to add keyframes for constraint influence levels pre- and post-cut. Another way of creating cuts is by using multiple cameras. Create a new camera object in Blender, and at the keyframe where you want to switch to the new camera, create a marker at your target keyframe by pressing the `M` key or going to Marker -> Add Marker. ![](https://i.imgur.com/mZymYQk.png) Now, select the camera that you want to switch to and press Marker -> Bind Camera to Markers or `Command-B`. Now, the camera should smoothly switch at target keyframes in your animation. ## Tricks Here are some links for smoother camera motion and additional Blender camera tricks! [Tutorial: Quick Smooth Camera Movements in Blender](https://www.youtube.com/watch?v=a7qyW1G350g) [Blender Camera Tracking](https://www.youtube.com/watch?v=InIuTtt7W3E) [Blender Camera Tricks](https://www.youtube.com/watch?v=cFjgypPX9nE)

Import from clipboard

Paste your markdown or webpage here...

Advanced permission required

Your current role can only read. Ask the system administrator to acquire write and comment permission.

This team is disabled

Sorry, this team is disabled. You can't edit this note.

This note is locked

Sorry, only owner can edit this note.

Reach the limit

Sorry, you've reached the max length this note can be.
Please reduce the content or divide it to more notes, thank you!

Import from Gist

Import from Snippet

or

Export to Snippet

Are you sure?

Do you really want to delete this note?
All users will lose their connection.

Create a note from template

Create a note from template

Oops...
This template has been removed or transferred.
Upgrade
All
  • All
  • Team
No template.

Create a template

Upgrade

Delete template

Do you really want to delete this template?
Turn this template into a regular note and keep its content, versions, and comments.

This page need refresh

You have an incompatible client version.
Refresh to update.
New version available!
See releases notes here
Refresh to enjoy new features.
Your user state has changed.
Refresh to load new user state.

Sign in

Forgot password

or

By clicking below, you agree to our terms of service.

Sign in via Facebook Sign in via Twitter Sign in via GitHub Sign in via Dropbox Sign in with Wallet
Wallet ( )
Connect another wallet

New to HackMD? Sign up

Help

  • English
  • 中文
  • Français
  • Deutsch
  • 日本語
  • Español
  • Català
  • Ελληνικά
  • Português
  • italiano
  • Türkçe
  • Русский
  • Nederlands
  • hrvatski jezik
  • język polski
  • Українська
  • हिन्दी
  • svenska
  • Esperanto
  • dansk

Documents

Help & Tutorial

How to use Book mode

Slide Example

API Docs

Edit in VSCode

Install browser extension

Contacts

Feedback

Discord

Send us email

Resources

Releases

Pricing

Blog

Policy

Terms

Privacy

Cheatsheet

Syntax Example Reference
# Header Header 基本排版
- Unordered List
  • Unordered List
1. Ordered List
  1. Ordered List
- [ ] Todo List
  • Todo List
> Blockquote
Blockquote
**Bold font** Bold font
*Italics font* Italics font
~~Strikethrough~~ Strikethrough
19^th^ 19th
H~2~O H2O
++Inserted text++ Inserted text
==Marked text== Marked text
[link text](https:// "title") Link
![image alt](https:// "title") Image
`Code` Code 在筆記中貼入程式碼
```javascript
var i = 0;
```
var i = 0;
:smile: :smile: Emoji list
{%youtube youtube_id %} Externals
$L^aT_eX$ LaTeX
:::info
This is a alert area.
:::

This is a alert area.

Versions and GitHub Sync
Get Full History Access

  • Edit version name
  • Delete

revision author avatar     named on  

More Less

Note content is identical to the latest version.
Compare
    Choose a version
    No search result
    Version not found
Sign in to link this note to GitHub
Learn more
This note is not linked with GitHub
 

Feedback

Submission failed, please try again

Thanks for your support.

On a scale of 0-10, how likely is it that you would recommend HackMD to your friends, family or business associates?

Please give us some advice and help us improve HackMD.


Thanks for your feedback

Remove version name

Do you want to remove this version name and description?

Transfer ownership

Transfer to
    Warning: is a public team. If you transfer note to this team, everyone on the web can find and read this note.

      Link with GitHub

      Please authorize HackMD on GitHub
      • Please sign in to GitHub and install the HackMD app on your GitHub repo.
      • HackMD links with GitHub through a GitHub App. You can choose which repo to install our App.
      Learn more  Sign in to GitHub

      Push the note to GitHub Push to GitHub Pull a file from GitHub

        Authorize again
       

      Choose which file to push to

      Select repo
      Refresh Authorize more repos
      Select branch
      Select file
      Select branch
      Choose version(s) to push
      • Save a new version and push
      • Choose from existing versions
      Include title and tags
      Available push count

      Pull from GitHub

       
      File from GitHub
      File from HackMD

      GitHub Link Settings

      File linked

      Linked by
      File path
      Last synced branch
      Available push count

      Danger Zone

      Unlink
      You will no longer receive notification when GitHub file changes after unlink.

      Syncing

      Push failed

      Push successfully