# Blender Camera Movement Tutorial
> **LLUF**: @joeykhuang
> Credits: "Low poly McCree" (https://skfb.ly/6sBDo) by Seafoam is licensed under Creative Commons Attribution (http://creativecommons.org/licenses/by/4.0/).
## Camera Objects in Blender
Camera objects are needed in Blender scenes to create renders and animations. We can add a camera to our scene in Add -> Camera.

The camera will be placed at the location of the 3D cursor. To reset the 3D cursor to the scene origin, we can use the shortcup `Shift-C`.
Pressing `0` on the keyboard will take us to the active camera view, where we can view our scene through the camera.

In the active camera view, we can pan and rotate the camera by using the shortcut `g` for pan and `rr` for free rotate. (`r` rotates around the Y-axis by default).
To have more granular controls over the camera, we can use the Walk Navigation tool, which we can find in View -> Navigation -> Walk Navigation.

In this view, we can use the keys WASD/EQ to pan and zoom the camera. More detailed key usages can be found at the bottom of the screen.
Before we start animating, remember to change the Frame Rate in the Scene tab to 60 fps for a smoother animation.

## How to Create Different Types of Camera Movements
A simple way to add animations to camera objects in blender is using auto keying, which we turn on by clicking the circle button and selecting "Only Active Keying Set." From now on, once we made changes to the camera at different keyframes, Blender will add a keyframe there automatically.

Another thing to keep in mind while creating camera animations is interpolation mode, which we can change by holding the right mouse button and selecting "Interpolation Mode."
The default mode is Bezier, which speeds up and slows down camera animations while nearing keyframes. If this behavior is not desired, the "Linear" interpolation can be set.

### 1. Pan/Tilt
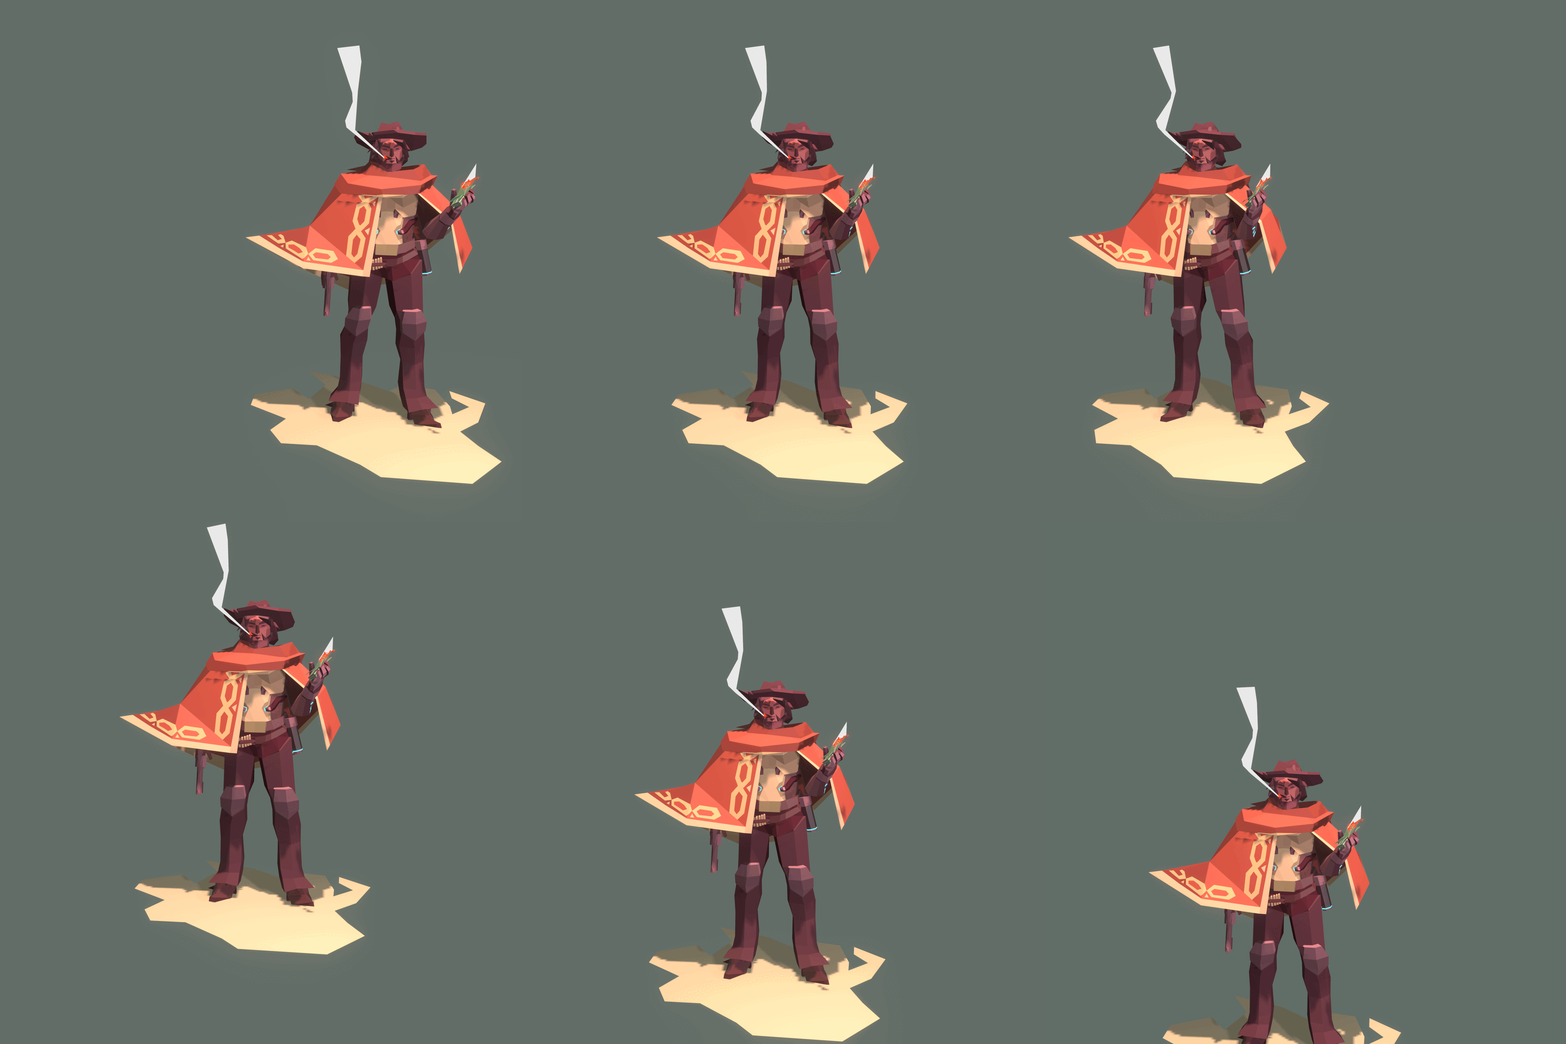
Pans and tilts are the simplest camera movements possible. In a pan/tilt, the camera is moved along a single direction linearly (pan being a horizontal movement and tilt a vertical movement).
There are two ways to create a pan/tilt animation. The first way is to directly move the camera at different keyframes. With auto keying turned on, it's only necessary to change the camera's position at the beginning of the pan/tilt.
Another way is to go into the active camera view and use Walk Navigation to find the optimal position/angles of the camera at the beginning/end of the shot.

### 2. Zoom
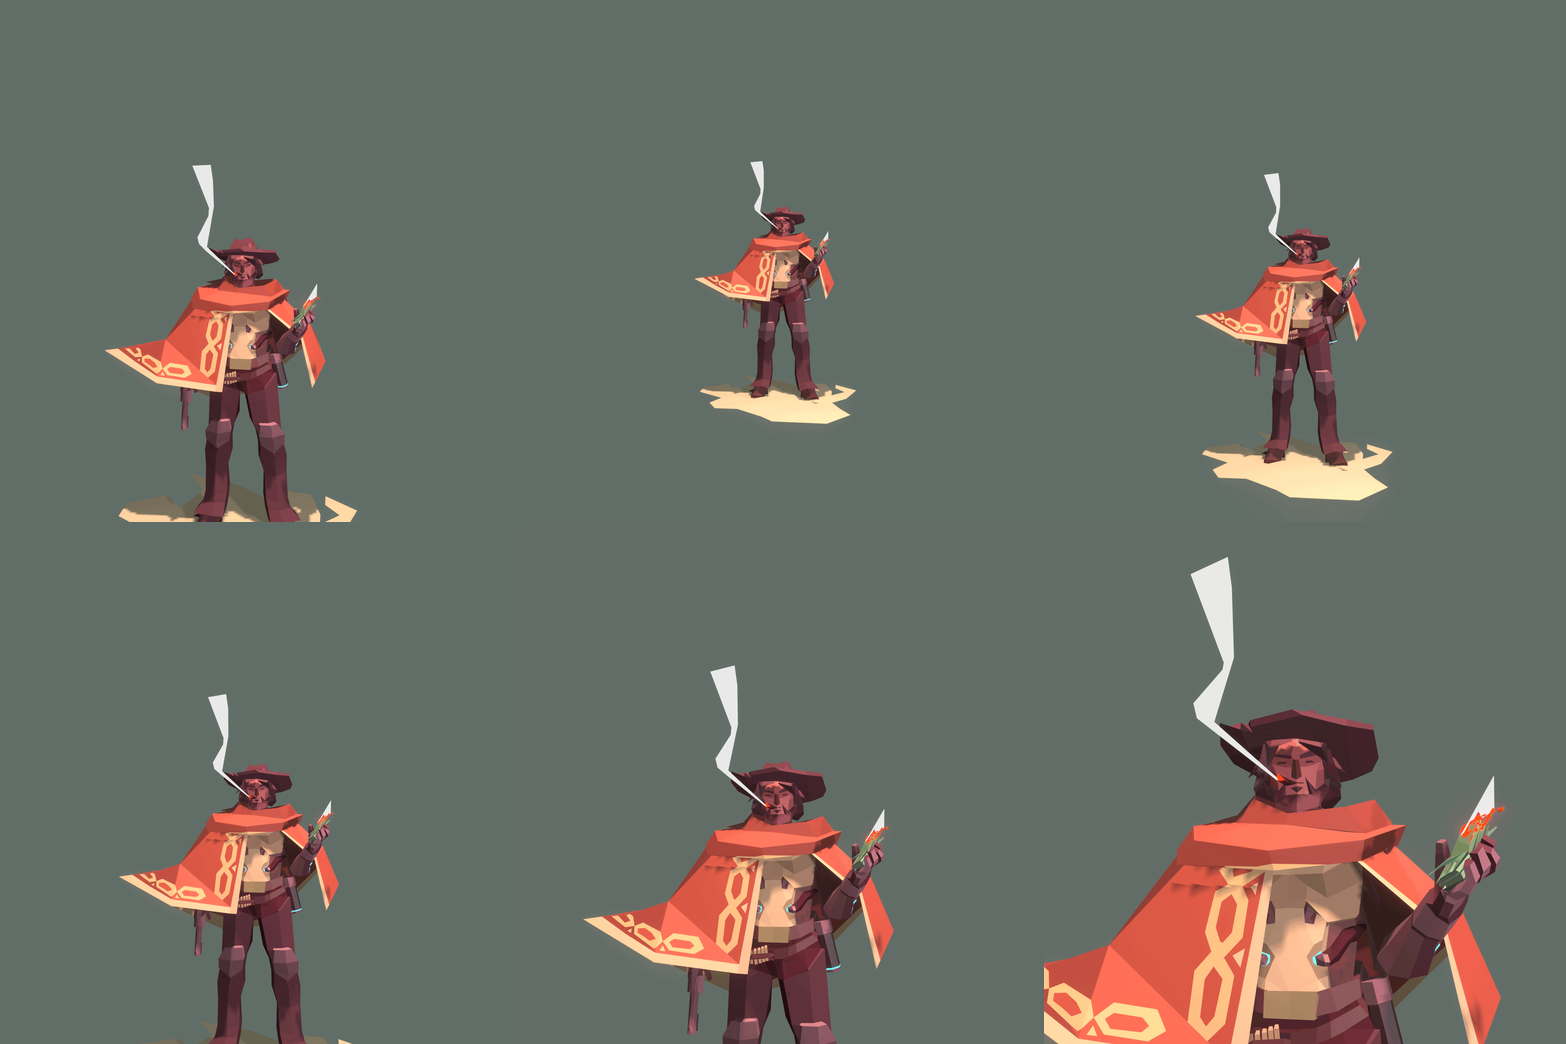
Similar to pan/tilt, we can either go into active camera view and use walk navigation at the beginning and end keyframes, or we can directly set keyframes on focal length in the Camera object's settings.


### 3. Dolly
For a dolly shot, we need to do three things:
1. **Create a track-to object on our target**

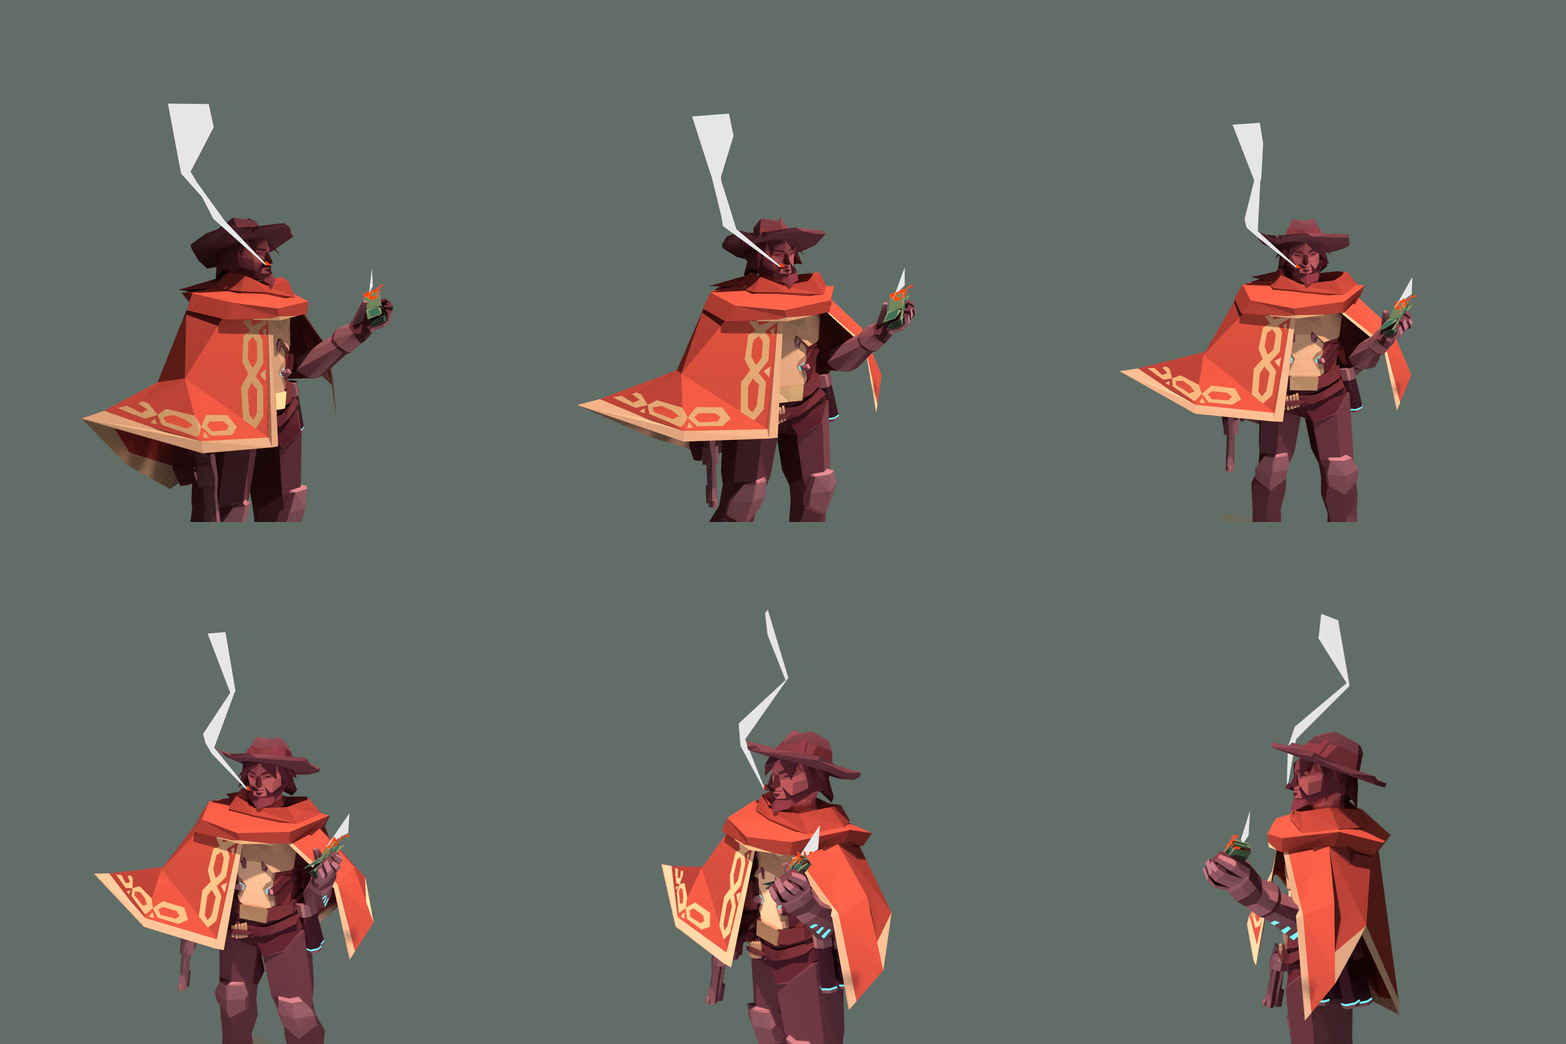
We add a new empty circle (or any other shape) and position it on the place where our dolly shot will be centered on. For this shot, I want the camera to move in an arc around McCree's face, so I placed an empty circle on McCree's face.
2. **Create a path for camera to follow**
Now, we create a NURBs path that defines the camera's movement. Using edit mode, modify the path until you are satisfied, then position the path to where you want the camera to be during the animation.
After you have finished creating the NURBs path, use `Shift-S` to place the 3D cursor at the vertex where the camera should begin, and then click on the camera and use Shift-S to position the camera at the 3D cursor. After you have done that, the scene should look something like:

3. **Animate camera on path**
Lastly, we add constraints to the camera. We add the Follow Path contraint to the camera under the Constraints panel, and select our NURBs path as the Target. Offset is our animation variable: the value changes from -100 to 100, and by adding keyframes on offset from the beginning and end of the animation, the camera will move in a smooth curve.
Second, we add the Track To constraint to the camera so that it aligns to our target's face. Now you are done! The camera should now dolly around our target.

### 4. Dolly Zoom
The dolly zoom shot combines both dolly and zoom to keep the object the same size in the screen by changes the depth of view. (See this [Goodfellas clip](https://www.youtube.com/watch?v=HZNBtx6RAn4) as an example)
To do this in Blender, we animate the position and focal length at the same time. Depending on your intended camera sequence, a dolly zoom can either be *dolly-out-zoom-in* or *dolly-in-zoom-out*. For example, for the dolly-out-zoom-in shot, we walk the camera in the first keyframe close to our object, and set the focal length to a relatively low value:

For the end keyframe, we set the camera to be far away and increase the focal length, like so:

After adjusting the keyframes, the last thing to do is to set the interpolation mode. Under a Bezier interpolation, the dolly zoom will look weird as the camera adjusts in and out, so let's change that to "Linear."

### 5. Roll
The camera roll is similar to the camera zoom and pan, but here we're animating the rotation of the camera instead of the location/size. You should have all the techniques now to create a realistic camera roll!
## Cuts and Multi-Camera Setups
There are multiple ways of creating camera cuts for a Blender animation. One way is to use a single camera, and directly begin the post-cut keyframe one keyframe after the end of the pre-cut animation. However, keep in mind that cameras retain their constraint properties, so if camera movement types change before and after the cut, remember to add keyframes for constraint influence levels pre- and post-cut.
Another way of creating cuts is by using multiple cameras. Create a new camera object in Blender, and at the keyframe where you want to switch to the new camera, create a marker at your target keyframe by pressing the `M` key or going to Marker -> Add Marker.

Now, select the camera that you want to switch to and press Marker -> Bind Camera to Markers or `Command-B`. Now, the camera should smoothly switch at target keyframes in your animation.
## Tricks
Here are some links for smoother camera motion and additional Blender camera tricks!
[Tutorial: Quick Smooth Camera Movements in Blender](https://www.youtube.com/watch?v=a7qyW1G350g)
[Blender Camera Tracking](https://www.youtube.com/watch?v=InIuTtt7W3E)
[Blender Camera Tricks](https://www.youtube.com/watch?v=cFjgypPX9nE)