# RxJS with React Hooks for State Management
In this article, we'll cover the basics of RxJS and how to integrate it with React applications using React Hooks for state management. We'll do this by building a demo chat application. Our chat application will have three components that will communicate with each other through RxJS.
Our final app will look like this:
## Let's start by explaining **RxJS**:
**RxJS** (Reactive Extensions Library for JavaScript) is a useful library for reactive programming. The RxJS documentation uses this definition:
> RxJS is a library for reactive programming using Observables, to make
> it easier to compose asynchronous or callback-based code.
**Reactive programming** is an event-based paradigm that allows us to run asynchronous sequences of events as soon as data is pushed to a consumer.
To be able to use **RxJS** for state management in **React**, it is important to understand these key points:
- Observable
- Observer
- Subscription
### Observable
An Observable is a data stream that houses data that can be passed through different threads. In our demo app, we'll be using an Observable to supply data to our different components.
### Observer
An Observer consumes the data supplied by an Observable. In our demo app, we'll be using our **React hooks** `setState` function to consume data from our Observable.
### Subscription
In order for our Observer to consume data from our Observable, we'll have to subscribe it to the Observable. In our demo app, we'll be using the `subscribe()` method to subscribe our `setState` Observer to our Observable.
> **The best way to understand RxJS is to use it.**
## Setting up our application
Let's start by creating a new react application. If you don't have `create-react-app` installed, on your terminal, run:
```
npm i -g create-react-app
```
Next:
```
create-react-app rxjs_react_chat
```
This will generate a new react application using `create-react-app`.
To start our application, let's navigate to our new app directory and run the command `npm start`:
```
cd rxjs_react_chat
npm start
```
In our new generated app directory, let's navigate to `/src/`. Since we'll be working with multiple components, let's setup `BrowserRouter` for navigating through different routes:
Let's run the following command:
```
npm install --save react-router-dom
```
next, we'll edit our `/src/App.js` file to look like this:
```
// /src/App.js
import React from 'react';
import { BrowserRouter, Route, Switch } from 'react-router-dom';
import './index.css';
const App = () => (
<BrowserRouter />
);
export default App;
```
## Building our store
In our `src` folder, let's create a **store** directory, `src/store`. This is where we'll house our store.
Next, let's create a `chat.js` file for our chat operations, `src/store/chat.js`.
In our `chat.js` file, we'll import `Subject` from `rxjs` and create a new variable from the Subject class:
```
import { Subject } from 'rxjs';
const subject = new Subject();
```
### Subjects and subscriptions
An RxJS **Subject** can act as both an **observable** and an **observer** at the same time. In this way, values can be multicasted to many observers from it so that when a subject receives any data, that data can be forwarded to every **observer** subscribed to it.
In our application, we'll be subscribing our different React Hooks `setState` functions to our RxJS subject so that when it receives any data, it forwards that data to every state associated with our `setState` function.
Let's create a `subscribe` method for this purpose:
<pre><code>
import { Subject } from 'rxjs'
const subject = new Subject();
<b>const chatStore = {
subscribe: setState => subject.subscribe(setState)
}</b>
</code> </pre>
Next, we'll create an object for our initial chat state:
<pre><code>
import { Subject } from 'rxjs'
const subject = new Subject();
<b>const initialState = {
data: [],
newDataCount: 0,
};
let state = initialState;</b>
const chatStore = {
subscribe: setState => subject.subscribe(setState)
}
</code></pre>
We'll use the `data` key to hold our array of message objects. These message objects will contain the values `person` (to specify who a message is from) and `text` (to store the message text).
Here's what our object will look like:
```
{
person: 'first-person',
text: 'How are you?'
}
```
In our **initialState** object, the `newDataCount` will be used by our notification functionality to tell when new data has been pushed to our state.
Now that we have our **state** object, let's create an `init()` method that will initialise our component's state whenever it's mounted:
<pre><code>
...
const chatStore = {
<b>init: () => subject.next(state),</b>
subscribe: setState => subject.subscribe(setState)
}
</code></pre>
The `Subject.next()` method is used to feed a new value to the Subject. When we call the `next()` method with a value as its parameter, that value is multicasted to all Observers subscribed to the Subject.
In our application, we'll call both the `subscribe()` and `init()` methods whenever our component mounts in order to set our state to what we have in our chat store.
### Adding data to the store
Next we'll create a `sendMessage()` method. We'll call this method whenever our users hit the **send message** button. Our `sendMessage()` mehod will receive a `message` argument which we'll append to our `state.data` array. Remember that our `message` argument is an object with keys `person` and `text`.
Let's create our object with the following code block:
<pre><code>
...
const chatStore = {
init: () => subject.next(state),
subscribe: setState => subject.subscribe(setState),
<b>sendMessage: message => {
state = {
...state,
data: [...state.data, message],
newDataCount: state.newDataCount + 1
};
subject.next(state);
} </b>
};
</code></pre>
In our new block, we appended our `message` object to our `state.data` array, then we incremented our `newDataCount`.
Now that we have our `newDataCount` incremented every time a new message is sent by a user, we'll also add a functionality for resetting our **new data count** each time the messages are viewed, so that when `person 1` sends a new message and `person 2` reads the message, the **data count** resets to `0`. To do this, in our `init()` method, we'll assign the `newDataCount` key in our state the value of `0` each time a new component that **subscribes** to our `Subject` is mounted:
<pre><code>
...
const chatStore = {
init: () => {
<b>state = {...state, newDataCount: 0},</b>
subject.next(state)
},
subscribe: setState => subject.subscribe(setState),
sendMessage: message => {
state = {
...state,
data: [...state.data, message],
newDataCount: state.newDataCount + 1
};
subject.next(state);
}
};
</code></pre>
### Removing data from the store
Next, we'll add a method for clearing all messages. We'll call it `clearChat()`:
<pre><code>
...
const chatStore = {
init: () => {
<b>state = {...state, newDataCount: 0},</b>
subject.next(state)
},
subscribe: setState => subject.subscribe(setState),
sendMessage: message => {
state = {
...state,
data: [...state.data, message],
newDataCount: state.newDataCount + 1
};
subject.next(state);
},
<b>clearChat: () => {
state = initialState;
subject.next(state);
},
initialState</b>
};
</code></pre>
We've also added our **initial state** to the `chatStore` object. We'll use this to set our initial state value when defining our `chatState` with the `useState()` hook.
Finally, let's export the `chatStore` object. Our `src/store/chat.js` file should now look like this:
<pre> <code>
// src/store/chat.js
import { Subject } from 'rxjs';
const subject = new Subject();
const initialState = {
status: '',
data: [],
newDataCount: 0,
error: ''
};
let state = initialState;
const chatStore = {
init: () => {
state = {...state, newDataCount: 0}
subject.next(state)
},
subscribe: setState => subject.subscribe(setState),
sendMessage: message => {
state = {
...state,
data: [...state.data, message],
newDataCount: state.newDataCount + 1
};
subject.next(state);
},
clearChat: () => {
state = {...state, data: []};
subject.next(state);
},
initialState
};
<b>export default chatStore;</b>
</code></pre>
## Using the store
Now that we've setup our **chat store**, in the following steps, we'll be creating our components to utilize the store and its methods.
First, let's modify our `src/index.css` file to look like this:
```
.container {
font-family: Arial, Helvetica, sans-serif;
padding: 1em;
}
.chat-box {
background: #202020;
margin: auto;
padding: 2em;
height: 35em;
width: 95%;
border-radius: 20px;
overflow-y: scroll;
}
.first-person, .second-person {
display: inline-block;
color: #fff;
height: 25px;
min-width: 20%;
max-width: 60%;
padding: 20px;
text-align: center;
vertical-align: middle;
border-radius: 30px;
}
.first-person {
background: rgb(0, 173, 231);
}
.second-person {
background: #06c406;
float: right;
}
.clear{
clear: both;
display: block;
content: "";
width: 100%;
}
.switcher-div {
padding-top: 1em;
text-align: center;
}
#messageForm {
text-align: center;
margin-top: 1.5em;
}
#messageForm input {
height: 2em;
width: 23em;
border-radius: 3em;
padding: 1em;
}
#messageForm button {
margin-left: 2em;
height: 2.7em;
width: 6.2em;
border-radius: 25px;
border: none;
cursor: pointer;
}
.clear-button {
background: #d40000;
color: #fff;
float: right;
margin-right: 3em;
text-align: center;
height: 2.5em;
width: 8em;
cursor: pointer;
}
.switcher {
background: #cecece;
color: #141414;
height: 2.5em;
width: 6em;
border-radius: 25px;
border: 1 px solid black;
margin-right: 1em;
cursor: pointer;
}
.notify {
position: absolute;
background: #db0000;
color: white;
height: 1em;
width: 1em;
border-radius: 100%;
padding: 0.15em;
margin-left: 0.5em;
margin-top: -0.5em;
}
```
In our `src` folder, let's create a **components** directory, `src/components`. This is where we'll house all our components. We'll need three components for our application:
- a component for the first person
- a component for the second person
- a component for switching between the two person components
In our `src/components` directory, let's create a new file, `FirstPerson.js` for our first person component. Our new component should look like this:
```
import React, { useState } from "react";
const FirstPerson = () => {
const [chatState, setChatState] = useState({});
return (
<div className="container">
<h2>Mycroft</h2>
<div className="chat-box">
{chatState.data.map(message => (
<div>
<p className={message.person}>{message.text}</p>
<div className="clear"></div>
</div>
))}
</div>
<form id="messageForm">
<input
type="text"
id="messageInput"
name="messageInput"
placeholder="type here..."
required
/>
<button type="submit">Send</button> <br />
</form>
</div>
);
}
export default FirstPerson;
```
### Subscribing to our store and retrieving existing data
In the next block, we'll import our `chatStore` and use its `initialState` property as our default `chatState` value, then in our React Hooks `useLayoutEffect()`, we'll subscribe our `setChatState` function to our **chat store** using the `chatStore.subscribe()` method and finally, use the `chatStore.init()` method to initialize our component's `chatState`:
<pre><code>
import React, { useState, useLayoutEffect } from "react";
<b>import chatStore from '../store/chat';</b>
const FirstPerson = () => {
<b>const [chatState, setChatState] = useState(chatStore.initialState);
useLayoutEffect(()=> {
chatStore.subscribe(setChatState);
chatStore.init();
},[]); </b>
return (...)
</code></pre>
We are making use of the `useLayoutEffect()` hook in order to send data to our `chatState` **before** our component is rendered.
To preview the result of our code so far, let's create an `index.js` file in our `src/components` folder and export our `FirstPerson` component from it:
```
// src/components/index.js
export { default as FirstPerson } from './FirstPerson';
```
Next, we'll import our `FirstPerson` component in our `src/App.js` file and add it to a route path:
```
// /src/App.js
import React from 'react';
import { BrowserRouter, Route, Switch } from 'react-router-dom';
import { FirstPerson } from './components';
import './index.css';
const App = () => (
<BrowserRouter>
<>
<Switch>
<Route path="/" component={FirstPerson} exact />
<Route path="/first-person" component={FirstPerson} exact />
</Switch>
</>
</BrowserRouter>
);
export default App;
```
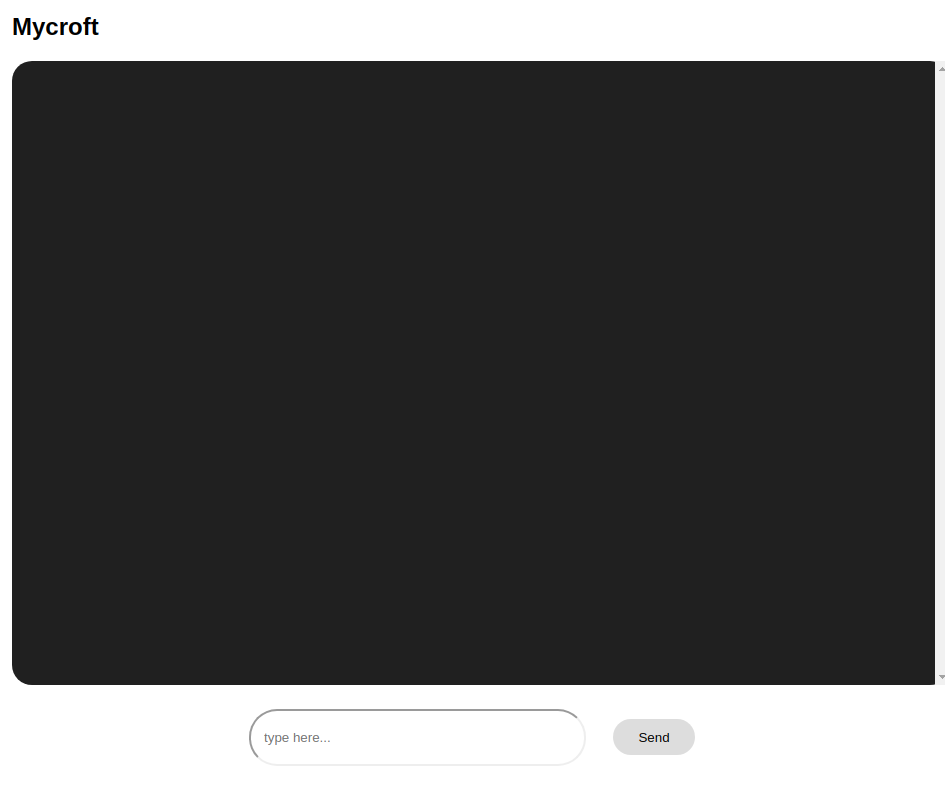
Now, when we run our app and navigate to the `/` or `/first-person` route, we should see:
### Sending data to our store
Back to our `/src/components/FirstPerson.js` file, let's add an `onFormSubmit()` method. We'll call this method whenever our user clicks the `send` button:
```
...
const FirstPerson = () => {
const [chatState, setChatState] = useState(chatStore.initialState);
useLayoutEffect(()=> {
chatStore.subscribe(setChatState);
chatStore.init();
},[]);
const onFormSubmit = e => {
e.preventDefault();
const messageObject = {
person: 'first-person',
text: e.target.elements.messageInput.value.trim(),
};
chatStore.sendMessage(messageObject);
document.getElementById('messageForm').reset();
};
return (
...
<form id="messageForm" onSubmit={onFormSubmit}>
<input
type="text"
id="messageInput"
name="messageInput"
placeholder="type here..."
required
/>
<button type="submit">Send</button> <br />
</form>
</div>
);
}
export default FirstPerson;
```
Our `onFormSubmit()` function creates a **message object** with the `person` and `text` keys, then uses our `chatStore.sendMessage()` method to add our new message to the chat store.
Next, we'll add a button which we'll use to call our `chatStore.clearChat()` method. We'll use this to clear our chat store whenever the `clear` button is clicked.
Let's add the following block of code right after the `</form>` closing tag:
```
<button className="clear-button" onClick={() => chatStore.clearChat()}>
Clear Chat
</button>
```
Our `src/components/FirstPerson.js` file should now look like this:
```
import React, { useState, useLayoutEffect } from "react";
import chatStore from '../store/chat';
const FirstPerson = () => {
const [chatState, setChatState] = useState(chatStore.initialState);
useLayoutEffect(()=> {
chatStore.subscribe(setChatState);
chatStore.init();
},[]);
const onFormSubmit = e => {
e.preventDefault();
const messageObject = {
person: 'first-person',
text: e.target.elements.messageInput.value.trim(),
};
chatStore.sendMessage(messageObject);
document.getElementById('messageForm').reset();
};
return (
<div className="container">
<h2>Mycroft</h2>
<div className="chat-box">
{chatState.data.map(message => (
<div>
<p className={message.person}>{message.text}</p>
<div className="clear"></div>
</div>
))}
</div>
<form id="messageForm" onSubmit={onFormSubmit}>
<input
type="text"
id="messageInput"
name="messageInput"
placeholder="type here..."
required
/>
<button type="submit">Send</button> <br />
</form>
<button className="clear-button" onClick={() => chatStore.clearChat()}>
Clear Chat
</button>
</div>
);
}
export default FirstPerson;
```
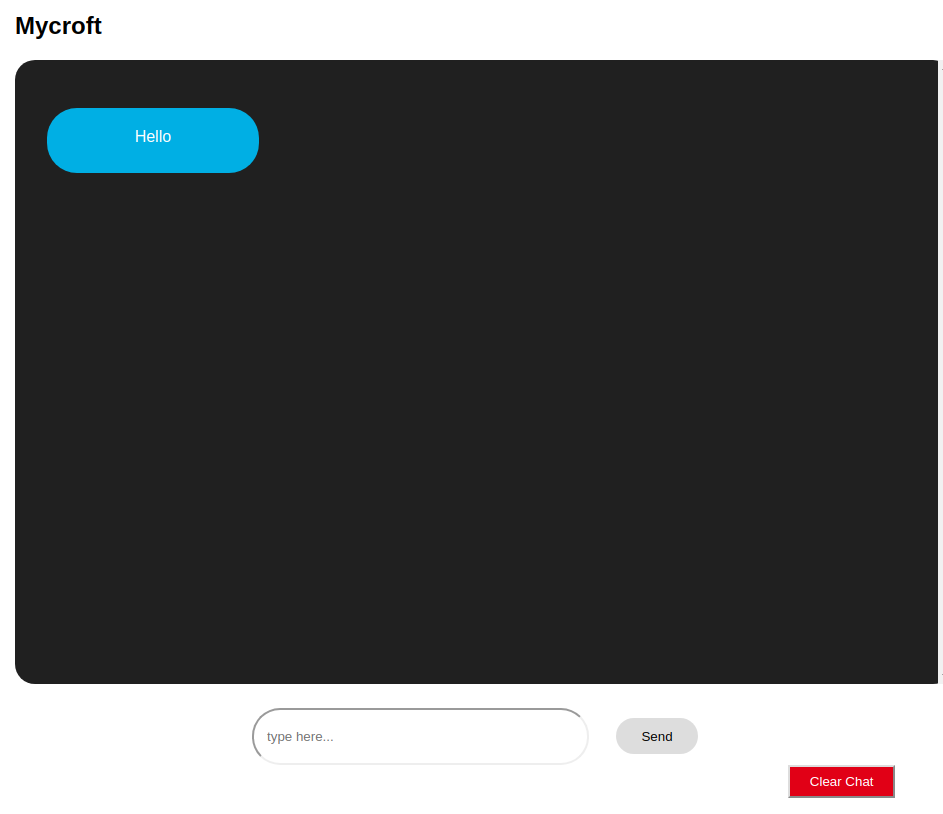
When we preview our app on our browser, we should now be able to send a message to our store and clear all messages:
## Sharing data among components
Now that we've seen how to retrieve data from our store and add data to it, let's create our `SecondPerson` component to demonstrate how this data can be shared between different components.
The `SecondPerson` component has the same functionality as the `FirstPerson` component, so we'll only change our `person` value in our `messageObject` to `second-person` and the name of our user from `Mycroft` to `Cortana` in the `<h2>` tag inside our `container` div.
To do this, let's create a new file, `src/components/SecondPerson.js` and paste the following code blocks:
```
import React, { useState, useLayoutEffect } from "react";
import chatStore from '../store/chat';
const SecondPerson = () => {
const [chatState, setChatState] = useState(chatStore.initialState);
useLayoutEffect(()=> {
chatStore.subscribe(setChatState);
chatStore.init();
},[]);
const onFormSubmit = e => {
e.preventDefault();
const messageObject = {
person: 'second-person',
text: e.target.elements.messageInput.value.trim(),
};
chatStore.sendMessage(messageObject);
document.getElementById('messageForm').reset();
};
return (
<div className="container">
<h2 style={{float: 'right'}}>Cortana</h2>
<div className="chat-box">
{chatState.data.map(message => (
<div>
<p className={message.person}>{message.text}</p>
<div className="clear"></div>
</div>
))}
</div>
<form id="messageForm" onSubmit={onFormSubmit}>
<input
type="text"
id="messageInput"
name="messageInput"
required
/>
<button type="submit">Send</button> <br />
</form>
<button className="clear-button" onClick={() => chatStore.clearChat()}>
Clear Chat
</button>
</div>
);
}
export default SecondPerson;
```
Next, we'll need to create our `PersonSwitcher` component to switch between our two components.
In our `src/components` directory, let's create a new file, `PersonSwitcher.js` and paste the following code blocks:
```
// src/components/PersonSwitcher.js
import React, {useState, useEffect} from 'react';
import { Link } from 'react-router-dom';
import chatStore from '../store/chat';
const PersonSwitcher = () => {
const [chatState, setChatState] = useState(chatStore.initialState);
const location = window.location.href.split('/')[3];
useEffect(() => {
chatStore.subscribe(setChatState);
chatStore.init();
}, [])
const messageNotification = chatState.newDataCount > 0
&& (<span className="notify">{chatState.newDataCount}</span>);
return (
<div className="switcher-div">
<Link to="/first-person"><button className="switcher">
Person1
{location !== 'first-person' && location.length > 1 && messageNotification}
</button></Link>
<Link to="/second-person"><button className="switcher">
Person2
{location !== 'second-person' && messageNotification}
</button></Link>
</div>
);
}
export default PersonSwitcher;
```
Notice that we've also created a `chatState` for our component which we've subscribed to our `chatStore`. We'll need this to notify our component when a new **message** is added to our chat store. See how we added a `messageNotification` variable that utilizes our `newDataCount` property from our **chat store**.
Now, we can export our two new components from our `src/components/index.js` folder:
<pre><code>
export { default as FirstPerson } from './FirstPerson';
<b>export { default as SecondPerson } from './SecondPerson';
export { default as PersonSwitcher } from './PersonSwitcher';</b>
</code></pre>
Finally, let's import our new components in our `src/App.js` and add them to our `BrowserRouter`. Our `App.js` file should now look like this:
```
import React from 'react';
import { BrowserRouter as Router, Route, Switch } from 'react-router-dom';
import { FirstPerson, SecondPerson, PersonSwitcher } from './components';
import './App.css';
const App = () => (
<Router>
<>
<PersonSwitcher />
<Switch>
<Route path="/" component={FirstPerson} exact />>
<Route path="/first-person" component={FirstPerson} exact />>
<Route path="/second-person" component={SecondPerson} exact />>
</Switch>
</>
</Router>
);
export default App;
```
Now when we run our application, we'll be able to switch between components, receive new message count when we send a message and clear all messages using the `clear` button:

## Conclusion
In this article, we've covered the basics of RxJS and have demonstrated how to use it for state management in React by building a component-based chat application.
Compared to other alternatives like [Redux](https://blog.logrocket.com/why-use-redux-reasons-with-clear-examples-d21bffd5835/), I've found the use of RxJS and Hooks to be a really effective and straightforward way to manage state in React applications.
Here's a link to the GitHub repo for our demo application: [Chat app with RxJS and Hooks](https://github.com/ebenezerdon/rxjs_react_chat)
*To learn more about RxJS, checkout the following articles:*
- [How to use RxJS operators to consume Observables in your workflow](https://blog.logrocket.com/use-rxjs-operators-to-consume-observables/)
- [Understanding RxJS Observables and why you need them](https://blog.logrocket.com/understanding-rxjs-observables/)
Happy hacking!
 Sign in with Wallet


