---
tags: ironhack, lecture,
---
<style>
.markdown-body img[src$=".png"] {background-color:transparent;}
.alert-info.lecture,
.alert-success.lecture,
.alert-warning.lecture,
.alert-danger.lecture {
box-shadow:0 0 0 .5em rgba(64, 96, 85, 0.4); margin-top:20px;margin-bottom:20px;
position:relative;
ddisplay:none;
}
.alert-info.lecture:before,
.alert-success.lecture:before,
.alert-warning.lecture:before,
.alert-danger.lecture:before {
content:"👨🏫\A"; white-space:pre-line;
display:block;margin-bottom:.5em;
/*position:absolute; right:0; top:0;
margin:3px;margin-right:7px;*/
}
b {
--color:yellow;
font-weight:500;
background:var(--color); box-shadow:0 0 0 .35em var(--color),0 0 0 .35em;
}
.skip {
opacity:.4;
}
</style>

# Deploy to Heroku
## Learning Goals
After this lesson, you will be able to:
- Understand what Heroku is and why we should use it to deploy our applications.
- Understand what Environment Variables are, how to use them, and why it's very important to keep them in mind.
- Configure our environment to be able to deploy web applications to Heroku.
- Deploy our website to Heroku.
- Deploy our database using the Heroku MongoLab addon.
## Introduction

:::info lecture
Qu'est-ce qu'Heroku ?
:::
[Heroku](https://www.heroku.com) is a [cloud platform](https://en.wikipedia.org/wiki/Cloud_computing) that lets companies build, deliver, monitor and scale apps without having a big knowledge about [DevOps](https://en.wikipedia.org/wiki/DevOps). It's the fastest way to deploy your application and make it accessible to everyone.
One of the best things of Heroku is that it lets you focus on building your application, while they deal with the infrastructure. It makes so simple to deploy our applications. **As simple as push it to a git remote repository**.
We are going to cover the process we will follow to deploy a website to Heroku. On one hand, we are going to deploy the website to heroku, and on the other hand, we will deploy our Mongo database with the Heroku <b>[MongoLab](https://mlab.com/) addon</b>.
:::info lecture
Nous déploierons ce répository : https://github.com/ironhack-labs/lab-first-deploy
:::
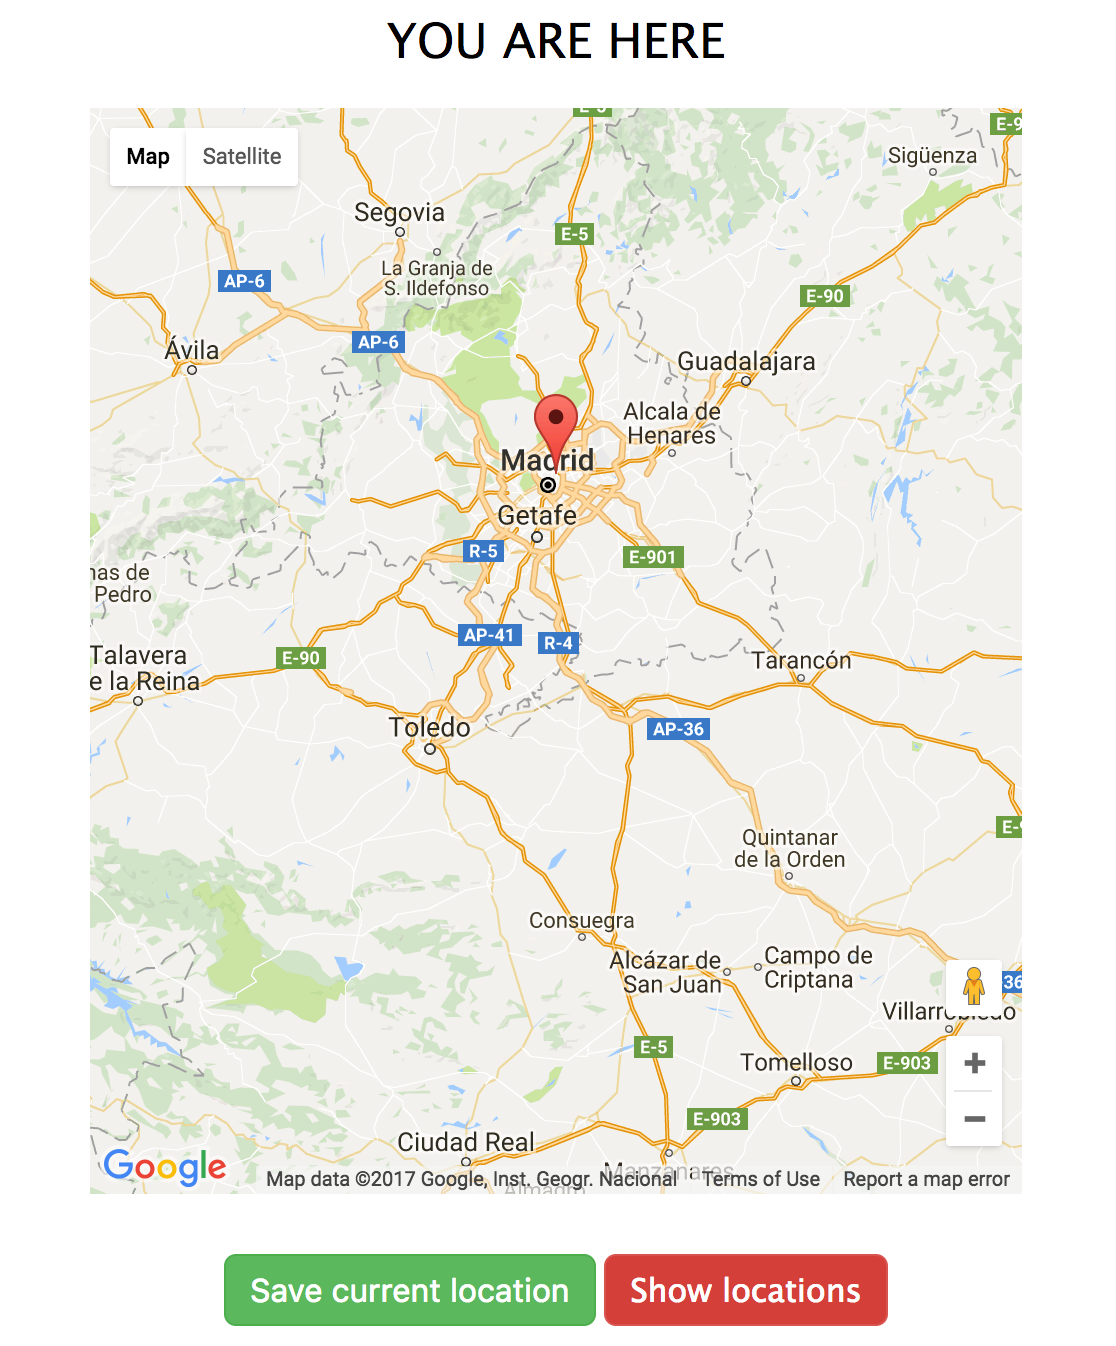
We are going to deploy a very simple project that will show us a map. This map will access to our position, and it's going to indicate us where are we right now. You can download this exercise from this [Github repository](https://github.com/ironhack-labs/lab-first-deploy).
:::info lecture
Clonons-le localement et `npm install`ons tous les paquets.
:::
Clone the repository into your computer, and let's start configuring our environment to deploy our application!
Don't forget to run `npm install` after you clone the project.
## Project
We are going to deploy an small project. Its functionality is to show you the position in a map, store this position in a database, and show a list of all the positions you have saved.
:::info lecture
Vérifions que notre projet est fonctionnel en local :
```shell
$ npm start
```
:::
You have to pay attention at the following line in the `routes/siteController.js` file:
```javascript
res.render("site/index", { apiKey: "AIzaSyCTxsFM2Bbm4KEtuFAmdu11WF3s3zUliwU" });
```
As you may know, Google Maps requires an API Key to work on our applications. We are indicating that key in the controller, and we are sending it to the view.
Keep that in mind, because we will come back here later on this lesson to talk about **environment variables**.
Let's configure Heroku to upload our application.
## Prerequisits
### Sign up
:::info lecture
Créons-nous un compte Heroku : https://signup.heroku.com
:::
The first we need to deploy an app to Heroku is an account. [Signup](https://signup.heroku.com/?c=70130000001x9jEAAQ) in Heroku by indicating the fields in the page:

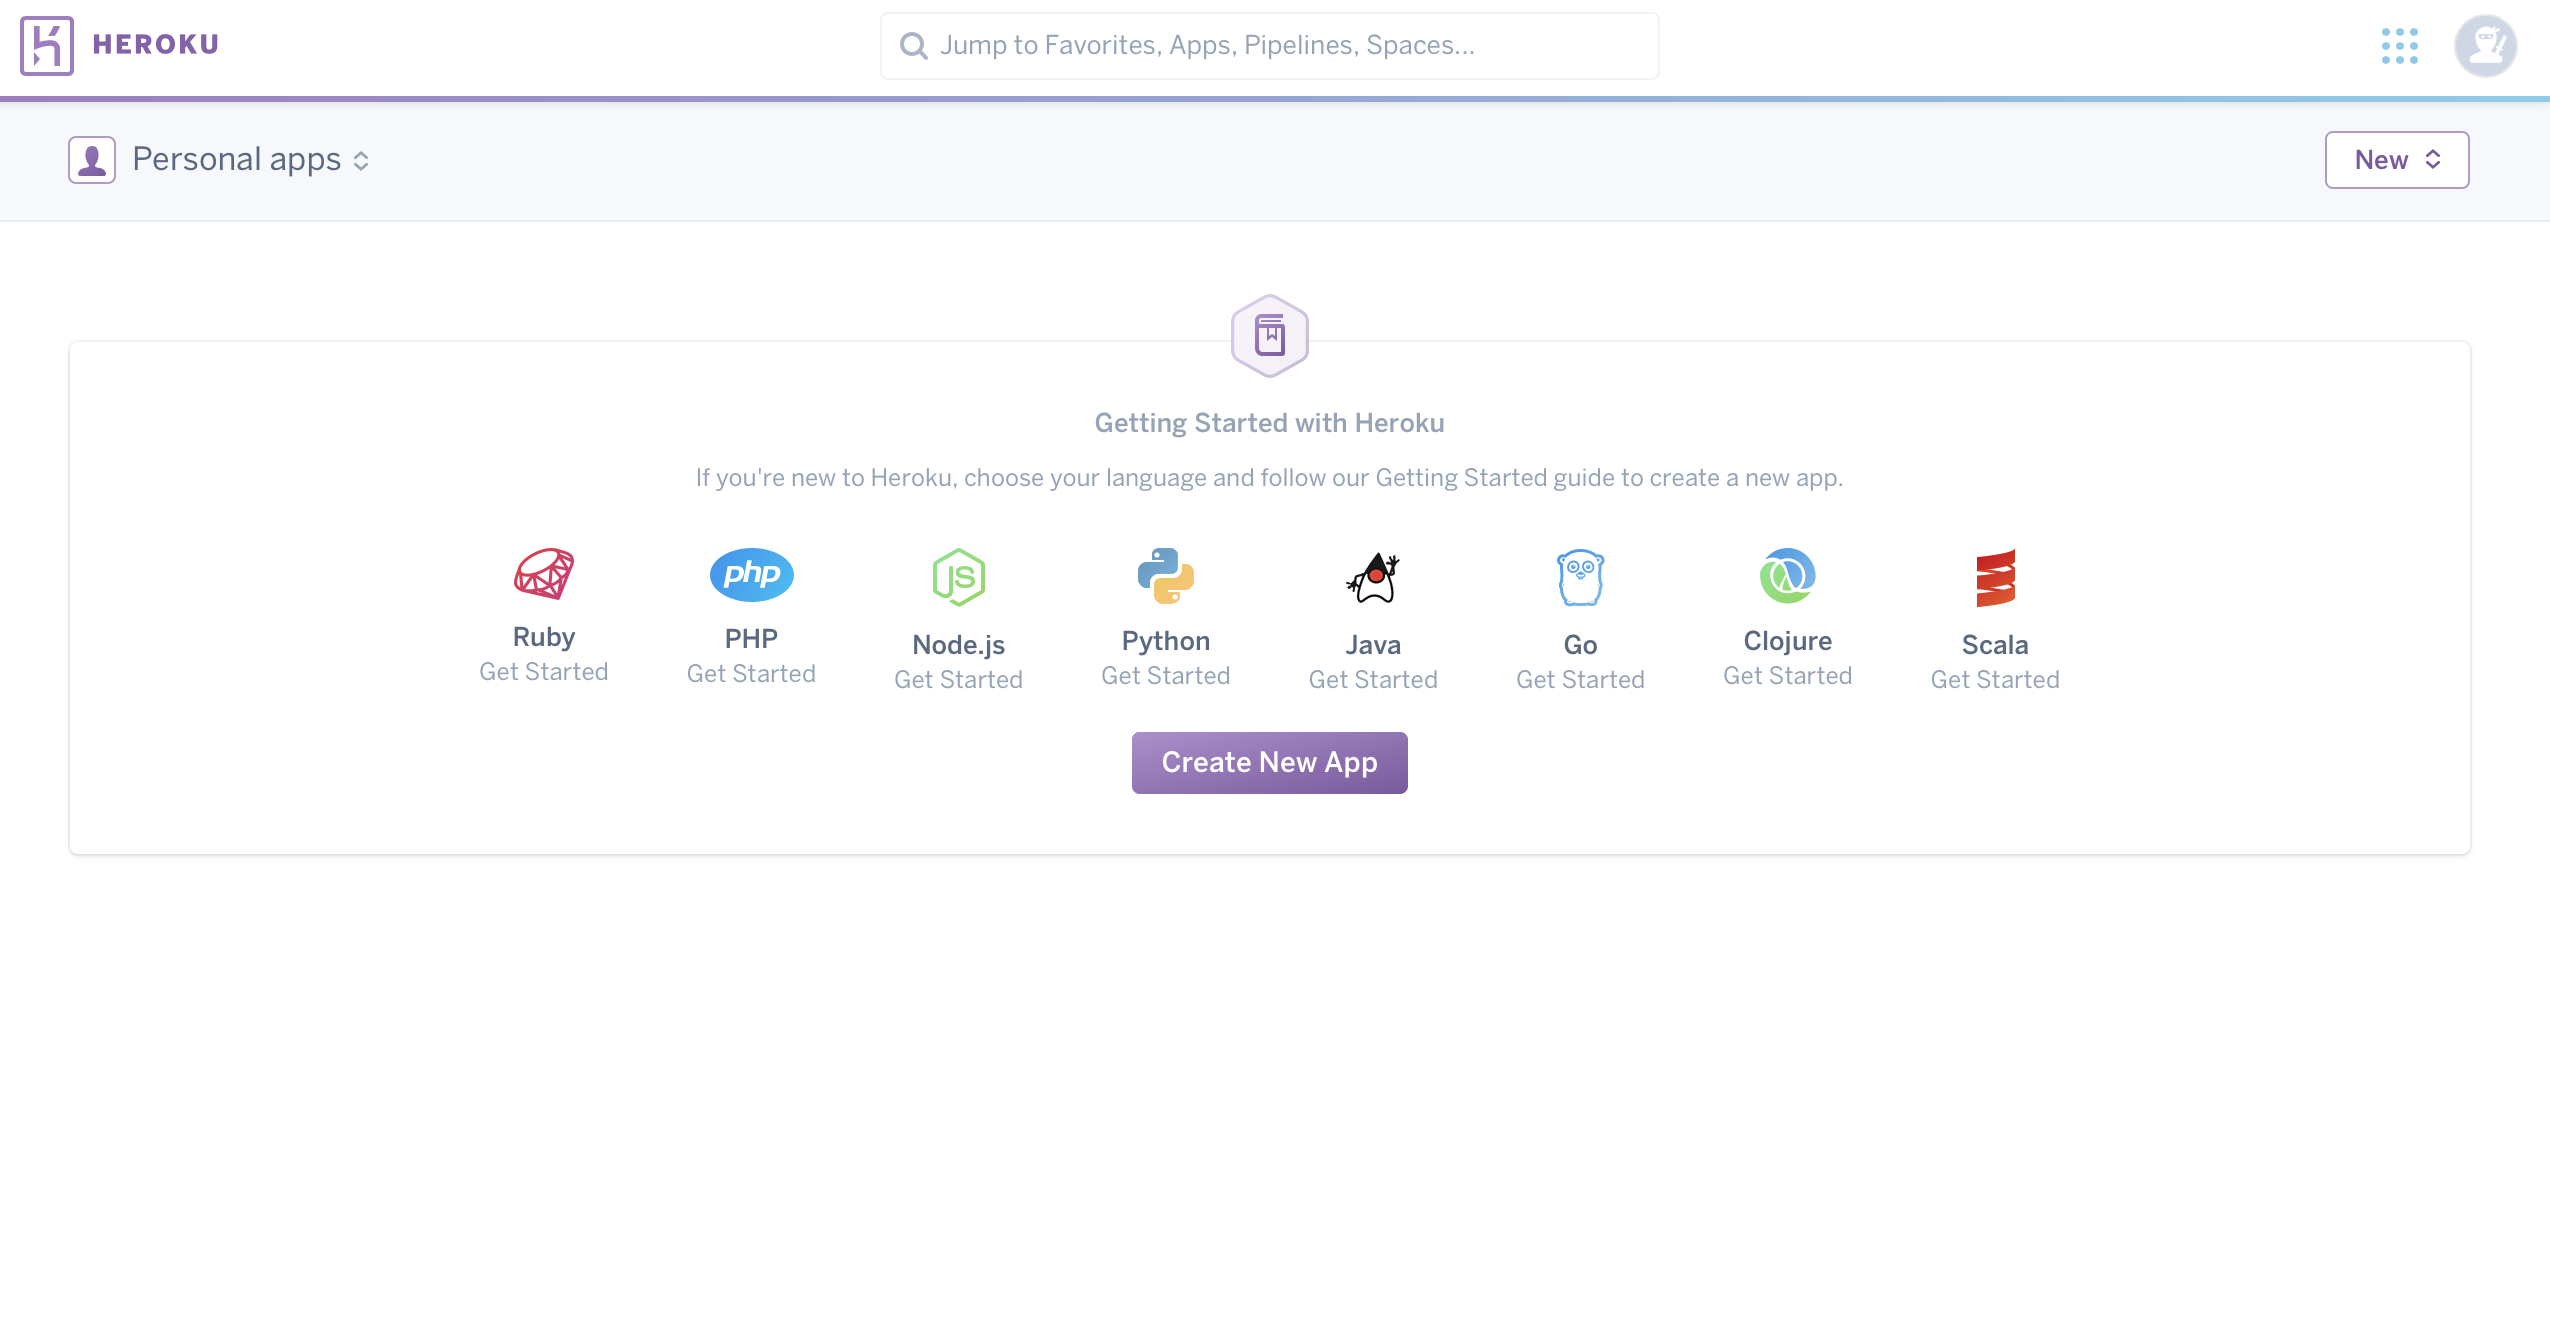
Heroku will send an email to your account with a confirmation link that will activate your account after setting up your password. Once you have logged in, you will see Heroku's dashboard:
### Create App
:::info lecture
Depuis le dashboard, créeons une app :
:::
Once we have logged in Heroku, we will have to create a Node.js app to be able to deploy it. To do that, we have to press the "Create New App" button in the dashboard.
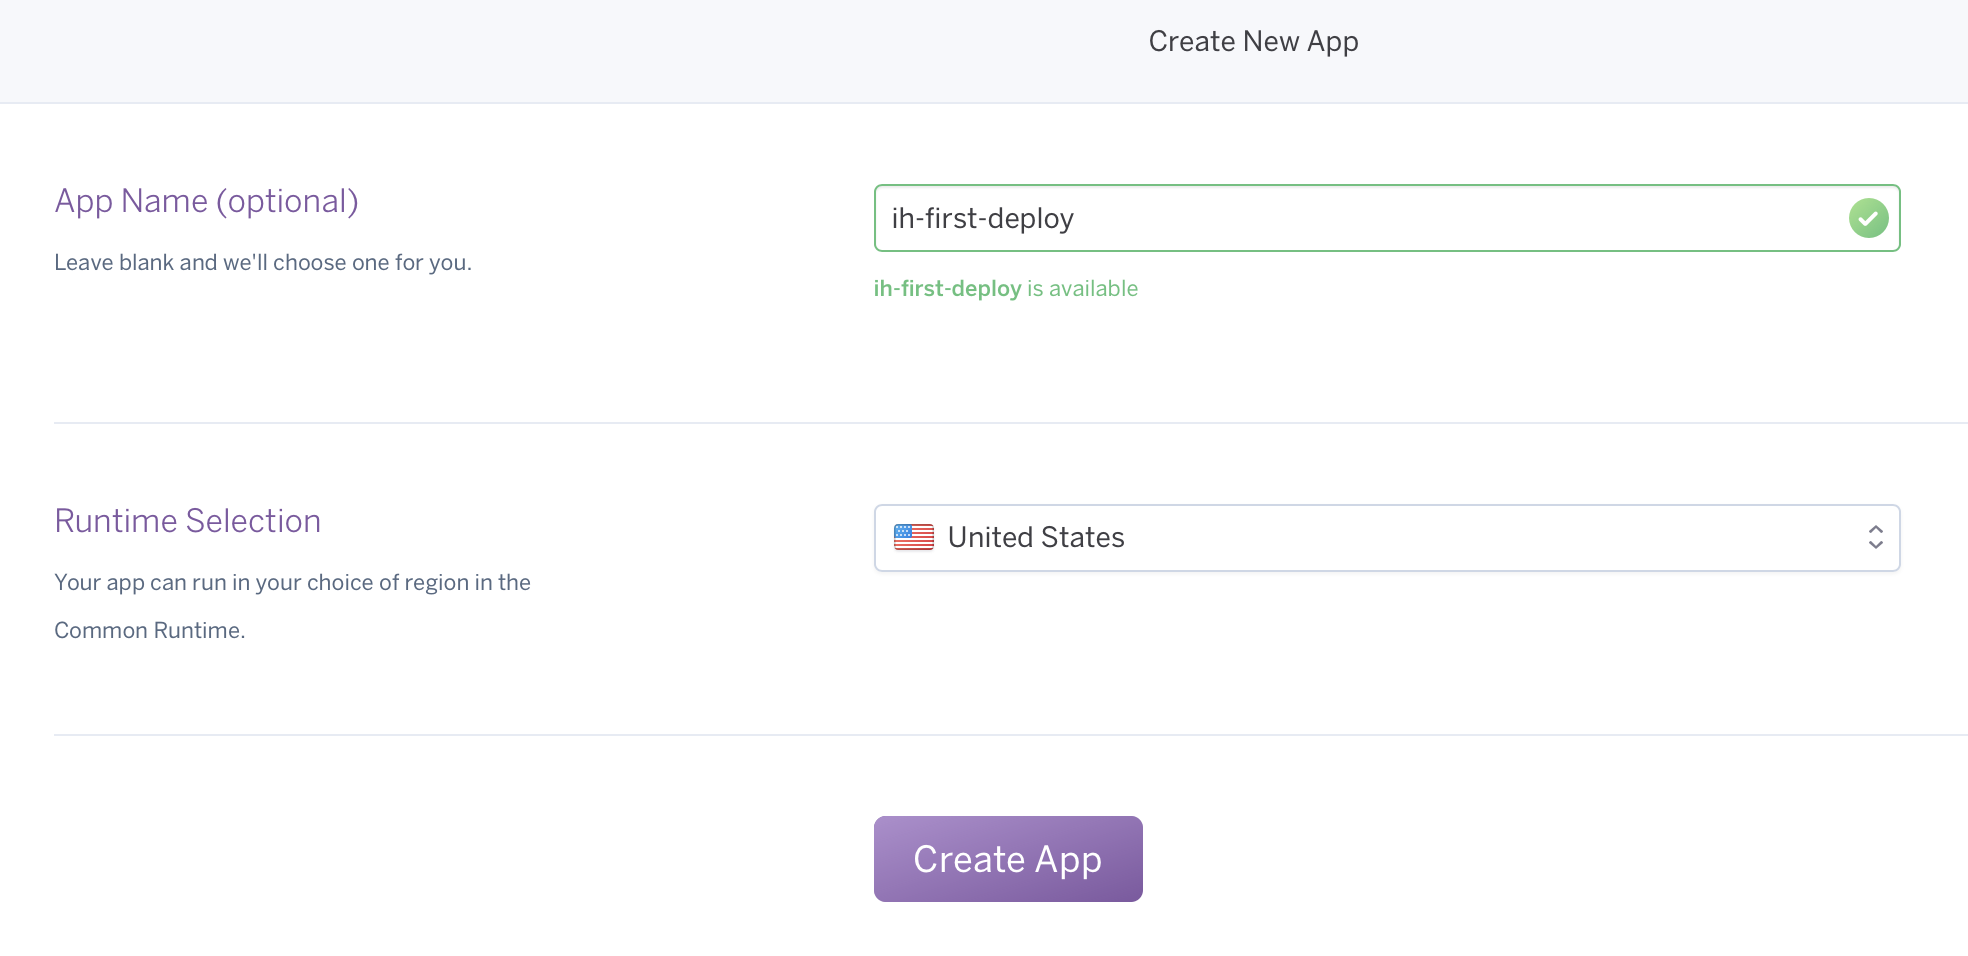
Fill the form with the correct information to create your first app:
Once we are done with that, we will have to download and install the [Heroku CLI](https://devcenter.heroku.com/articles/heroku-command-line) to be able to deploy our application as if it was a repository.
### Heroku CLI
:::info lecture
Installons l'outil en ligne de commande d'Heroku : https://devcenter.heroku.com/articles/heroku-cli#download-and-install
:::
The [Heroku CLI](https://devcenter.heroku.com/articles/heroku-cli) (or Heroku Command Line Interface) is a tool for creating and managing Heroku apps from the command line of various operating systems.
Following the DevCenter information, you can find how to install the CLI depending on your Operative System.
#### OS X
Download and run the [OS X Installer](https://cli-assets.heroku.com/branches/stable/heroku-osx.pkg)
#### Windows
Download and run the Windows Installer [32 bits](https://cli-assets.heroku.com/branches/stable/heroku-windows-386.exe) or [64 bits](https://cli-assets.heroku.com/branches/stable/heroku-windows-amd64.exe).
#### Linux Debian/Ubuntu
Run the following commands to add Heroku apt repository and install the CLI:
```bash
$ sudo apt-get install software-properties-common # debian only
$ sudo add-apt-repository "deb https://cli-assets.heroku.com/branches/stable/apt ./"
$ curl -L https://cli-assets.heroku.com/apt/release.key | sudo apt-key add -
$ sudo apt-get update
$ sudo apt-get install heroku
```
#### Getting started
The first time you run the Heroku CLI, you will have to enter your Heroku credentials. You can avoid this by loggin in heroku through your terminal. Run the following command in the terminal:
:::info lecture
Une fois installé, loggons-nous depuis le terminal :
:::
```shell
$ heroku login
Enter your Heroku credentials
Email: it@ironhack.com
Password (typing will be hidden):
Authentication successful.
```
You are now logged in, so you don't have to indicate your credentials again. We are ready to deploy our project to Heroku!
## Before deploy
Before deploy our application, we have to consider the following: now, we use `npm start` to run the server. This launches the command `nodemon ./bin/www`. We have installed nodemon in the development environment, so when heroku executes `npm start`, the app will crash.
We could change `nodemon` for `node`, but then in development, we should to restart the server with every change. Another possible solution is do the following:
:::info lecture
Nous devons nous assurer que la section `scripts` de `package.json` contient bien un script `"start"`, car c'est cette commande qu'Heroku cherchera à démarrer :
:::
```javascript
// ...
"scripts": {
"start": "node ./bin/www",
"start-dev": "nodemon ./bin/www"
},
// ...
```
Now, if we are working in our development environment, we will launch the application by running `npm run start-dev`. On the other hand, Heroku will launch `npm start`, so our application will work in both environments.
## Deploy to Heroku
Let's do a quick recap. We have created a project, we have created an account in Heroku, created an application in our Dashboard, downloaded and installed the Heroku CLI, and now we are going to deploy the application.
At the beginning of the lesson, we said that deploy an application to Heroku is like pushing our project to a remote repository. If we go back to our Heroku dashboard, we will find the following:

We have to configure our remote repository, and we do that by running the following command:
:::info lecture
Deployer avec Heroku est aussi simple que de `pusher` ! Pour cela, nous devons définir un remote qu'Heroku met à notre disposition pour que nous puissions pousser dessus :
:::
```bash
$ heroku git:remote -a ih-first-deploy
```
If we check out our remote repositories, we should have something like it follows:
```bash
$ git remote -v
heroku https://git.heroku.com/ih-first-deploy.git (fetch)
heroku https://git.heroku.com/ih-first-deploy.git (push)
origin https://github.com/ironhack/lab-first-deployment.git (fetch)
origin https://github.com/ironhack/lab-first-deployment.git (push)
```
We are ready to go! Let's deploy our first application to Heroku by running the following command:
:::info lecture
Une fois le remote `heroku` en place, ne nous reste plus qu'à pousser :
:::
```bash
$ git push heroku master
```
Something new will happen. First of all you will see the normal `git push` result, indicating that all the objects have been uploaded. Then, heroku will launch a command that will deploy our application to the repository we have created.
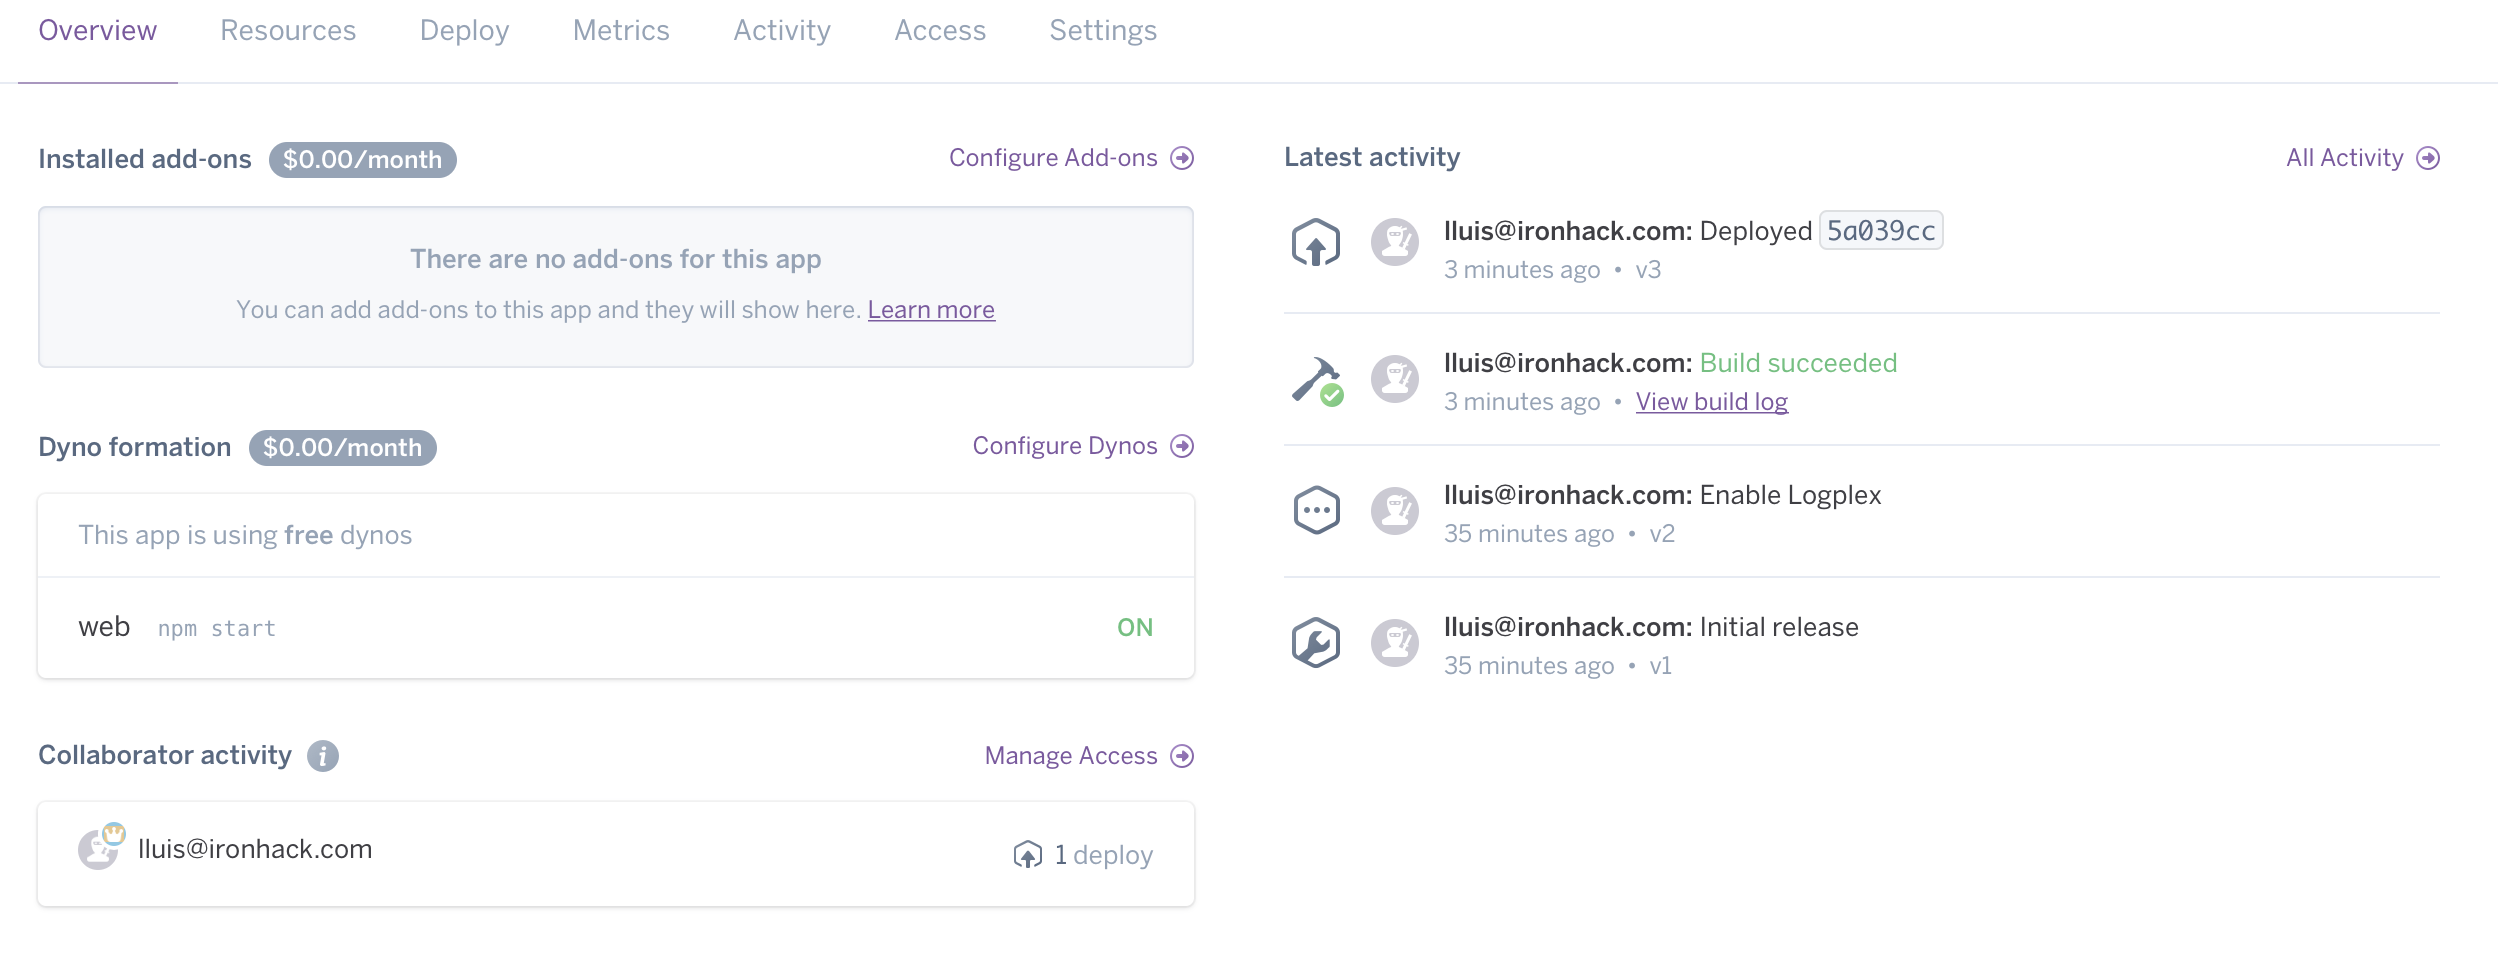
In the Overview tab in our Dashboard, we will be able to see the summary of the last deploy we just did:
Cool, let's see what we have by running:
:::info lecture
Si nous cherchons à ouvrir notre application, nous aurons une erreur :
:::
```bash
$ heroku open
```
This will launch our application in the default browser we have configured in the computer. The result is the following:
We can check out the heroku logs with the command `$ heroku logs`, and we may see something like this:
:::info lecture
En regardant les logs grâce à `heroku logs` nous pouvons voir que l'erreur en question est qu'Express ne parvient pas à se connecter à MongoDB :
:::
```bash
MongoError: failed to connect to server [localhost:27017] on first connect
```
We are trying to connect a database located in `localhost`, so in Heroku. Heroku allows us to deploy our web applications, but not the database. We have to deploy our database in MongoLab.
## Deploy database
[MongoLab](https://mlab.com/) is a Database as a Service that allow us to have our Mongo Database in production. If we want to use MongoLab in our deployed application, we have to configure the [mongolab add-on](https://elements.heroku.com/addons/mongolab) in our Heroku repository. We will do this by running the following command:
:::info lecture
Heroku met à disposition des addons, dont une addons MongoDB : mongoLab
:::
```bash
$ heroku addons:create mongolab:sandbox
```

As you can see in the result, you can't use Heroku add-ons without adding your credit card to your account. There is no other way, and you will need to do this anyway to deploy your projects later on. **MongoLab add-on is free, so don't be worried about that, there is no extra-cost to use that**.
:::warning
**Please, be very careful while activating or deactivating configurations in Heroku. Some of them can charge a huge amount of money, so we ask you to be very careful when updating your configuration.**
:::
You can add your credit card number by going to Account Settings (located on the top right corner), Billing tab. Once we have indicated our Billing information, we can run the command again and the add-on will be installed successfully.

We can open our MongoLab instance by running the following command:
```bash
$ heroku addons:open mongolab
```
We are connecting Mongoose to our local database. So we have to change the configuration to be able to work with our new MLab Server. First of all we need to see the connection string that is using the database. We can get this information running this:
:::info lecture
Une fois l'addon installée, une variable `MONGODB_URI` contenant l'URL de connection à la DB nous est communiquée par mLab :
:::
```bash
$ heroku config:get MONGODB_URI
```
The output is our database URL connection. It contains the URL, the username, the password, the port, and the database name. Easy to solve the problem we have right now... we go to `app.js` in our application, we change the line 17, and we add our new connection string:
:::info lecture
Il va donc falloir nous en servir pour nous connecter à notre DB :
:::
```javascript=17
mongoose.connect("mongodb://localhost/deploy-exercise");
```
Then we push all the changes to Heroku and Github, so everybody will be able to see our connection string, and add a lot of cool stuff in our database. Even more, if we update the MongoLab plan and we select the most expensive one, we will be paying everyone's database.

:::danger
**You musn't publish any key, server configuration, AWS key... Whatever that includes personal information, billing information, database configuration can't be published in Github nor Heroku.**
:::
We can solve this problem by using the **Environment Variables**.
## Environment Variables
[Environment variables](https://en.wikipedia.org/wiki/Environment_variable) are a set of dynamic named values that allow us to access different values depending of our environment. Depending on the environment, production or development, we will load different values.
In this case, we will configure our project to have a value for the database connection string in our development project, and another one in the Heroku repository. So we will have to configure two different things: the variables locally and the variables in Heroku.
### Local environment
We will use the [`dotenv` package](https://www.npmjs.com/package/dotenv) to configure our environment variables. It's very easy to configure, so let's do it. First of all, we need to install the package and save it in our environment:
:::info lecture
Nous allons utiliser `dotenv` pour cela :
:::
```bash
$ npm install --save dotenv
```
Then, we will create a hidden file to store the values of the environment variables. In this case, the file will be `.env`, and we can create it by running the `touch` command:
:::info lecture
Et créer notre fichier `.env` à la racine :
:::
```bash
$ touch .env
```
:::info
Remember to add the `.env` file in the git ignore, to avoid its deployment.
:::
In the `.env` file, we will create the variable we are going to use as a database connection string. The content of the file is the following:
:::info lecture
Dans lequel nous allons pouvoir renseigner notre URL de connexion à la DB locale :
:::
```text
# .env
MONGODB_URI=mongodb://localhost/deploy-exercise
```
Now, we have to update the `app.js` file. First of all, we have to require the package at the beginning of the file. Then, we have to update the connection string to use the value we have in the environment variable:
:::info lecture
N'oublions pas d'appeler `dotenv` dans `app.js` ainsi que de remplacer notre URL hardcodée par `process.env.MONGODB_URI` :
:::
```javascript=
require("dotenv").config();
```
```javascript=18
mongoose.connect(process.env.MONGODB_URI);
```
As you can see, we can access the environment variable through `process.env.<VARIABLE NAME>`. If we start the server with `npm start`, our application should work normally.
So, we have defined the variable in our local project... what happens with Heroku now? Let's see how Heroku manages the environment variables.
### Heroku environment
:::info lecture
En prod, nous n'aurons pas ce `.env` puisque ce dernier n'est pas versionné sous git... Côté Heroku, c'est dans les variables d'environnement que nous pourrons spécifier la valeurs `process.env.*`
:::
Environment variables in Heroku are super easy to manage. We can find them in our application dashboard, under the Settings tab. You will find there a section called "Config Variables", with a hidden content. This content are our environment variables. If we show the content, we will find the following:

Our environment variable is already defined! This is because when we installed the MongoLab add-on, it defined the variable in our project.
**If we deploy again the project, we will have deployed our first database with our own Mongo database.** Now you can track, as many times as you want, the different places you visit all around the world :)
:::info
**Considerations**
As you see, we haven't paid any money to get our awesome deployment into Heroku. It's not as pretty as it seems. Heroku offers us a free service to deploy our apps that is active during 30 minutes. After 30 minutes of inactivity, the server will hibernate until the following request.
This [free dynos](https://devcenter.heroku.com/articles/dynos) are used during the development process of an application. Once the application is finished, if you want to launch it to production, we recommend you to update your Heroku plan to be able to attend your users requests appropriately.
:::
## Summary
In this lesson, we have learnt how to deploy an application to Heroku. We have created an account in Heroku, configured our Node app, and deployed it. Then, we have seen how our database can't be deployed in Heroku, so we have added the MongoLab add-on and configured our application to use the new configuration.
We have also learnt what are the environment variables and how to use them in our projects to separate production and development values that we want to use, and also to protect our sensitive data such as database username and password.
**We have had to indicate our Credit Card credentials to be able to add add-ons on Heroku. Please, be careful while managing your Heroku dyno, some of the tools you can find there are very expensive!!**
## Extra Resources
- [Managing Environment Variables in Node.js](https://medium.com/@rafaelvidaurre/managing-environment-variables-in-node-js-2cb45a55195f#.gqj4n6fal)
- [Mongo Lab](https://mlab.com)
- [Heroku](http://heroku.com)