---
tags: ironhack, lecture,
---
<style>
.markdown-body img[src$=".png"] {background-color:transparent;}
.alert-info.lecture,
.alert-success.lecture,
.alert-warning.lecture,
.alert-danger.lecture {
box-shadow:0 0 0 .5em rgba(64, 96, 85, 0.4); margin-top:20px;margin-bottom:20px;
position:relative;
ddisplay:none;
}
.alert-info.lecture:before,
.alert-success.lecture:before,
.alert-warning.lecture:before,
.alert-danger.lecture:before {
content:"👨🏫\A"; white-space:pre-line;
display:block;margin-bottom:.5em;
/*position:absolute; right:0; top:0;
margin:3px;margin-right:7px;*/
}
b {
--color:yellow;
font-weight:500;
background:var(--color); box-shadow:0 0 0 .35em var(--color),0 0 0 .35em;
}
.skip {
opacity:.4;
}
</style>

# Canvas | Basic Animations
## Learning Goals
After this lesson you will be able to:
- Create animations using canvas
- Understand different ways to schedule the updates
- Learn how to move elements on the `canvas`
- Understand how to move elements from user interactions
- Learn how to loop over an image to create awesome backgrounds :wink:
## Introduction
:::info lecture
Nous avons apris à dessiner programmatiquement dans une zone `<canvas>`. C'est plus compliqué que d'utiliser Photoshop. Mais par contre, l'avantage est que l'on va pouvoir animer notre dessin.
:::
Since we're using JavaScript to control `<canvas>` elements, it's also very easy to make (interactive) animations. In this lesson, we will take a look at how to do some basic animations.
Probably the biggest limitation is, that once a shape gets drawn, it stays that way. If we need to move it we have to redraw it and everything that was drawn before it. It takes a lot of time to redraw complex frames and the performance depends highly on the speed of the computer it's running on.
## Animations Steps
When doing **animations** on `canvas`, we have a set of frames that the canvas will render sequentially to create the ilusion of an animation. Each of these steps are represented in canvas by the concept of States.
:::info lecture
Pour dessiner une balle qui bouge nous allons donc devoir dessiner chacune des frames d'animation :
:::

<div class="skip">
In order to draw new frames, we have 4 mandatory steps we need to take:
1. **Save canvas state**
If you are changing any setting (such as styles, transformations, etc.) which affect the canvas state and you want to make sure the original state is used each time a frame is drawn, you need to save that original state.
1. **Clear the canvas**
Unless the shapes you will be drawing fill the complete canvas (for instance a backdrop image), you need to clear any shapes that have been drawn previously. The easiest way to do this is using the `clearRect()` method.
1. **Draw animated shapes**
The step where you do the actual frame rendering.
1. **Restore the canvas state**
If you've saved the state, restore it before drawing a new frame.
:::info
**Save and Restore Canvas State?**
Canvas states are stored on a stack. Every time the `save()` method is called, the current drawing state is pushed onto the stack. A drawing state consists of:
- The **transformations** that have been applied (i.e. *translate*, *rotate* and *scale*).
- The current values of the following **attributes**: `strokeStyle`, `fillStyle`, `globalAlpha`, `lineWidth`, `lineCap`, `lineJoin`, `miterLimit`, `lineDashOffset`, `shadowOffsetX`, `shadowOffsetY`, `shadowBlur`, `shadowColor`, `globalCompositeOperation`, `font`, `textAlign`, `textBaseline`, `direction`, `imageSmoothingEnabled`.
- The current **clipping path**, which we'll see in the next section.
You can call the `save()` method **as many times as you like**. Each time the `restore()` method is called, the last saved state is popped off the stack and all saved settings are restored.
:::

</div>
## Controlling our Animations
Shapes are drawn to the `canvas` by using the `canvas` methods directly or by calling custom `functions`. In normal circumstances, we only see these results appear on the `canvas` when the script finishes executing.
For instance, it isn't possible to do an animation from within a `for` loop.
That means we need a way to execute our drawing `functions` over a period of time.
## Scheduling updates
:::info lecture
Par ex :
```javascript
var x = 0;
function drawFrame() {
ctx.clearRect(0,0, 500,500);
x++;
ctx.beginPath();
ctx.arc(50+x,100, 50, 0,2*Math.PI);
ctx.fill();
}
```
Pour animer notre rond, nous allons :
- incrémenter `x`
- appeler `drawFrame()`
<iframe height="500" style="width: 100%;" scrolling="no" title="KKKmVeP" src="https://codepen.io/abernier/embed/KKKmVeP?height=300&theme-id=0&default-tab=js,result" frameborder="no" allowtransparency="true" allowfullscreen="true">
See the Pen <a href='https://codepen.io/abernier/pen/KKKmVeP'>KKKmVeP</a> by Antoine BERNIER
(<a href='https://codepen.io/abernier'>@abernier</a>) on <a href='https://codepen.io'>CodePen</a>.
</iframe>
:::
:::info lecture
Nous allons donc pouvoir utiliser `setInterval`:
```javascript
setInterval(function () {
x += 1;
drawFrame();
}, 1000/24)
```
:::
:::info lecture
Ou bien nous pourrions aussi utiliser `setTimeout()`
```javascript
function anim() {
x += 1;
drawFrame();
setTimeout(anim, 1000/24);
}
anim();
```
:::
First there's the [`window.setInterval()`](https://developer.mozilla.org/en-US/docs/Web/API/WindowOrWorkerGlobalScope/setInterval), [`window.setTimeout()`](https://developer.mozilla.org/en-US/docs/Web/API/WindowOrWorkerGlobalScope/setTimeout), and [`window.requestAnimationFrame()`](https://developer.mozilla.org/en-US/docs/Web/API/Window/requestAnimationFrame) functions, which can be used to call a specific function over a set period of time.
:::info
**`setInterval(method, delay)`**
// Starts repeatedly executing the function specified by method every delay milliseconds.
:::
:::info
**`setTimeout(method, delay)`**
// Executes the function specified by function in delay milliseconds.
:::
### `requestAnimationFrame()`
:::info lecture
Le problème avec `setInterval` et `setTimeout` c'est qu'elles ne vont pas être optimisées pour de l'animation. Notre animation risque de lagguer !
:::
:::info lecture
On va donc plutôt utiliser `requestAnimationFrame` :
```javascript
function anim() {
x += 1;
drawFrame();
requestAnimationFrame(anim);
}
requestAnimationFrame(anim);
```
:::
:::info
**`requestAnimationFrame(callback)`**
// Tells the browser that you wish to perform an animation and requests that the browser calls a specified function to update an animation before the next repaint.
:::
The [`window.requestAnimationFrame()`](https://developer.mozilla.org/en-US/docs/Web/API/Window/requestAnimationFrame) method tells the browser that you wish to perform an animation and requests that the browser calls a specified function to update an animation before the next repaint. The method takes as an argument a `callback` to be invoked before the repaint.
:::info lecture
`requestAnimationFrame` va demander au navigateur, quand il aura du temps, d'éxécuter `anim`.
:::
You should call this method whenever you're ready to update your animation onscreen. This will request that your animation `function` be called before the browser performs the next repaint. The number of `callbacks` is usually 60 times per second, but will generally match the display refresh rate in most web browsers as per [W3C](https://www.w3.org/TR/animation-timing/) recommendation.
Your `callback` routine must itself call `requestAnimationFrame()` if you want to animate another frame at the next repaint.
<div class="skip">
### Example
Let´s see an example to better understand how can we update our `canvas` element. In the following example, we will change the color of the **square** we draw.
It may seem that we are just changing the `fillColor` but actually, we are redrawing everything. First, we clear the `canvas` using the `clearRect()` method, and the draw again our **square** giving a random color to the `fillRect()` method.
```javascript=
var canvas = document.getElementById("canvas");
var ctx = canvas.getContext("2d");
ctx.fillStyle = "#FF0000";
ctx.fillRect(0,0,150,150);
var color = {
red: Math.floor(Math.random()*255),
green: Math.floor(Math.random()*255),
blue: Math.floor(Math.random()*255),
rgb: function() {
return "rgb(" + this.red + "," + this.green + "," + this.blue + ")"
}
}
function updateCanvas(){
// color.red = (color.red+1) % 255
color.blue = (color.blue+1) % 255
// color.green = (color.green+1) % 255
ctx.clearRect(0,0,480,270);
ctx.fillStyle = color.rgb();
ctx.fillRect(0,0,150,150);
window.requestAnimationFrame(updateCanvas);
}
window.requestAnimationFrame(updateCanvas);
```
<iframe height='265' scrolling='no' title='eEbrGp' src='//codepen.io/ironhack/embed/eEbrGp/?height=265&theme-id=0&default-tab=js,result&embed-version=2' frameborder='no' allowtransparency='true' allowfullscreen='true' style='width: 100%;'>See the Pen <a href='https://codepen.io/ironhack/pen/eEbrGp/'>eEbrGp</a> by Ironhack (<a href='https://codepen.io/ironhack'>@ironhack</a>) on <a href='https://codepen.io'>CodePen</a>.
</iframe>
## Moving elements
Now we know how to update our `canvas`, let´s try to move an element inside it. For moving an element we will **add(or subtract, depending the direction we want to move our element)** a certain quantity depending on the speed we want to set to the elements.
On the following example, we will move 3 elements, each of them in with a specific **"speed"**. Let´s do it step by step:
1. First, let´s create store our `canvas` element and set the context. Then we will create three red squares, located in different coordinates of our `canvas`. Also, we are going to create three variables to control the speeds of our elements.
```javascript=
var canvas = document.getElementById("canvas");
var ctx = canvas.getContext("2d");
ctx.fillStyle = "#FF0000";
ctx.fillRect(100,0,50,50);
ctx.fillRect(300,0,50,50);
ctx.fillRect(500,0,50,50);
var speed1 = 0;
var speed2 = 0;
var speed3 = 0;
````
2. Then let´s create a function to clear our canvas each time we refresh it. This way we have a cleaner code inside our `updateCanvas()` function.
```javascript=
function clearCanvas() {
ctx.clearRect(0,0,700,450);
}
```
3. Finally, let create our `updateCanvas()` function, where we increment the **speed** of our elements in three differents quantities, this way we will get various speeds. Don´t forget we need to call out `window.requestAnimationFrame(updateCanvas)` method, so our `canvas` updates.
```javascript=
function updateCanvas(){
speed1 += 1;
speed2 += 2;
speed3 += 3;
clearCanvas();
ctx.fillRect(100,speed1,50,50);
ctx.fillRect(300,speed2,50,50);
ctx.fillRect(500,speed3,50,50);
window.requestAnimationFrame(updateCanvas);
}
window.requestAnimationFrame(updateCanvas);
```
<iframe height='265' scrolling='no' title='Moving Elements' src='//codepen.io/ironhack/embed/PKXeMg/?height=265&theme-id=0&default-tab=js,result&embed-version=2' frameborder='no' allowtransparency='true' allowfullscreen='true' style='width: 100%;'>See the Pen <a href='https://codepen.io/ironhack/pen/PKXeMg/'>Moving Elements</a> by Ironhack (<a href='https://codepen.io/ironhack'>@ironhack</a>) on <a href='https://codepen.io'>CodePen</a>.
</iframe>
### Your turn
Go ahead and make the elements move in the opposite direction, that means, from bottom to the top of the canvas. You can choose the speed! 🏎️
</div>
:::info lecture
<span style="font-size:500%">🏋🏾♂️</span>
Créer une animation d'un rectangle 50x30 allant du bord droit d'un canvas de 400x300 au bord gauche.
:::
## Controlling the elements with User interaction
Updating the `canvas`, moving elements... we are becoming experts on this! :wink:
To develop our games we will need some user interaction. We will now learn how can we make our elements follow user's actions.
> 
> [Pacman Project - Intro to AI @ UC Berkeley](http://ai.berkeley.edu/project_overview.html)
We will move one of the Pacman´s enemies in the following example. Notice that in this example, we call the `update` function every time somebody presses a key in the **keyboard**.
Let´s do it step by step:
1. Create our `canvas` and set the **2d** context. We will add some captions to know the exact coordinates our ghost is located, that way we also declare `fillStyle` and `font` properties.
```javascript=
var canvas = document.getElementById("canvas");
var ctx = canvas.getContext("2d");
ctx.fillStyle = 'white';
ctx.font = '18px serif';
```
2. Now we are going to create our **ghost** object. It should have `x` and `y` properties in order to place it on the `canvas`. Besides, we will add some functions to move it according to the user interaction with the keyboard. Each function will **add** or **subtract** from `x` or `y` axis.
```javascript=
class Ghost {
constructor() {
this.x = 25;
this.y = 25;
// Load the image
var img = document.createElement('img');
img.onload = () => {
// Once image loaded => draw
this.img = img;
this.draw();
};
img.src = "https://media.giphy.com/media/Qr8JE9Hvi7ave/200.gif";
}
moveUp() {
this.y -= 25;
}
moveDown() {
this.y += 25;
}
moveLeft() {
this.x -= 25;
}
moveRight() {
this.x += 25;
}
draw() {
ctx.drawImage(this.img, this.x, this.y, 50, 50);
}
}
var ghost = new Ghost();
```
:::info lecture
L6, expliquer le chargement de l'image.
:::
3. Ok, our **ghost** is created, so let´s add the listeners for keys, so we can call our functions to move the **ghost**.
```javascript=
document.onkeydown = function(e) {
switch (e.keyCode) {
case 38: ghost.moveUp(); console.log('up', ghost); break;
case 40: ghost.moveDown(); console.log('down', ghost); break;
case 37: ghost.moveLeft(); console.log('left', ghost); break;
case 39: ghost.moveRight(); console.log('right', ghost); break;
}
updateCanvas();
}
```
5. Finally, we will need our `updateCanvas()` function, where we clear our `canvas` and redraw the element.
:::info
Notice that we are displaying our Ghost position `x` and `y` so we can check how it updates with every arrow key clicked!
:::
```javascript=
function updateCanvas() {
ctx.clearRect(0,0,1500,1700);
ctx.fillText("Ghost_x: " + ghost.x, 580,40);
ctx.fillText("Ghost_y: " + ghost.y, 580,60);
ghost.draw()
}
```
In the following CodePen you have all the code we just explain, go ahead and take a look of our **ghost** moving! :wink:
<iframe height="300" style="width: 100%;" scrolling="no" title="Pacman Ghost" src="https://codepen.io/abernier/embed/QWWvNBd?height=300&theme-id=0&default-tab=js,result" frameborder="no" allowtransparency="true" allowfullscreen="true">
See the Pen <a href='https://codepen.io/abernier/pen/QWWvNBd'>Pacman Ghost</a> by Antoine BERNIER
(<a href='https://codepen.io/abernier'>@abernier</a>) on <a href='https://codepen.io'>CodePen</a>.
</iframe>
### Your turn
We may want to restart everything, putting the **ghost** on it initial position. Let´s do it using the `spacebar` key.
Go ahead and add the functionality in the codePen. When somebody clicks on the `spacebar` our ghost should return to the position `(50,50)`.
### Infinite looping an Image
When rendering a 2d game, usually we need a background image that moves while our character or element is moving through the `canvas`.
Think about a game like **SuperMario Bros** and notice there was an infinite background like the following:
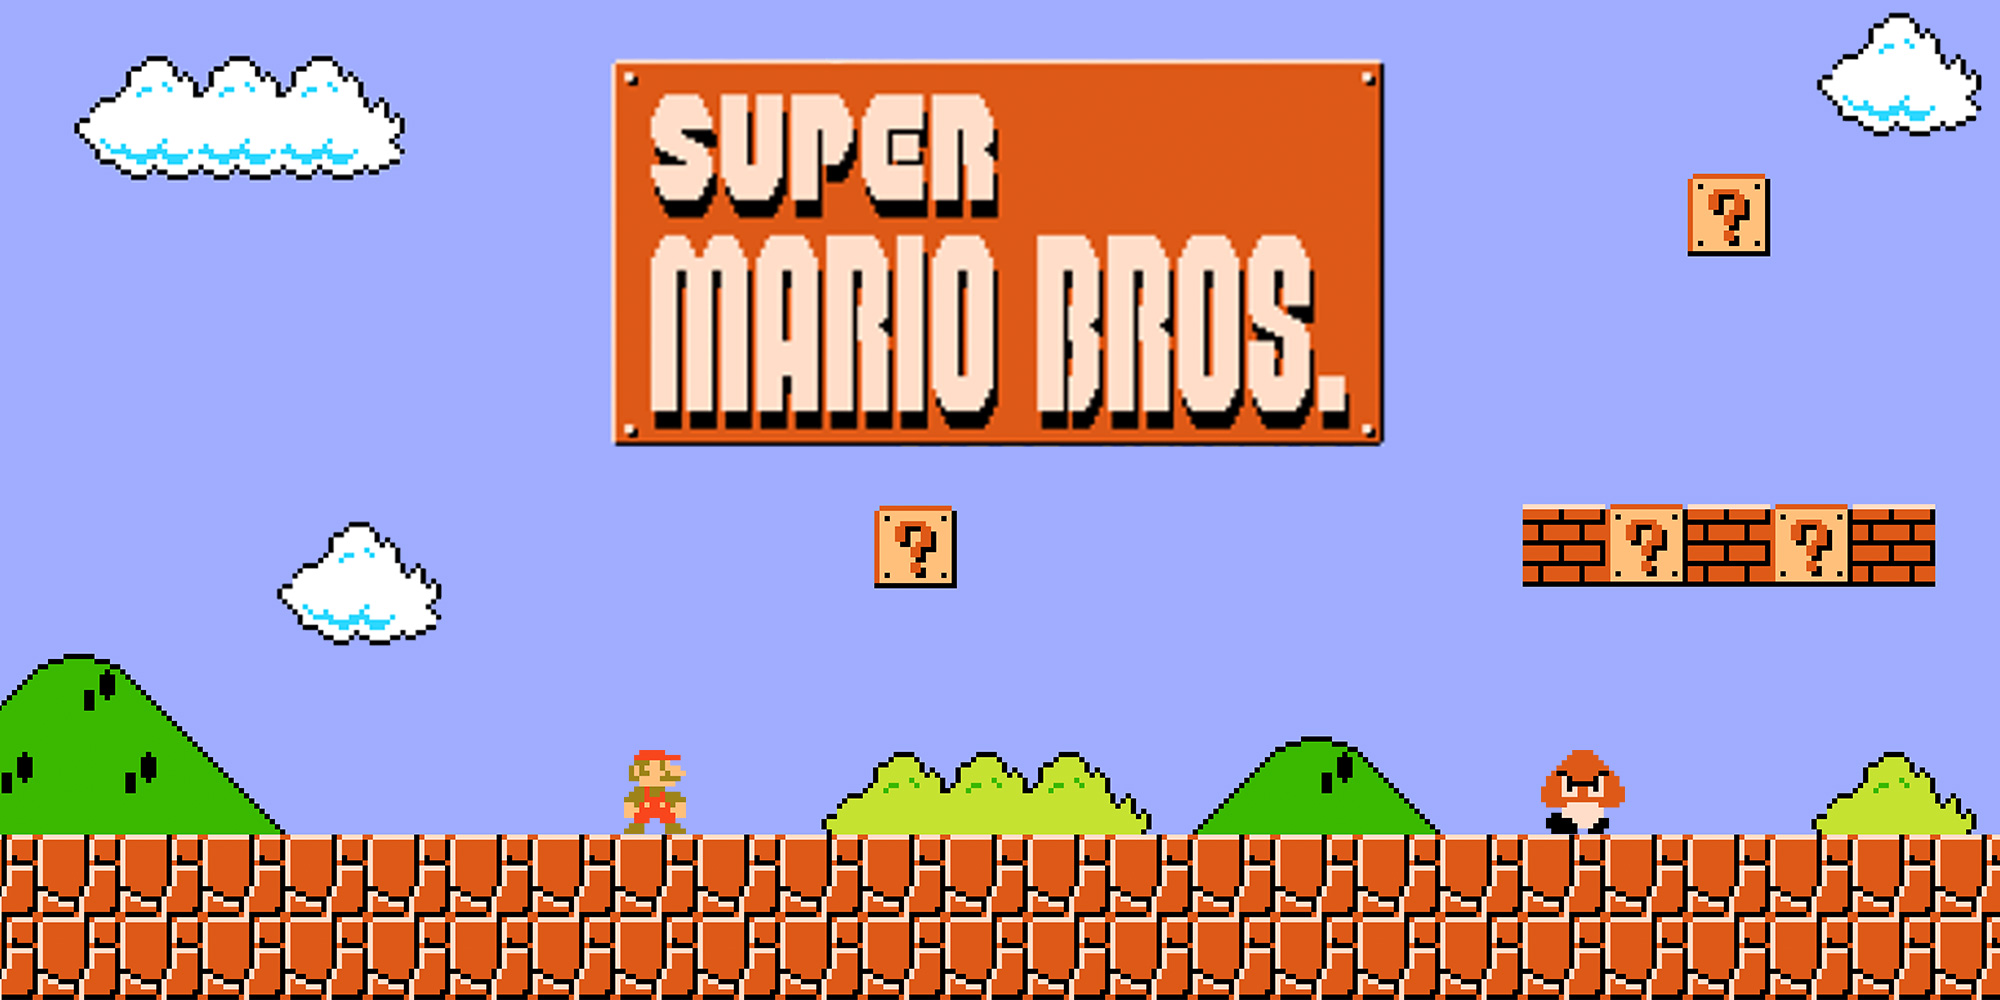
Using `canvas` we can use a panoramic image and loop infinitely over it to be able to show the whole image. Check the codePen and see how we can do this using `canvas` and `image`.
<iframe height='265' scrolling='no' title='Infinite loop Canvas' src='//codepen.io/ironhack/embed/ZvmmGP/?height=265&theme-id=0&default-tab=js,result&embed-version=2' frameborder='no' allowtransparency='true' allowfullscreen='true' style='width: 100%;'>See the Pen <a href='https://codepen.io/ironhack/pen/ZvmmGP/'>Infinite loop Canvas</a> by Ironhack (<a href='https://codepen.io/ironhack'>@ironhack</a>) on <a href='https://codepen.io'>CodePen</a>.
</iframe>
:::info lecture
Expliquer le trick d'afficher 2 images.
:::
## Summary
Now `canvas` get a lot more interesting for our game project huh? We just learn how to animate elements, schedule the animations and make them interactive with users.
Best way to turn an expert on animations is practice, so feel free to keep playing with **codePens** or create ones by yourself! :muscle:
## Extra Resources
- [Game Canvas Components](https://www.w3schools.com/graphics/game_components.asp)
 Sign in with Wallet
Connect another wallet
Sign in with Wallet
Connect another wallet