# Smart Home IoT System: Monitoring, Control, and Air Purification
**Hilmer Cárdenas Broman (hc222ie)**
This project involves developing a IoT System for monitoring indoor and outdoor environmental metrics such as temperature, humidity and weather forecast data. It also involves monitoring the Pico WH and RPI3 system status, along with both monitoring and controlling a Levoit Core200S air purifier via a webpage.
**Time estimate: 18h**
# Objective
The goal of this project was to deepen my understanding of IoT and software development by creating a system for home automation. This project provides real-time monitoring of environmental and system data as well as remote control of a Levoit Core200S air purifier via a webserver.
## Main Features
### Environmental Monitoring:
* **Indoor Monitoring**: Utilized a DHT11 sensor to track indoor temperature and humidity.
* **Outdoor Monitoring**: Integrated the SMHI API to retrieve accurate outdoor weather data.
### System Monitoring:
* **Raspberry Pi 3B**: Monitored system status using Telegraf.
* **Pico WH**: Used built-in functions to track system status.
### Air Purifier Management:
* **Levoit Core200S**: Monitored air purifier status via the Vesync API.
* **Web Server**: Enabled remote control of the air purifier through a webpage via a webserver running on the Pico WH.
### Data Visualization:
* **MQTT Integration**: All collected data transmitted via an MQTT broker for efficient communication.
* **TIG-Stack**: Implemented TIG-Stack to visualize data in real-time via Grafana.
# Materials
| Device | Description | Price | Store |
| -------- | -------- | -------- | -------- |
| 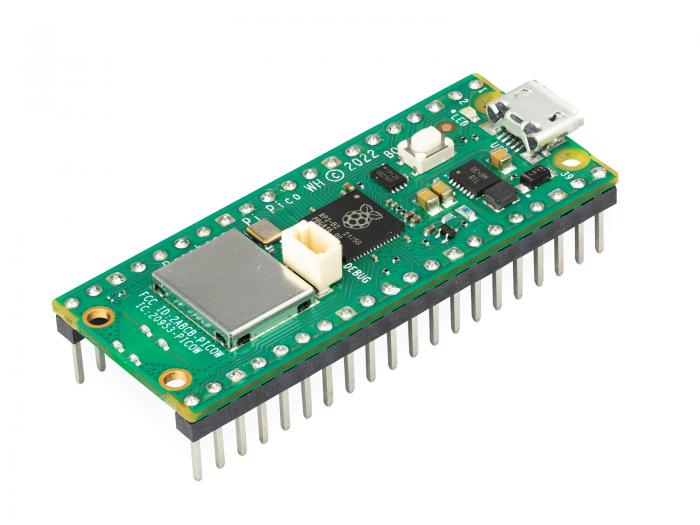| Raspberry Pi Pico WH Supports MicroPython, built-in WiFi connectivity | 109kr | Elecrokit |
|Module with a DHT11 digital temperature- and humidity sensor.| 49kr | Electrokit |
|Jumper wires, male-male, 30cm| 49kr | Electrokit |
| Solderless Breadboard 840 tie-points| 69kr | Electrokit |
|Levoit Core200S Air Purifier Controllable via Vesync API. | 1,020kr | Amazon |
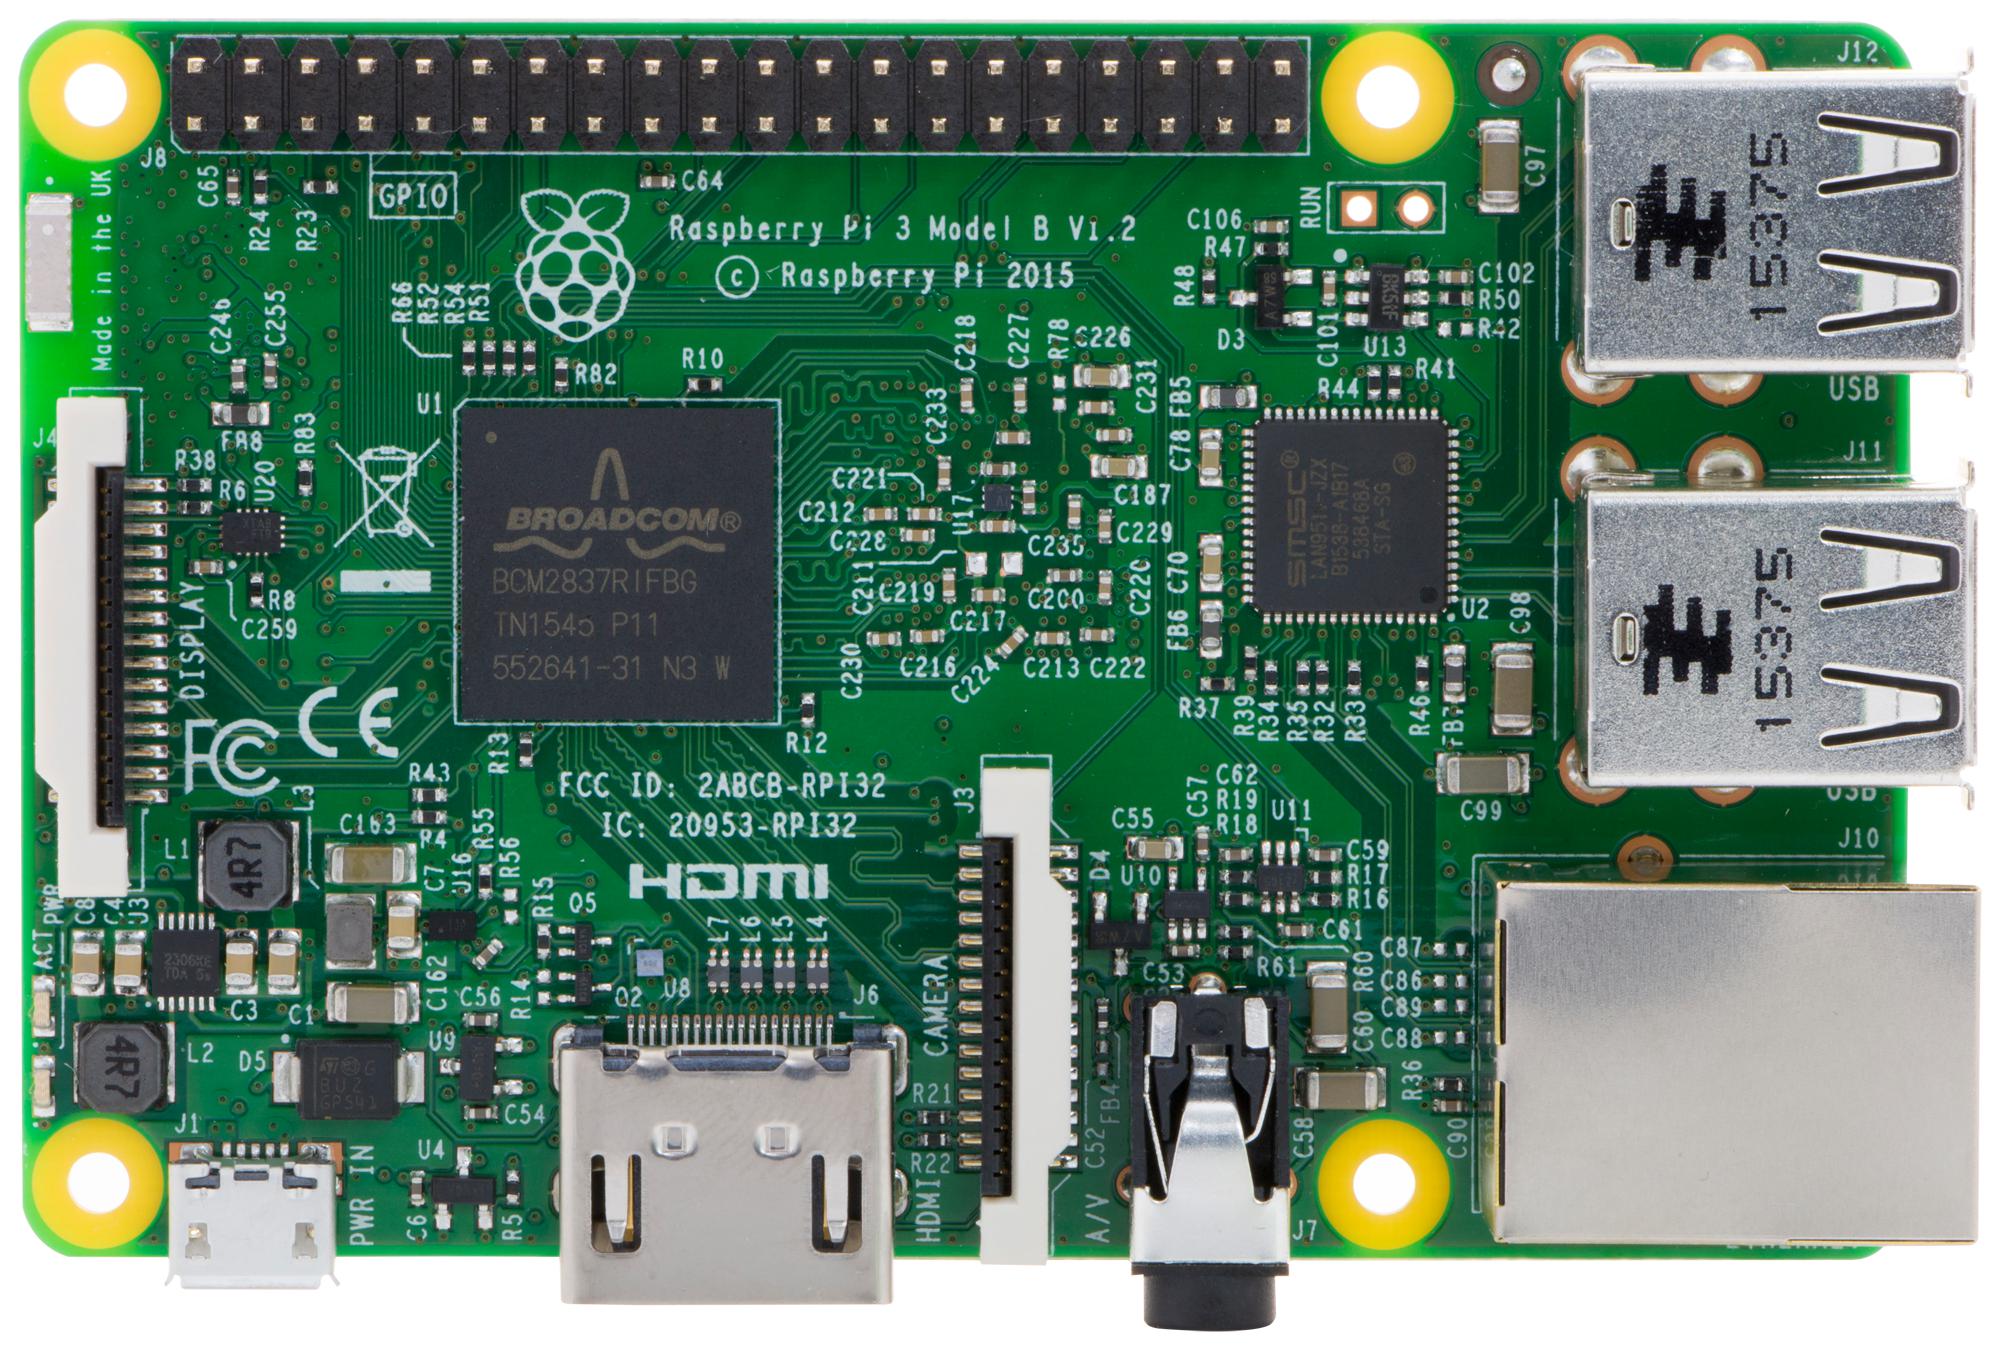|Raspberry Pi 3B Hosts the MQTT broker, TIG-Stack components | 479kr | Electrokit |
# Computer Setup
* **Chosen IDE**: Thonny IDE
## Flashing the Pico W
1. Go to [this](https://micropython.org/download/RPI_PICO_W/) page and download the latest Release of MicroPython firmware for Raspberry Pi Pico
2. Connect the micro-USB into the Raspberry Pi Pico
3. While holding the BOOTSEL key down on the board, connect the USB type A end of your cable into your computer.
4. You will see a new drive open in your file system named RPI-RP2 which is the Raspbbery Pi Pico storage. You can copy/paste the uf2 in this storage.
5. Wait until your board automatically disconnects from your computer (new drives disappear).
6. To confirm the board is ready, unplug and plug back the USB cable.
## Setting Up Thonny for Raspberry Pi Pico:
* **Install Thonny IDE**: thonny.org.
* **Connect Raspberry Pi Pico**:
Plug your Raspberry Pi Pico into your computer using a USB cable.
* **Open Thonny**:
Launch Thonny on your computer.
* **Configure MicroPython Interpreter**:
Click on Tools -> Options in Thonny.
Under Interpreter, choose MicroPython (Raspberry Pi Pico).
Thonny should automatically detect your connected Pico with MicroPython firmware.
* **Connect to Raspberry Pi Pico**:
Click on the Connect button in the Thonny toolbar (the plug icon).
Thonny will scan for available MicroPython devices. Select your Raspberry Pi Pico from the list if it’s not automatically selected.
# Putting everything together

# Platform
The platform for this project is based on the TIG-stack and a local MQTT broker, setup via IoTStack sensorsiot.github.io/IOTstack/ as Docker containers, making it convenient to start up and manage. IoTStack can be installed either via the PiBuilder method (https://github.com/Paraphraser/PiBuilder) if the RPI3 is a blank slate, or the add-on method. Below are the details of each component in this stack. For more information on how to install and configure the containers refer to sensorsiot.github.io/IOTstack/
## Eclipse-mosquitto
Eclipse Mosquitto is an open-source message broker that uses the MQTT protocol, making it a strong candidate for the IoT ecosystem. It facilitates the communication between the various components of the system by handling the data transmission efficiently.
```
listener 1883
# persistence enabled for remembering retain flag across restarts
#
persistence true
persistence_location /mosquitto/data
log_dest stdout
log_timestamp_format %Y-%m-%dT%H:%M:%S
# Reduce size and SD-card flash wear, safe to remove if using a SSD
connection_messages false
allow_anonymous true
```
The above is a very basic Mosquitto config file to quickly get started to test, and is currently configured to allow anonymous users which is not optimal and should be changed to only allow authorized users as soon as possible.
## Telegraf
Telegraf is the data collector and processor in the stack. It connects to the MQTT broker, subscribes to a topic, and upon receiving a message, formats it to the preferred format and sends it to the InfluxDB database. This allows for efficient data collection and processing from various sources.
```
[global_tags]
[agent]
interval = "15s"
round_interval = true
metric_batch_size = 1000
metric_buffer_limit = 10000
collection_jitter = "0s"
flush_interval = "15s"
flush_jitter = "0s"
precision = "0s"
debug = true
hostname = name
omit_hostname = false
[[outputs.influxdb]]
urls = ["http://influxdb:8086"]
username = user
password = pass
[[inputs.mqtt_consumer]]
servers = ["tcp://mosquitto:1883"]
topics = [ "pico_w/#" ]
qos = 1
data_format = "json"
[[inputs.mqtt_consumer]]
servers = ["tcp://mosquitto:1883"]
topics = [ "vesync" ]
qos = 1
data_format = "json"
json_string_fields = ["Connection_Status", "Status", "Device Name", "Model", "Mode"]
[[inputs.mqtt_consumer]]
servers = ["tcp://mosquitto:1883"]
topics = [ "smhi/#" ]
qos = 1
data_format = "json"
# Uses the timestamp in the smhi payload
# instead of assigning default timestamp.
json_time_key = "time"
json_time_format = "2006-01-02T15:04:05Z07:00"
```
The basic Telegraf config used for handling MQTT payloads and writing it to InfluxDB
## InfluxDB
InfluxDB is a time-series database, specialized in storing and managing timestamped data and continuously changing data. This makes it an ideal choice for logging and comparing data over time, which is essential for monitoring environmental metrics and air purifier status.
## Grafana
Grafana is a web application for data monitoring and visualization. With Grafana, you can set up data visualization graphs and webhooks based on the monitored data. This helps in creating comprehensive dashboards that provide real-time insights into the collected data.
## Local Installation vs Cloud
Uses Raspberry Pi 3B as a local host for Docker containers managed by IOTStack. Deploying Mosquitto as local MQTT Broker, and the TIG-Stack. Running locally makes it is possible to scale by upgrading hardware for increased data handling or utilizing cloud services for extended functionality.
## Data Flow
* **Pico WH**: Collects sensor and system data (temperature, humidity) as well as air purifier information via VeSync API, and sends MQTT payloads to Mosquitto Broker.
* **Raspberry Pi 3B**: Runs Eclipse Mosquitto, Telegraf, InfluxDB, and Grafana. Also uses Telegraf to collect internal system, network and docker data for visualizing in Grafana.
* **Telegraf**: Subscribes to MQTT topics, processes incoming messages, and sends formatted data to InfluxDB.
* **InfluxDB**: Stores timestamped data for monitoring and comparison.
* **Grafana**: Retrieves data from InfluxDB to create visualizations and dashboards.
## Choice of Platform
The TIG-stack was primarily selected for its ease of use and also due to its many ways to manage and visualize data. The local MQTT broker provides communication between the Pico WH, while being easy to setup and use. This combination provides a simple and efficient solution for this project.
# The code
```python=1
from machine import Pin, ADC
from dht import DHT11
from gc import mem_free, mem_alloc
from os import statvfs
import logging
logger = logging.getLogger(__name__)
def read_dht11() -> dict:
"""Reads temperature and humidity from a DHT11 sensor."""
sensor = DHT11(Pin(16, Pin.IN))
try:
sensor.measure()
temperature = sensor.temperature()
humidity = sensor.humidity()
return {"temperature" : temperature, "humidity" : humidity}
except Exception as e:
logger.error(f"Failed to read from dht11 sensor: {e}")
def read_internal_temp() -> dict:
"""Reads internal temperature from the Pico WH's internal sensor."""
try:
internal_temp_sensor = ADC(ADC.CORE_TEMP)
adc_value = internal_temp_sensor.read_u16()
voltage = adc_value * (3.3 / 65535)
# Temp calculation based on internal sensor characteristic
internal_temp = 27 - (voltage - 0.706) / 0.001721
return {"internal_temp" : internal_temp}
except Exception as e:
logger.error("Error reading internal temp %s", e)
def read_ram_memory() -> dict:
"""Reads available RAM memory information for Pico WH."""
try:
free_memory = mem_free()
allocated_memory = mem_alloc()
total_memory = free_memory + allocated_memory
memory_usage_percentage = (1 - (free_memory / total_memory)) * 100
data = {
"free_memory" : free_memory,
"allocated_memory" : allocated_memory,
"total_memory" : total_memory,
"memory_usage_percentage" : memory_usage_percentage
}
return data
except Exception as e:
logger.error("Error reading RAM memory: %s", e)
def read_storage() -> dict:
"""Reads storage information for Pico WH."""
try:
stat = statvfs("/")
frsize = stat[1]
blocks = stat[2]
b_free = stat[4]
MB = 1024 * 1024
size = (frsize * blocks) / MB
free = (frsize * b_free) / MB
used = size - free
used_percentage = (1 - (free / size)) * 100
data = {
"storage_size" : size,
"used_storage" : used,
"free_storage" : free,
"storage_usage_percentage" : used_percentage
}
return data
except Exception as e:
logger.error("Error reading storage: %s", e)
```
The code used for getting dht11 sensor data and Pico WH internal system data.
```python=1
from utime import sleep
from config import config
import asyncio
import logging
import ujson
import gc
logger = logging.getLogger(__name__)
def _parse_measurements(validTime: str, parameters: list, measurements: tuple) -> dict:
"""Parses the looked for measurements in the parameters list.
Returns payload dictionary """
payload = { 'fields' : {}, 'time' : validTime, 'measurement' : 'smhi' }
for parameter in parameters:
if parameter and parameter.get('name') in measurements:
payload["fields"][parameter.get("name")] = parameter.get('values')[0]
return payload
async def _publish_parameters(mqtt_client, reader, measurements: tuple, topic:str) -> None:
"""Publishes parsed measurements from each parameter corresponding to a unique validTime. According to the SMHI API JSON object"""
logger.debug("_publish_parameters")
# Reads entire request
while True:
chunk = await reader.read(1)
if not chunk:
break
elif chunk == b',':
continue
# Reads until all {} are closed
stack = [chunk]
while len(stack) > 0:
data = await reader.read(1)
if not data:
break
elif data == b'{':
stack.append(data)
elif data == b'}':
stack.pop()
chunk += data
if chunk == b']}' or chunk is None:
break
try:
parsed_entry = ujson.loads(chunk.decode('utf.8'))
parameters = list(parsed_entry.values())[1]
validTime = parsed_entry.get('validTime')
payload = _parse_measurements(validTime, parameters, measurements)
await mqtt_client.publish(topic, ujson.dumps(payload), qos=1)
except ValueError as e:
continue
except Exception as e:
print("Failed to parse SMHI data", e)
raise
async def _connect_to_smhi_api(host: str) -> tuple(StreamReader, StreamWriter):
"""Connects to smhi_api"""
logger.debug("connect_to_smhi_api")
try:
reader, writer = await asyncio.wait_for(
asyncio.open_connection(host, port=443, ssl=True), timeout=300
)
return reader, writer
except asyncio.TimeoutError as e:
logger.debug("Failure connecting to SMHI")
raise
except Exception as e:
logger.debug(e)
raise
async def publish_smhi_data(mqtt_client: MQTT_CLIENT, measurements: tuple, topic: str) -> None:
"""Opens a connection to SHMI API and sends a get request. Skips the header and
then gets read byte by byte. It parses each parameter and the
measurements supplied for each validTime and publishes a payload to mqtt broker.
"""
host = 'opendata-download-metfcst.smhi.se'
api = "/api/category/pmp3g/version/2/geotype/point/lon/20.263035/lat/63.825848/data.json"
request = 'GET %s HTTP/1.1\r\nHost: %s\r\n\r\n' % (api, host)
reader, writer = await _connect_to_smhi_api(host)
await asyncio.sleep(10)
try:
writer.write(request.encode())
await writer.drain()
# Skip headers and everything until first bracket
headers = b""
while '"timeSeries":[' not in headers:
chunk = await reader.read(1)
if not chunk:
break
headers += chunk
await _publish_parameters(mqtt_client, reader, measurements, topic)
except asyncio.TimeoutError as e:
logger.debug("Call to api timedout", e)
except Exception as e:
logger.debug("An error occurred %s", e)
finally:
if writer:
writer.close()
await writer.wait_closed()
```
Code for getting SMHI forecast data. It was necessary to stream the data byte by byte in order to not run out of memory since the response was a 10-day JSON forecast object. I also decided to trim the response even further since there were a lot of measurements that weren't of interested to me. As such i ended up with 6 different measurements ('t', 'msl', 'r', 'Wsymb2', 'ws', 'tstm'). The error handling is pretty much non-existent and is one of the many things to improve upon for a more robust application. The parsing also has more room for improvements, since it is quite slow at the moment.
```python=1
from network import WLAN, STA_IF
from utime import sleep
from machine import Pin
import uasyncio as asyncio
from config import config
import logging
import vesync
from web_html import html
import gc
async def start_web_server(self) -> None:
"""Starts asynchronous webserver"""
self.logger.debug('Starting webserver...')
if not self.vesync_client.enabled:
await self.login_to_vesync()
while not self.vesync_client.enabled:
await asyncio.sleep(1)
gc.collect()
await asyncio.sleep(5)
self.vesync_device = await self.get_vesync_device()
await asyncio.sleep(5)
try:
async with await asyncio.start_server(self.serve_client, "0.0.0.0", 80) as server:
self.logger.info("Server started succesfully")
self.started = True
while True:
await asyncio.sleep(0.25)
except OSError as e:
self.logger.error("Failed to start server %s", e)
raise
except Exception as e:
self.logger.error("Failed to start sever: %s", e)
raise
async def handle_request(self, method, path, params):
""" Handles HTTP POST requests whose path correspond to routes."""
self.logger.debug("handle_requset")
self.logger.debug("method: %s\n, path: %s\n, params %s\n", method, path, params)
try:
if method == 'POST' and path in self.routes:
try:
# Call route for affecting VeSync device
return await self.routes[path](params)
except Exception as e:
self.logger.error("Error calling VeSync functions: %s", e)
return "HTTP/1.1 500 Internal Server Error\r\n\r\nFailed to set child lock"
return self.html
except Exception as e:
self.logger.error("handle_request error: %s", e)
async def serve_client(self, reader, writer):
""" Serve a connected client by reading requests and writing responses."""
try:
request_line = await reader.readline()
if not request_line:
return
self.logger.debug("Got request: %s", request_line.decode('utf-8'))
method, path, _ = request_line.decode().strip().split(' ', 2)
# Stores headers if it exists
headers = {}
while True:
line = await reader.readline()
if line == b'\r\n' or line == b'':
break
parts = line.decode('utf-8').strip().split(': ', 1)
if len(parts) == 2:
headers[parts[0]] = parts[1]
# Parse parameters from request
params = {}
if method == 'POST':
content_length = int(headers.get('Content-Length', 0))
if content_length > 0:
post_data = await reader.read(content_length)
if post_data:
params = self.extract_post_params(post_data.decode('utf-8'))
response = await self.handle_request(method, path, params)
writer.write('HTTP/1.0 200 OK\r\nContent-type: text/html\r\n\r\n')
writer.write(response.encode('utf-8'))
await writer.drain()
await writer.wait_closed()
self.logger.debug("Client Disconnected")
except Exception as e:
self.logger.error("Error processing request: %s", e)
writer.close()
await writer.wait_closed()
```
The above are the core functions in a asynchronous WebServer class that utilizes StreamReader and StreamWriter. I use HTML Forms for sending POST requests and the server parses these requests and runs routes depending on the request payload.
# External Libraries
* **Logging**: https://github.com/micropython/micropython-lib/tree/master/python-stdlib/logging
* **MQTT Client**: https://github.com/peterhinch/micropython-mqtt
* **Inspiration for VeSync API Program**: https://github.com/webdjoe/pyvesync (I made some changes for it to work with micropython, also made it asynchronous and trimmed it for my specific use case)
* **MD5**: https://github.com/lemariva/ESP32MicroPython/blob/master/md5hash.py (Necessary for VeSync program to be able to login)
# Transmitting the data / connectivity
* **Data Transmission**: Data sent to MQTT broker over WiFi using MQTT protocol. Currently not using any authentication.
* **Frequency**: Transmits sensor and system data every 2 minutes, weather forecast data every hour and air purifier data every 16 minutes.
* **Protocols**: WiFi for local communication, MQTT for data transmission to MQTT broker.
# Presenting the data
* **Dashboard**: Grafana dashboard displays real-time and historical data.
* **Data Retention**: The data is saved in the database every time it is received by the MQTT broker. Telegraf handles the data differently depending on topic, which makes it possible to perform future data analysis for the weather forecast data.
* **Visualization**: Charts for temperature, humidity, system, weather forecast, and air purifier status over time.


RPI3 system, network as well as Docker monitoring is also included in the full dashboard, but not included here due to brevity.
# Finalizing the design
In conclusion, this project provided valuable insights into IoT, software development, and system integration. By implementing a monitoring and control system using MQTT and TIG-Stack, I gained practical experience in managing environmental data, system status monitoring, and remote device control via API:s.

Simple webpage for controlling Levoit Core200S air purifier.
## Future Improvements
* **Security**: Implement security measures for data transmission and device control.
* **Performace**: Refactor programs to improve efficiency.
* **User Interface**: Enhancing the webpage for better UX.
* **Sensors**: Integrate more sensors for a more comprehensive analysis.
* **Alerts**: Implement alerts based on the monitored data. For example automatically activate air purifier if CO2 levels are high or air quality is low.
* **Visualization**: Improve the Grafana visualizations by making visualizations stand out/be more uniqe and better represent the data.
References:
https://www.influxdata.com/time-series-database/
https://www.influxdata.com/blog/mqtt-topic-payload-parsing-telegraf/
 Sign in with Wallet


