---
tags: clab, smartcitizen, tutorial, orange, arduino IDE
---
# Tutorial. How to change the rate of data update of a smartcitizen kit.
This tutorial is useful for changing the default data update. This is useful for doing live demostrations
Time estimated: 15 minutes + 15 minutes if you don't have Arduino IDE installed.
Requisites:
* Smartcitizen Kit that we want to configure.
* MicroUSB cable.
* A computer where we're going to configure it.
* Have Arduino IDE installed or other serial monitor installed (or knowledge about using it through terminal). You can download it from [here](https://www.arduino.cc/en/software)
## Connect your kit to your Computer
**Connect the MicroUSB cable** to the Smartcitizen kit

And the USB to your computer

## Open the Arduino IDE and connect to the kit
We are opening the Arduino IDE. (the screenshots are done Arduino 2.0 in windows) If this is your first start with Arduino IDE we are just focusing in a couple of things
**Set your port.** For doing that we are going to go to Tools->Port and we select to the port that says something like "(Arduino Zero (Native USB Port))" or "(Arduino/Genuino Zero (Autodetect Port))" in MAC or linux.

If this is your first start it might be asking you to **set the Board**. You can do it by going again into Tools->Boards and you set any of them (for example Arduino UNO).

Now you can **open the serial monitor** display going to **tools -> Serial Monitor**

In Arduino IDE 2.0 (the newer version) you will see the serial monitor in the bottom of the screen. In older Arduino IDE you will get a pop up window.
**Check** that is set as "Carriage Return" and it's set to 115200 bauds as the image below:

:::info
It might give you some text even if you don't type anything. This is normal and it means that the smartcitizen is properly connected.

If this happens, you can continue to input the command.
:::
To check if everything works as spected you can type "help" in the box where it says "Message (Enter to send message to..)" and you will get something like this.

_This is the list of the possible commands of the shell of smartcitizen_
If this happens, you can continue to the next step.
:::warning
**Connection troubleshooting**
_"Not connected. Select a board and a port to connect automatically."_

**Check if the USB** is properly connected and then, **revise if the port is properly selected**. Last, **check if there is a board selected**.
If the cable is connected but it's not being recognized by the Arduino IDE, try to reset the smartcitizen kit using the reset button
<a data-flickr-embed="true" href="https://www.flickr.com/photos/smartcitizen/48439505516/in/album-72157708816777936/" title="SCK 2.1 Outdoor enclosure"><img src="https://live.staticflickr.com/65535/48439505516_1d3bd25915_z.jpg" width="640" height="427" alt="SCK 2.1 Outdoor enclosure"></a>
:::
## The command that we have to use
To state a "real time sensing" of the smartcitizen you need to **state this command** in the command line and press ENTER:
```
config -pubint 5 -readint 5
```
You will get something like this

:::warning
This setup consumes the battery very fast. It's useful for doing a class, but if you're using the smartcitizen with the battery be sure to Set up the default reading and uploading rate to default after the showcase
:::
### Setting up the default after using the real time
Using the 5 s update is going to take a lot of time
To restore the default upload rate you have to **put this command** and press ENTER.
```
config -pubint 180 -readint 60
```
You will get something like this
And then
```
sensor pm -interval 300
```
To get more explanations about how these codes work you can use help command or you can check the guide about [Using the Shell](https://docs.smartcitizen.me/Guides/getting%20started/Using%20the%20Shell)
## How to check it out
You can either use dashboard.smartcitizen.me or smartcitizen.me/kits/ to check your own kit.
### Platform
**Access martcitizen.me/kits** and filter the kits to find yours.

Once you have it you will find this data below

You will see that the data is updated more less every 6 seconds (5 seconds + the delay to post it into the platform)
### Dashboard
**Access dashboard.smartcitizen.me** and filter the kits to find yours

You can use your user, the name of the kit, the city or any data and the search tool is going to find it.
**Click on the name** of the kit once you have found it.
You will see something like this of the chosen kit:

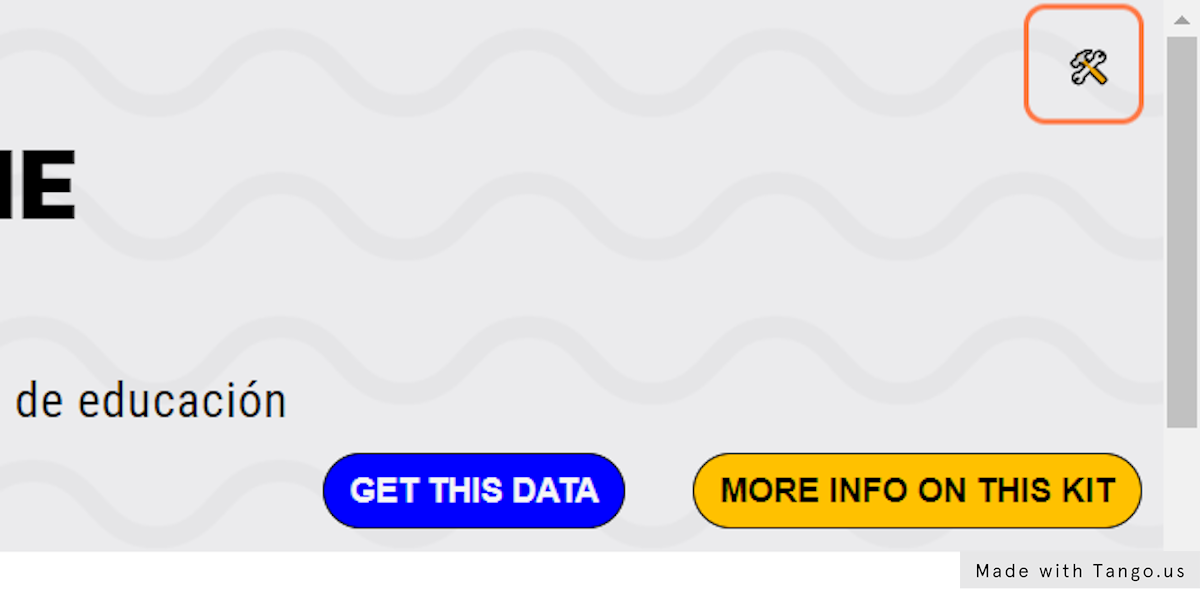
Then, **click on 🛠️**, the setup icon on the top right.
Then it will open up a bar on the right in blue. Here you need to **press the button of SHOW GRAPHS**

Then you will get this information on the web:
_press again the 🛠️ icon to close the menu on the right_

:::info
You can use the menu for filter the values that you're more interested on.
:::
You will see that the data is updated more less every 6 seconds (5 seconds + the delay to post it into the platform)
 Sign in with Wallet
Connect another wallet
Sign in with Wallet
Connect another wallet