# Klipper OLED接続
###### tags: `3D Printer`
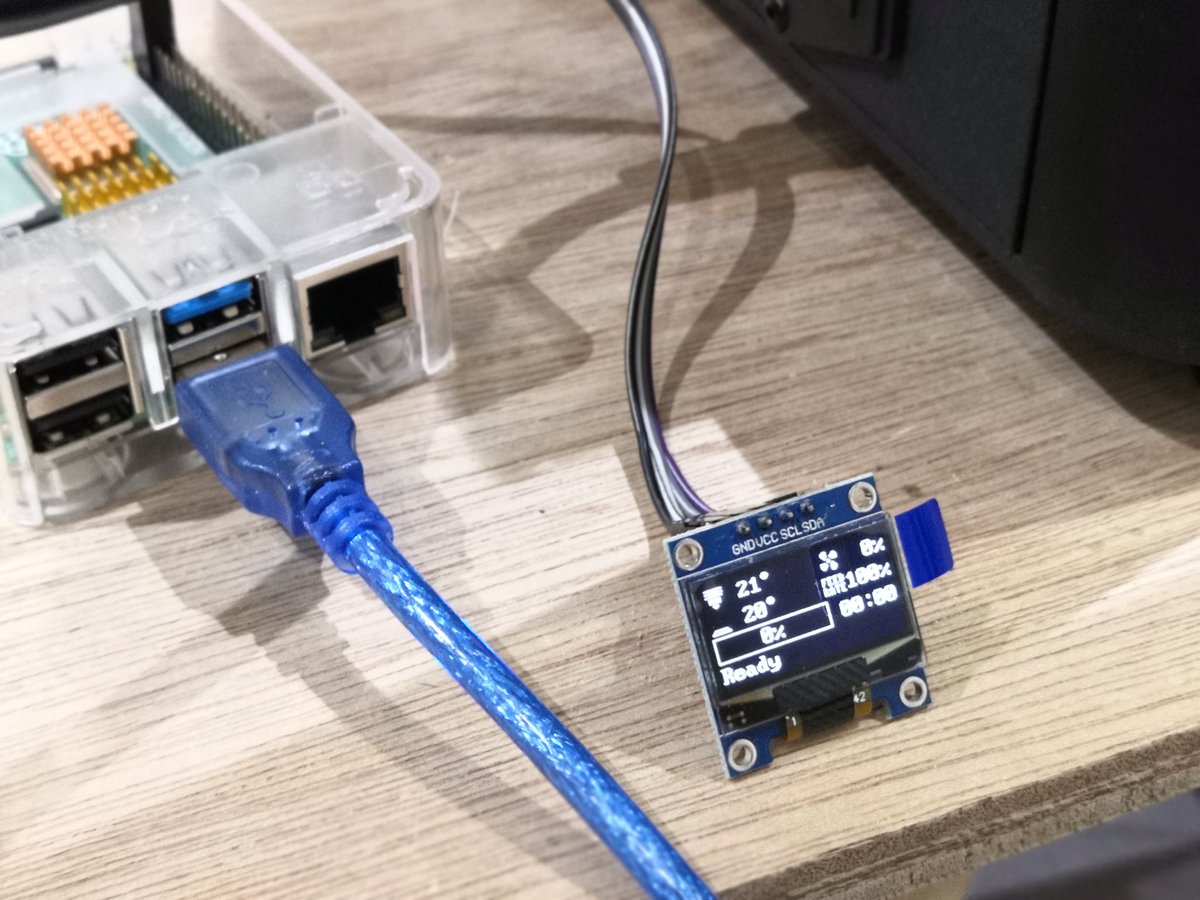
## OLED
[KeeYees OLEDディスプレイ OLEDモジュール 0.96インチ I2C 128X64 SSD1306 4ピン](https://amzn.to/2RnJBK0)
<a href="https://www.amazon.co.jp/gp/product/B08CTZVVLS?ie=UTF8&psc=1&linkCode=li2&tag=seyaorg-22&linkId=ab1fef1e9bd49bcb998714f21c3159eb&language=ja_JP&ref_=as_li_ss_il" target="_blank"><img border="0" src="//ws-fe.amazon-adsystem.com/widgets/q?_encoding=UTF8&ASIN=B08CTZVVLS&Format=_SL160_&ID=AsinImage&MarketPlace=JP&ServiceVersion=20070822&WS=1&tag=seyaorg-22&language=ja_JP" ></a><img src="https://ir-jp.amazon-adsystem.com/e/ir?t=seyaorg-22&language=ja_JP&l=li2&o=9&a=B08CTZVVLS" width="1" height="1" border="0" alt="" style="border:none !important; margin:0px !important;" />
I2Cアドレスは、デフォルトで0x3C(ジャンパーで0x3Dに変更可能)
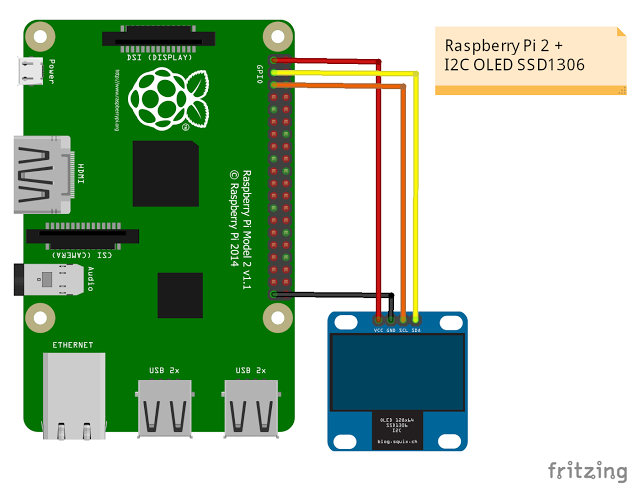
## 接続
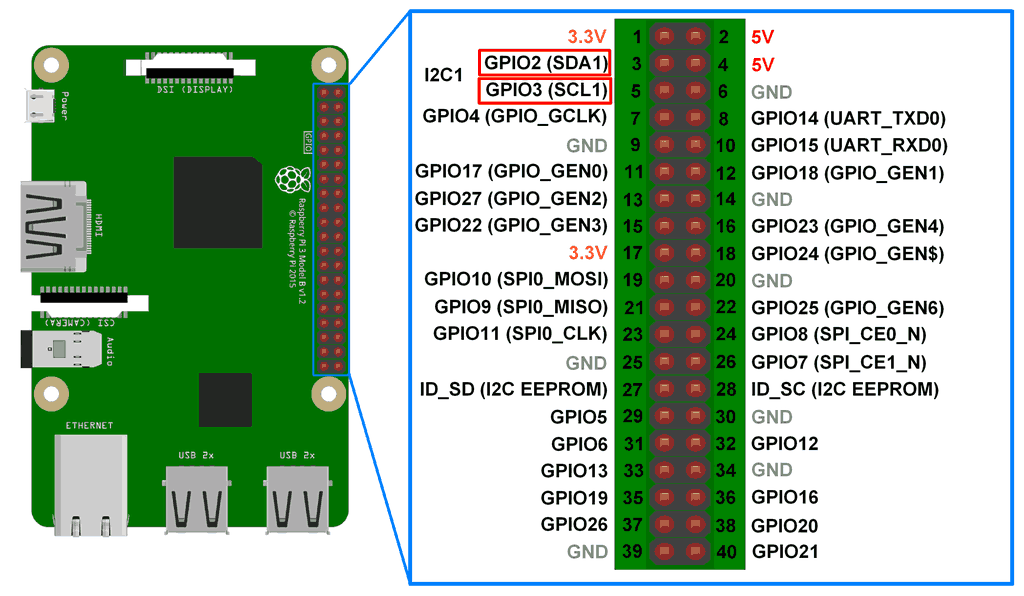
## klipper設定
### PRiをセカンダリーMCUとしてセットアップ
[Why use RPi as a secondary MCU?](https://www.klipper3d.org/RPi_microcontroller.html)
### printer.cfg
[ssd1306およびsh1106ディスプレイ](https://www.klipper3d.org/Config_Reference.html#ssd1306-and-sh1106-displays)
```
[mcu rpi]
serial: /tmp/klipper_host_mcu
[display]
lcd_type: ssd1306
# Set to either "ssd1306" or "sh1106" for the given display type.
i2c_mcu: rpi
i2c_bus: i2c.1
i2c_address: 60 #(0x3c)
#i2c_speed:
# Optional parameters available for displays connected via an i2c
# bus. See the "common I2C settings" section for a description of
# the above parameters.
#contrast:
# The contrast to set. The value may range from 0 to 256 and the
# default is 239.
#vcomh: 0
# Set the Vcomh value on the display. This value is associated with
# a "smearing" effect on some OLED displays. The value may range
# from 0 to 63. Default is 0.
#invert: False
# TRUE inverts the pixels on certain OLED displays. The default is
# False.
#x_offset: 0
# Set the horizontal offset value on SH1106 displays. The default is
# 0.
```
`contrast` `invert`で、輝度や白黒反転できることも確認。
# ロータリーエンコーダー
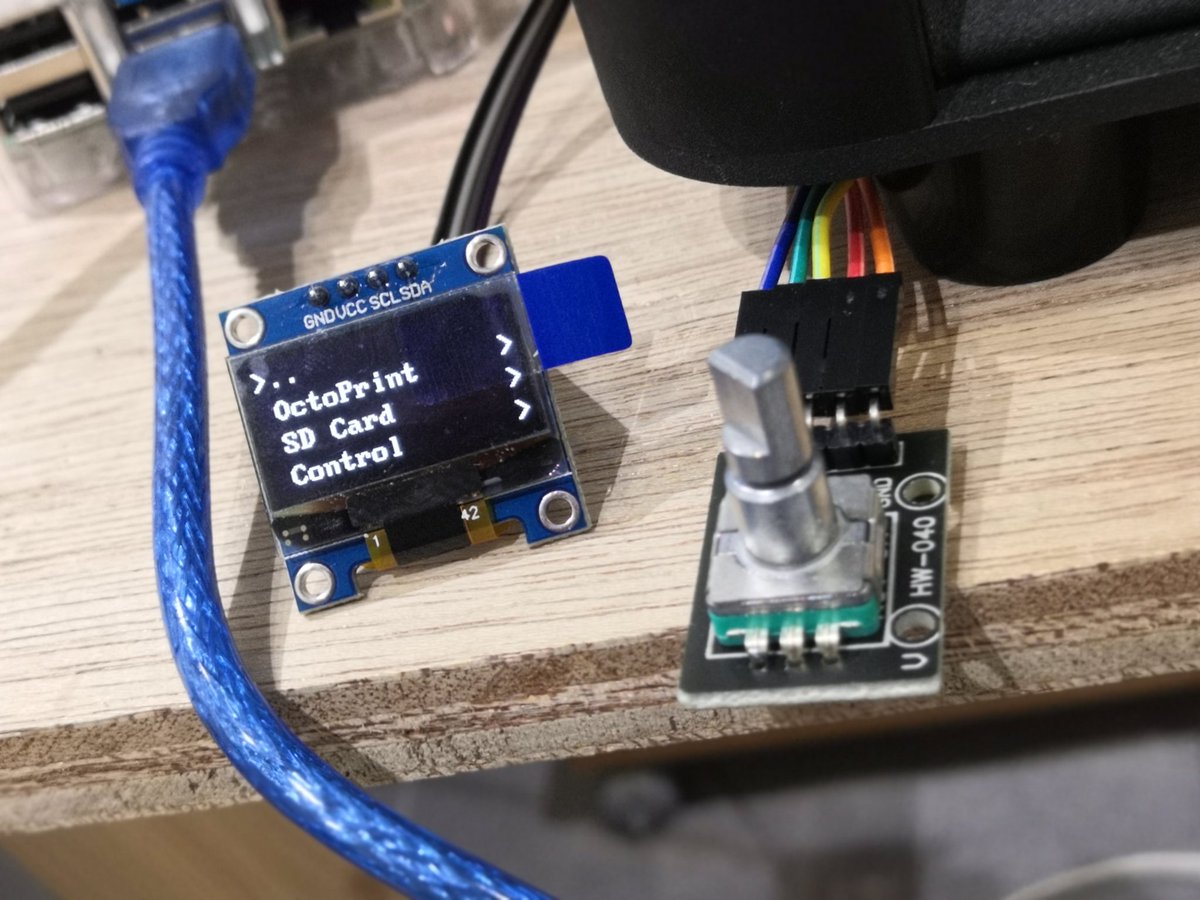
## 部材
[HiLetgo® 3個セット 回転式のエンコーダモジュール 360度 ロータリーコード モジュール エンコーダ](https://amzn.to/3eQ9aLR)
<a href="https://www.amazon.co.jp/gp/product/B014VUOP7S?ie=UTF8&psc=1&linkCode=li2&tag=seyaorg-22&linkId=cc671acdaf8115a3af0aa4546137192c&language=ja_JP&ref_=as_li_ss_il" target="_blank"><img border="0" src="//ws-fe.amazon-adsystem.com/widgets/q?_encoding=UTF8&ASIN=B014VUOP7S&Format=_SL160_&ID=AsinImage&MarketPlace=JP&ServiceVersion=20070822&WS=1&tag=seyaorg-22&language=ja_JP" ></a><img src="https://ir-jp.amazon-adsystem.com/e/ir?t=seyaorg-22&language=ja_JP&l=li2&o=9&a=B014VUOP7S" width="1" height="1" border="0" alt="" style="border:none !important; margin:0px !important;" />
## 参考
* [CircuitPython 10行プログラミング \(8\) ロータリ・エンコーダ \| 電子工作の環境向上](https://www.denshi.club/pc/python/circuitpython/circuitpython-10-1.html)
* [Klipperを試す \- いんくらyochさんの日記](https://inqra-yoch.hatenablog.jp/entry/20210210/1612965009)
## 配線
* GND --- GND
* GPIO17 --- CLK (A)
* GPIO27 --- DT (B)
* GPIO4 --- SW (button)
* 3.3V --- +
```
[display]
:
:
:
encoder_pins: rpi:gpio17, rpi:gpio27
click_pin: ^!rpi:gpio4
```
## ハマったポイント
購入したロータリーエンコーダーが、押し込んだ時のSWにプルアップ抵抗が付いていないものなので、GPIO側でプルアップを設定する必要があった。
しかし、ラズパイ4はプルアップ設定できるGPIOピンが限られているらしく、最初対応していないGPIO22を使ってクリック動作ができずハマった。
(ラズパイ4以外は、制限はないらしい)
[Raspberry Pi 4 の GPIO のプルアップについて](https://www2.denshi.numazu-ct.ac.jp/mirsdoc2/mirsmg4d/syst/num0012a/index.html)