# CLIPSTUDIO DOCUMENTATION: HOW TO USE CLIPSTUDIO TO CREATE CHARACTERS
#### <span style="color:#E74C3C">In this document, I domenstrate how to use Clip Studio Paint (previously known as Manga Studio) to create flat icons. </span>

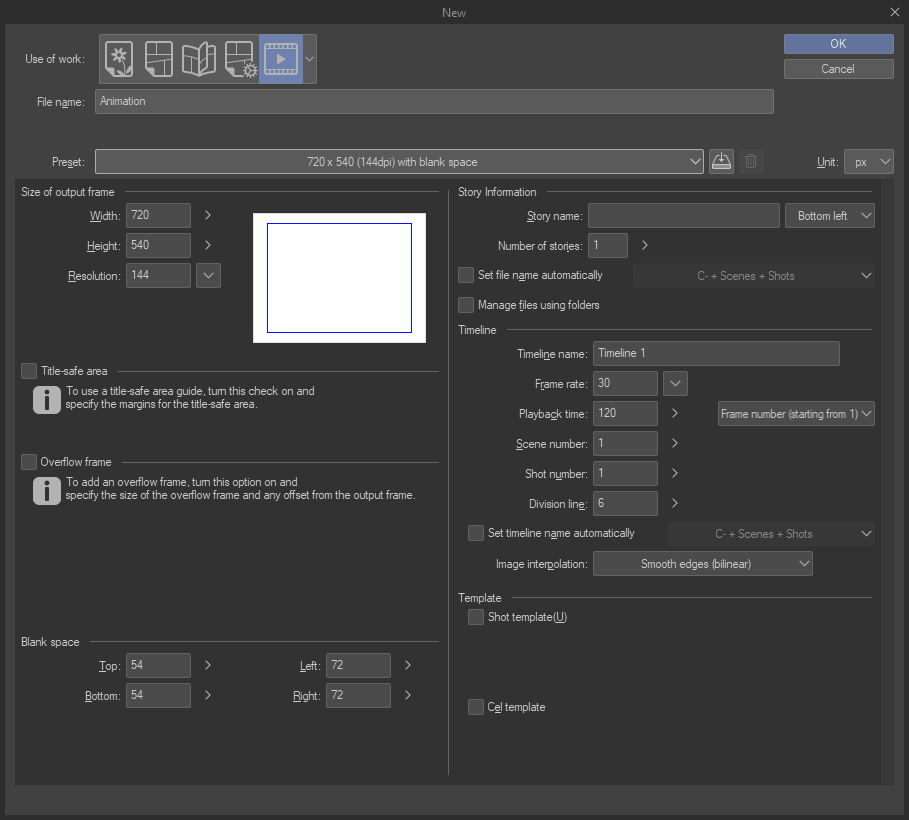
#### <span style="color:#E74C3C">Create a new file: Open Clip Studio Paint and create a new file by going to "File" > "New." Set the canvas size to the desired size for your icons. </span>
#### Select the "Pencil" tool: In the toolbar on the left side of the screen, select the "Pencil" tool. This tool allows you to draw freehand lines and shapes.
#### <span style="color:#E74C3C">Create a new file: Open Clip Studio Paint and create a new file by going to "File" > "New." Set the canvas size to the desired size for your icons. </span>
#### <span style="color:#E74C3C">Draw your icon: Use the Pencil tool to draw your icon. You can change the size and shape of the brush by clicking and dragging the cursor.</span>
#### <span style="color:#E74C3C"> Here is a pencial sketch I drew:</span>

#### <span style="color:#E74C3C">Add colors: Once you have completed your sketch, you can add colors by selecting the "Paint Bucket" tool from the toolbar. Click on the area you want to color and select a color from the color palette. Below are some demonstrations of how to color a sketch step by step. </span>

#### <span style="color:#E74C3C">Here is the colored character I drew:
</span>

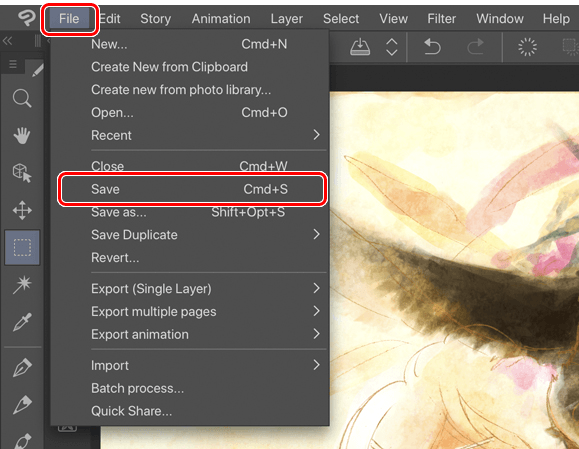
#### <span style="color:#E74C3C">Save your icons: Go to "File" > "Save" and save your icons in the desired file format. </span>