# A simple temperature and humidity IoT-project using the LoPy4 and Pybytes
In this project I create an IoT-device that measures the temperature and humidity, and then send it over WiFi and display it using the Pybytes platform.
---
Author: Oscar Fredriksson (of222ea)
Approximate time to complete: 3 hours
---
## Objective
I chose to make this project as a first project and introduction to the world of IoT. It seemed like a fitting project due to its relative simplicity and small scale.
Furthermore, when finished the device will serve the purpose of a connected thermometer (with the added capability of measuring the humidity aswell) and give me the ability to easily keep track of the temperature in my home.
In addition to the data being of interest in itself, this project will act as a great starting point and give me valuable insights into the IoT-field, whether I pursue it further or only for general knowledge.
## Material
In the table below is a list of all the material I used in this project, their specifications, where I aquired them and how much they cost. Below that, figures of everything is shown.
NOTE: I bought everything from Electrokit (electrokit.com) in a bundle specifically created for the course for which this project was made. Some of these components are no longer available at Electrokit as of this writing. For these cases the costs and links are to what I found after a quick google-search.
| Material | Specification | Cost(link) |
| ------------------- | ------------- | ---------- |
| LoPy4 with headers | A development board that is MicroPython-programmable with four connectivity bands. | €34.95(https://pycom.io/product/lopy4/) |
| Expansionboard V3.1 | Enables connection of the LoPy4 via USB to your computer. | €16.00(https://pycom.io/product/expansion-board-3-0/) |
| Breadboard | Reusable solderless construction base for prototyping electronics. | 59.00kr(https://www.electrokit.com/produkt/kopplingsdack-400-anslutningar/) |
| DHT11-sensor | Digital temperature and humidity sensor. Range:20-90%RH, 0-50°C. Accuracy:±5%RH, ±2°C. | 49.00kr(https://www.electrokit.com/produkt/digital-temperatur-och-fuktsensor-dht11/) |
| DS18B20-sensor | Digital temperature sensor. Range:-55°C to +125°C. Accuracy:±0,5°C. | 42.00kr(https://www.electrokit.com/produkt/temperatursensor-ds18b20/) |
| Soft jumper wires x65 | Electrical wire with pins at each end used to connect electrical components without soldering. Commonly used with breadboards. | 36.00kr(https://www.electrokit.com/produkt/kopplingstrad-byglar-for-kopplingsdack-mjuka-65st/) |
| Micro USB cable | USB2.0 cable with a USB A-male and USB micro B-male, for connection between expansionboard V3.1 and computer. Length: 1,8m | 39.00kr(https://www.electrokit.com/produkt/usb-kabel-a-hane-micro-b-5p-hane-1-8m/) |
 Fig. 1. LoPy4 with headers.
 Fig. 2. Expansionboard V3.1
 Fig. 3. Breadboard
 Fig. 4. DTH11-sensor
 Fig. 5. DS18B20-sensor
 Fig. 6. Soft jumper wires x65
 Fig. 7. Micro USB cable
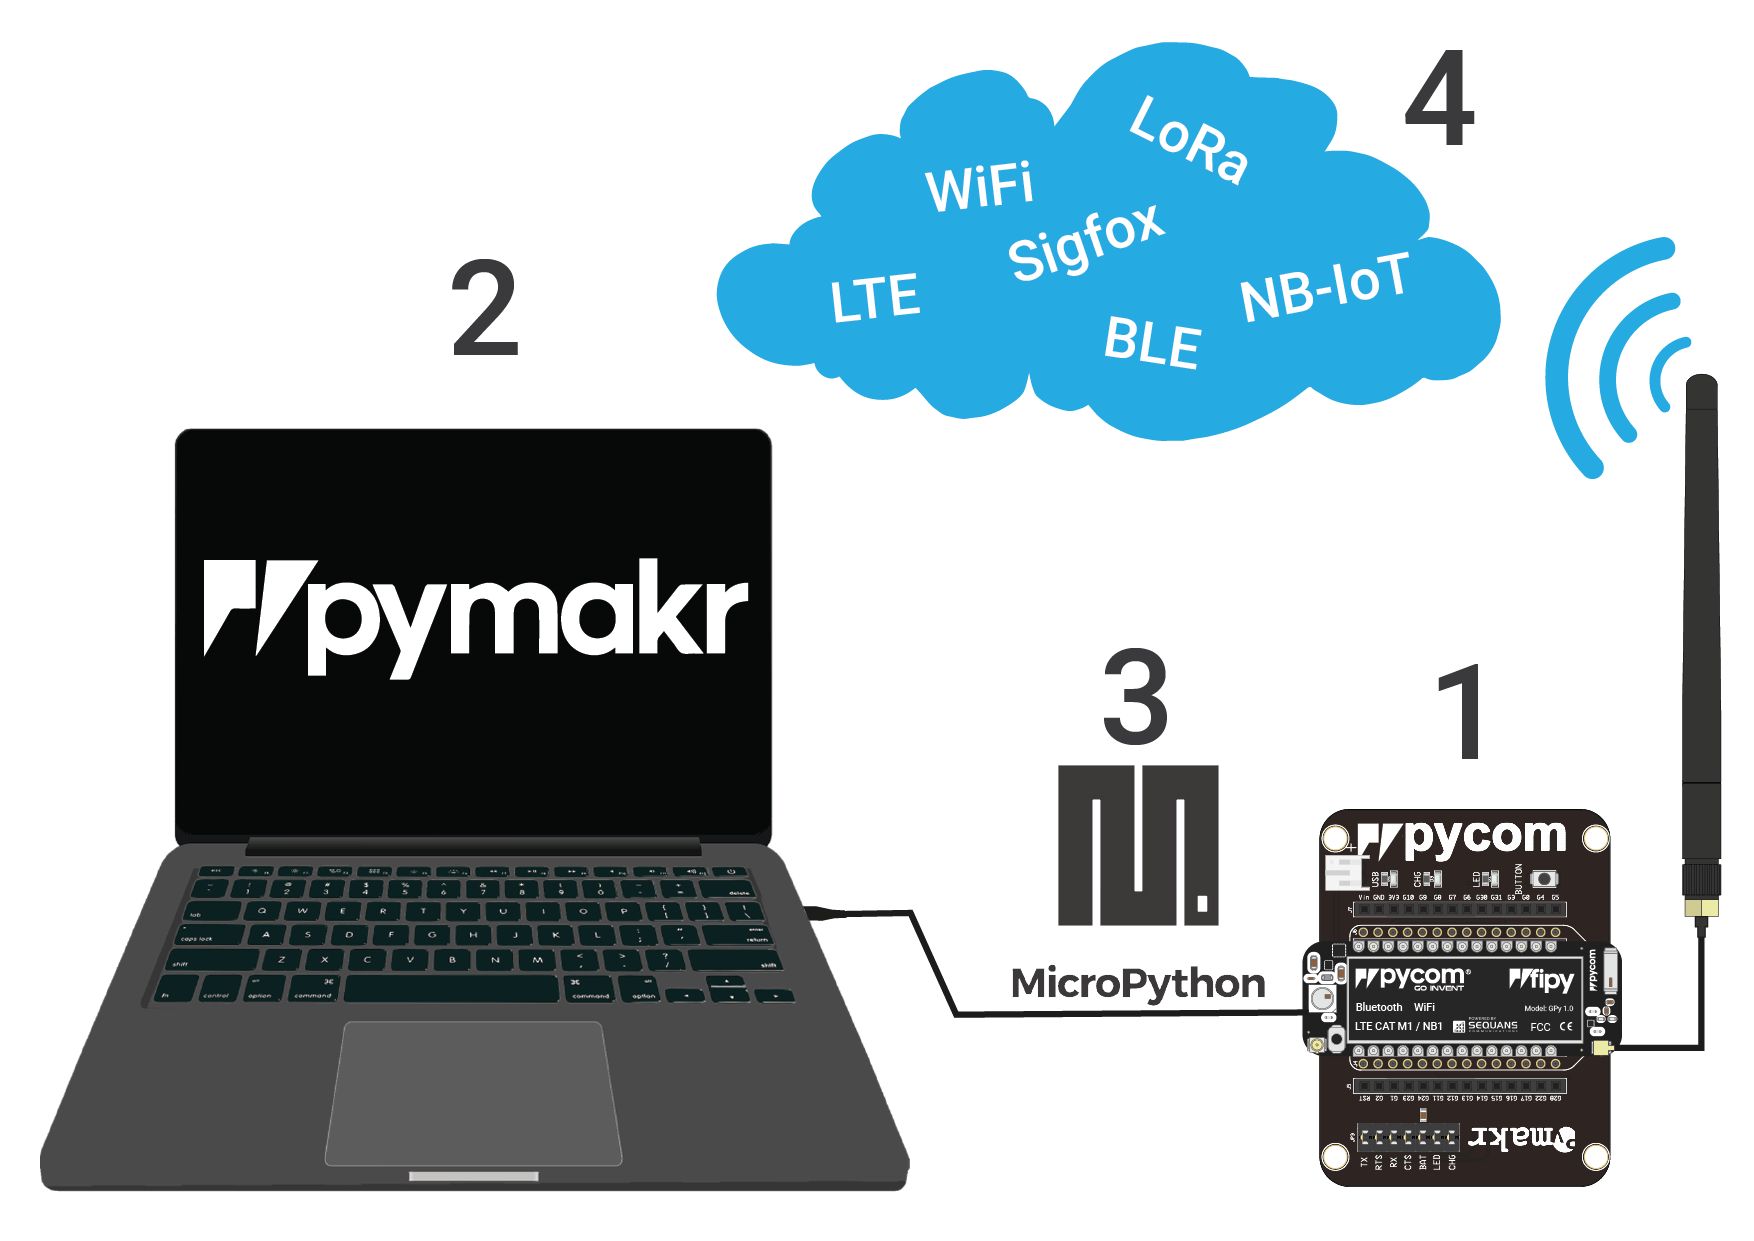
## Computer setup
The following steps was followed to set-up the computer and device for programming and connection to the Pybytes platform.
### Step 1 - Create an account on Pybytes
Go to [Pybytes](https://pybytes.pycom.io) and create an account.
### Step 2 - Add a device to Pybytes
Then follow the steps [here](https://docs.pycom.io/pybytes/connect/) to add the LoPy4 to your newly created Pybytes account. You will end up with a device profile in your account with an "Activation Token" that will be used in the following step.
### Step 3 - Flash the LoPy4 and connect it to Pybytes with the Pycom Firmware Updater
Before you can start programming your device you have to update its firmware to the latest stable version. Pycom provides an update tool to do this for different operating systems, which can be downloaded [here](https://docs.pycom.io/gettingstarted/installation/firmwaretool/). It can also be downloaded directly from the device profile on Pybytes that was created in the last step.
Pycom recommends you to first update the expansion board before connecting the LoPy4 to it. However, you can try to skip this step since the boards normally are updated when shipped. I skipped this step and encountered no problems for the rest of this project. Just keep in mind that if problems do arise, then out-of-date firmware on the expansion board could be the culprit.
When you have opened the Pycom Firmware Updater, follow [these](https://docs.pycom.io/pybytes/connect/quick/) steps to provision the device to Pybytes, and flash it with the pybytes firmware.
### Step 4 - Download Atom
To start programming the device an IDE must be downloaded and installed on your computer. For this project the free software [Atom](https://atom.io) was chosen.
### Step 5 - Install the PyMakr plug-in in Atom
Follow the steps described on [this](https://docs.pycom.io/pymakr/installation/atom/) page to install PyMakr. This will give you access to the REPL (Read Evaluate Print Line) which will allow you to run code on the device line by line. In addition to this, it allows you to run scripts that you have written in Atom and also upload them to your device where they will run. For a full description of the features of PyMakr go [here](https://docs.pycom.io/pymakr/toolsfeatures/).
## Putting everything together
Now when the LoPy4 is connected to Pybytes and can be programmed it is time to connect a few sensors to the device with the jumper wires so we can start collecting temperature and humidity data.
Both sensors are supplied with 3.3V from the LoPy4 connected to the vertical bus strip on the right side and ground connected to the vertical bus strip on the left side of the breadboard. Pins P23 and P22 are used for data for the DHT11- and DS18B20-sensors respectively. In the circuit diagram below you can see the wiring of both sensors to the LoPy4 using the breadboard in detail.

The LoPy4 itself is supplied with power from the USB-connection to my computer. This can be exchanged for battery power if you want to be able to move the device around your house, away from your computer. The expansion board has a JST connector to which you can connect a battery holder with the correct JST connector. As it is, the device is limited to measuring sensor data close by the computer and as such is more of a development setup.
## Platform
For this project the platform chosen to store and display the data from the device is Pybytes, which is Pycoms own platform. As such it is easy to use with Pycoms different development boards, such as the LoPy4.
It is a free cloud based platform, and it stores the data for 30 days. Features include visualising the data in the form of tables or graphs on a dashboard. It is also possible to display the geographic location of the device. If you want your data to persist for a longer period of time there are options to set up integrations with Pybytes.
In this project only one device has been connected to Pybytes but it is possible to add multiple devices and view the status of your whole fleet of devices. So Pybytes can still be used if you wish to scale this project to multiple temperature and humidity sensors around your house.
## The code
In code supplied below I make use of two pre-written libraries. One for the [DHT11](https://github.com/iot-lnu/applied-iot-20/blob/master/sensor-examples/DHT11-22/lib/dht.py)-sensor and one for the [DS18B20](https://github.com/pycom/pycom-libraries/blob/master/examples/DS18X20/onewire.py)-sensor. Download these and store them in the lib-folder of your project. Then copy the code below into your main.py-file.
```python=
import pycom
import time
from machine import Pin
from dht import DHT
from onewire import DS18X20
from onewire import OneWire
# Turn off blinking LED
pycom.heartbeat(False)
# Create the DHT object and connect DHT11 data line to pin P23
# Type 0 = dht11
# Type 1 = dht22
dth = DHT('P23', 0)
time.sleep(2)
#DS18B20 data line connected to pin P22
ow = OneWire(Pin('P22'))
ds18 = DS18X20(ow)
# While-loop reading and sending data every 10 minutes
while True:
# Take a reading from the DHT11 andmake sure it is valid
dth_result = dth.read()
while not dth_result.is_valid():
time.sleep(.5)
dth_result = dth.read()
# Take 5 readings from the DS18B20, make sure they are not "None" and
# choose the median value to get rid of outliers
ds18_temps = []
for i in range(5):
ds18.start_conversion()
time.sleep(1)
ds18_temp = ds18.read_temp_async()
while not ds18_temp != None:
time.sleep(.5)
ds18_temp = ds18.read_temp_async()
ds18_temps.append(ds18_temp)
ds18_temps.sort()
ds18_temp = ds18_temps[2]
# Print the readings in the REPL and send them to Pybytes
print('DHT11-Temp:', dth_result.temperature)
print('DHT11-RH:', dth_result.humidity)
print('DS18B20-Temp: ', ds18_temp)
pybytes.send_signal(1,dth_result.temperature)
pybytes.send_signal(2,dth_result.humidity)
pybytes.send_signal(3,ds18_temp)
time.sleep(600)
```
## Transmitting the data / connectivity
While transmitting the data from the device there are a few considerations to take:
1. How often should the data be sent?
2. Which wireless protocol should be used for transmitting the data?
3. Which transport protocol should be used for transmission?
The first question partly concerns power usage. The LoPy4 and the sensors all have lower power usage when they do not measure or execute code. In the case of this project however, where the power comes from the computer, the consideration is instead mainly about how often the data is interesting to read. Since the temperature and humidity is not likely to vary much second to second or even minute to minute, the choice was made to read and send data every ten minutes.
The second question came down to ease of implementation. The LoPy4 have four bands of connectivity and LoRa was considered but abandoned since no gateway was within range of my location. So WiFi was the sole wireless protocol used in this project.
As for the third question, since the LoPy4 was flashed with the pybytes firmware it contains the pybytes library and automatically connects to the Pybytes MQTT broker on boot, and sends signals using that transport protocol.
## Presenting the data
After the data is sent to Pybytes, the received signals are named and visualized using line charts on the dashboard as seen in the image below.

In addition to the values from the sensors, the dashboard also lets you keep track of the number of bytes received over the last hour and day. Finally the location of the device is displayed using Google Maps.
The data is saved every ten minutes and stays for one month in the Pybytes database. The dashboard could therefore be changed or expanded to show the temperature and humidity over several days or even weeks rather than only the last day. So it is possible to adapt the dashboard based on your wants and needs.
## Finalizing the design
Now the project is done! The finished device should look something like this when all is said and done:


This was a fun project that, because of its relative simplicity yet fulfilling results, was a great way to get introduced to IoT.
It is also a good project to build upon. The most natural first extension of the project to me seems to be to make it portable with batteries as the power source rather than relying on the computer. Futhermore, investing in a LoRa gateway and making the device able to at least have a back-up connectivity solution for when the WiFi might be down is also a possible improvement on the project. So is adding more devices to the fleet, different or more precise sensors and adding protective casing so the device can be used outside. The possibilities really are many. So get building!
 Sign in with Wallet
Connect another wallet
Sign in with Wallet
Connect another wallet