# Linux Tools
###### tags: `firmware_hardware` `electrical_system` `NTURT`
Part of this page is under construction.:penguin:
----------------
Using IDEs for embedded systems is nice, but it is also possible to use seperate tools for everything regarding STM32 programming. Here are a few useful software to use on Linux, but it also possible to utilize them in Windows and OSX. I will list them in the order of a typical workflow:
1. meta-builder: STM32CubeMX
2. compiler and builder: arm-none-eabi-gcc / GNU make
3. programmer: stlink-tools / openOCD
4. debugger: openOCD / GDB-multiarch
5. Serial Monitor: screen
## Installation
Surprisingly, all of the above tools except STM32CubeMX can be installed by common package managers, such as apt, pacman and rpm. If you are on a linux machine, simply calling your usual package manager is enough to install these software.
```sh
sudo apt install arm-none-eabi-gcc # e.g. on a Debian-based machine
```
> Note:
> arm-none-eabi-gcc is not available for Ubuntu 22.04 out of the box, run this command first: `sudo apt-get dist-upgrade`
> source: [link](https://github.com/travisgoodspeed/md380tools/blob/master/docs/ubuntu.md)
If you are on windows, you might have to figure out how to install softwares on mingw, cygwin or WSL. I have not test out these software on Windows yet. Pls help me record it if you had any trouble using the tools :palms_up_together:
If you have a mac, pls help me record how to install these software as well:cry:
#### CubeMX
We have to go to the official page at ST's website to get CubeMX.
:::danger
to be finished...
:::
## Meta-builder
### STM32CubeMX
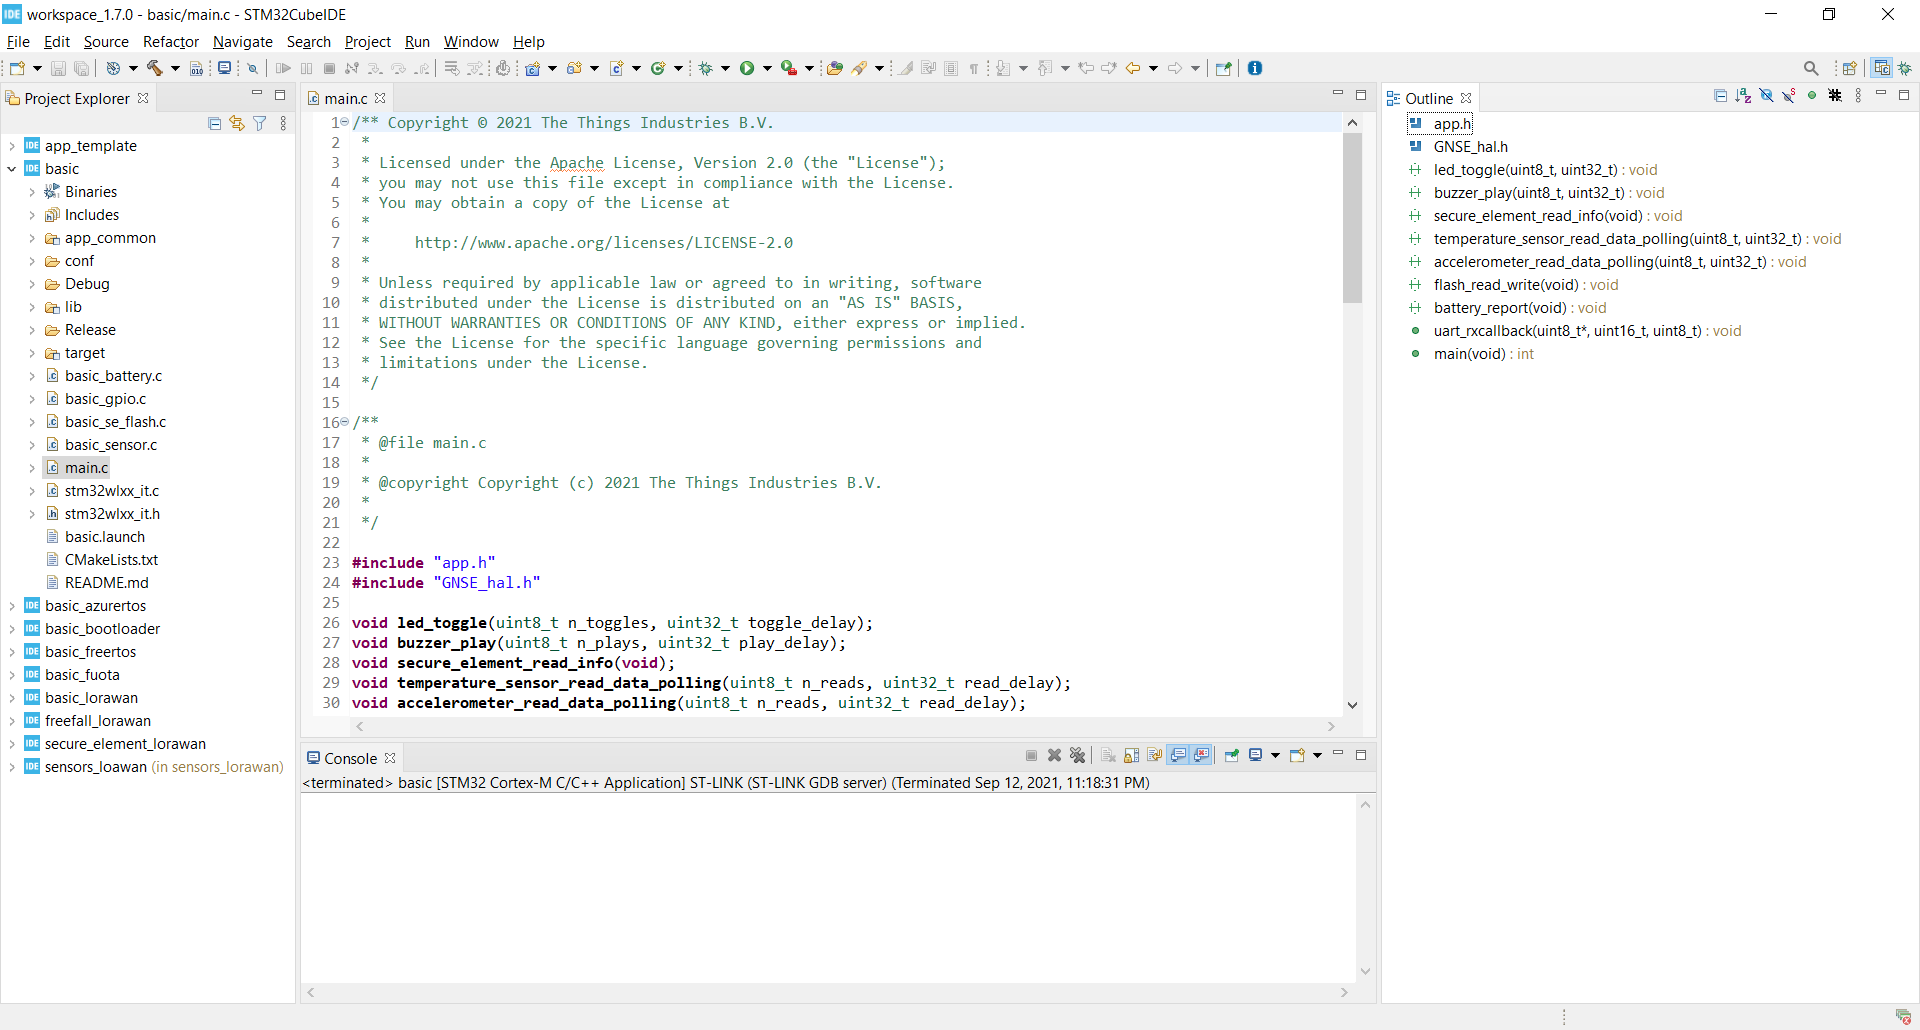
With a typical workflow using CubeIDE, we usually start with configurating the project wizard like so:


before saving the .ioc file and start writing C/C++ in the editor.
The function of STM32CubeMX is very simple: it is essentially just the project generation wizard in CubeIDE made into a standalone program. However, one important difference between the .ioc editor in CubeIDE and CubeMX is that CubeMX can generate project folders and files for IDE and toolchains other than CubeIDE. For example, we can use CubeMX to generate project folders for EWARM, MDK, or tell it to just generate a folder with only the source files and a Makefile.
----
After first opening up CubeMX, you would be greeted by this page:

Just clicking "ACCESS TO MCU SELECTOR" would take us to the usual MCU selection page.
After properly configuring everything, go to the "Project Manager" tab to choose what toolchain we want to use,

You should see "Toolchain / IDE" in the project settings block. There we can choose "STM32CubeIDE" to continue using CubeIDE exactly the same way we did before, but here we want to choose "Makefile" since the purpose of this to use Linux tools to do STM32 programming.
After filling out "Project Name" and clicking "GENERATING CODE", you should have a folder at the Project Location that look similiar to this:
```
.
├── Core
│ ├── Inc
│ └── Src
├── Drivers
│ ├── CMSIS
│ │ ├── Device
│ │ │ └── ST
│ │ │ └── STM32G4xx
│ │ │ ├── Include
│ │ │ └── Source
│ │ │ └── Templates
│ │ └── Include
│ └── STM32G4xx_HAL_Driver
│ ├── Inc
│ └── Src
├── G431.ioc
├── Makefile
├── startup_stm32g431xx.s
└── STM32G431KBTx_FLASH.ld
```
This project tree is almost the same as that for STM32CubeIDE with the only difference being ".project" is replaced by "Makefile".
Makefile is a config file for an opensource build tool called "make" which we will use to build the binary file for the MCU to run. make does not compile on its own. It still depends on specific compilers, which is arm-none-eabi-gcc in our case.
## Compiler and Builder
### arm-none-eabi-gcc
arm-none-eabi-gcc is an open source cross-compiler for embedded arm processors based on gcc. It is also the compiler used on almost every open source embedded arm IDEs out there. We can directly use it to compile programs like regular gcc, but we most likely won't because
1. 1 or 2 source files usually is not enough to make a program since there are no operating system on our chip and the commands would be too long to compile every source file together.
2. Even with just 1 file, the shell command with all the flags looks like this:
``` sh
arm-none-eabi-gcc -c -mcpu=cortex-m4 -mthumb\
-mfpu=fpv4-sp-d16 -mfloat-abi=hard\
-DSTM32G431xx -DUSE_FULL_LL_DRIVER -DHSE_VALUE=8000000
# This is even not the full list of the flags
```
This is why it is usually preferred to use build tools such as make to automate the chore of typing all this out.
### make
If you have a Makefile project successfully generated by CubeMX and arm-none-eabi-gcc installed, you can enter
``` sh
make
```
in your shell at the top level of your project directory. After that, a subdirectory called "build" should show up.
``` bash
foo@bar: ~/stm32/test$ ls build
test.bin main.d
test.elf main.lst
test.hex main.o
test.map ...
```
we only care about the .bin, .hex and .elf files here, because they are actually the compiled binary of our source files!
---
Make is a software specialized in automating building software binary from source files. It takes a file called "Makefile" as input, and execute compilers, assemblers and linkers to make binaries as stated in the Makefile.
Makefile is a script that tells make to do certain stuff. Its syntax mainly consists of "target", "dependency" and "commands". e.g.
```sh
clean: # target
rm -rf $(BUILD_DIR) # command
# note: $(BUILD_DIR) tells make to dereference the variable BUILD_DIR
```
tells make to execute ```rm -rf``` on the build directory when we specify ```make clean``` in the shell
For the Makefile generated by CubeMX, there are only 2 targets that should be concerned:
1. all(default) compile and link the source files into .bin, .hex, and .elf
2. clean delete all compiled files.
## Programmer
### stlink-tools
stlink-tools is a whole set of open source command line utilities that focuses on STM32 development. There are st-flash, st-info, and many more. Here we only take a look at st-flash.
st-flash is a tool that flash binaries into STM32 chips. For example, after compiling our source code and obtain a new .bin file inside build, we can type
```sh
foo@bar: ~/stm32/foobar$ st-flash --reset write build/foobar.bin 0x08000000
```
This tells st-flash to put the STM32 into **reset** and **write** the binary **build/foobar.bin** into the memory of the attached stm32, starting from address **0x08000000**(starting address of flash)
___
If you have a Makefile generated by CubeMX, you can even append a new rule at the buttom of the Makefile like so to automate the process.
``` sh
install:
st-flash --reset write $(BUILD_DIR)/$(TARGET).bin 0x08000000
```
## Debugger

If you have used GDB or anything that wraps around it, you should know how debugging is like: we run the program under gdb, pause the program at certain breakpoints, check value of variables, step through or into functions, etc. With a normal PC program that runs under the OS, GDB can simply read the debug file, run the program, and process the user input all in the same environment. However, in an embedded environment, there's no way for GDB to directly run on the MCU and interact with the hardware. So, a few more software and hardware components are needed to connect everything together. From top to bottom we have:
1. GDB: gdb understands the source code and user input, but it does not know how to talk to the MCU hardware. So, we will control the debug process by telling gdb what to do, and gdb will translate the user input and tell another program to, for example, pause at a part of the program or read a specific memory address.
2. opeocd: openocd is another piece of software that should be run are the host computer. OpenOCD understands hardware, but not the source code, so its job here is to control the hardware based on the signals coming from gdb, and report the state of the MCU back to GDB.
3. STLink: STLink is a physical piece of hardware that act as a probe that monitors the internal state of the MCU, and reports it back to the host PC. You can think of it as an oscilloscope, but it probes registers in an MCU instead of voltage signals on a breadboard. OpenOCD can talk to this piece of hardware through USB, and STLink will talk to the MCU through specialized protocols designed for debugging such as serial wire or JTAG.
Let's see how to use these programs. First, remember to plug your stlink to your PC and MCU, and prepare a program that you want to debug.
### openocd
to open up openocd server, the simplest way is:
```sh
openocd -f /usr/.../stlink.cfg -f /usr/.../stm32g4x.cfg
```
-f flag specifies the config file that we want to use. Here we want to sepcify the config file for the probe, then the MCU.
When we installs openocd, some sample config files template should have come together in the package located in ```/usr/local/share/openocd/scripts```. For stlinks and stm32g431, the files are ```scripts/interface/stlink.cfg``` and ```scripts/target/stm32g4x.cfg``` respectly.
(FYI, We can also write our own config that imports these config files. Pls see other resouces online for more.)
After successfully opening up openocd, it should take away the terminal and say something like
```
...
**Info : Listening on port 3333 for gdb connections**
adapter speed: 950 kHz
target halted due to breakpoint, current mode: Thread
xPSR: 0x21000000 pc: 0x08000460 msp: 0x20000720
Info : Listening on port 6666 for tcl connections
**Info : Listening on port 4444 for telnet connections**
...
```
OpenOCD will open up a few network ports to accept connection from other applications and use the shell we open it up with to output its status. The port number 3333 and 4444 is important here since we will need them to connect back to openocd from another program. To interact with OpenOCD, we have to open up a new shell and use some other app. Here we will use GDB.
### gdb-multiarch
.bin, .hex, and ,elf are all files containing the machine code, but there are a few differences:
1. .bin is the raw binary that is exactly the content that would be flashed into the flash.
2. .hex is the binary file written in hex numbers and encoded in ASCII. For example, if there is a line in .bin called 01001010, the same line would be "8A" in the .hex file.
3. .elf is special here because it contains not only information about the machine code, but also the source code. An elf file would answer question such as "At which memory address is the global variable ```uwTick```?" and "How many line of assembly is used to execute ```y = *x/3+5```?"
Regular GDB actually don't understand that many chip architectures, so here we need to use a different flavor of gdb called gdb-multiarch.
To fire up gdb, we use
```shell
gdb-multiarch $(BUILD_DIR)/$(TARGET).elf
```
the .elf file should contain the same information as the binary that is flashed into the chip so that information inside GDB would align with the actual program. If you have used make and CubeMX to build the binaries, then you should have a .elf file at ```build/project_name.elf```.
After opening up gdb, we have to connect to OpenOCD to be able to talk to the hardware since we don't directly run the program on the host PC. type:
```
target extended-remote localhost:3333
```
Here GDB would connect to a remote server and switch the debug target to the server that is actually running the program to be debugged instead of the current PC. Here the remote server is actually just OpenOCD, so we input localhost instead of a URL. Note that you will need to use a different port number instead of 3333 if your openocd exposed a different port. You can check the port from OpenOCD's output as shown in the previous section.
After this, we can use all the usual gdb commands to debug. Here are a few common ones.
| command | what does it do | example |
| -------- | -------- | -------- |
| run / r| restart or start the program to be debugged| r |
|list / l|list the program|l|
|break / b|set a break point at a function or a line|break main|
|continue / c|let the program run freely again after pausing|c|
|lay next|change the TUI layout to the next type|lay next|
### using OpenOCD to flash programs
OpenOCD is a debugger, but it is also possible to use to flash programs on to an MCU. An advantage of using OpenOCD instead of st-flash is that we can use many other debugging probes besides STLinks(such as DAPLinks) that is supported by OpenOCD to flash programs.
OpenOCD has some built in scripts that can do the flashing job for us. Check it out [here](https://openocd.org/doc-release/html/Flash-Programming.html).
1 usage example is:
```bash=
openocd -f target/stm32f1x.cfg -f interface/stlink.cfg -c \
"program build/blink.elf verify reset exit"
```
We specify the target chip and the debug probe we use as before, then use the *-c* flag to call the built-in flashing script inside OpenOCD.
## Serial Monitor
### screen
screen is a command line tools used to emulate a serial interface.
Its usage is very simple:
```sh
screen /dev/ttyACM0 115200
```
The first parameter is the device to talk to. After plugging in the serial device to your PC, look for ttyACM or ttyUSB in /dev. In my case, my Nucleo-G431 showed up as ttyACM0, so here I use /dev/ttyACM0.
The second paramter is the baud. This should corrispond to the speed set in your device. In my case it is 115200 baud.
___
Just like vim, screen is a TUI app that occupies the entire terminal real estate. Just like vim, screen has a very unintuitive way to exit.

To exit screen, first enter "Ctrl+A" to enter command mode. Then without entering ":", type quit and Enter to quit.
 Sign in with Wallet
Connect another wallet
Sign in with Wallet
Connect another wallet