---
tags: Reports
---
# Bioinformatics on Silicon chips (M1/M2/M3) - Step-by-step setup tutorial
***********************
- [Reset to factory settings](#Reset-to-factory-settings)
- [First run](#First-run)
- [Install developer tools and homebrew](#Install-developer-tools-and-homebrew)
- [Install Rosetta2](#Install-Rosetta2)
- [Install git and conda](#Install-git-and-conda)
- [Install git](#Install-git)
- [Install conda](#Install-conda)
- [Install mamba](#Install-mamba)
- [Install R](#Install-R)
- [Install OpenMP for multi-threading compatibility](#Install-OpenMP-for-multi-threading-compatibility)
- [Verify whether multi-threading is working](#Verify-whether-multi-threading-is-working)
- [Test X11 with ggplot2](#Test-X11-with-ggplot2)
- [Install Docker and Docker Desktop](#Install-Docker-and-Docker-Desktop)
- [Uninstall Docker](#Uninstall-Docker)
- [Install Microsoft 365](#Install-Microsoft-365)
- [Other resources](#Other-resources)
***********************
**<span style="color:red">NOTE:</span>** these methods have been tested only on M1 chip but it should be reasonable to think that they will work the same way on newer chips belonging to the Silicon family. The tested OS is [Sonoma 14.3](https://developer.apple.com/documentation/macos-release-notes/macos-14_3-release-notes 'Sonoma 14.3'), admin rights required.
<br>
## Reset to factory settings
If you need to reset the laptop to the factory settings, please follow this [guide](https://support.apple.com/en-us/102664 'Erase your Mac and reset it to factory settings').
### First run
You will need an ethernet adapter for the first run:
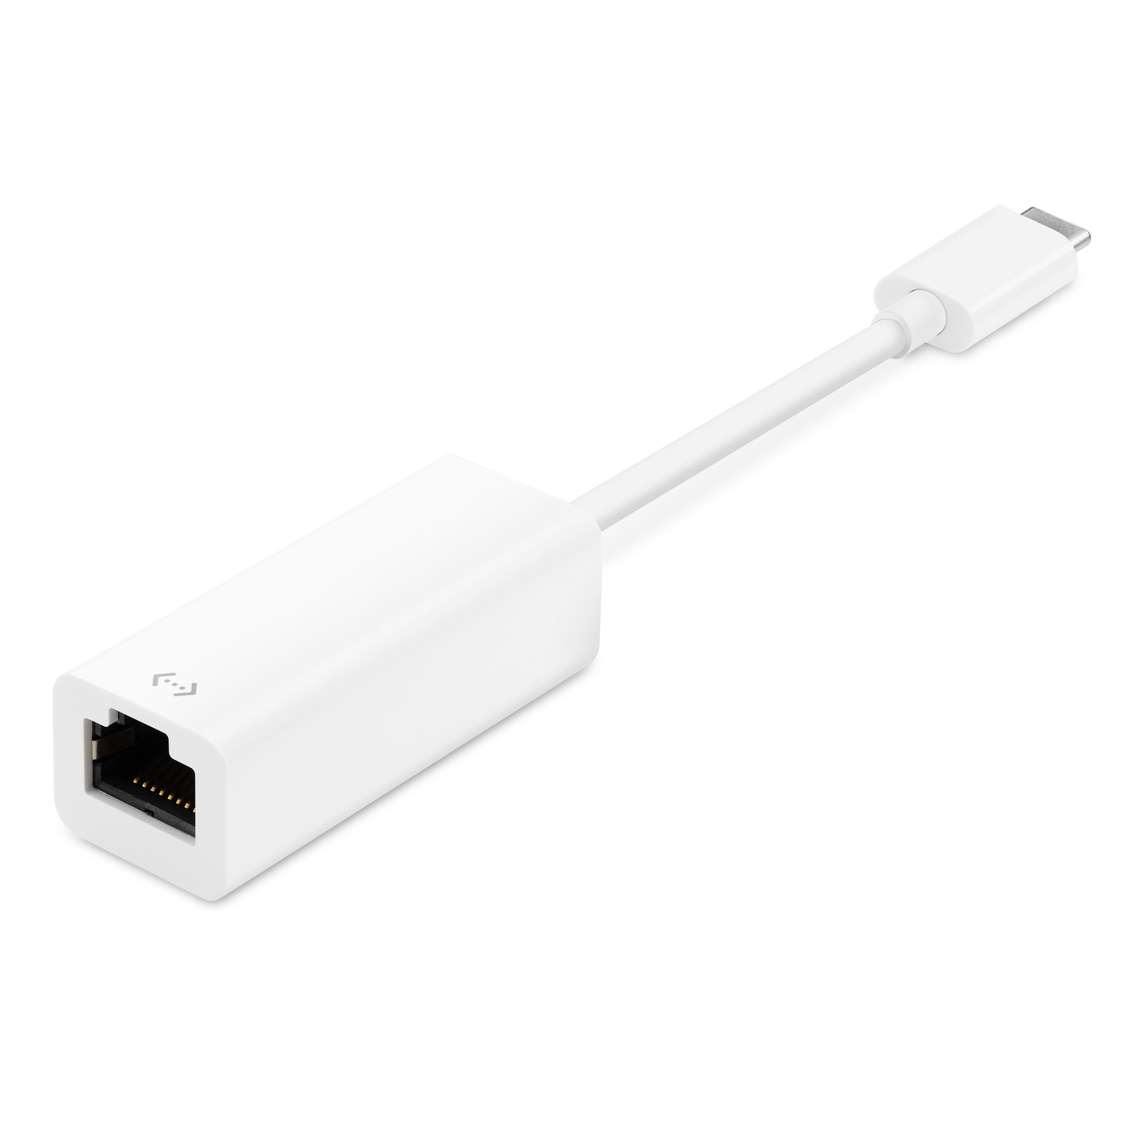
This will avoid the certificate error due to non secured wi-fi connections (thanks *Fredrik* for the intuition!):

MacOS will then allow you to continue with the configuration of a new account and to upgrade to the latest version of the OS.
<br>
## Install developer tools and homebrew
You will need Homebrew to facilitate the installation of some packages:
```bash=
xcode-select --install
/bin/bash -c "$(curl -fsSL https://raw.githubusercontent.com/Homebrew/install/HEAD/install.sh)"
brew install zsh
```
If you want to install the alternative terminal for macOS [iterm2](https://iterm2.com/ 'iterm2') just do:
```bash
brew install --cask iterm2
```
### Install Rosetta2
Rosetta2 is necessary to run older non-native Intel x86 apps on laptops equipped with Apple Silicon chips (use the second command if you want to skip the license):
```bash=
# check license and install
softwareupdate --install-rosetta
# or skip the license check
/usr/sbin/softwareupdate --install-rosetta --agree-to-license
```
Sources:
1. [Homebrew](https://brew.sh/ 'brew')
2. [Rosetta2](https://osxdaily.com/2020/12/04/how-install-rosetta-2-apple-silicon-mac/ 'rosetta2')
<br>
## Install git and conda
### Install git
The best way to is to use homebrew:
```bash=
brew install git
git --help # to check whther it is working
```
To avoid to add the file *.DS_Store* to the commit, just add this string to the *.gitignore* file:
```bash
**/.DS_Store
```
### Install conda
We need to install [oh-my-zsh](https://ohmyz.sh/ 'oh-my-zsh') first:
```bash
sh -c "$(curl -fsSL https://raw.githubusercontent.com/robbyrussell/oh-my-zsh/master/tools/install.sh)"
```
**<span style="color:red">NOTE:</span>** if you like to use mamba, you can skip this section and move directly to next session as micromamba will replace the conda environment. If you want to proceed with conda, then go ahead with the section but in case you will install micromamaba in the future it is worth to know that you can not have both acrtive at the same time.
We can install conda via homebrew:
```bash
brew install --cask anaconda
```
The path where the binaries will be extracted will be displayed on the terminal. For example in my case it is:

so I will need to add the path to my `~/.zshrc` file:
```bash
export PATH="/opt/homebrew/anaconda3/bin:$PATH"
```
Just change this path accordingly to what you have on your terminal and remember to point to the `/bin` foolder in anaconda. Once you are done, you either close the window and open a new terminal or reload the shell and start python to test that everything is working fine:
```bash=
source ~/.zshrc
python
```
### Install mamba
Mamba can be installed via conda with:
```bash
conda install -n base --override-channels -c conda-forge mamba 'python_abi=*=*cp*'
```
However this method is not recommended, as discussed in the [doc](https://mamba.readthedocs.io/en/latest/installation/mamba-installation.html 'mamba').
A better way is to install a micromamba environment using homebrew (you might change the path in the second command to match your installation):
```bash=
brew install micromamba
/opt/homebrew/opt/micromamba/bin/micromamba shell init -s zsh -p ~/micromamba
```
Then you can activate the environment just as you do with conda:
```bash=
# activate mamba env
micromamba activate
# deactivate mamba env
micromamba deactivate
```
Sources:
1. [git](https://www.atlassian.com/git/tutorials/install-git 'git')
2. [conda](https://medium.com/ayuth/install-anaconda-on-macos-with-homebrew-c94437d63a37 'conda')
3. [zsh](https://medium.com/ayuth/iterm2-zsh-oh-my-zsh-the-most-power-full-of-terminal-on-macos-bdb2823fb04c 'zsh')
4. [micromamba](https://mamba.readthedocs.io/en/latest/installation/micromamba-installation.html 'micromamba')
5. [.DS_Store](https://brandoncaples.com/martech/2022/git-remove-ds-store '.DS_Store')
<br>
## Install R
Download the arm64 R package [here](https://cran.r-project.org/bin/macosx/ 'R-4.3.2-arm64.pkg') and install it.
### Install OpenMP for multi-threading compatibility
1. Install OpenMP:
```bash=
brew install pkg-config
pkg-config --libs zlib (should return -lz)
brew install libomp
```
2. Create a directory and an empty file named Makevars:
```bash=
mkdir -p ~/.R
touch ~/.R/Makevars
```
3. Edit the Makevars file with nano (or any other editor):
```bash
nano ~/.R/Makevars
```
4. Add the following lines and save the Makevars file:
```bash
LDFLAGS += -L/opt/homebrew/opt/libomp/lib -lomp
CPPFLAGS += -I/opt/homebrew/opt/libomp/include -Xpreprocessor -fopenmp
```
5. If you like to have RStudio you can download it from [here](https://posit.co/download/rstudio-desktop/ 'posit.co') (please be sure that Rosetta2 is installed first).
### Verify whether multi-threading is working
To verify that OpenMP is working, the easiest way is to install the library *data.table*:
```bash
install.packages("data.table", type = "source")
library("data.table")
```
If the previous steps were successiful, you <span style="color:red">won't</span> have this warning when you load the library:

### Test X11 with ggplot2
X11 starts a graphics device driver for the X Window System. To test that it is working fine we can try to plot a basic chart using ggplot2. First install BiocManager:
```bash
if (!require("BiocManager", quietly = TRUE))
install.packages("BiocManager")
BiocManager::install(version = "3.18")
```
Then install the required libraries such as ggplot2 (or tidyverse):
```bash
BiocManager::install(c("ggplot2", "dplyr", "hrbrthemes", "viridis"))
```
Try to plot a chart:
```bash=
# Libraries
library(ggplot2)
library(dplyr)
library(hrbrthemes)
library(viridis)
# The dataset is provided in the gapminder library
library(gapminder)
data <- gapminder %>% filter(year=="2007") %>% dplyr::select(-year)
# Most basic bubble plot
data %>%
arrange(desc(pop)) %>%
mutate(country = factor(country, country)) %>%
ggplot(aes(x=gdpPercap, y=lifeExp, size=pop, fill=continent)) +
geom_point(alpha=0.5, shape=21, color="black") +
scale_size(range = c(.1, 24), name="Population (M)") +
scale_fill_viridis(discrete=TRUE, guide=FALSE, option="A") +
theme_ipsum() +
theme(legend.position="bottom") +
ylab("Life Expectancy") +
xlab("Gdp per Capita") +
theme(legend.position = "none")
```
Look at the result:

Sources:
1. [OpenMP](https://github.com/Rdatatable/data.table/issues/5419 'Instructions for building from source for OpenMP support on Apple Silicon / M1 / arm64 under Monterey 12.4')
2. [Makevars file](https://github.com/Rdatatable/data.table/issues/4437 'creating .R directory and Makevars file')
3. [Bubble plot](https://r-graph-gallery.com/320-the-basis-of-bubble-plot.html 'bubble plot')
<br>
## Install Docker and Docker Desktop
The easiest way to make Docker work on silicon chips is through the Docker Desktop app. However, downloading the installer directly from the website:

even if the Apple Chip has been correctly selected, will result in the following error:

The best way to install it then is via Homebrew:
```bash=
brew install --cask docker
open /Applications/Docker.app
```
### Uninstall Docker
If you need to uninstall Docker in future you just run:
```bash
brew uninstall --cask docker
```
If you have installed Docker using the official installer from the Docker website and you can't uninstall it, please follow [this](https://stackoverflow.com/questions/44346109/how-to-easily-install-and-uninstall-docker-on-macos#comment129733389_45595502 'How to easily install and uninstall docker on MacOs') discussion on *stackoverflow* or delete the following files:
**<span style="color:red">Be aware, this removes any Docker virtual machines and images too!</span>**
```bash=
sudo rm -Rf /Applications/Docker.app
sudo rm -f /usr/local/bin/docker
sudo rm -f /usr/local/bin/docker-machine
sudo rm -f /usr/local/bin/com.docker.cli
sudo rm -f /usr/local/bin/docker-compose
sudo rm -f /usr/local/bin/docker-compose-v1
sudo rm -f /usr/local/bin/docker-credential-desktop
sudo rm -f /usr/local/bin/docker-credential-ecr-login
sudo rm -f /usr/local/bin/docker-credential-osxkeychain
sudo rm -f /usr/local/bin/hub-tool
sudo rm -f /usr/local/bin/hyperkit
sudo rm -f /usr/local/bin/kubectl.docker
sudo rm -f /usr/local/bin/vpnkit
sudo rm -Rf ~/.docker
sudo rm -Rf ~/Library/Containers/com.docker.docker
sudo rm -Rf ~/Library/Application\ Support/Docker\ Desktop
sudo rm -Rf ~/Library/Group\ Containers/group.com.docker
sudo rm -f ~/Library/HTTPStorages/com.docker.docker.binarycookies
sudo rm -f /Library/PrivilegedHelperTools/com.docker.vmnetd
sudo rm -f /Library/LaunchDaemons/com.docker.vmnetd.plist
sudo rm -Rf ~/Library/Logs/Docker\ Desktop
sudo rm -Rf /usr/local/lib/docker
sudo rm -f ~/Library/Preferences/com.docker.docker.plist
sudo rm -Rf ~/Library/Saved\ Application\ State/com.electron.docker-frontend.savedState
sudo rm -f ~/Library/Preferences/com.electron.docker-frontend.plist
```
<br>
## Install Microsoft 365
To install Microsoft 365 you need a license that is provided by your university. Go [here](https://www.microsoft365.com/?acctsw=1&auth=2 'Microsoft 365') and login with your academic account. Then click on the installation and more menu:

And then click on *Install Microsoft 365 apps*. The correct installer will be automatically downloaded. After you have installed it, proceed again with the authentication by using your academic account.
<br>
## Other resources
1. [From x86 to arm64](https://pat-s.me/transitioning-from-x86-to-arm64-on-macos-experiences-of-an-r-user/ 'pat-s.me')
2. [Uninstall Docker on MacOS](https://stackoverflow.com/questions/44346109/how-to-easily-install-and-uninstall-docker-on-macos#comment129733389_45595502 'How to easily install and uninstall docker on MacOs')
3. [Docker on M1](https://dev.to/sergej_brazdeikis/install-docker-on-mac-m1-without-docker-desktop-k6o 'Docker on M1')
4. [Docker Desktop on M1](https://tutorials.tinkink.net/en/mac/how-to-use-docker-on-m1-mac.html 'Docker Desktop on M1')
5. [Microsoft 365](https://www.lunduniversity.lu.se/student-services-and-support/it-resources-and-assistance/software 'LU MS 365')
 Sign in with Wallet
Connect another wallet
Sign in with Wallet
Connect another wallet