---
tags: fellows
---
# Xiaoyi Zhong
[Show Your Work](/wY0TXtMuSwuw0mwRNBJYaA?both)
[essentialsLab syllabus](https://hackmd.io/SUysK0EBRxSPY-RzPocIqQ)
## Blender Learning Plan (Beginner)
### **Training Description**
(Asynchronous--Canvas Platform) This training aims to teach students to create 3D models by using Blender. Students will learn to use the most common features in Blender and prototype learning toolkits, personal products, meaningful tools, etc. This training is designed for beginners, so no previous programming or technology background is assumed. Even if you have never used technology in your life, you can still successfully create and develop your project in this training.
### **Learning Objectives**
By the end of the training, you will be able to
1. Show mastery of technical skills in Blender, including rotating, scaling, zooming, perspective views, etc.;
2. Apply a human-centered and creative design process;
3. Design 3D products that cannot take place by using traditional 2D medium;
4. Apply prototype to solve real-life problems
### **Final Product**
No deeper learning will happen unless learners practice and apply knowledge into reality. The product for this training is used as a tool for you to get familiar with the basic functions in Blender.
Possible delivery: exhibits that learners can show in the museum/gallery; create project/product for their course assignment
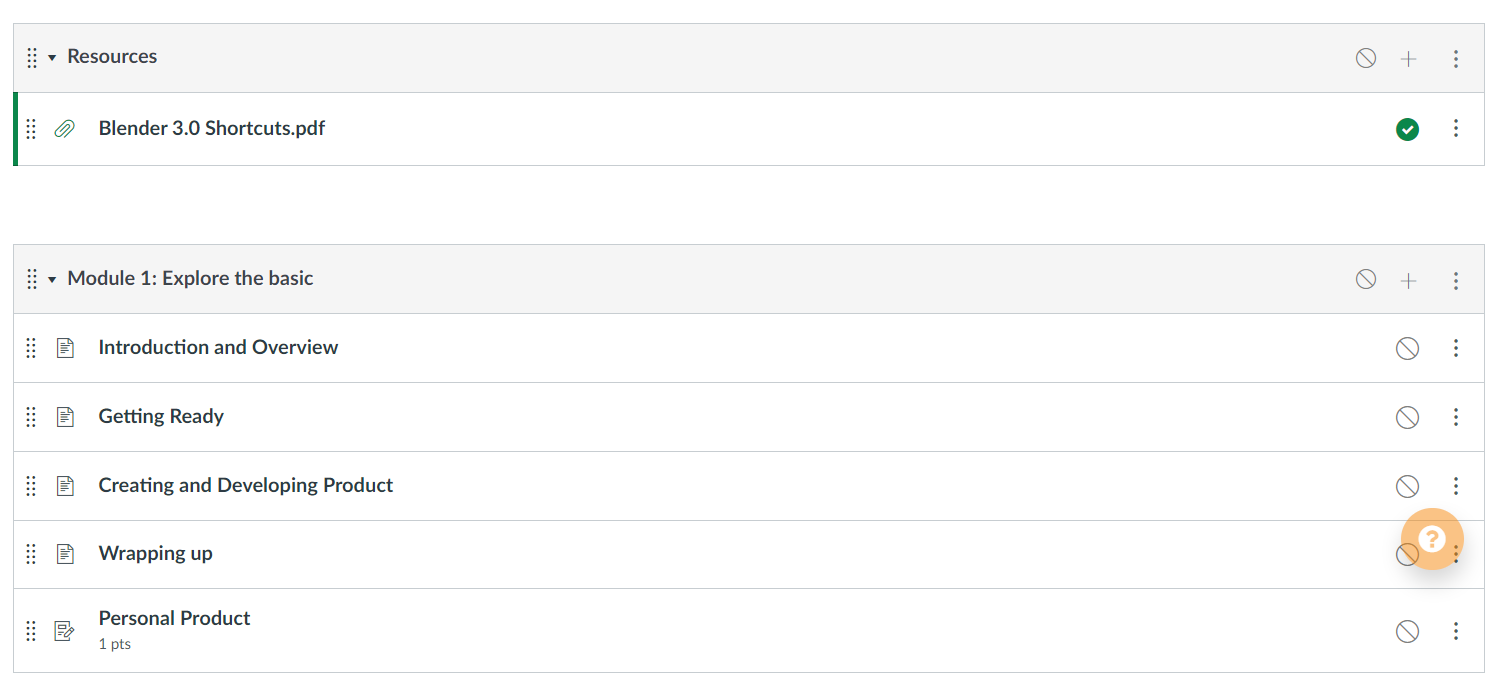
### **Display on Canvas (Still developing)**
---
### **Lesson Plan**
### ***Lession 1***
#### **Personal Product**
For this training session, learners are expected to use **at least 4** features and design a **base** where your exhibit/product can stand on. You need to address the following questions in your product:
* What have you designed?
* Why did you use this shape? And how did you design it?
* What were some challenges you have encountered?
**1. Introduction and Overview (3 minutes)**
[Blender website](https://www.blender.org/) (Students are required to download Blender before the training)
* #### What is Blender?
> Blender is the free and open source 3D creation suite. It supports the entirety of the 3D pipeline—modeling, rigging, animation, simulation, rendering, compositing and motion tracking, even video editing and game creation.
* #### What can you make by using Blender?
Some examples may include: animals, characters in games, donuts.. Anything!


**2. Getting Ready (15-20 minutes)**
* #### Playing around the toolbox (6 minutes)
In this sections, students will learn through self-exploration and will play around with the toolbox in the left column. In this activity, they will first try to answer the following questions based on their **self-exploration**.
*Exploration guide questions:*
1. How can we move the square? What about rotating the square? How about scaling?
2. How to move objects horizontally (e.g., along the x, y, z axis)
3. How can we support grab, rotation, and scale at the same time?
4. What are the hotkeys of using these features?
5. What are some of the possible situations that you will use "annotate" and "measure" buttons?
After the self-exploration, go over the basic functions again to ensure all learners know how to use this tool box.
(recording uploaded in show-your-work channel)
* #### Orbit, Pan, and Zoom (6 minutes)
Orbit: Learners will be offered with a small challenge test about how to orbit their view in the screen: How can users view the object from different angles? And how to align view with axis?
Pan: How can users move the view?
Hint picture for Orbit and Pan:

Zoom:
Hint: mouse
(recording uploaded in show-your-work channel)
*Optional*: Other ways to focus on objects by using hot keys (recording uploaded in show-your-work channel)
* #### Properties & Outliner (3 minutes)
Allow students to play around this part, but also indicate that they will learn more when they start to work on their product.
(recording uploaded in show-your-work channel)
**3. Create and Develop Product (20 minutes)**
* #### Add Objects (10 minutes)
In this section, students will add an object/shape that has a similar shape to the base they want to create.
As a tutorial section, instructors may need to pick one possible shape of the base and to present the designing process for the students. But encourage students to open their mind and be creative in their designing process.
(recording uploaded in show-your-work channel)
* #### Edit mode (10 minutes)
In this section, student will develop and reshape their objects. They will learn how to use proportional editing, how to change flat & smooth shading, etc.
As a tutorial section, instructors may first edit their initial object and present the designing process for the students. Then, choose another object to cover more knowledge points in the section. But encourage students to explore different property and features and be creative in their designing process.
(recording finished)
**4. Wrapping up**
The checklist for the first training:
* Move, Rotate, Scale
* Orbit, Pan, Zoom
* Properties & Outliner
* Add & Edit
* [Blender Shortcut Hotkey](https://docs.google.com/document/d/1zPBgZAdftWa6WVa7UIFUqW_7EcqOYE0X743RqFuJL3o/edit)
Deliveries for this training: Base for the displays
---
[Canva Training Presentation](https://www.canva.com/design/DAE5G8HxSqk/owdO1cRia-1yRxq-wTXlfQ/view?utm_content=DAE5G8HxSqk&utm_campaign=designshare&utm_medium=link&utm_source=sharebutton)
---
### ***Lession 2***
#### **Portrait Lighting**
**1. Introduction: 6 Basic Portrait Lighting (15 minutes)**
* **Flat Lighting**: Flat lighting means that the light creates minimal to no shadows or contrast in the photo.

*Picture source: https://www.parispremdas-artblog.com/lighting-high-school-musical*
* **How to set up**: On-camera flash and front lighting illuminate your subject from the front, providing even lighting.

*Picture source: https://petapixel.com/2018/09/14/how-to-shoot-the-natural-glow-look-a-beauty-lighting-setup/*

*Picture source: https://www.hypop.com.au/blogs/blogs/5-ways-to-light-up-flat-lay-photography*
* **Butterfly Lighting**: Butterfly lighting (also called Paramount lighting) is named after the butterfly-shaped shadow that’s created beneath the nose.

*Picture source: https://www.pinterest.com/pin/389068855301306137/*
* **How to set up**: Place the main light source above and directly behind your camera, pointed down slightly on your subject.
> Butterfly lighting creates a shadow under the chin, nose, and around the cheeks. When the subject is turned at an angle, it can create more dramatic shadows under the cheekbones. The higher you position the light behind you and above the subject, the longer the shadows will get under the nose and chin. It’s flattering for most faces.

*Picture source: https://shotkit.com/butterfly-lighting/*
* **Loop Lighting**: Loop lighting is created by placing your light slightly above eye level of the subject and 30º - 45º off axis. This shifts the nose shadow to one side of the face. The size of the shadow depends on the position of the light and how much the nose is blocking that light. Instead of a butterfly-ish shadow, you’ll end up with a small loop.

*Picture source: https://aesharris97.wordpress.com/2016/03/09/loop-lighting/*
* **How to set up**: Loop lighting is created by placing your light slightly above eye level of the subject and 30º - 45º off axis.

*Picture source: https://www.dpmag.com/how-to/shooting/classic-portrait-light/*
* **Rembrandt Lighting**: Rembrandt lighting is very similar to loop lighting. However, in Rembrandt lighting, the shadow loop of the nose is long enough to connect with the shadow on the cheek. This traps a triangle of light on the cheek.

*Picture source: https://westcottu.com/how-to-create-rembrandt-lighting-for-male-portraits*
* **How to set up**: To get this, start with loop lighting but then continue to position your light up and to the side until the nose shadow and cheek shadows touch. This lighting style is moody, edgy, and artistic. Fill with a reflector for a softer look.

*Picture source: https://bidunart.com/what-is-rembrandt-lighting-and-how-to-use-it-in-photography/*
* **Split Lighting**: Split lighting (also called side lighting) is a form of lighting where half of the subject’s face is lit, while the other half is left in shadow. It creates a dramatic, unique feel and is not as common as other positions.

*Picture source:https://photofocus.com/photography/split-lighting-for-a-dramatic-portrait/*
* **How to set up**: Position your main light to the side of your model at a 90º angle. You can leave the far side completely in shadow or you can use a bounce/fill light to show more detail.

*picture source: https://expertphotography.com/must-know-portrait-lighting-patterns-and-tips/*
* **Profile Lighting**: Profile lighting (also called rim lighting) is sometimes used in sports portraiture because it has a heroic look.

*Picture source:https://www.photoworkout.com/rim-light-photography/*
* **How to set up**: Position your light behind your subject. This creates an edge of light around your subject, giving them definition and separation from the background. Your subject will be mostly underexposed. This method requires more than one light if you don’t just want an outline.

*picture source: https://expertphotography.com/must-know-portrait-lighting-patterns-and-tips/*
* **Wrapping up**

*Picture source: https://realuca.wordpress.com/2015/04/05/three-point-lighting-the-magic-of-key-light/*
**2. Getting Ready for Blender 3D (3 minutes)**
* Import 3D model you have constructed, or download existing 3D models in the website: [3D Model Website](https://www.myminifactory.com/)
* Get reference and inspiration from the existing portrait lighting photographs or paintings
**3. Creating and Developing your prototypes (20-30 minutes)**
* **Simple protrait lighting setup on Blender**

* **Add shadows for the lighting**

* **Add colors for the protrait lighting**

**4. Types of lighting**
* **Point light**
The point light is an omni-directional point of light, that is, a point radiating the same amount of light in all directions.
Point lights are great when you need to illuminate areas with a smooth falloff in all directions, or create a light that has a single point as its source, like a lamp or candle.
* **Area light**
The area light simulates light originating from a surface (or surface-like) emitter. For example, a TV screen, office neon lights, a window, or a cloudy sky are just a few types of area light. The area light produces shadows with soft borders by sampling a light along a grid the size of which is defined by the user.
* **Spot light**
A spot light emits a cone-shaped beam of light from the tip of the cone, in a given direction.
The spot light is emitted through a cone and you can control how wide the cone angle is which determines how much of the area is actually illuminated.
With the editability that a spot light provides, you can create very unique light illumination, like light coming through a crack in a door or the conical light shape that a flash light provides.