# notes from the MDF orientation Blender session!
### THE INTERFACE

Viewport area is where you do all of your work
Top right: hierarchy
Bottom left: properties of the objects
#### goals:
* How to add something to the scene
* How to change size, scale, rotation
* How to move yourself around the scene
#### adding something to a scene:
* keyboard shortcut: Shift + A (also could click in the top right of the viewport)
* we're going to create text on a floor
* to make floor - add a plane
#### navigating in a scene
* Two finger scroll = orbit
* Shift + two-finger-scroll = move the scene
* Ctrl + two-finger-scroll = zoom in and out
* Pinch to zoom works too
* View > frame selected = this will snap you to the object that you have selected
#### add in another object
* Shift + A + click "sphere" (to add a sphere)
* let's make it smaller (so, transforming an object)
* resizing: put mouse outside of object, hit the letter S = this will rescale the object up and down
* can constrain the scaling operation to one axis by pressing S + x, y, or z
* moving: G (for "grab"); if you constrain it to z - you'd only see it poking out a bit above your plane
* rotating: hit R + y, x, or z
#### to see what this will look like when rendered (a kind of preview)
* click the icon that looks like the back of dslr camera

* under "render engines":
* if you select eevee, you'll see your shadows and it'll look a little pixelated
* if you select, cycles, you'll get kind of a grainy image
#### lights
* point light = pretty harsh
* area light (which you can scale up pretty big): like a softbox, has more of a gradiant for it and helps achieve a sense of realism
#### smooth out your object
* select the object
* two-finger click > shade smooth
#### let's add another cube
* make your floor a bit bigger by selecting it and pressing S + 10 = you've got a 10 x bigger floor and this will help us see shadows from our cube
* with cube selected, hit Tab = edit mode
* in edit mode, you're actually going to change the polygons on those objects!
* right click object, select "subdivide"
* you should see twice as many lines on your cube
* if you aren't seeing more lines, hit shift + A to select all, and then right click and select "subdivide" again
* you can manipulate the object through its points, its lines, or its faces
* faces
* select one face of your subdivided cube
* hit G - to extend it along a particular axis (so hit x, y, or z as well)
* hit S + an axis - to scale that face
* hit R + an axis - to rotate that face
* hit "E" - extrude one of the faces in the direction it's facing
* On left-hand side, hold down on the icon that says "exclude to cursor" = this will let you build along the path of your cursor based on the face that you have selected
* In the properties menu, select the icon that looks like a wrench
* increase the levels viewport number to 3
* increase the render number to 4
* this should smooth out your object
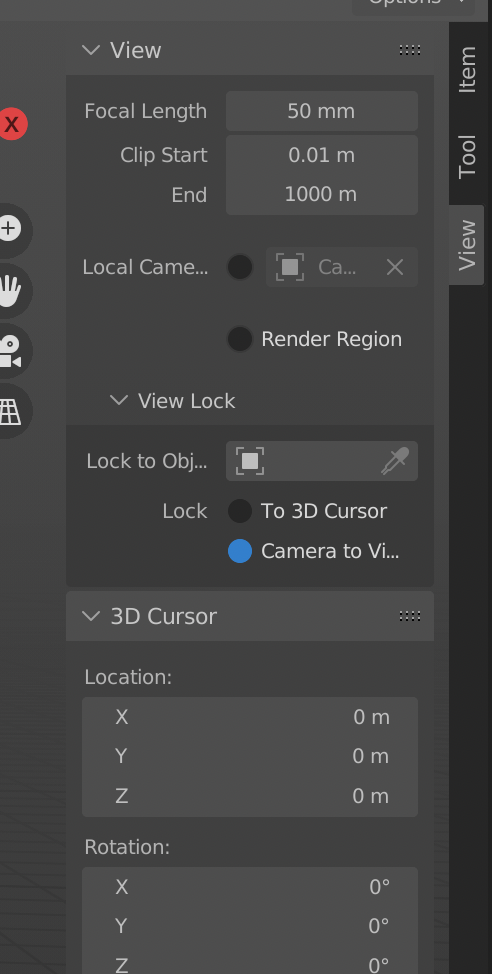
#### materials
* select object
* add material in properties inspector by clicking the sphere/soccer ball kind of icon

* select "new"
* click base color and choose a color!
* could add a mirror material
* select the object
* don't add a base color
* but make "metallic" all the way to 1
* make "roughness" all the way down to 0
* this will reflect your light and whatever shape is next to your mirror object (Marlon did this by adding a sphere)
* could multiply that mirror by doing Shift + D (and this will give you tons of little mirrors around your scene)
#### keyboard shortcuts
* **X** (and return to confirm) to delete an object
* **S** = scale
* **R** = rotate
* **G** = grab (and move)
* * shift + D = duplicates your object
#### downloading objects from sketchfab
* need to search for "downloadable" objects
* once you download it, it should be in your downloads folder
* it'll be a zip folder
* unzip it!
* in Blender: file > import > wavefront (.obj)
* select from your downloads
* import the .obj file
* the object will probably come in in a really weird angle, might be huge!
* so scale it down, rotate it, etc. to get it where you want it to be
#### animating
* add some text: Add > text
* word "text" will pop up
* need to rotate on X axis (R + x, rotate 90 degrees)
* go into edit mode to edit the text (hit Tab to get into edit mode)
* tab out of it to keep the text what you want
* in the inspector, select the letter "a" icon to get into text properties
* font
* alignment (if you have more than one line of text)
* geometry
* extrude - let's us turn this into 3D text
* bevel - round the edges a bit (.02 - this will add in a bit of bevel to give a specular highlight)
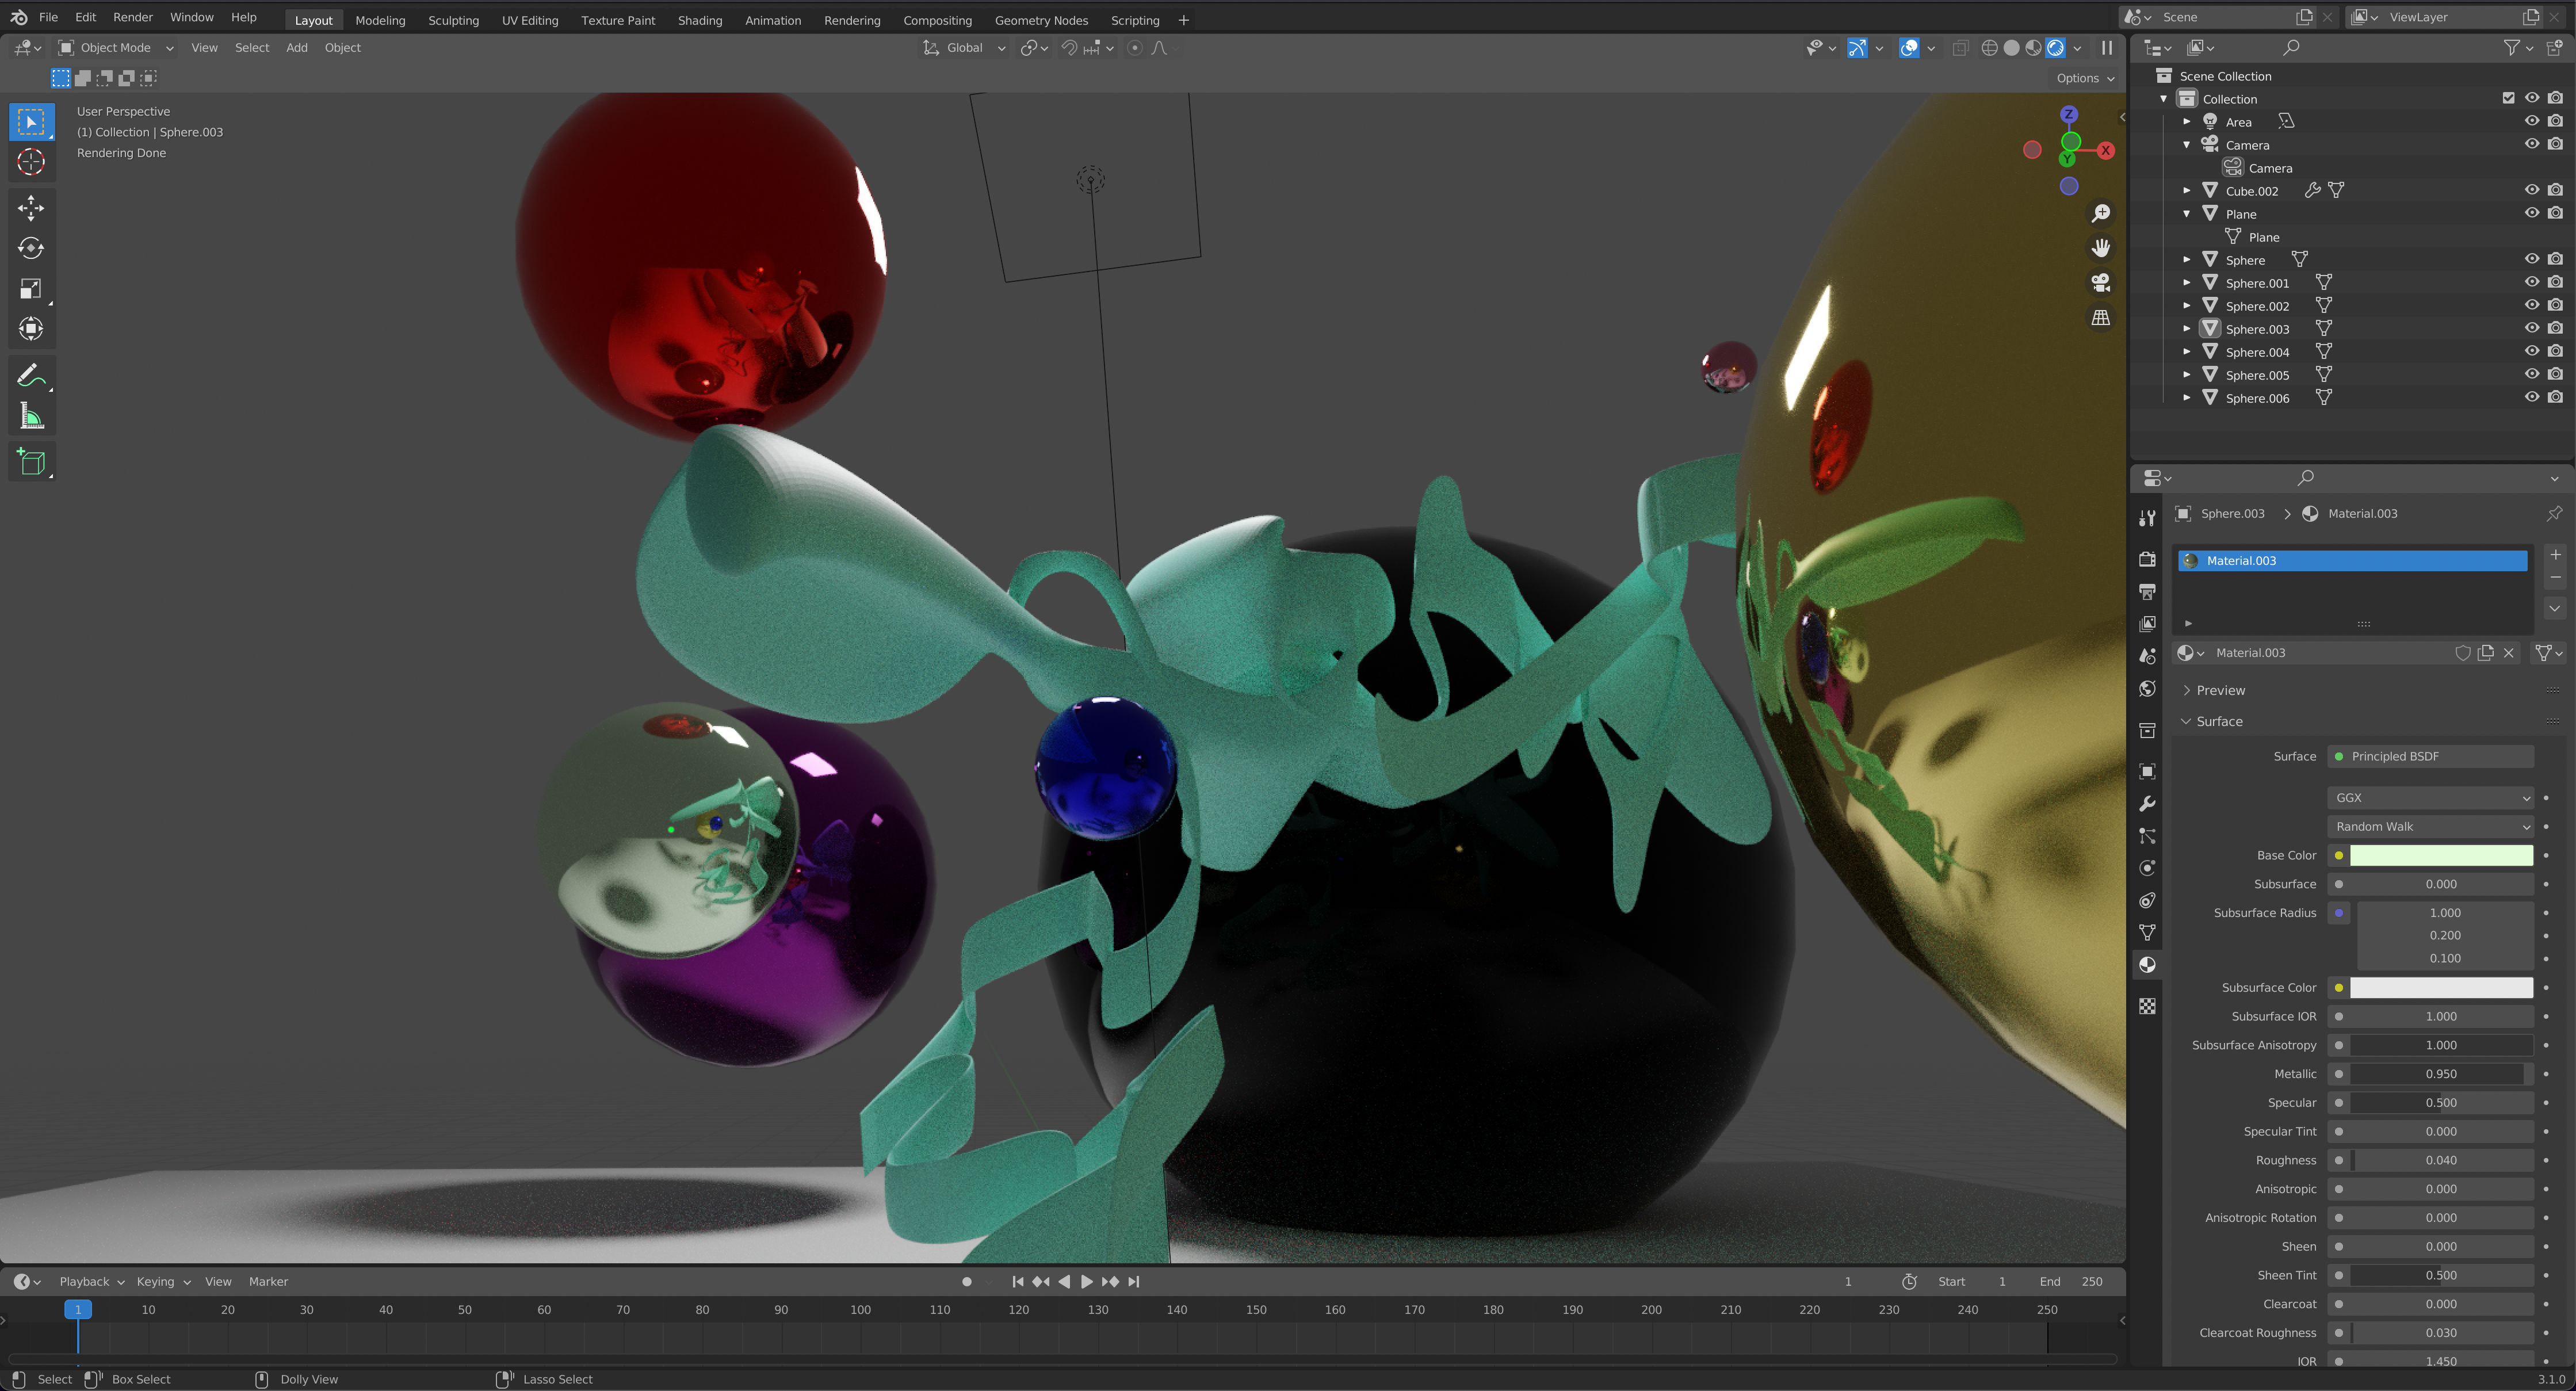
* grab the text on the Z axis, and pull it under your plane so you can't see it anymore
* click the box icon in the properties inspector

* hover over right-hand side of the Z value (or whatever axis you're moving along)
* when you click that property, it'll be come a diamond on the right hand side
* this locks in the z value to that location
* now determine how long you want animation to go for

* click play and let it play for how long you want the animation to last
* then change the z value again (by lifting the object up on the z axis or by defining a value in the properties inspector)
* click the keyframe again
* now I have two keyframes!
#### apply a physical property to an object
* add a mesh and pull it up in the air above the plane
* go to the icon that looks like the moon with a planet orbiting around it

* select "rigid body"
* select the plane
* also make this a "rigid body" but set the type to "passive" so that the plane stays in place when the cube hits it
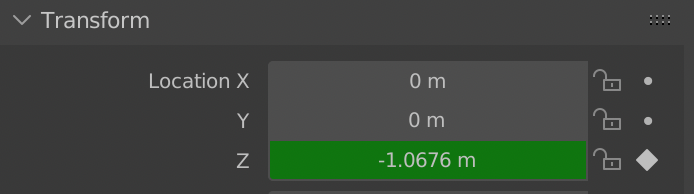
#### camera
* to move the camera = hit letter N or open by clicking the disclosure triangle next to "View" (in the viewport)
* check the box next to "camera to view"
* Rendering:
* Output > change to FFMPEG video; make a folder (intentional - so cd's is on our Desktop and is Blender renders)
* Render animation
* H264; high quality output quality
* Click the folder on the right
 Sign in with Wallet
Connect another wallet
Sign in with Wallet
Connect another wallet