# Project report - IoT tutorial template
###### tags: `planning` `examination`
---
**Table of Contents**
[TOC]
---
{%youtube DM2kspcJrnM%}
## How to write your tutorial
We have chosen to streamline your assignment as a tutorial, written in the Markdown language using a standard template (below). The main reason behind this is to make it as simple as possible, still flexible and easy to share between all classmates and other peers on the internet.
Examination will take place also in peer review. So your tutorial will be read by at least three other student peers.
```
Information want's to be free - let's keep everything open, shall we?
```
## hackmd.io
1. Open an account at [hackmd.io](https://hackmd.io). Preferably, use your student credentials as username.
2. Write your tutorial using the template **Template** found below.
3. - [ ] Checkboxes needs to be fulfilled! (* means advanced level)
4. Publish your tutorial, as seen in Fig. 1
5. Upload your tutourial according to instructions on the learning platform.
6. Be awesome!

Figure 1, published tutorial
The report/tutorial must be written in English. Checkboxes with a * means 'advanced level', aiming for higher grade. All tutorials with a higher grade than C will be published on the course homepage as a good example.
## Github (alternative)
If you want you are able to publish your project directly to Github. In that case write your tutorial in the `README.md` file. If you have no prior experience with Github this might be a good time to try it out. Easiest is to use the Github Desktop application, or you can also do everything from the web browser (editing and uploading etc.).
Make sure you create a public repository and also that you write the report in the `README.md` file.


## Some examples for inspiration
- [Good examples from course 2020](https://hackmd.io/@lnu-iot/good-examples)
- [GPS Car tracker with notification](https://www.instructables.com/id/GPS-Car-Tracker-With-SMS-Notification-and-Thingspe/)
- [Blynk style button](https://www.instructables.com/id/Arduino-Tutorial-BLYNK-Style-Button-and-ESP-01-Rel/)
- [IoT weather station](https://www.hackster.io/rijk_meurs/iot-weather-station-4c29c6)
- [Mini IoT weather station](https://www.hackster.io/FunguyPro/how-to-make-an-mini-iot-weather-station-58252d)
- [Distance sensor](https://community.mydevices.com/t/nodemcu-esp8266-hc-sr04/2872)
---
# Template
**Please keep the total length of the tutorial below 25k characters.** You can include code that is linked to a repository. Keep the code snippets in the tutorial short.
## Tutorial on how to build a temperature and humidity sensor
Give a short and brief overview of what your project is about.
What needs to be included:
- [ ] Title
- [ ] Your name and student credentials (xx666x)
- [ ] Short project overview
- [ ] How much time it might take to do (approximation)
### Objective
Describe why you have chosen to build this specific device. What purpose does it serve? What do you want to do with the data, and what new insights do you think it will give?
- [ ] Why you chose the project
- [ ] What purpose does it serve
- [ ] What insights you think it will give
### Material
Explain all material that is needed. All sensors, where you bought them and their specifications. Please also provide pictures of what you have bought and what you are using.
- [ ] List of material
- [ ] What the different things (sensors, wires, controllers) do - short specifications
- [ ] Where you bought them and how much they cost
> Example:
>| IoT Thing | For this |
>| --------- | ---------------- |
>| Perhaps | a table |
>| is a | jolly good idea? |
>
>In this project I have chosen to work with the Pycom LoPy4 device as seen in Fig. 1, it's a neat little device programmed by MicroPython and has several bands of connectivity. The device has many digital and analog input and outputs and is well suited for an IoT project.
>
>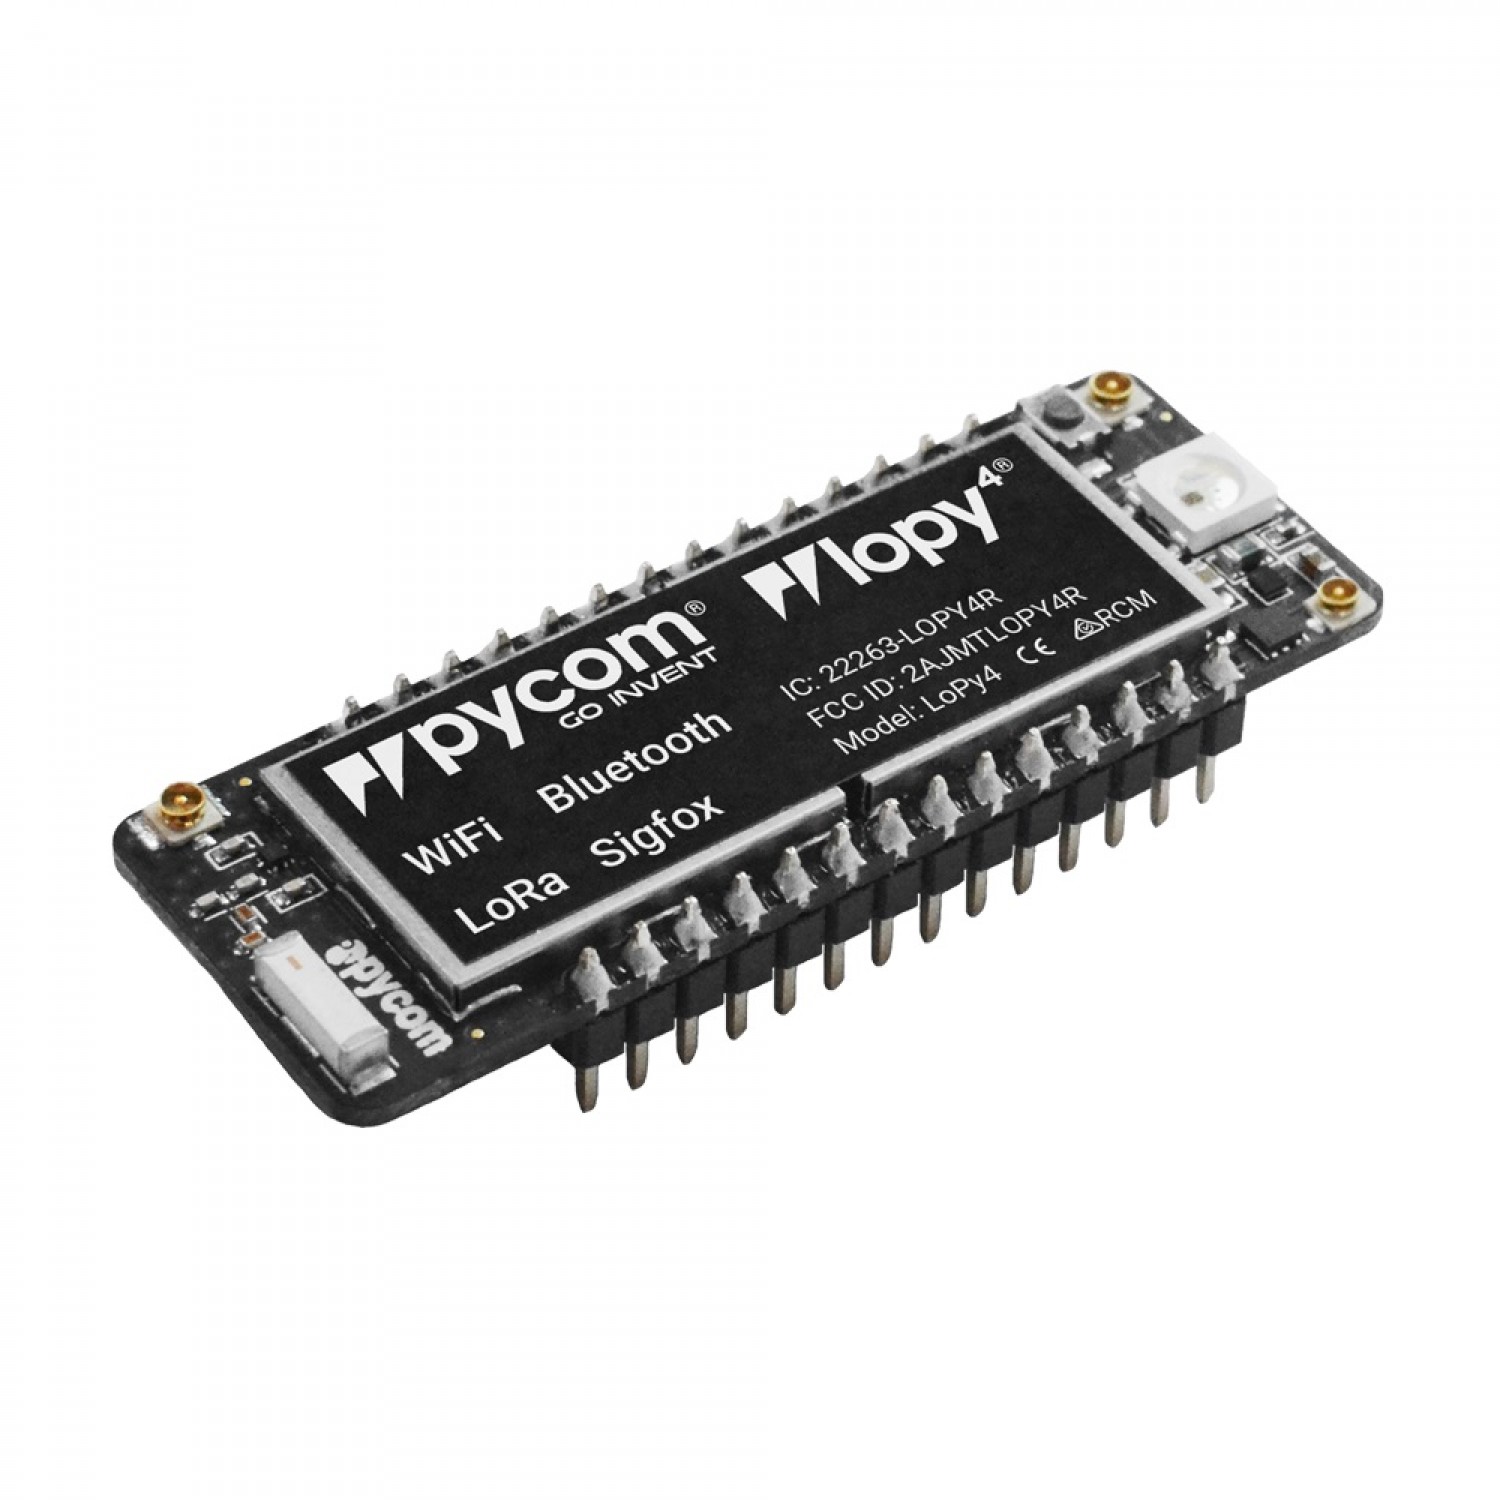
>Fig. 1. LoPy4 with headers. Pycom.io
### Computer setup
How is the device programmed. Which IDE are you using. Describe all steps from flashing the firmware, installing plugins in your favorite editor. How flashing is done on MicroPython. The aim is that a beginner should be able to understand.
- [ ] Chosen IDE
- [ ] How the code is uploaded
- [ ] Steps that you needed to do for your computer. Installation of Node.js, extra drivers, etc.
### Putting everything together
How is all the electronics connected? Describe all the wiring, good if you can show a circuit diagram. Be specific on how to connect everything, and what to think of in terms of resistors, current and voltage. Is this only for a development setup or could it be used in production?
- [ ] Circuit diagram (can be hand drawn)
- [ ] *Electrical calculations
### Platform
Describe your choice of platform. If you have tried different platforms it can be good to provide a comparison.
Is your platform based on a local installation or a cloud? Do you plan to use a paid subscription or a free? Describe the different alternatives on going forward if you want to scale your idea.
- [ ] Describe platform in terms of functionality
- [ ] *Explain and elaborate what made you choose this platform
### The code
Import core functions of your code here, and don't forget to explain what you have done! Do not put too much code here, focus on the core functionalities. Have you done a specific function that does a calculation, or are you using clever function for sending data on two networks? Or, are you checking if the value is reasonable etc. Explain what you have done, including the setup of the network, wireless, libraries and all that is needed to understand.
```python=
import this as that
def my_cool_function():
print('not much here')
s.send(package)
# Explain your code!
```
### Transmitting the data / connectivity
How is the data transmitted to the internet or local server? Describe the package format. All the different steps that are needed in getting the data to your end-point. Explain both the code and choice of wireless protocols.
- [ ] How often is the data sent?
- [ ] Which wireless protocols did you use (WiFi, LoRa, etc ...)?
- [ ] Which transport protocols were used (MQTT, webhook, etc ...)
- [ ] *Elaborate on the design choices regarding data transmission and wireless protocols. That is how your choices affect the device range and battery consumption.
### Presenting the data
Describe the presentation part. How is the dashboard built? How long is the data preserved in the database?
- [ ] Provide visual examples on how the dashboard looks. Pictures needed.
- [ ] How often is data saved in the database.
- [ ] *Explain your choice of database.
- [ ] *Automation/triggers of the data.
### Finalizing the design
Show the final results of your project. Give your final thoughts on how you think the project went. What could have been done in an other way, or even better? Pictures are nice!
- [ ] Show final results of the project
- [ ] Pictures
- [ ] (**OPTIONAL**) Video demonstration
---