# Creating Field Notes Journals: A Tutorial
Stationary stores can be too expensive. $12.99 for a pack of 3 field journals on Amazon? Yuck! You'd probably be better off making them yourself.
We anticipate using field journals in workshops. Students can use these field journals to take notes, jot down ideas, and take them back once the workshop is over for their future projects. Not a student attending a workshop? Then make a field journal to take course notes, to keep records of your bench press PRs, or to even post cool photos of your work on Instagram.
In any case, you're going to need to know how to make a field journal. Unlike an online recipe, I'll actually get to telling you how to make this.
### Materials
- Cardstock
- 12 pages of white paper
- Ruler (optional)
- Pencil (optional)
### Devices
- Stapler
- Paper Cutters (Both in paper lab)
- InDesign
## Designing and Printing a Cover on InDesign
1. Make sure you have InDesign downloaded and installed. For help with this step, check out [this tutorial](https://helpx.adobe.com/indesign/get-started.html).
2. Open up the 'Field Notes Template' located in the paper lab slack channel. Otherwise, [download here](https://bokcenter.slack.com/files/U05UP1SB0EL/F067L1UP4KX/field_notes_template.indd). Upon successful download and opening, your screen should resemble this:
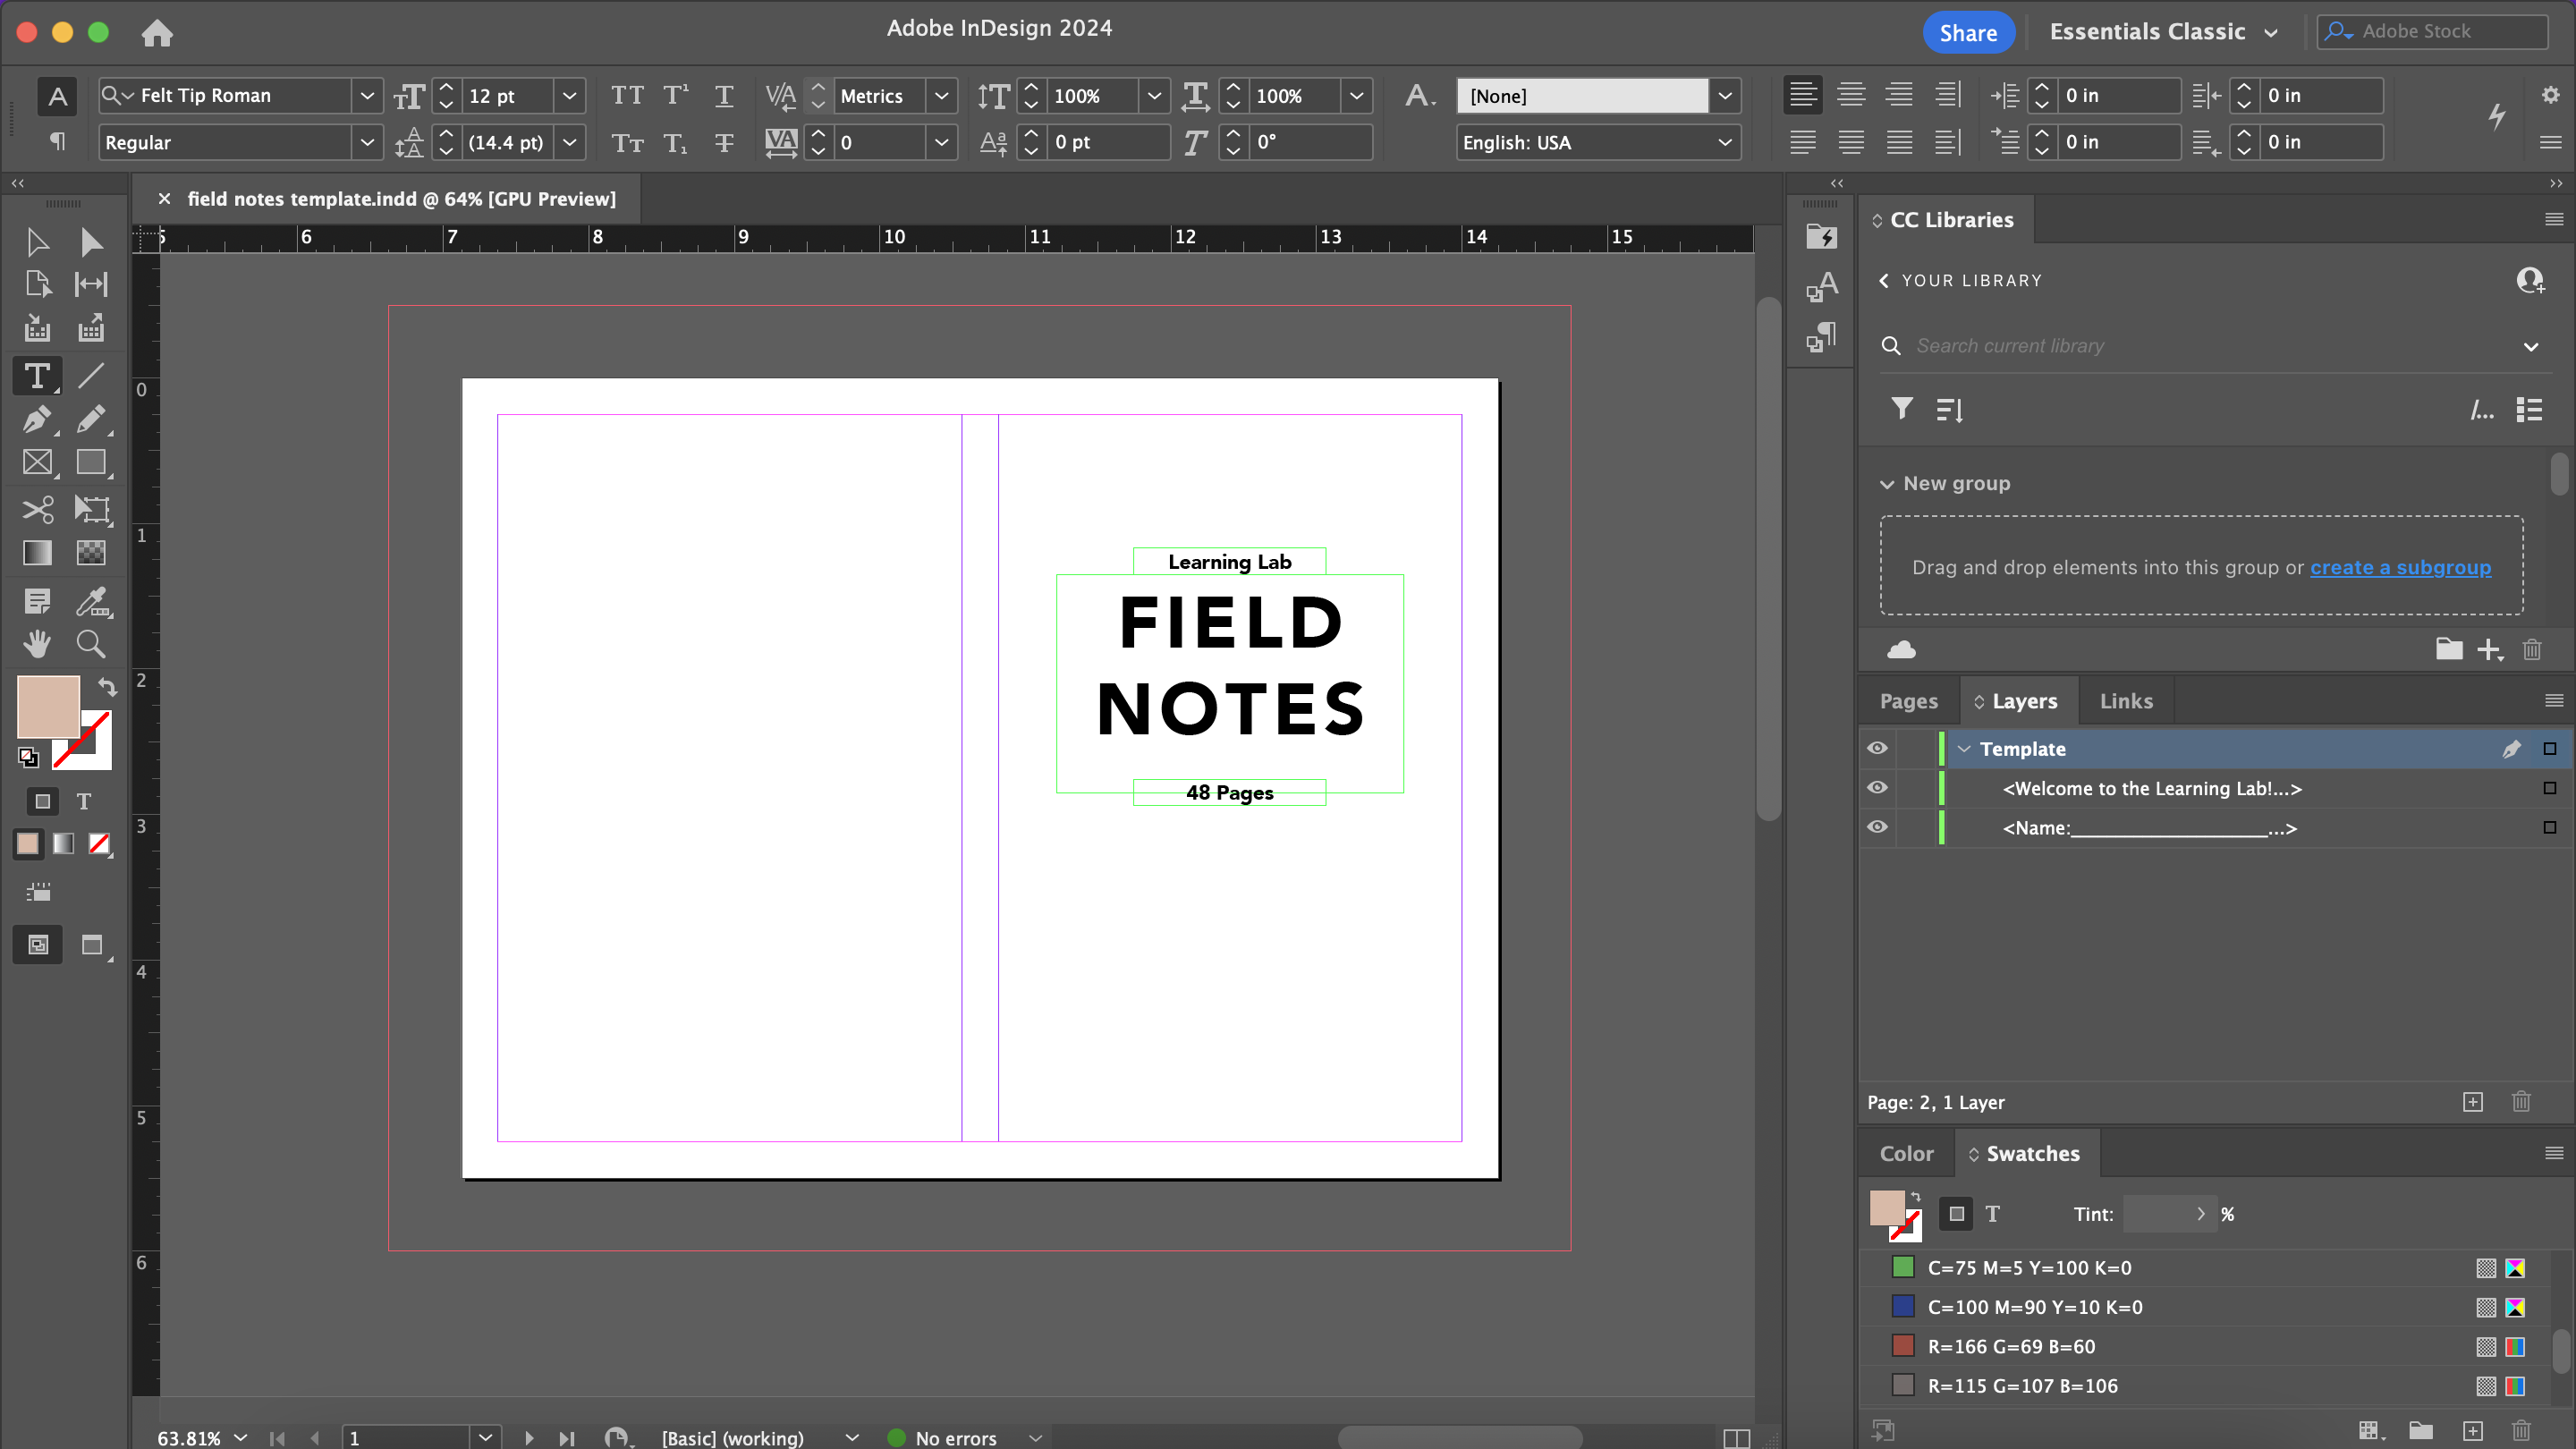
3. Design your cover! The InDesign file comes with 2 pages for you to customize.
4. To print, follow these steps:
1. Click 'File -> Print'
2. Make sure the Printer is set to the '50 Church Street' location
3. On the left of the screen, click 'Setup'
4. Change 'Page Position' to 'Centered'
5. On the left of the screen, click 'Marks and Bleed'
6. Under 'Marks', only select 'Crop Marks' and 'Bleed Marks'
7. Under 'Marks', change 'Weight' to 0.25 pt and 'Offset' to 0.0833 in
8. Under 'Bleed and Slug', select 'Use document bleed settings'
9. At the bottom of the page, click 'Printer...'. A new pop-up should appear that is NOT the InDesign printer UI. This is the other pinter UI.
10. Under 'Double-sided', using the dropdown select 'On (Short Edge)'
11. Select 'Printer Options'
12. Under 'Printer Options', select 'Paper Feed'
13. Change 'All Pages From: Auto Select' to 'Bypass Tray'
14. Click 'OK'
15. **Before printing**, go to the physical printer and load the top of the Bypass Tray with a piece of (preferebly white) thick cardstock paper.
16. Once back at your computer, select 'Print' to clear the printer UI
17. Select 'Print' again to actually print the cover
18. Your cover has now been printed!
## Putting Together the Journal
1. In the hallway, there is a shelf with long white computer-esque paper. Count out 12 sheets.
2. Head to the paper lab. In this space, you'll find 2 paper cutters: a large one and a small one. You will first be using the large one.
3. Before using the machine, follow these steps:
1. Pull down the paper tray
2. Remove the blue safety guard
3. Lift the cutting arm
4. You will be cutting the paper so that it measures **7.125 inches in length** and **5.5 inches in height**.
5. *insert safety precaution pls don't stick your hands underneath the blade*
6. To hold the papers in place as you cut, turn the lever clockwise, as demonstrated in the video below
7. Pull down the cutting arm to cut
8. To release the papers, turn the lever counterclockwise
9. Repeat the cutting process for both length and height cutting of the papers
10. Once you are done, make sure to lower the cutting arm back to its original position. Put the blue safety guard back on. Pull up the paper tray. These steps ensure safety for anybody who may be near the paper cutters.
## Cutting the Cover
1. You have printed the notebook cover with 2 sets of cropper's marks.
2. Using the smaller paper cutter, line up the interior set of cropper's marks and cut at those lines
3. Repeat this process for all sides of the notebook cover
## Putting Together the Notebook
1. Go to the hallway with the button makers and staplers. On the left, there should be a stapler (looks like this)
2. Using a bone folder, make a light crease by folding the cover and notebook pages in the center
3. Align the notebook cover and inside pages on the (stapler thing)
4. Staple twice towards the end of the notebook spine (one on one side, another on the other)
## Finishing Touches
1. Notice that when you fold the notebook in half, some pages STILL stick out!
2. Go back to the paper lab.
3. Following the same procedure as previously mentioned, set up the large paper cutter so that the edge of the spine is aligned with the paper cutter
4. Cut the notebook so that all pages are now the same length (size of notebook cover)
5. Use boarder cutter and cut boarder (DO THIS)
6. OPTIONAL: Press down the notebook so that it sits flush when at rest
You are done with your notebook! Rinse and repeat to make multiple notebooks!
 Sign in with Wallet
Connect another wallet
Sign in with Wallet
Connect another wallet