# Rhiannon Stewart's Notebook Fall 2023
## BIO-LLUFOGRAPHY
#### my lluf catch phrase:
*noun*: a well-known sentence or phrase, especially one that is associated with a particular famous person.
you = LL famous!
#### lab:
graphics-lab
#### tools I can help others with:
* tool
* tool
* tool
#### my personal learning goals for this fall:
Hi Rhi,
Fall 2023 is an exciting time, especially here at the learning lab so here are some ideas, goals and aspirations for yourself to work towards this semester.
Firstly I think it is essential to become more comfortable working on the Macs as even though they seem foreign and unfamiliar it will definitely be beneficial in the long run. This will then help in whichever lab or projects you decide to pursue over the semester.
At this point I am still unsure of what lab to pursue but it would be cool to invest some time into Photoshop and other adobe software as previous projects I have completed working on them have excited and inspired me.
Finally, be ready to try new tools not with the hope of create an amazing final project or piece but with the mindset of learning new skills!
Happy learning!! :)
## key links:
* links you may want to reference often!
* [The LLUF Guidebook for Fall 2023](/Hd1PfV98Q3GXuE5gykSvEA)
* [Work Response Form](https://airtable.com/appCm7g0XXkDhNB9v/shr5OaDtqIJCubFGj)
* [Weekly Update Form](https://airtable.com/appCm7g0XXkDhNB9v/shreQhF2GmuXCGpzV)
## dashboard:
a place for you to keep notes that you commonly refer to! For example, maybe a table of shortcut keys you need help remembering and commonly use:
| Shortcut Key | What It Does |
| -------- | -------- |
| command + tab | toggles between apps! |
| command + space | search and open app
three finger drag | drag images on Mac
| I & O & E | in FCPX, selects in and out points in footage and adds to end of timeline |
Photoshop:
shift+command+N = new layer
select object ->remove background
PPI = Pixel per Inch - when printing text you want pixel per inch to be 2000+ to ensure quality of the print image.
Illustrator:
-place psd in photoshop
Window -> Image trace
InDesign:
-Fit content to frame: cntrl+Alt+E
NOTE: do NOT put any "secret" info here like passwords!
## drafting space:
Here is a sample draft for the Markdown Update field in the Weekly Update Form:
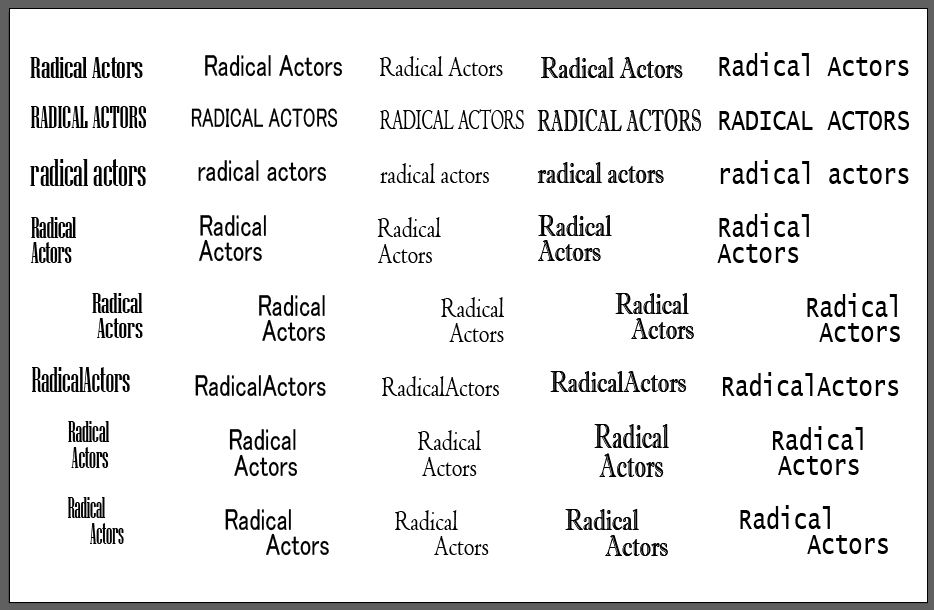
Radical Actors: The Role of Public Education in American Social Change
10 words:
-collaborative
-changemakers
-organisers
-Utilising all of Harvard
-self-driven
-contemporary
-Connection
-educate
-experiential
-experimental
Why is it different to other Ed classes...
## Week 1: Welcome back!

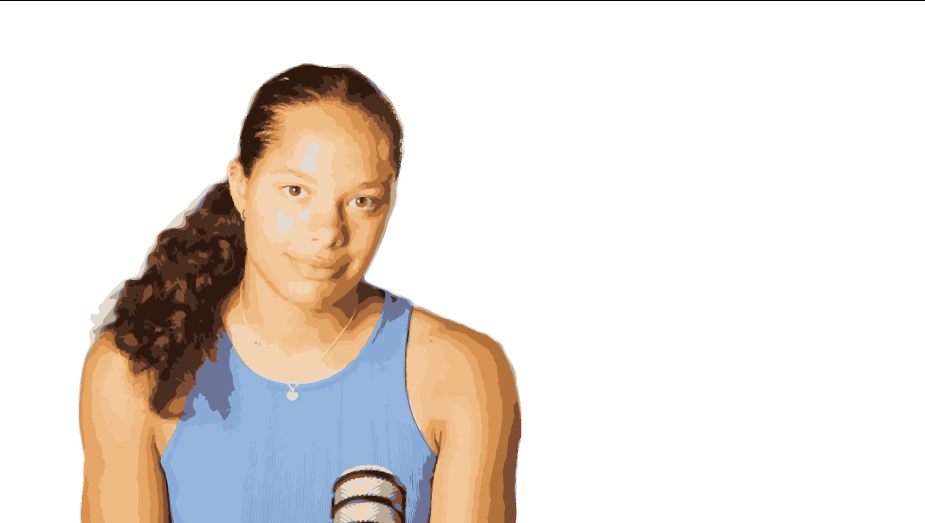
In my first week back in the Learning Lab I completed my Fall launch shift and scheduled the start of my 15 hours of basic training. I began work on the introductory packet by completing the Make it Square Challenge, setting up my personal laptop with LinkedIn Learning and Adobe Creative Suite and starting on the LLUF branding logo.
On Friday I learnt about the different labs available this semester at the Lab fair and talked with MDFs on the ones I was most interested in (I think graphics lab is calling my name!). I also connected with other LLUFs, heard about their summers and had some great Thai food!!
## Week 2: Basic Training Package

Spent time on the LL and LLUF On the Spot Challenge; learning what a LLUF is about and entail through reading on the website and the book chapter. To summarise the LL began as a faculty support team, using the science of learning to create engaging projects for courses at Harvard that utilise multimedia learning and student communication and engagement.This is the idea that producing pieces of work away from the traditional academic paper encourages students to digest and then be inspired by learnings of the course and articulate and draw connections from their findings in creative ways whilst developing communication skills. The LLUF role involves supporting both faculty and students in developing and executing these projects.
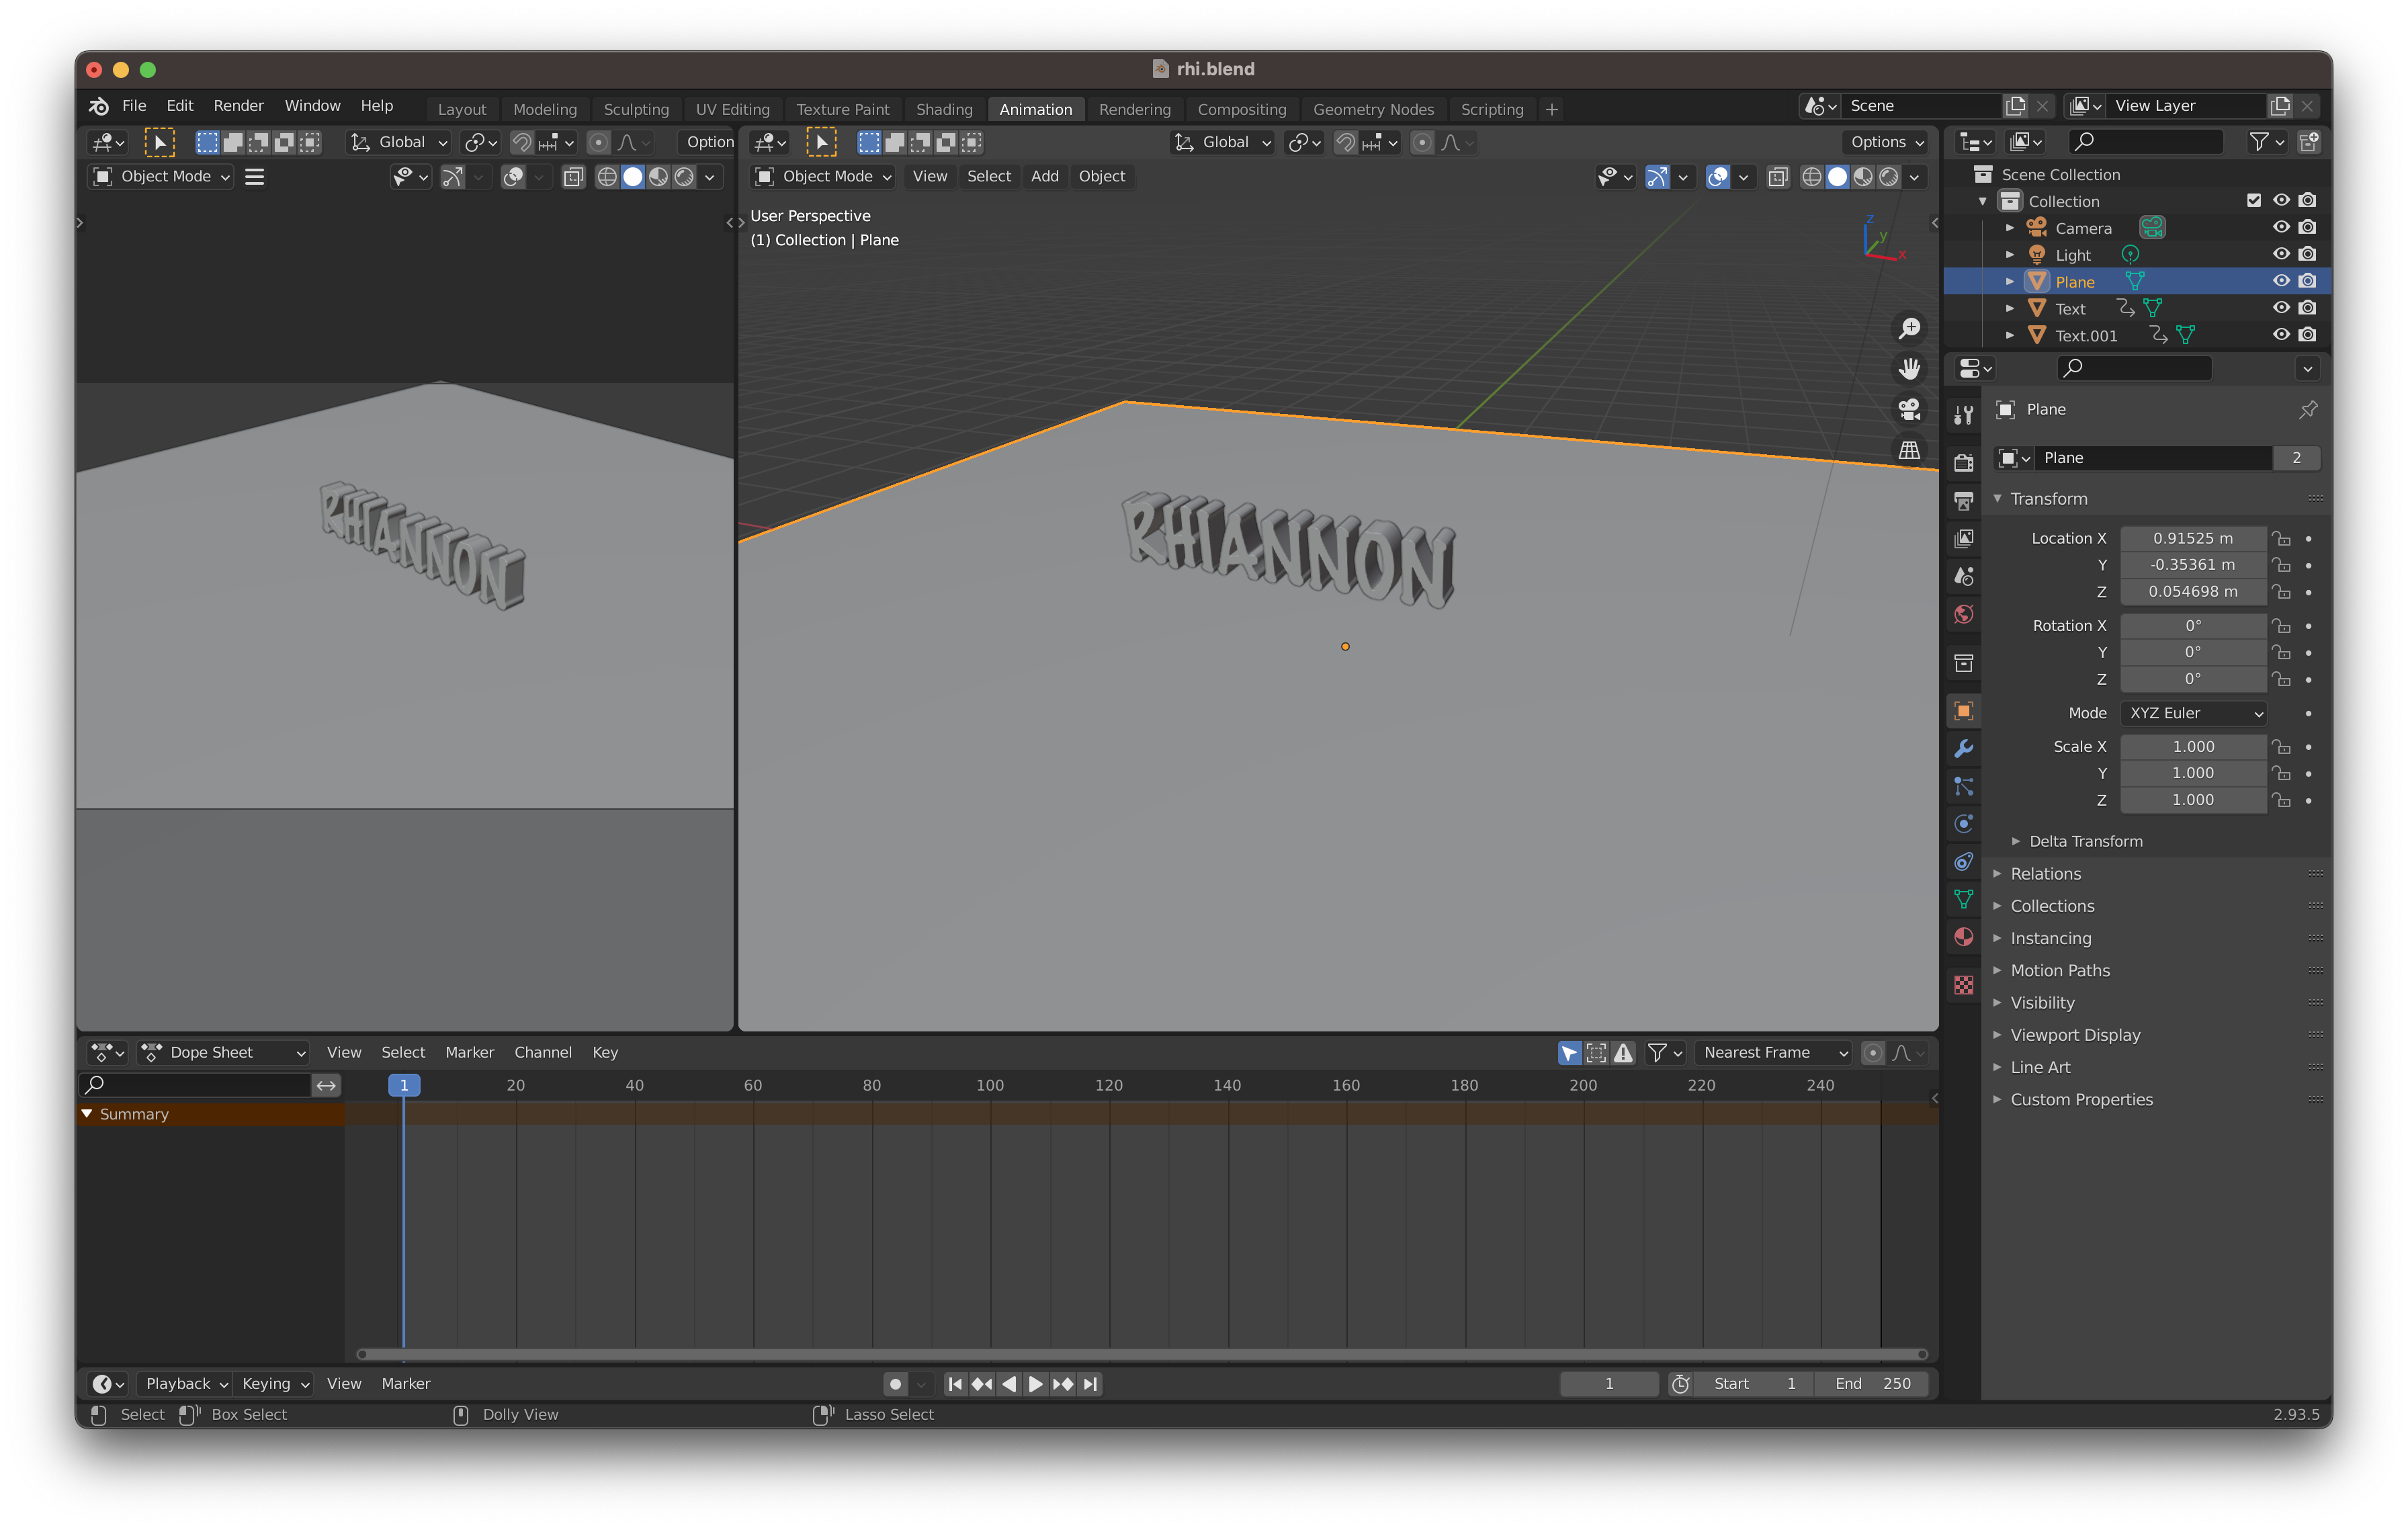
I also tried to create a gif using my images from my interview however the Macbooks would not open the footage, so I decided to try and do the Blender drop challenge. Although it took me longer than I expected I was able to create a name falling animation and then export it and create a gif.
I have now almost fully completed my Basic Training Package and am excited to start my ILP for Graphics Lab!
## Week 3: Bonus Challenges

I worked with Jordan this week on the Interview Stills challenge. I was able to navigate to find the footage from my intial interview use FinalCut to obtain stills and then edited them in photoshop. I then learnt how to use the place tool on Adobe Illustrator which means you can work on a creative project simultaneously between different Adobe Apps.
I'm glad I took the time to do this extra bonus challenge because I was able to utilise multiple other skills such as the naming conventions I have worked on during the Basic Learning Package and I have made .
On Monday I spent time on work requests for Marlon and Jordan cutting and editting pieces of literature for a workshop. It was going well, however when it came to printing I had change the PPI (Pixel Per Inch) and my laptop could not deal with the file size.
## Week 4:Graphics Lab begins
This week I began working on my Initial Learning Project for ... Graphics lab !!
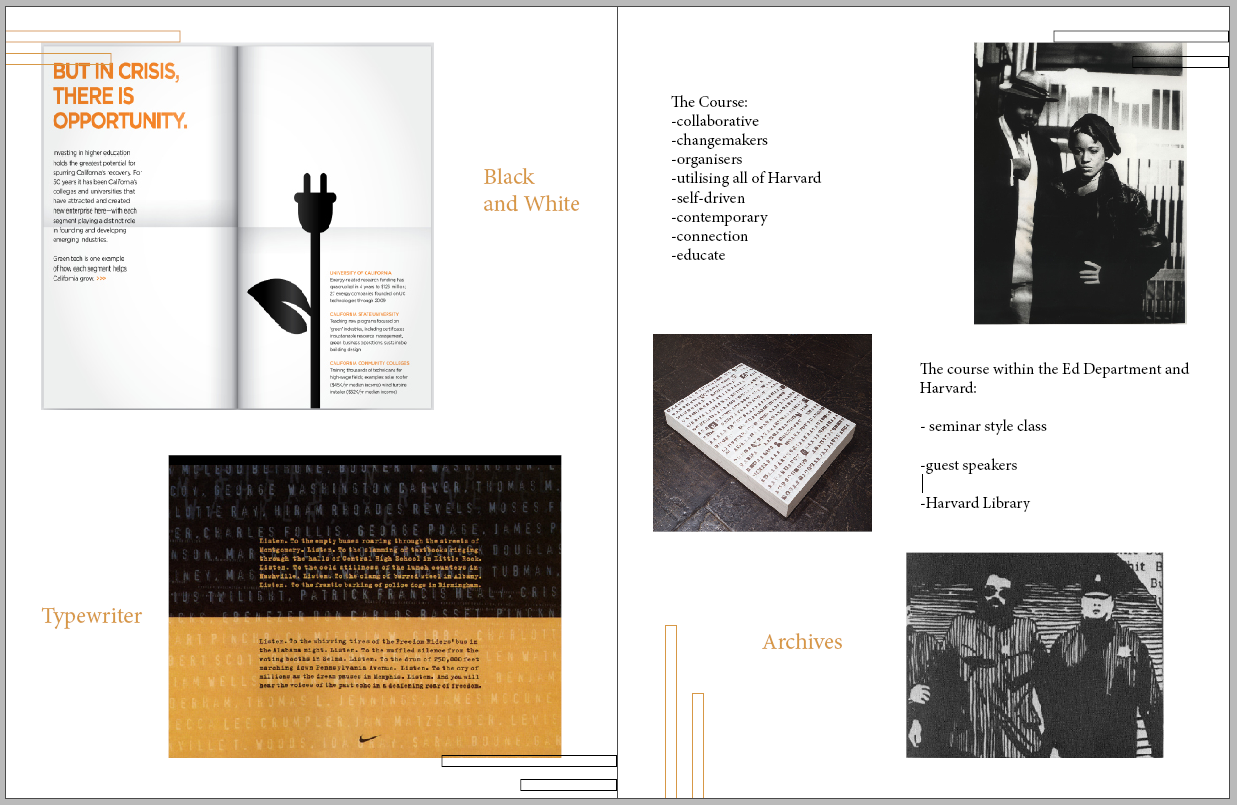
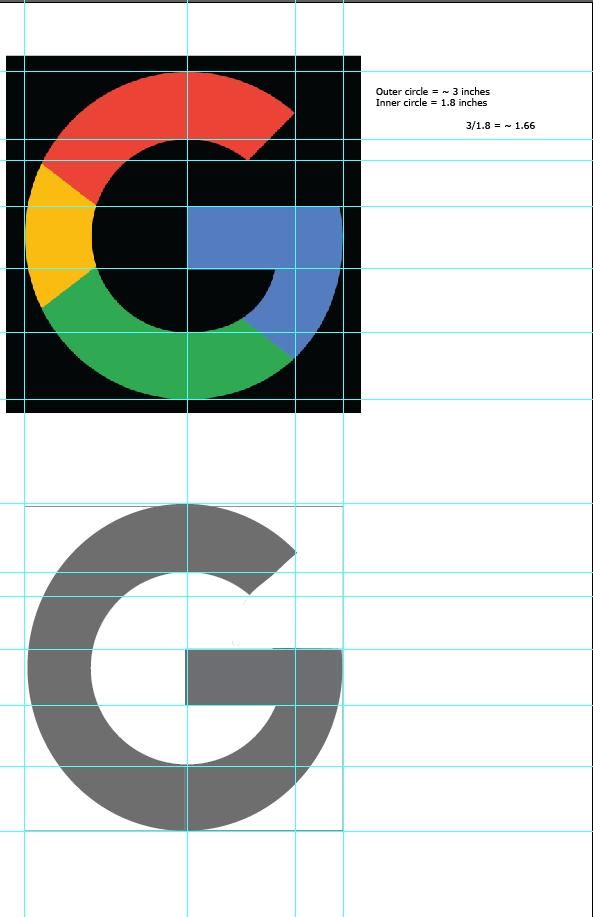
I followed the HackMD and started with the Visual Identity System and Wordmark tasks. The first part of my week involved researching - I have chosen to focus my ILP on the Ed Department course "Radical Actors: The Role of Public Education in American Social Change". I took this class last semester and is how I found out about the learning lab so it seemed fitting.
I created an InDesign workbook for the project. So far I have created a mood board and ideas on what elements of the course I want to convey and emphasise when designing for this course. I then created some Wordmark options in Illustrator.
Skills I have learnt this week:
*InDesign :
-using parent pages
-fitting images to frame
*illustrator:
-expanding texts and using paths to manipulate serifs, kerning etc
-alligning text to anchored objects
## Week 5: Fonts and colour schemes

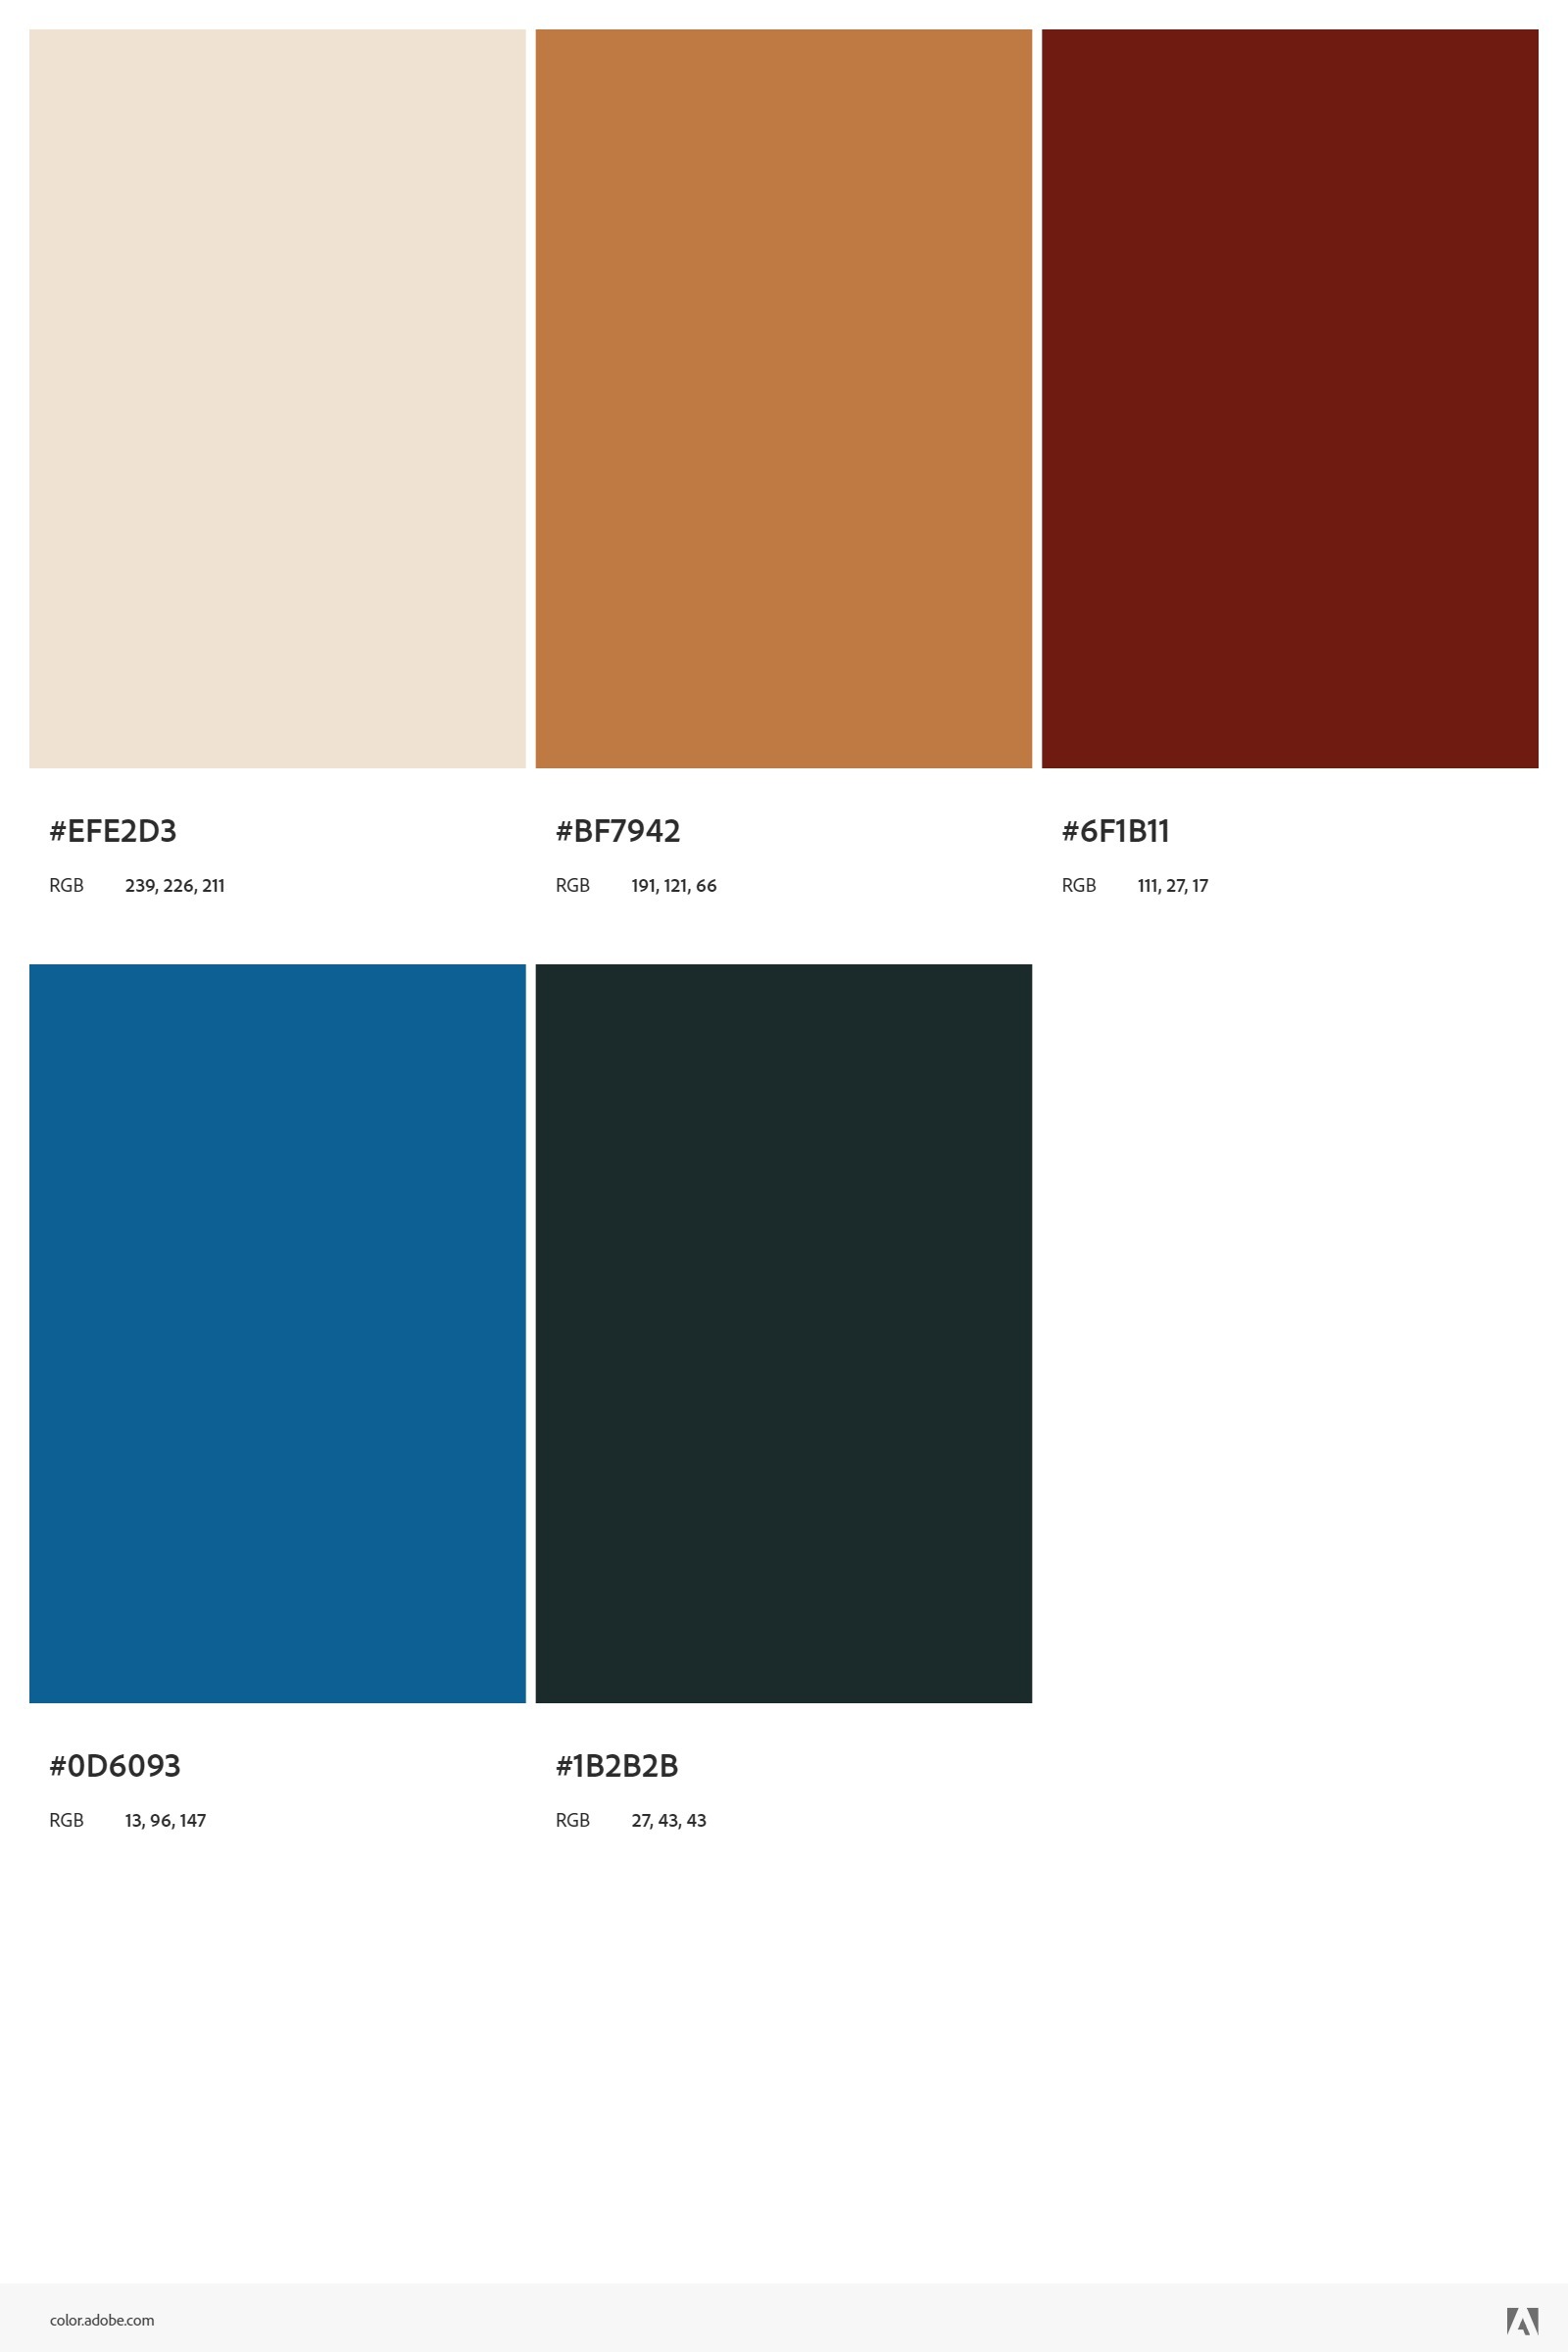
This week I continued working on my ILP. I learnt about the different ways to create colour palettes and tried out sampling different colours from images I found and creating colour schemes using these.
I used different tools including Illustrator and Adobe colour. It was cool to use the accessibility tool on Illustrator and ensure that my colours had a suitable contrast ratio and were colour blind safe.
## Week 6: logo designing
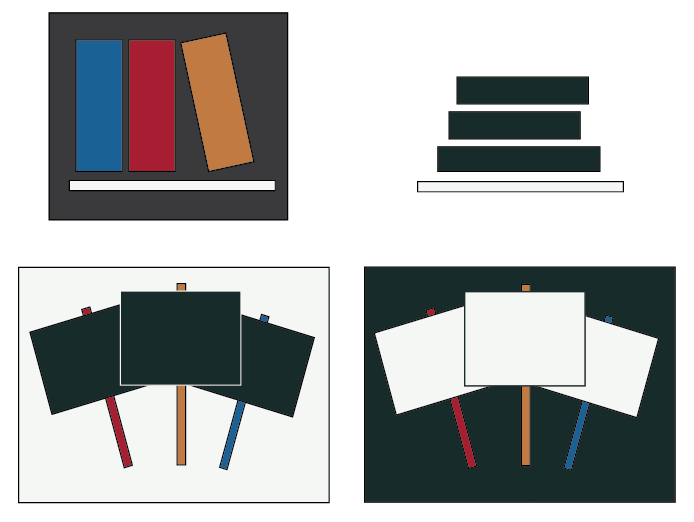
This past week I spent time helping setup for workshops, designing a tablescape for a English class, using AI to create patterns for themes in the class, and clear up around the studio after a workshop.
Whilst working on my ILP I learnt about the rules of logo design...
Rules of logo design:
1.Identify, do not describe
2.not an illustration
3.cannot solve every problem
4.must be visually engaging
5.must have mnemonic value
6.neutral to adapt to change in directions
7.logo as foundation to visual system
8.logo ability to exist in variety of media
and completed the recreate task. I will now move on to the ideation task, and begin creating my own logo to accompany my other visual system components including my colour scheme and Wordmark.
## Week 7: My Logo
During this week I have been logo designing. I used motifs and ideas from my course and ideas from the video to create some logo ideas using the colour scheme.
I also helped create buttons for a workshop, and designed a scientific poster using adobe express and wrote up a HackMD guide for the class on how to design and edit their posters.
## Week 8: Syllabus
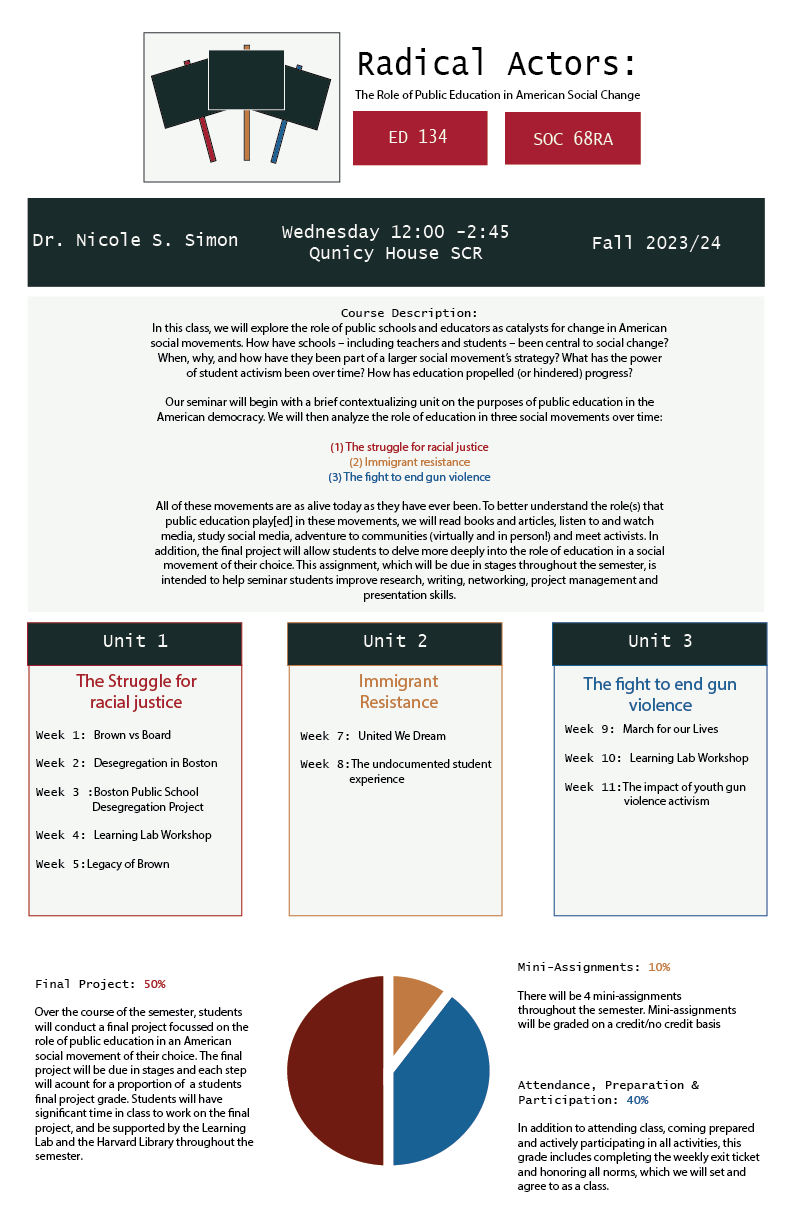
This week I spent time creating the syllabus for my course. I utilised the colour scheme, typography, wordmark and logo that I created.
I used the borders and guidelines to make the design coherent and cohesive and considered elements. I used Emily's example of visual elements to include in a syllabus and extracted elements from the Radical Actors syllabus to put in there.
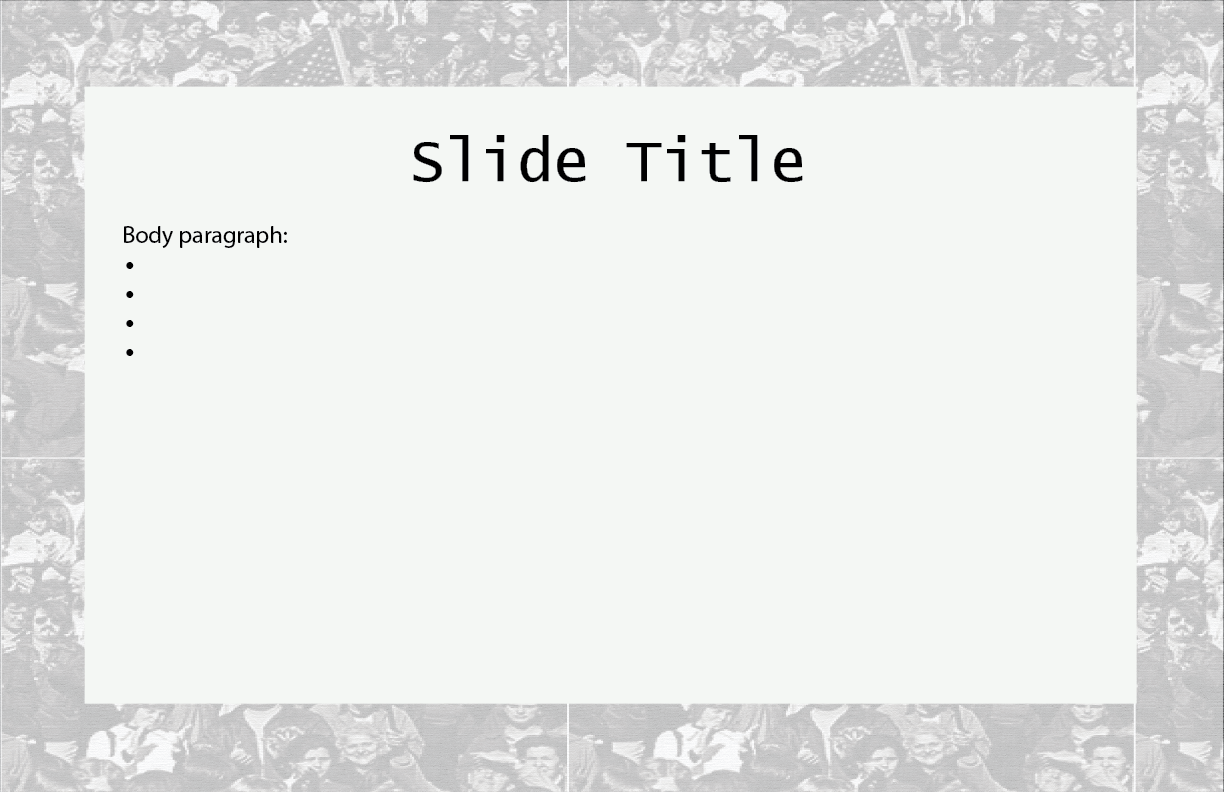
## Week 9: Google slides

## Week 10: Workbook and other stuff!
After a hiatus from my weekly notebook because of concussions and trips to Utah, I started the week by collecting all the materials I made for the ILP as I had a few different elements I worked on for the project including powerpoint slide designs, syllabus design, a poster for a class event, and a workbook design to be used in class.
I then completed the Learning Lab office hours sign challege but used illustrator to do typography and illustrations instead of paper and pens!
## Week 11: Paper Lab
This week I joined paper lab and Arba was a great LLUF at introducing all things Paper Lab. She showed us how to create a notebook, how to use all the different paper cutters, corner cutters and staplers in the Paper Lab workstation. We also brainstormed some ideas for the EXPOS20 Animal and Politics workshop field note.
The next day I attemmpted to follow Arba's HackMD tutorial for the notebook making to create one and it was very easy to follow! I ran into some problems trying to print from my laptop but Christine sent a helpful powerpoint.
## Designing and Printing a Cover on InDesign
1. Make sure you have InDesign downloaded and installed. For help with this step, check out [this tutorial](https://helpx.adobe.com/indesign/get-started.html).
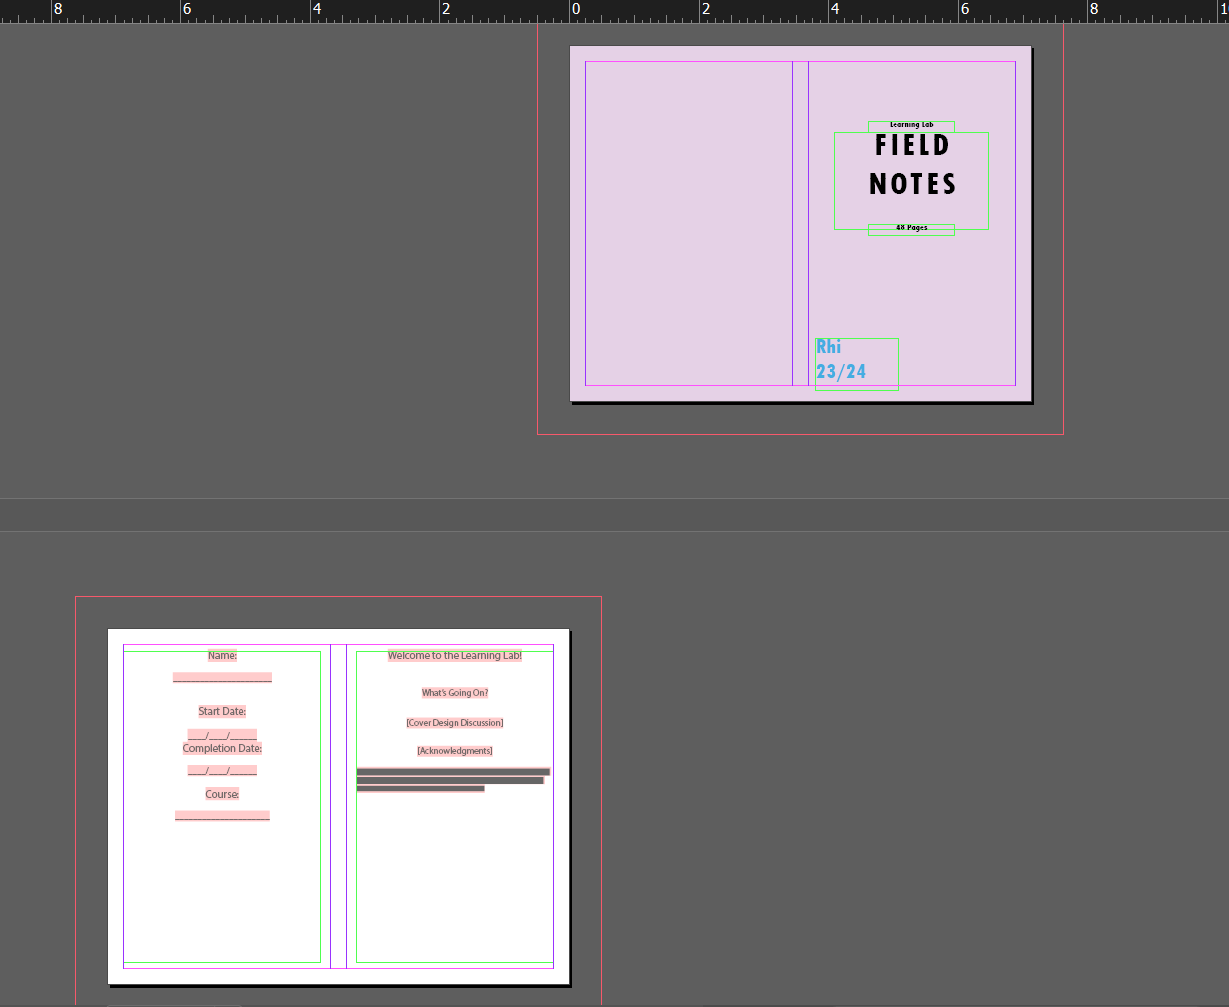
2. Open up the 'Field Notes Template' located in the paper lab slack channel. Otherwise, [download here](https://bokcenter.slack.com/files/U05UP1SB0EL/F067L1UP4KX/field_notes_template.indd). Upon successful download and opening, your screen should resemble this:
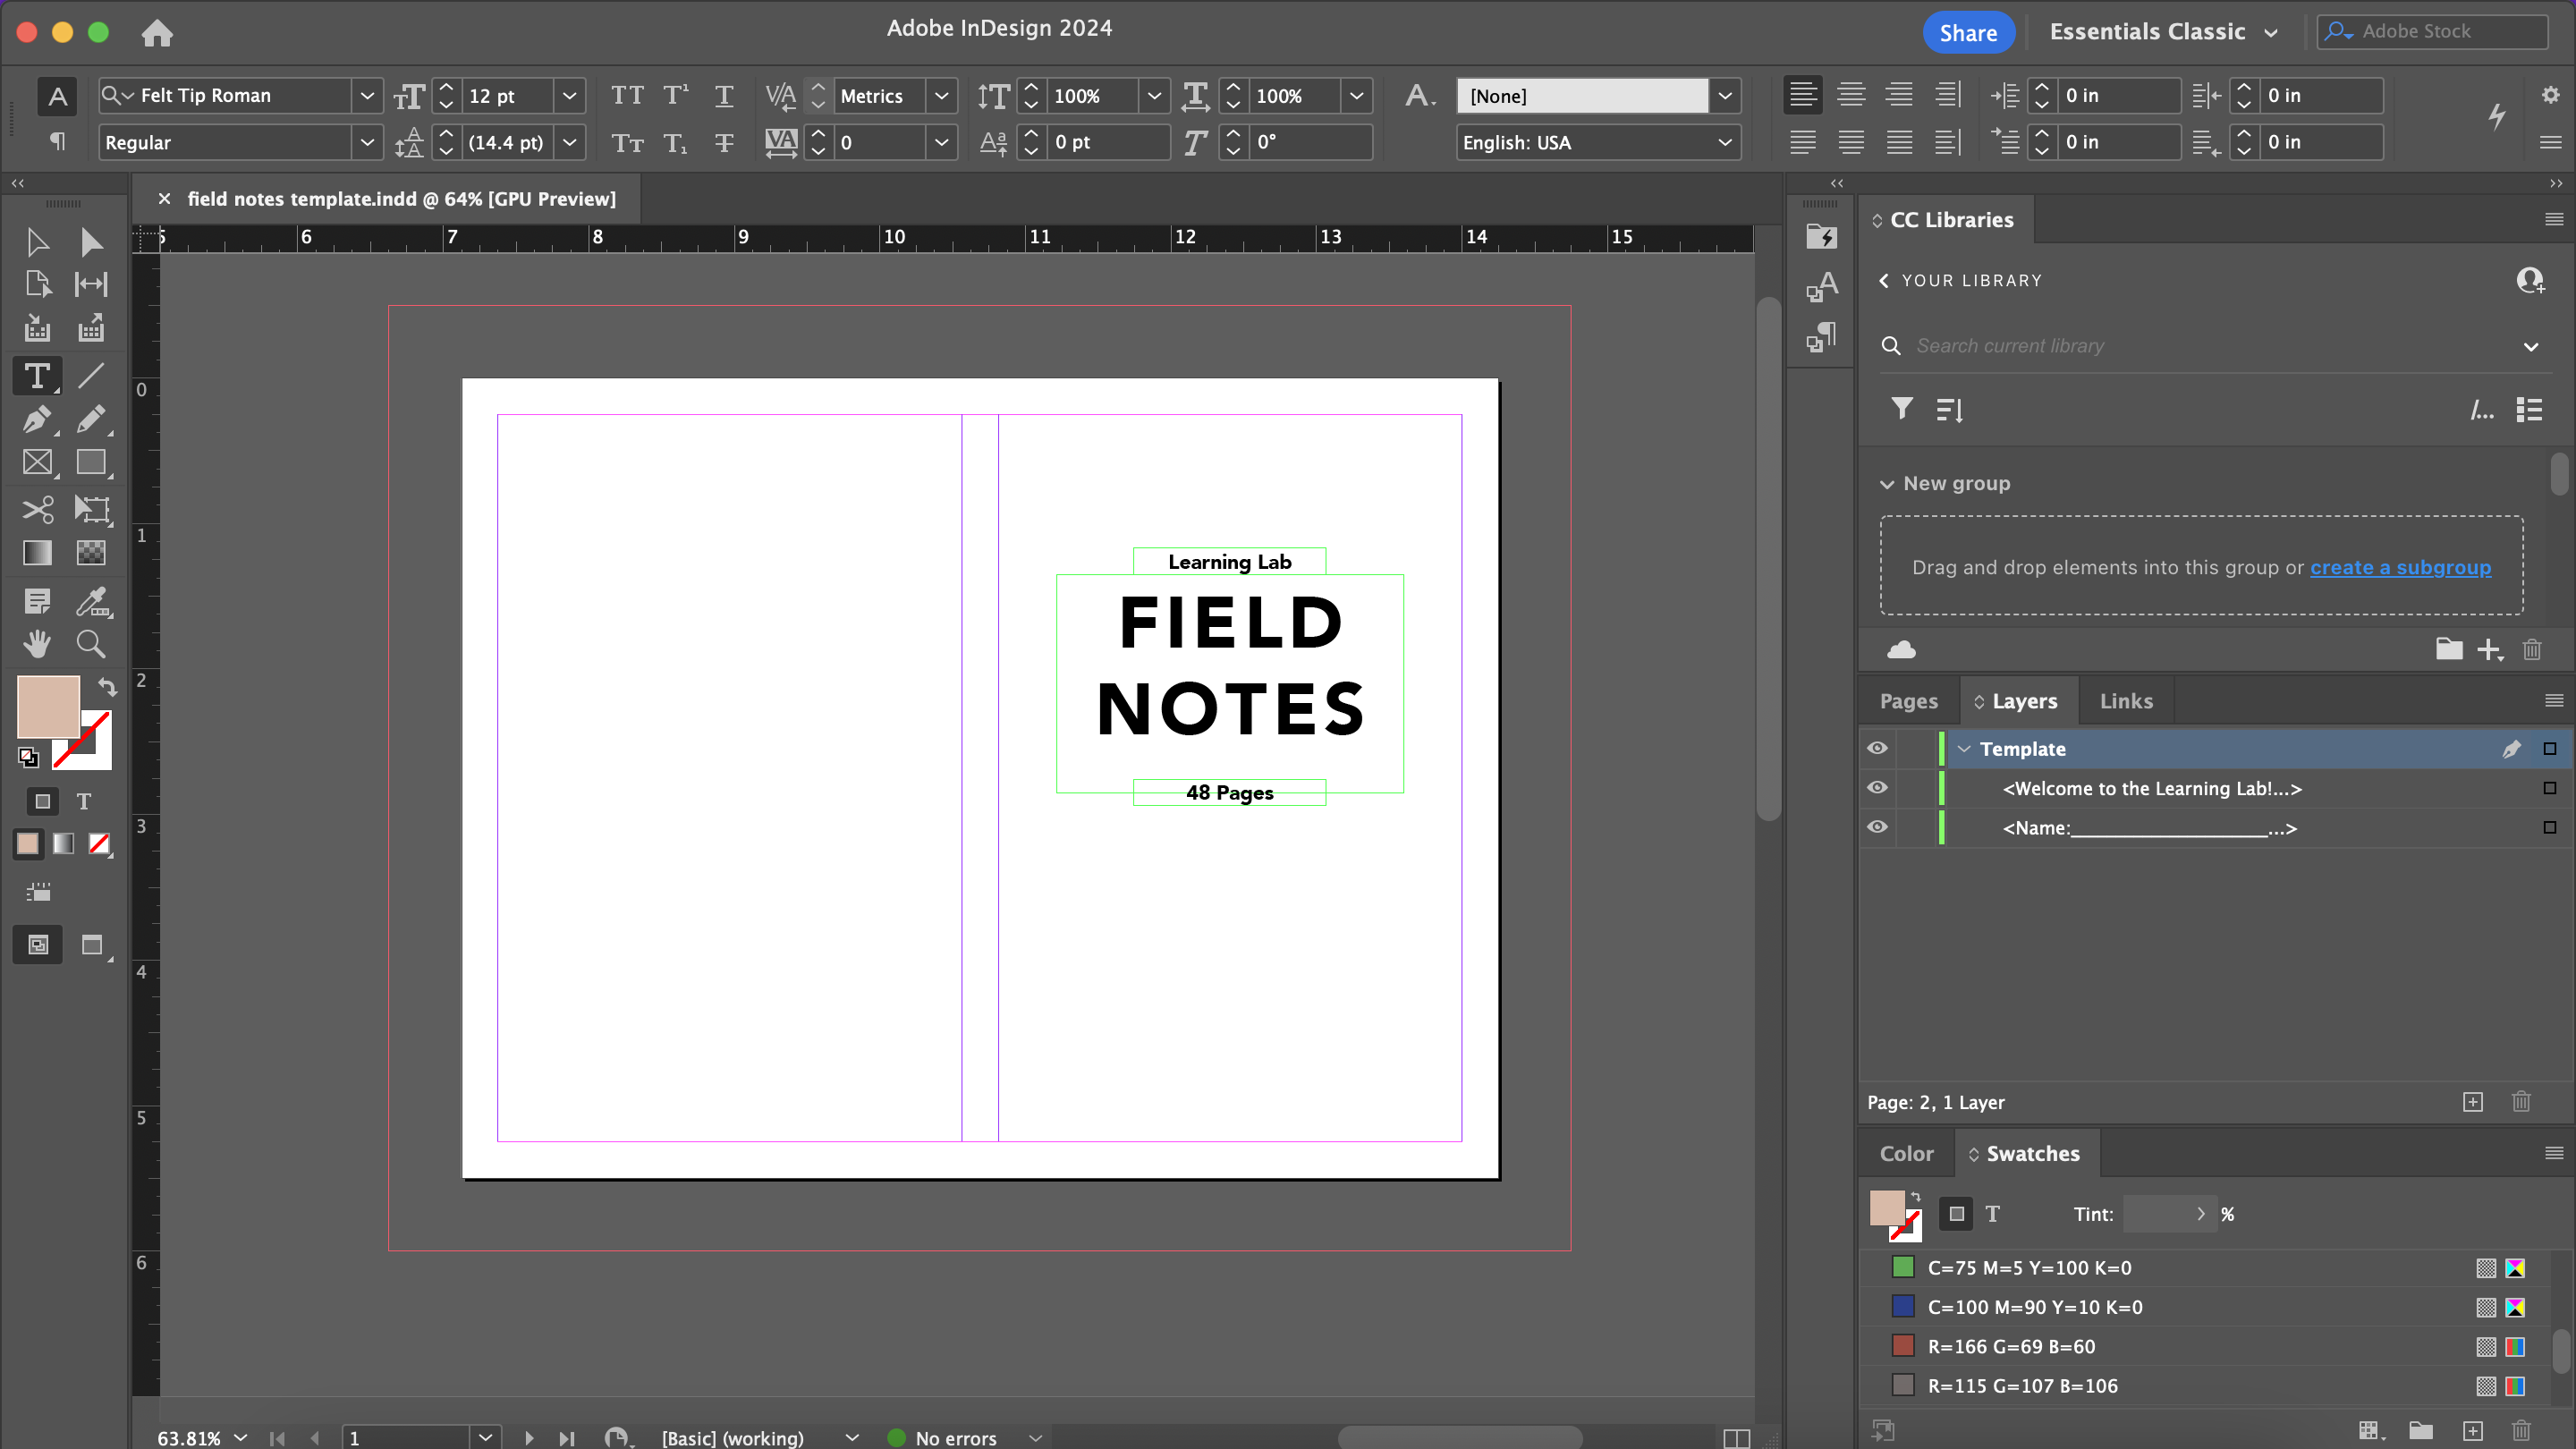
3. Design your cover! The InDesign file comes with 2 pages for you to customize.
4. To print, follow these steps:
1. Click 'File -> Print'
2. Make sure the Printer is set to the '50 Church Street' location
3. On the left of the screen, click 'Setup'
4. Change 'Page Position' to 'Centered'
5. On the left of the screen, click 'Marks and Bleed'
6. Under 'Marks', only select 'Crop Marks' and 'Bleed Marks'
7. Under 'Marks', change 'Weight' to 0.25 pt and 'Offset' to 0.0833 in
8. Under 'Bleed and Slug', select 'Use document bleed settings'
9. At the bottom of the page, click 'Printer...'. A new pop-up should appear that is NOT the InDesign printer UI. This is the other pinter UI.
10. Under 'Double-sided', using the dropdown select 'On (Short Edge)'
11. Select 'Printer Options'
12. Under 'Printer Options', select 'Paper Feed'
13. Change 'All Pages From: Auto Select' to 'Bypass Tray'
14. Click 'OK'
15. **Before printing**, go to the physical printer and load the top of the Bypass Tray with a piece of (preferebly white) thick cardstock paper.
16. Once back at your computer, select 'Print' to clear the printer UI
17. Select 'Print' again to actually print the cover
18. Your cover has now been printed!
## Putting Together the Journal
1. In the hallway, there is a shelf with long white computer-esque paper. Count out 12 sheets.
2. Head to the paper lab. In this space, you'll find 2 paper cutters: a large one and a small one. You will first be using the large one.
3. Before using the machine, follow these steps:
1. Pull down the paper tray
2. Remove the blue safety guard
3. Lift the cutting arm
4. You will be cutting the paper so that it measures **7.125 inches in length** and **5.5 inches in height**.
5. *insert safety precaution pls don't stick your hands underneath the blade*
6. To hold the papers in place as you cut, turn the lever clockwise, as demonstrated in the video below
7. Pull down the cutting arm to cut
8. To release the papers, turn the lever counterclockwise
9. Repeat the cutting process for both length and height cutting of the papers
10. Once you are done, make sure to lower the cutting arm back to its original position. Put the blue safety guard back on. Pull up the paper tray. These steps ensure safety for anybody who may be near the paper cutters.
Rhi:
To cut the front page:
1. Follow the cutting guides on the cover, so that it is 7.125 inches in length, and 5.5 inches in height.
2. Once it is cut, you want to fold the cardstock so you have a front and a back page.
3. The
Stapling:
1. Once you have both your paper pages and cardstock cover cut to size, you can leave the Paper Lab and head to the stapler.
2
## Week 12: Field notes & dollhouse
This week I helped Sarina who was working on the dollhouse. We painted, printed and pasted to create wallpapers and walls for the house, it was super fun!! and I came back on tuesday and the dollhouse looked awesome.
I also worked on Field note books and designs for the Comics class who will be in the Learning Lab in Spring 2024. Here are some of my designs and ideas so far.

# Spring 2024
## Week 1:
I captured live stills in final CutPro for Marlon and Jordan:
File:
- finder -> bcloud ->capture -> current
- 3 finger drop into project or time line
To capture stills:
- use M -> Marker
- press share top right, and save current frame - save it in whichever folder necessary
To capture video:
- use B for Blade to cut up footage
- then use A for select
- then export through share button
- Use 4k or 1080 apple devices
- To create gif, B then create a new project
- Then export as 4k
- then drag into slack channel
---
### the breakdown:
If you have an extra 15 minutes or so not spent on higher prioroty tasks, you can totally work on creating a more elaborate and creative data vis of this breakdown, but it would be awesome to get some stats on the following each week at a minimum so we can put together a larger data vis/stats board for storytelling about all of the LLUFs as the year goes on!
| Type of Work | Time Spent | Notes
| -------- | -------- | -------- |
| Learning | 2:OO | Name drop challenge. I need to still work out how to export and create gif from PNGs |
| Testing | HH:MM | this includes any design Labs, and any work request tagged "test" |
| Collecting | HH:MM | this includes any work request tagged "collect" |
| Prepping | HH:MM | this includes any work request tagged "prep" |
| Maintaining | HH:MM | this includes any cleaning or organizing or set up requests. work request tagged "maintain" |
 Sign in with Wallet
Connect another wallet
Sign in with Wallet
Connect another wallet