---
tags: lluf-prompt
---
# lluf-prompt: bio-graphic
## the idea, the pitch
[link for submitting your work to this prompt](https://airtable.com/shrMZUvuNlIgPffpV)
## the steps
### step 1: collect (a total of 10 minutes)
[Visit our pinterest board on bio-graphics.](https://www.pinterest.com/learninglabpins/project-bio-graphic/) Spend about 2 minutes looking at the models we have collected.
5 minutes, as indiviudals: Each of you now need to go forth and collect at least 3 (but really as many as you can) more examples of graphics that incorporate a portrait with text and other graphical elements. Add your examples to our pinterest board.
set a timer for 5 minutes and...go!
### step 2: pitch
As a group: discuss some of the models and choose 2 or 3 to pitch to our staff team that you want to use as a model for our own bio-graphics.
you have 20 minutes to develop your pitch. then pitch to jordan, marlon, madeleine, etc. they will then approve the one that you will proceed with. when developing your pitch, please answer these qeustions:
1. Which "bio-graphic" did you choose?
2. What is the purpose/context of this graphic?
3. What about this graphic keeps your attention?
4. Is there anything not covered above that contributes to your idea of what makes an “exemplary” "bio-graphic"
### step 3: capture your portraits
set with green screen
set up camera so it's horizontal to the average person sitting on a tall stool.
f2 to focus
dial gain back to +2 if it's bright at +6
click red dot to record for just a couple of seconds
grab card and put in purple comp
open davinci resove and create new project. click the gear in the bottom left to open up project settings, and in master settings --> timeline format, make timeline resolution 3840x2160 ultra HD. go to the media tab, and drag your footage to the media tool.
bio-graphics footage folder on _work drive. JK will put it on a lluf drive eventually
in media zone, navigate to those files and grab them and put them into the media pool. (this is the ingest stage to make it visible to the editor)
edit page-scroll (scrub) to the part you want and hit I then O to get a single frame then click the "insert clip" button or use f9 on the keyboard
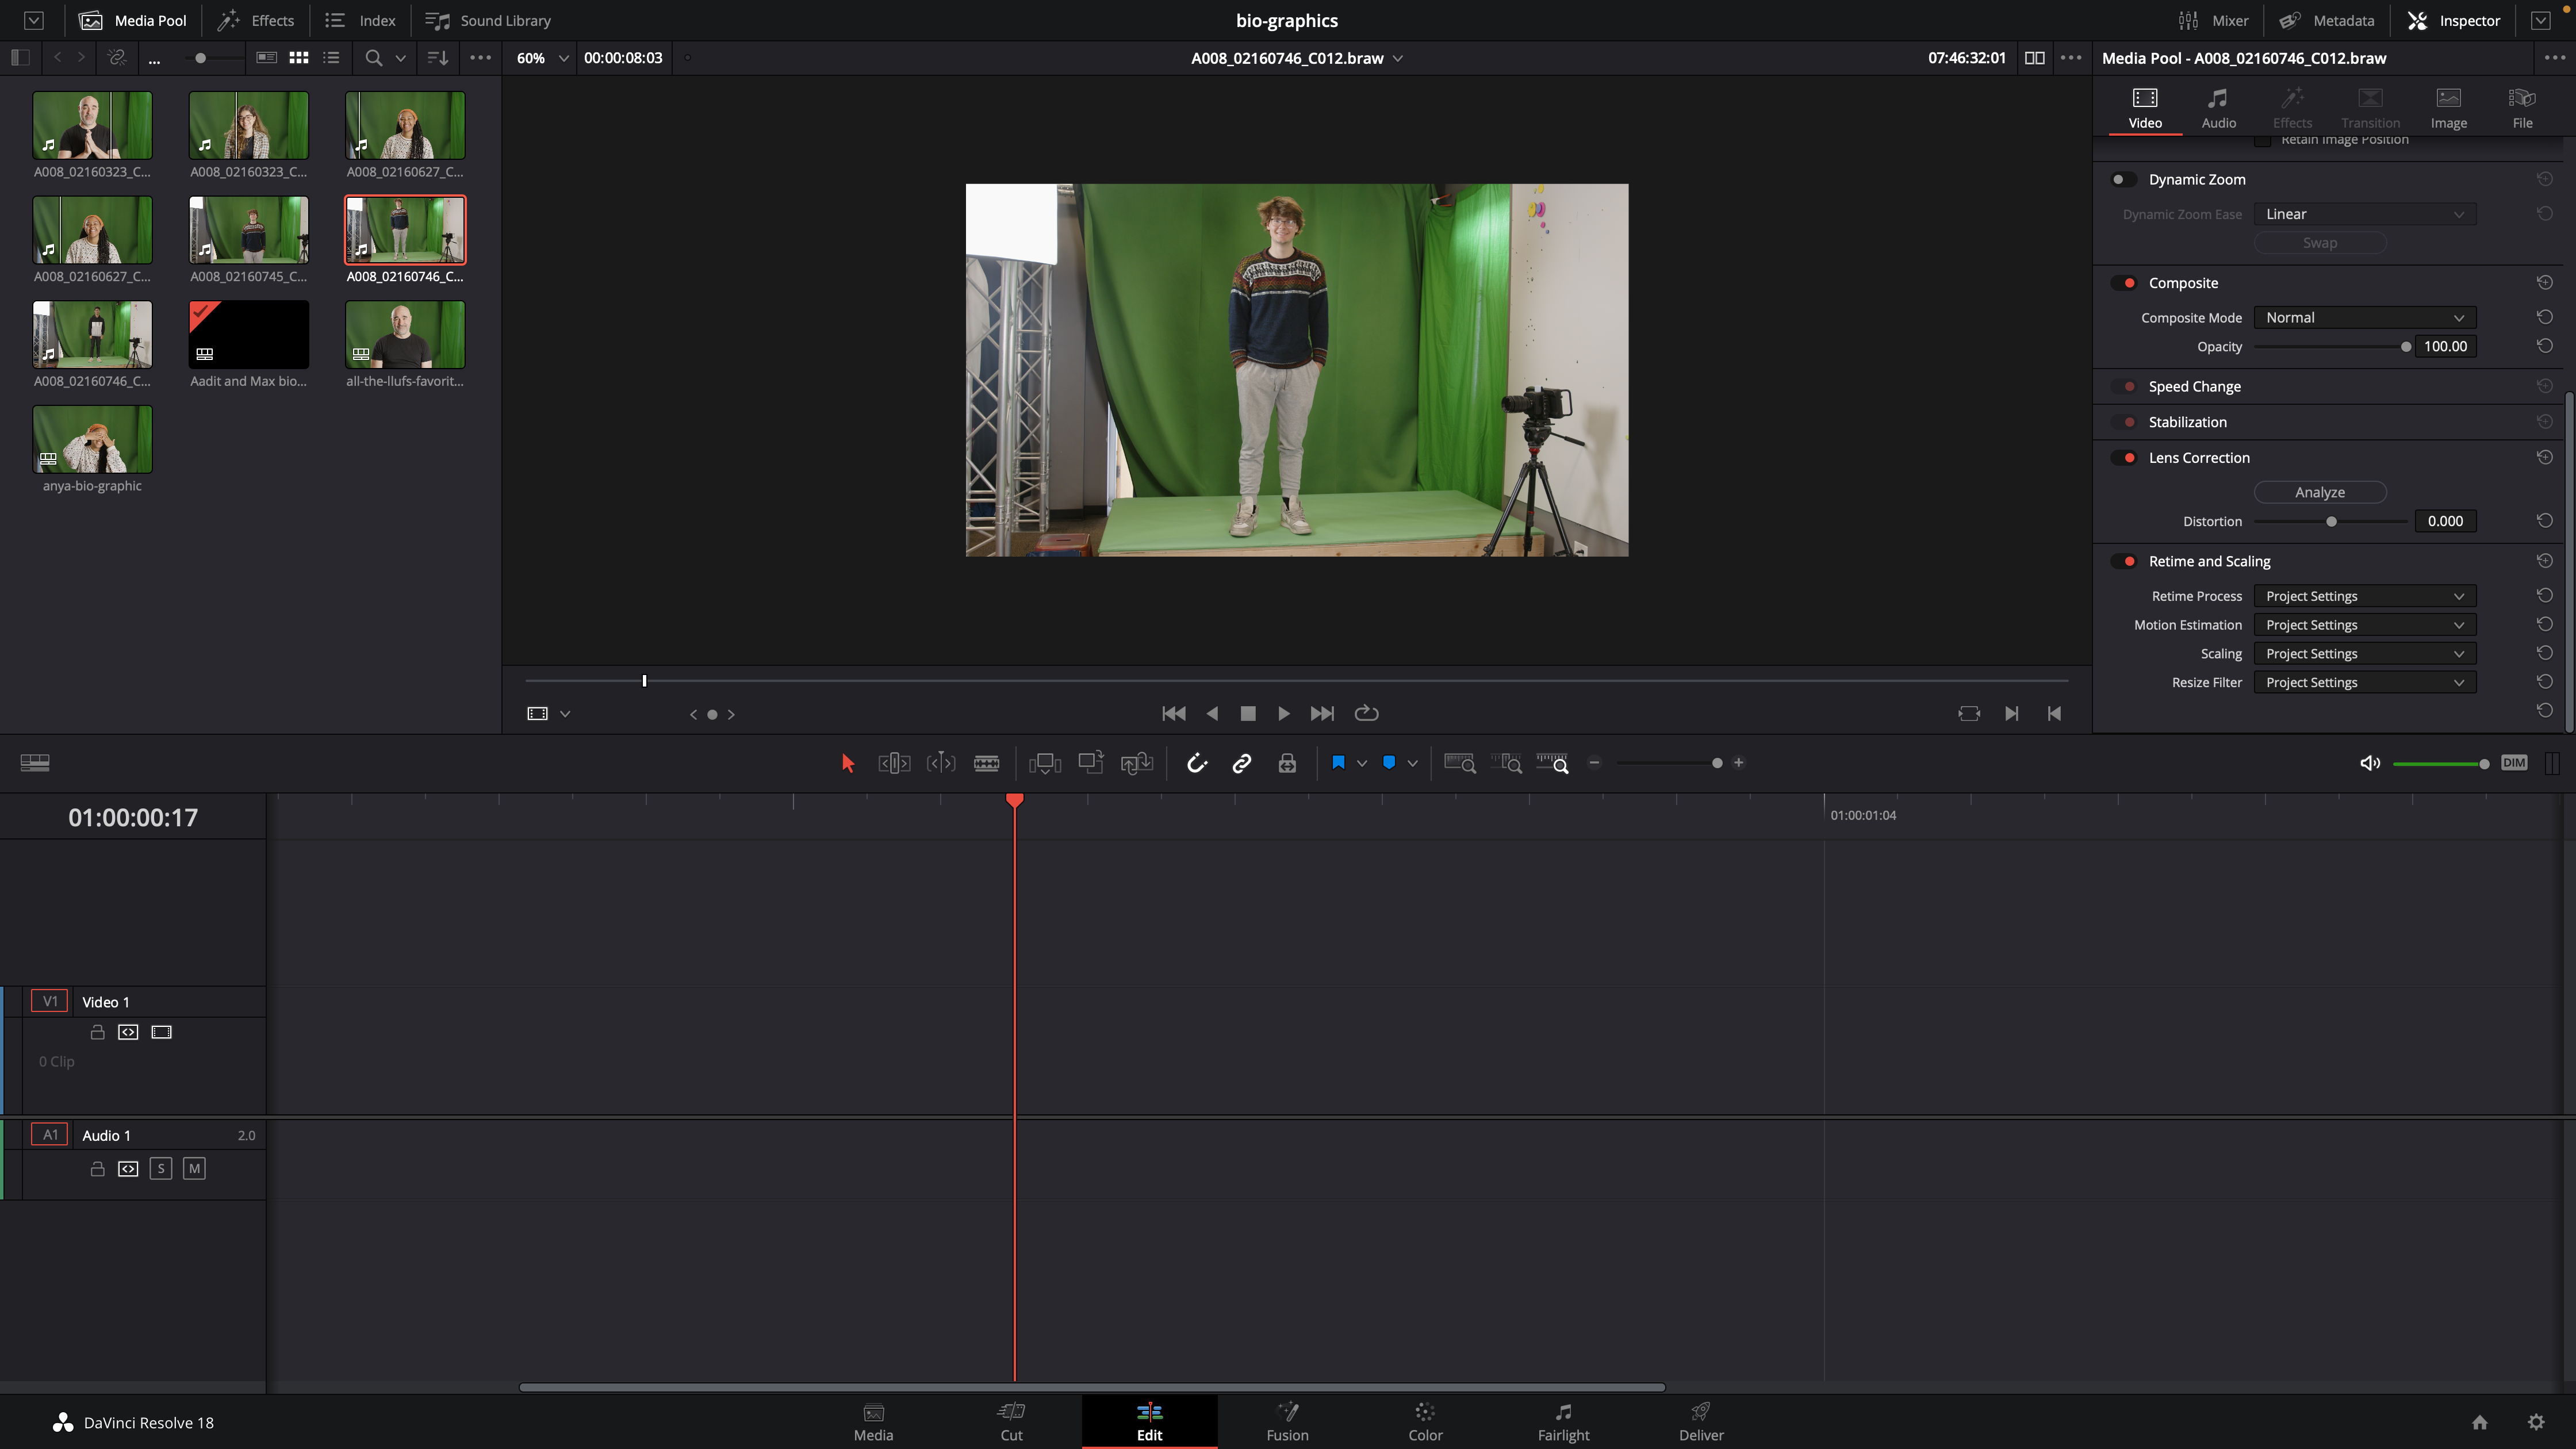
deliver- name file - select "TIFF" file type - select Ultra HD export - add to render queue--render all; your file will pop up in bio-graphics exports
ALTERNATIVELY:
When your media is in the timeline, go to the "edit" tab at the bottom of the screen.
Scrub across and right click on the previewed image, then press "grab still"
right click on the still which should now be on the left hand side and "export"
choose location and ensure you're exporting as a TIFF
---
now we are in the photoshop zone.
### step 4: edit and craft your image
you will use your approved model as a template to recreate your own bio-graphic spread for your group. Each individual will have a component.
1. import your photo into photoshop
2. remove the background (select, select and mask)
### step 5: craft and design your additional elements
### step 6: save all versions of image
In order to keep your images, for each bio-graphic wrap-up
we need:
* the raw video (.braw)
* the initial .tiff exports (renamed with their names and a counter)
* the transparent .png (original size and then also a resized-for-web version we can create once we have all the original sizes)
* the .psd file or canva link to where they created their card
* a .jpg export of their card (probably already in show-your-work)
### step 7: remix with AI
* click [here](https://hackmd.io/AMDQsZ8BRaK72tUXAX0zXg) for a continuation of this challenge with new tools
## staff notes
* [google doc](https://docs.google.com/document/d/1h-FHAf7twAfXfYZdmrYFcmmT59hO-O0EejVolvb9TTw/edit#)
## LLUF Notes
***-feel free to add notes to this part!***
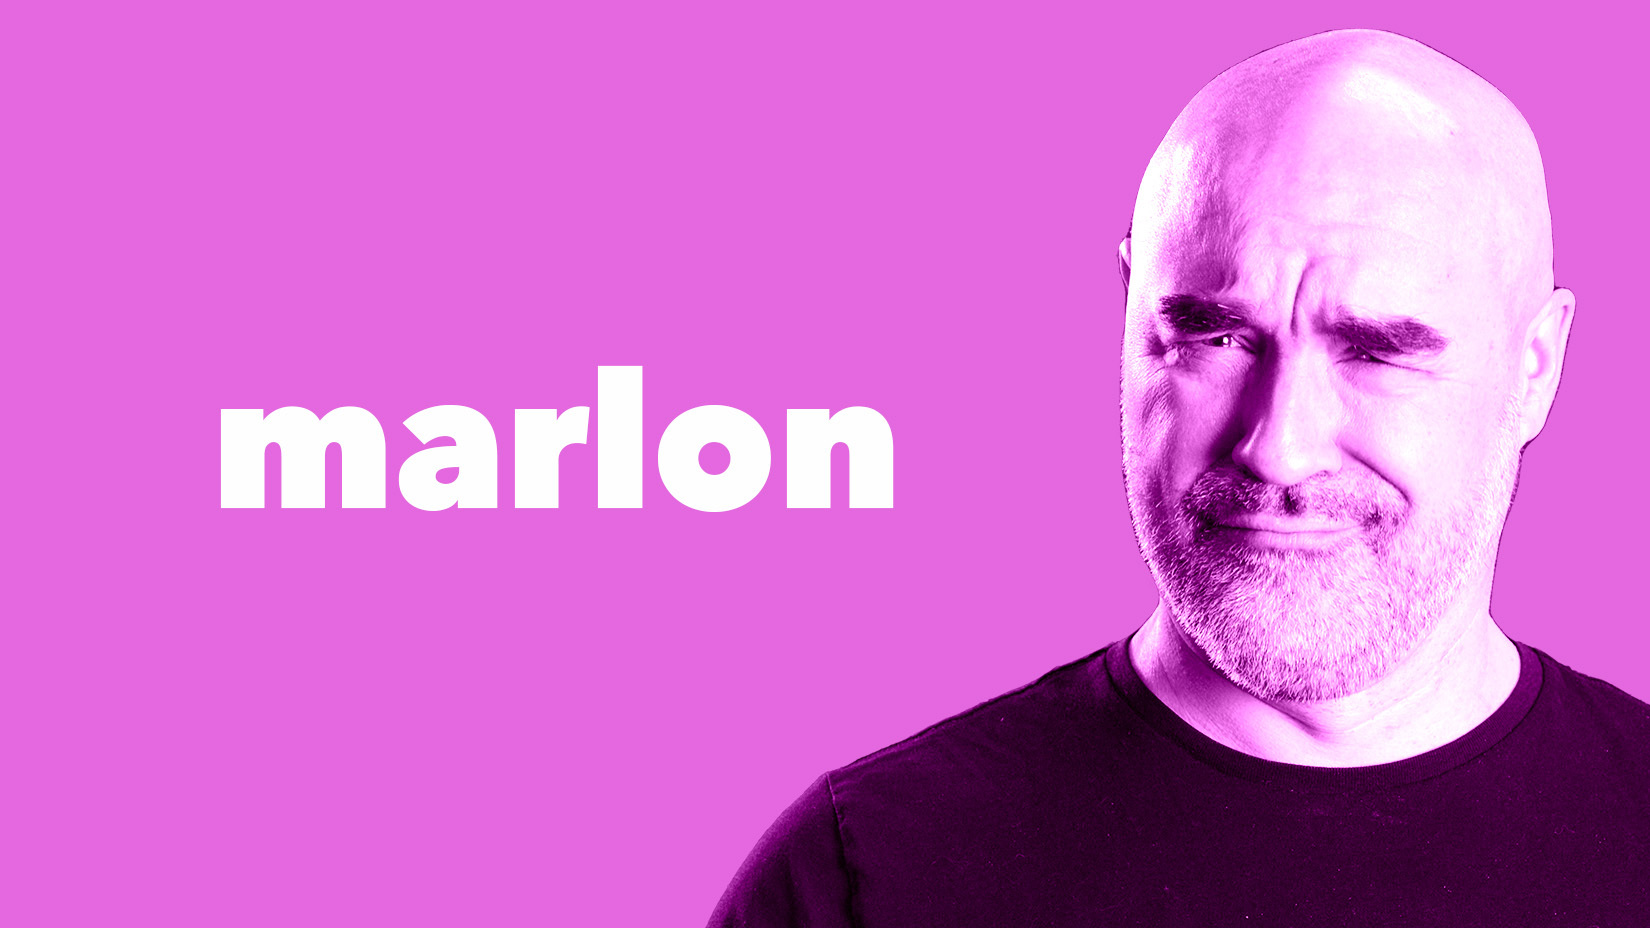
**Project 1: Marlon + gradient**
* remove background and add solid color
* resize image
* add either
* black amd white clipping mask and change blend mode
* add gradient mask and change blend more
* add text
Inspiration:
Result:
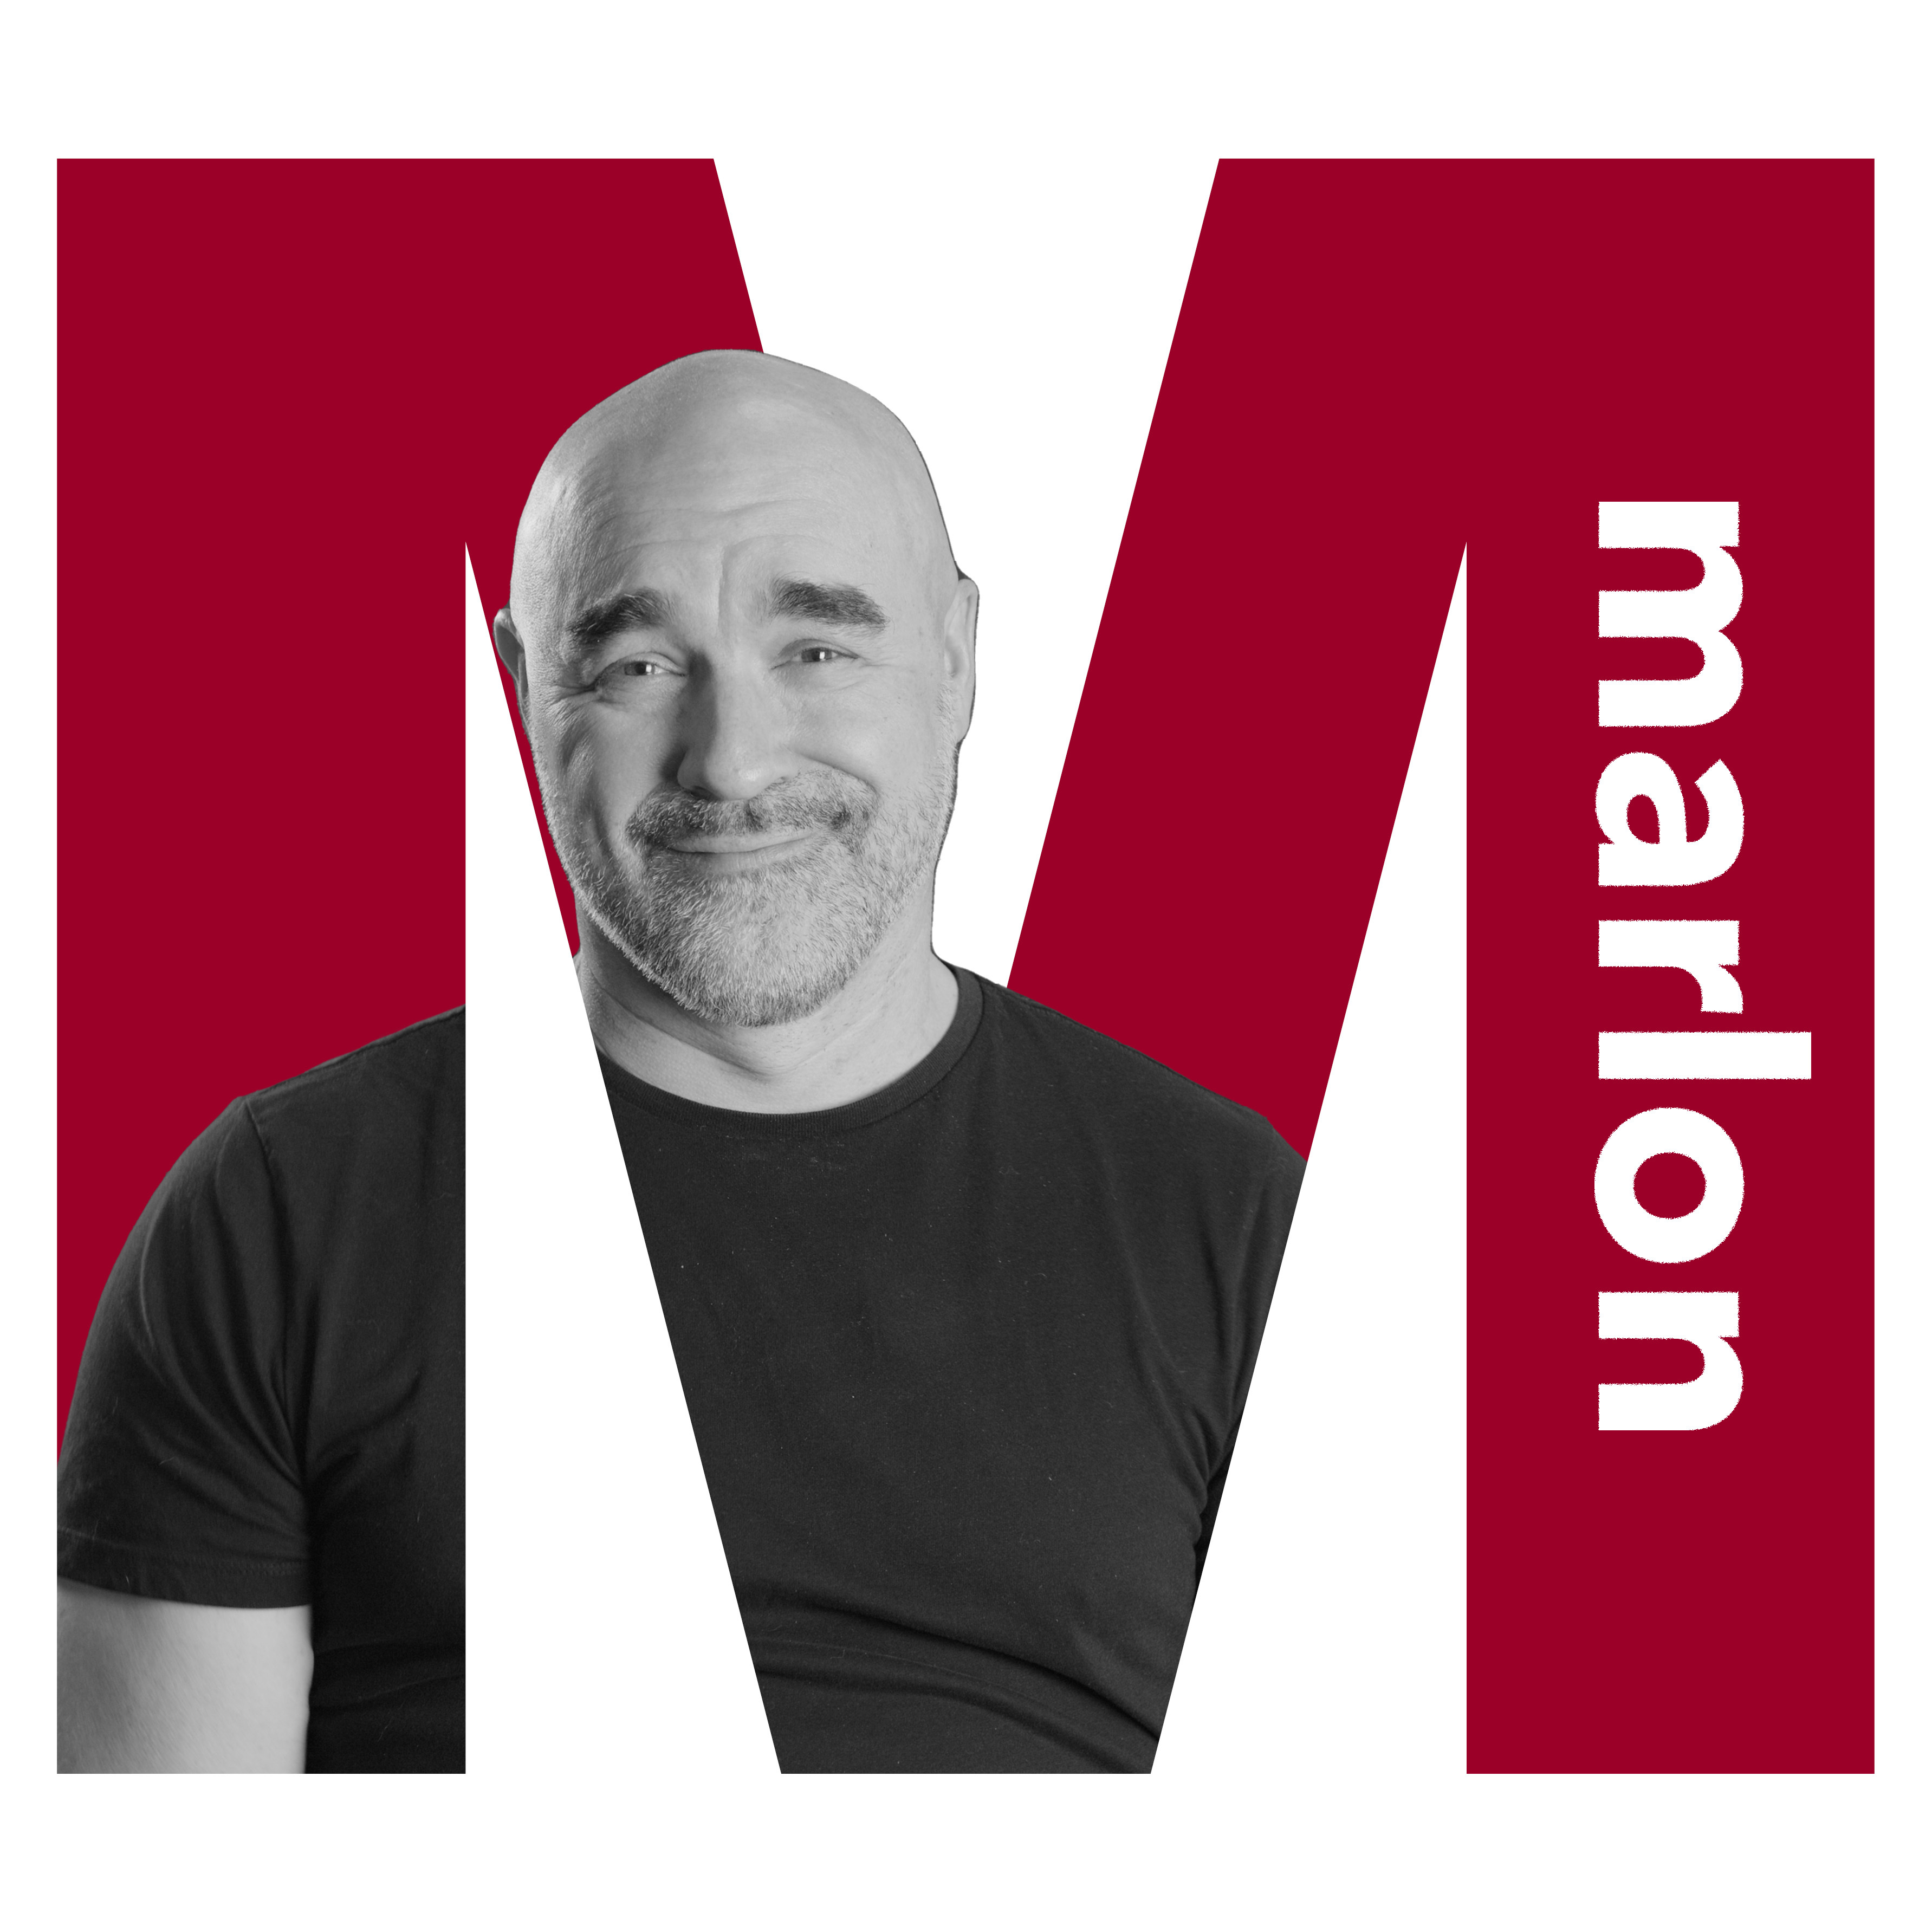
**Project 2: Marlon + Letter**
* write the person's initial in a strong, solid font
* change the color as you wish
* remove the person's photo background
* add a clipping mask to make the photo black and white
* clip it to the letter
* write the person's name and choose where to place it
Inspiration:
Result:
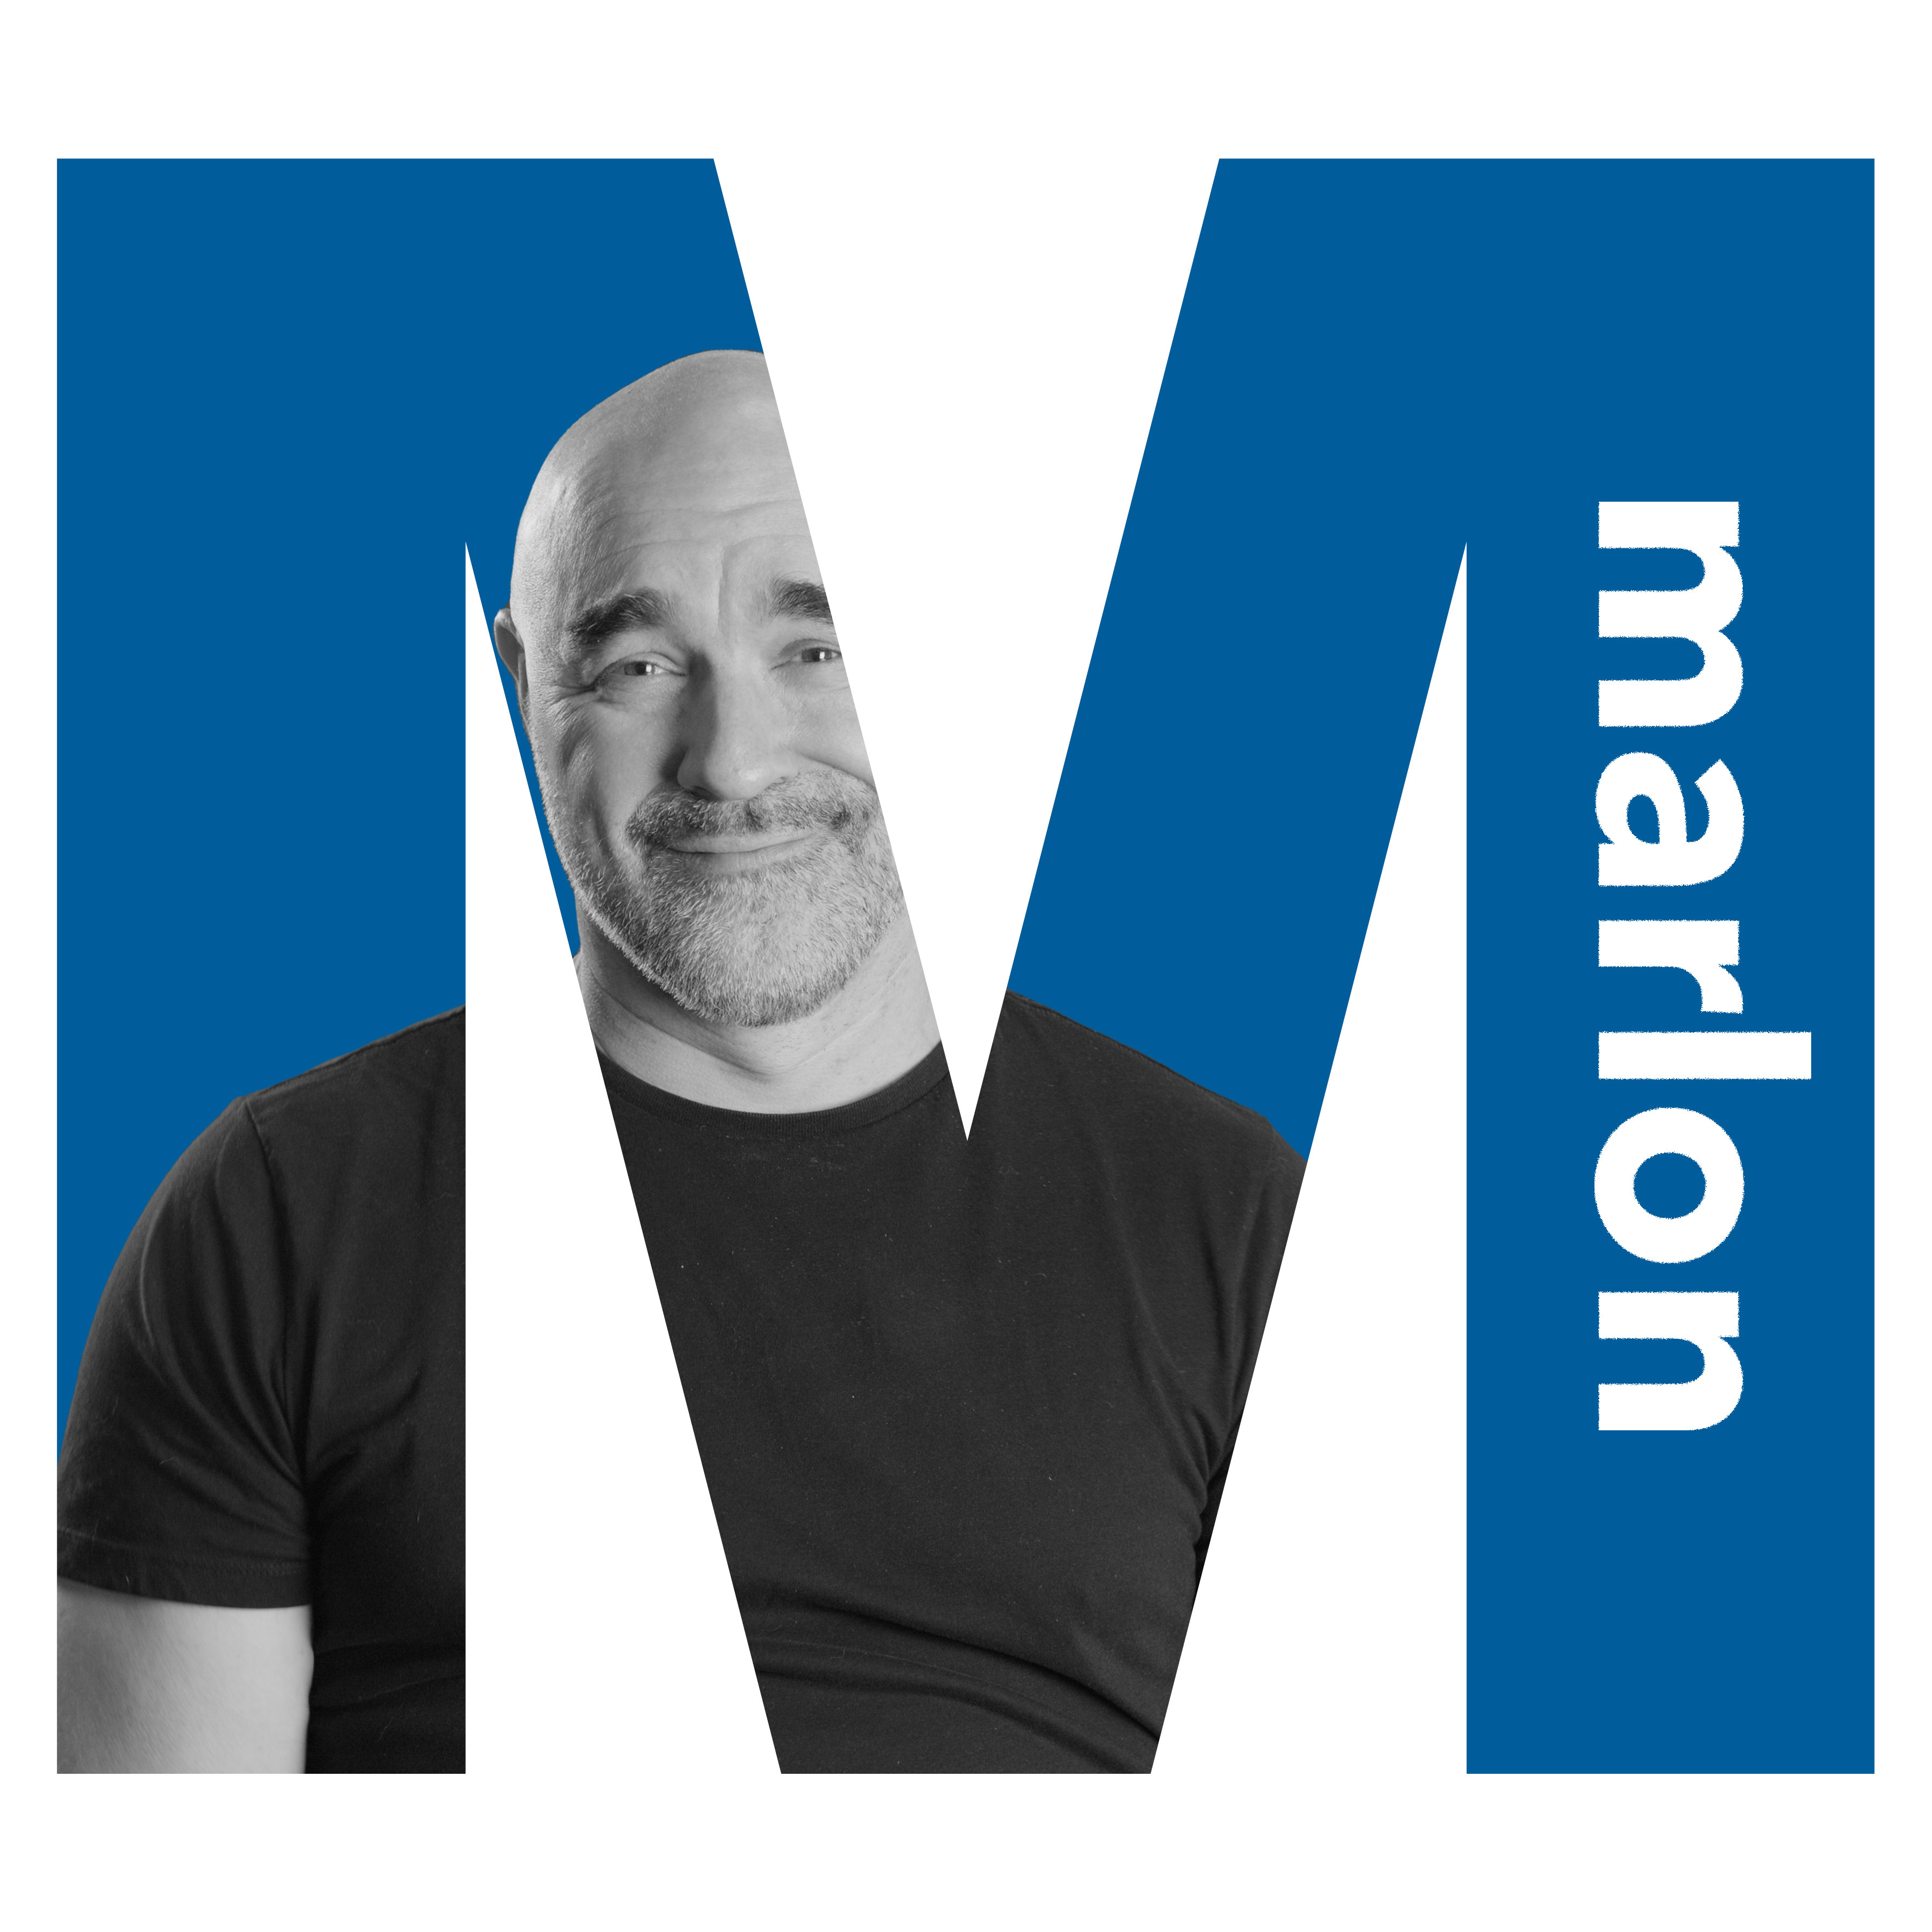
Alternative Result:
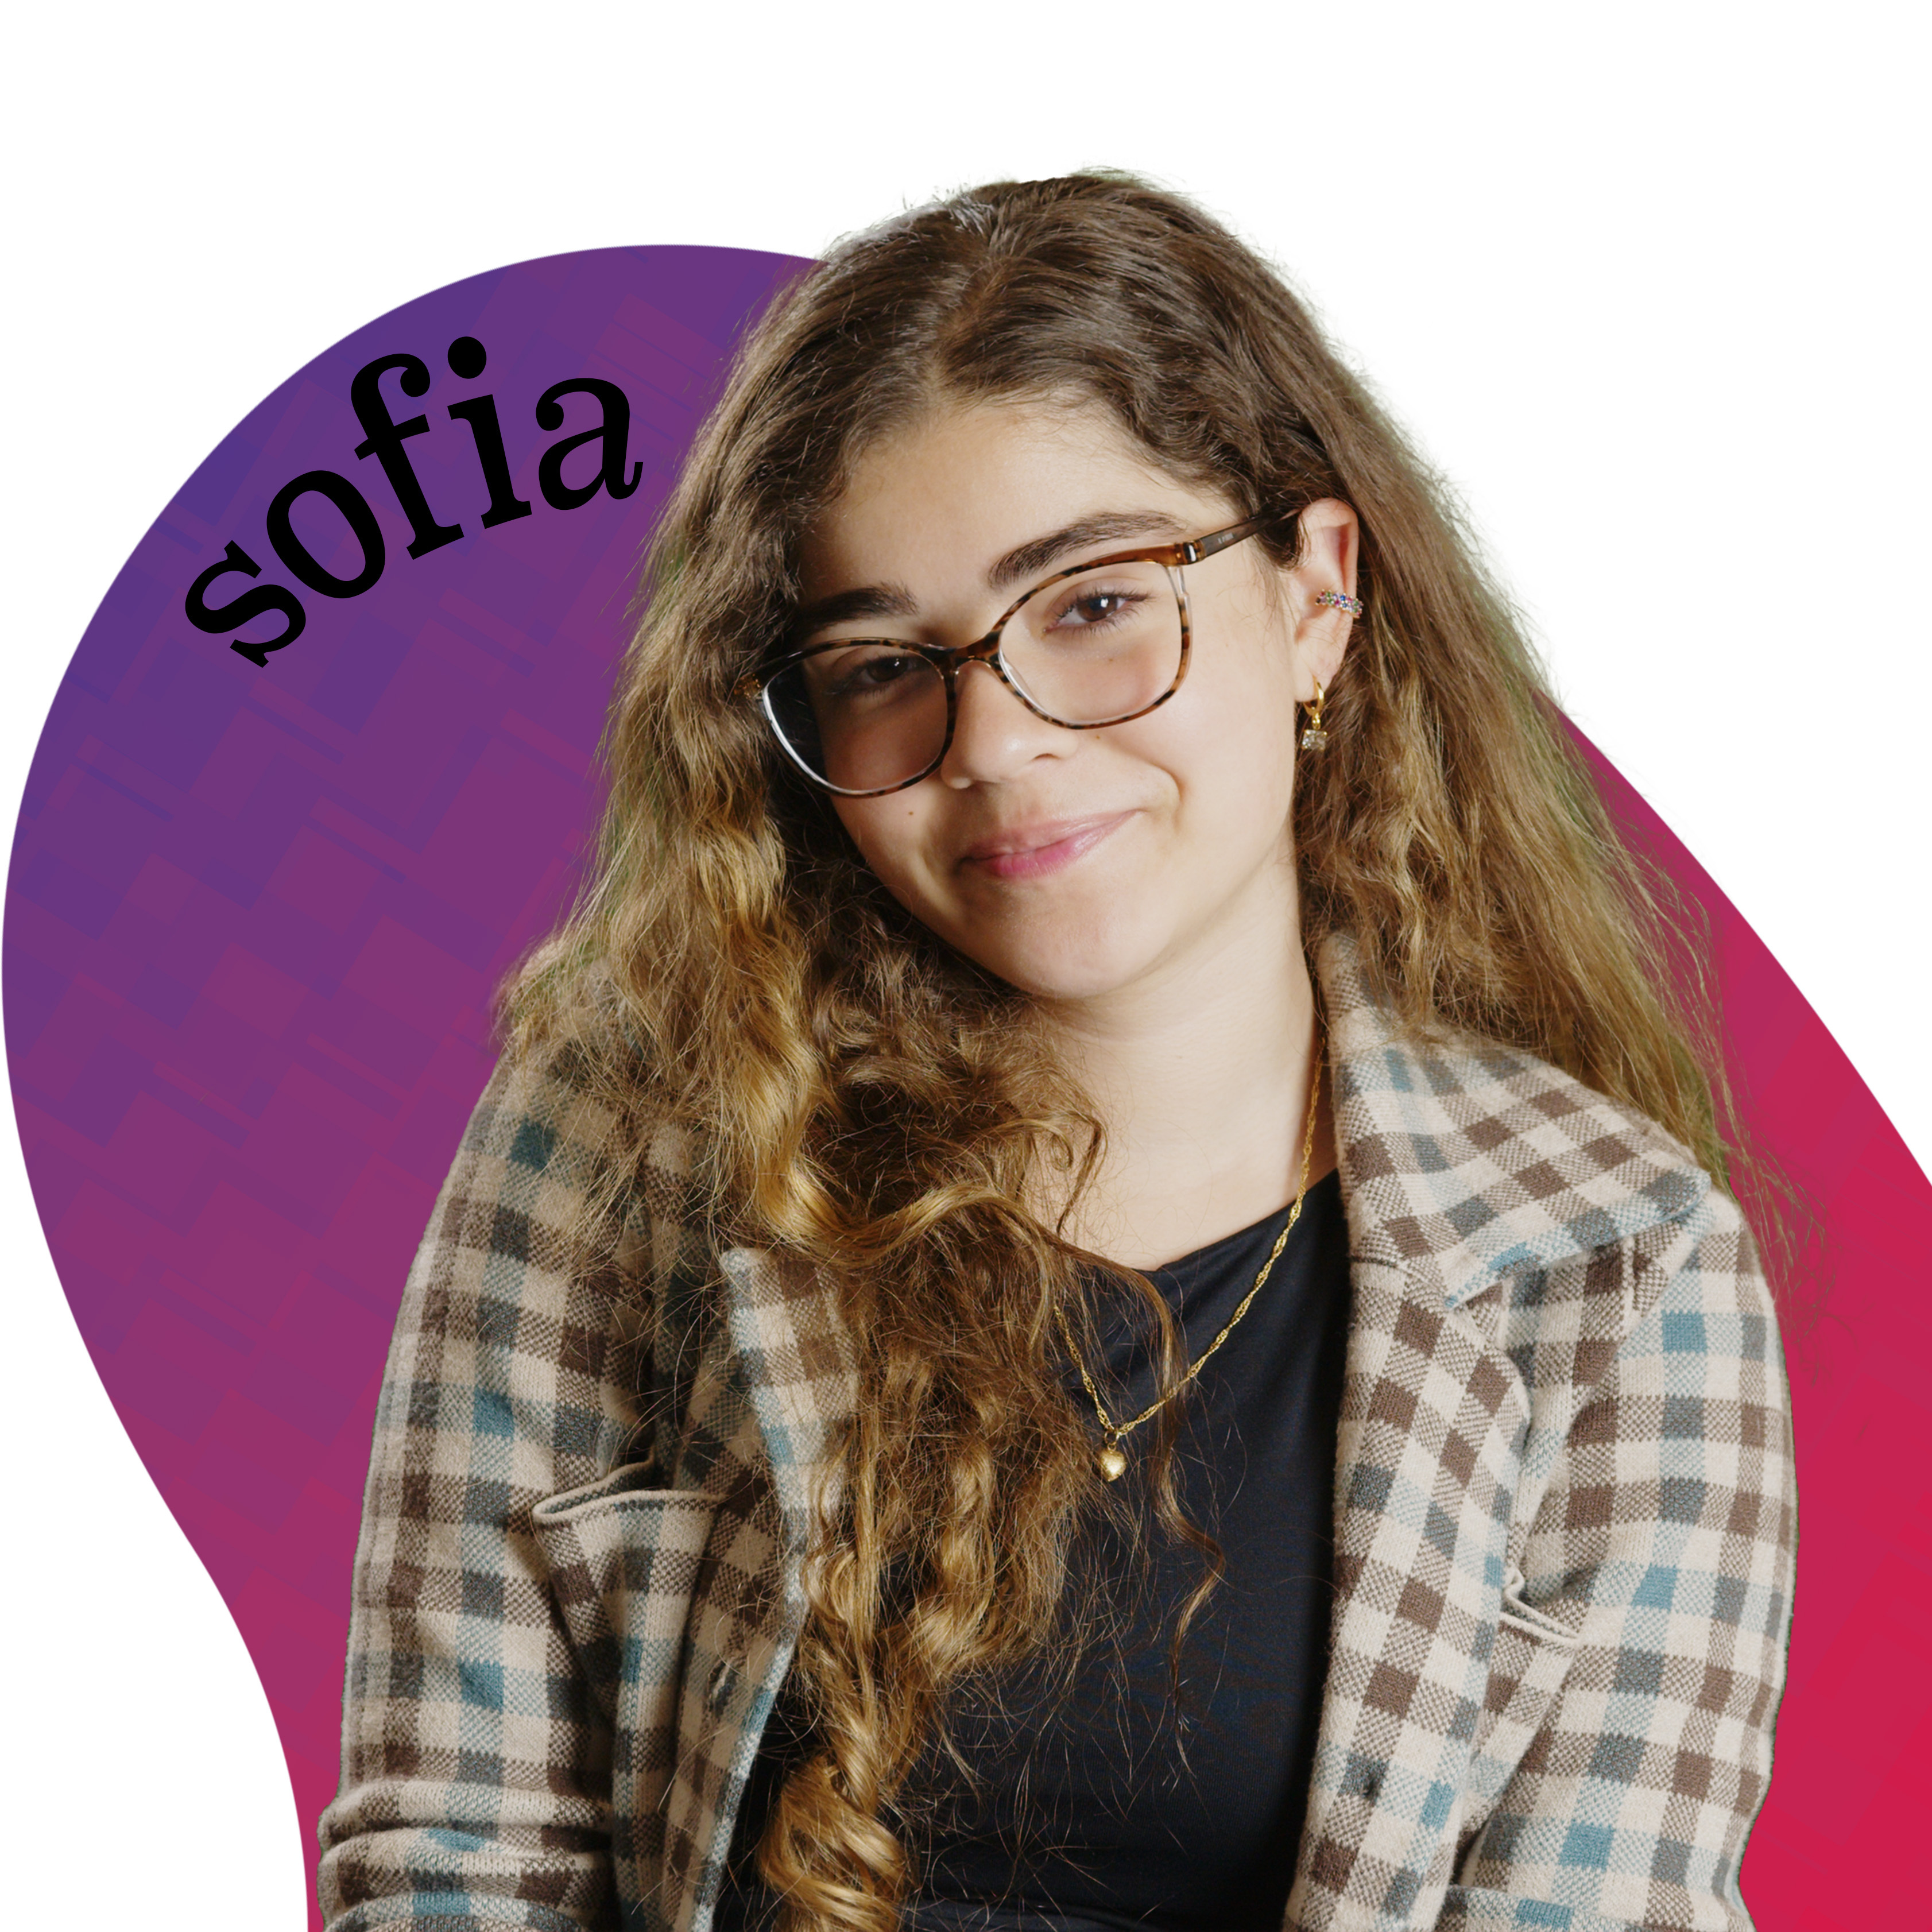
**Project 3: Sofia + Blob**
* remove the background
* add a black and white clipping mask
* find a shape
* add a gradient clipping mask
* write the person's name and play with the warp text
Inspiration:
Result:
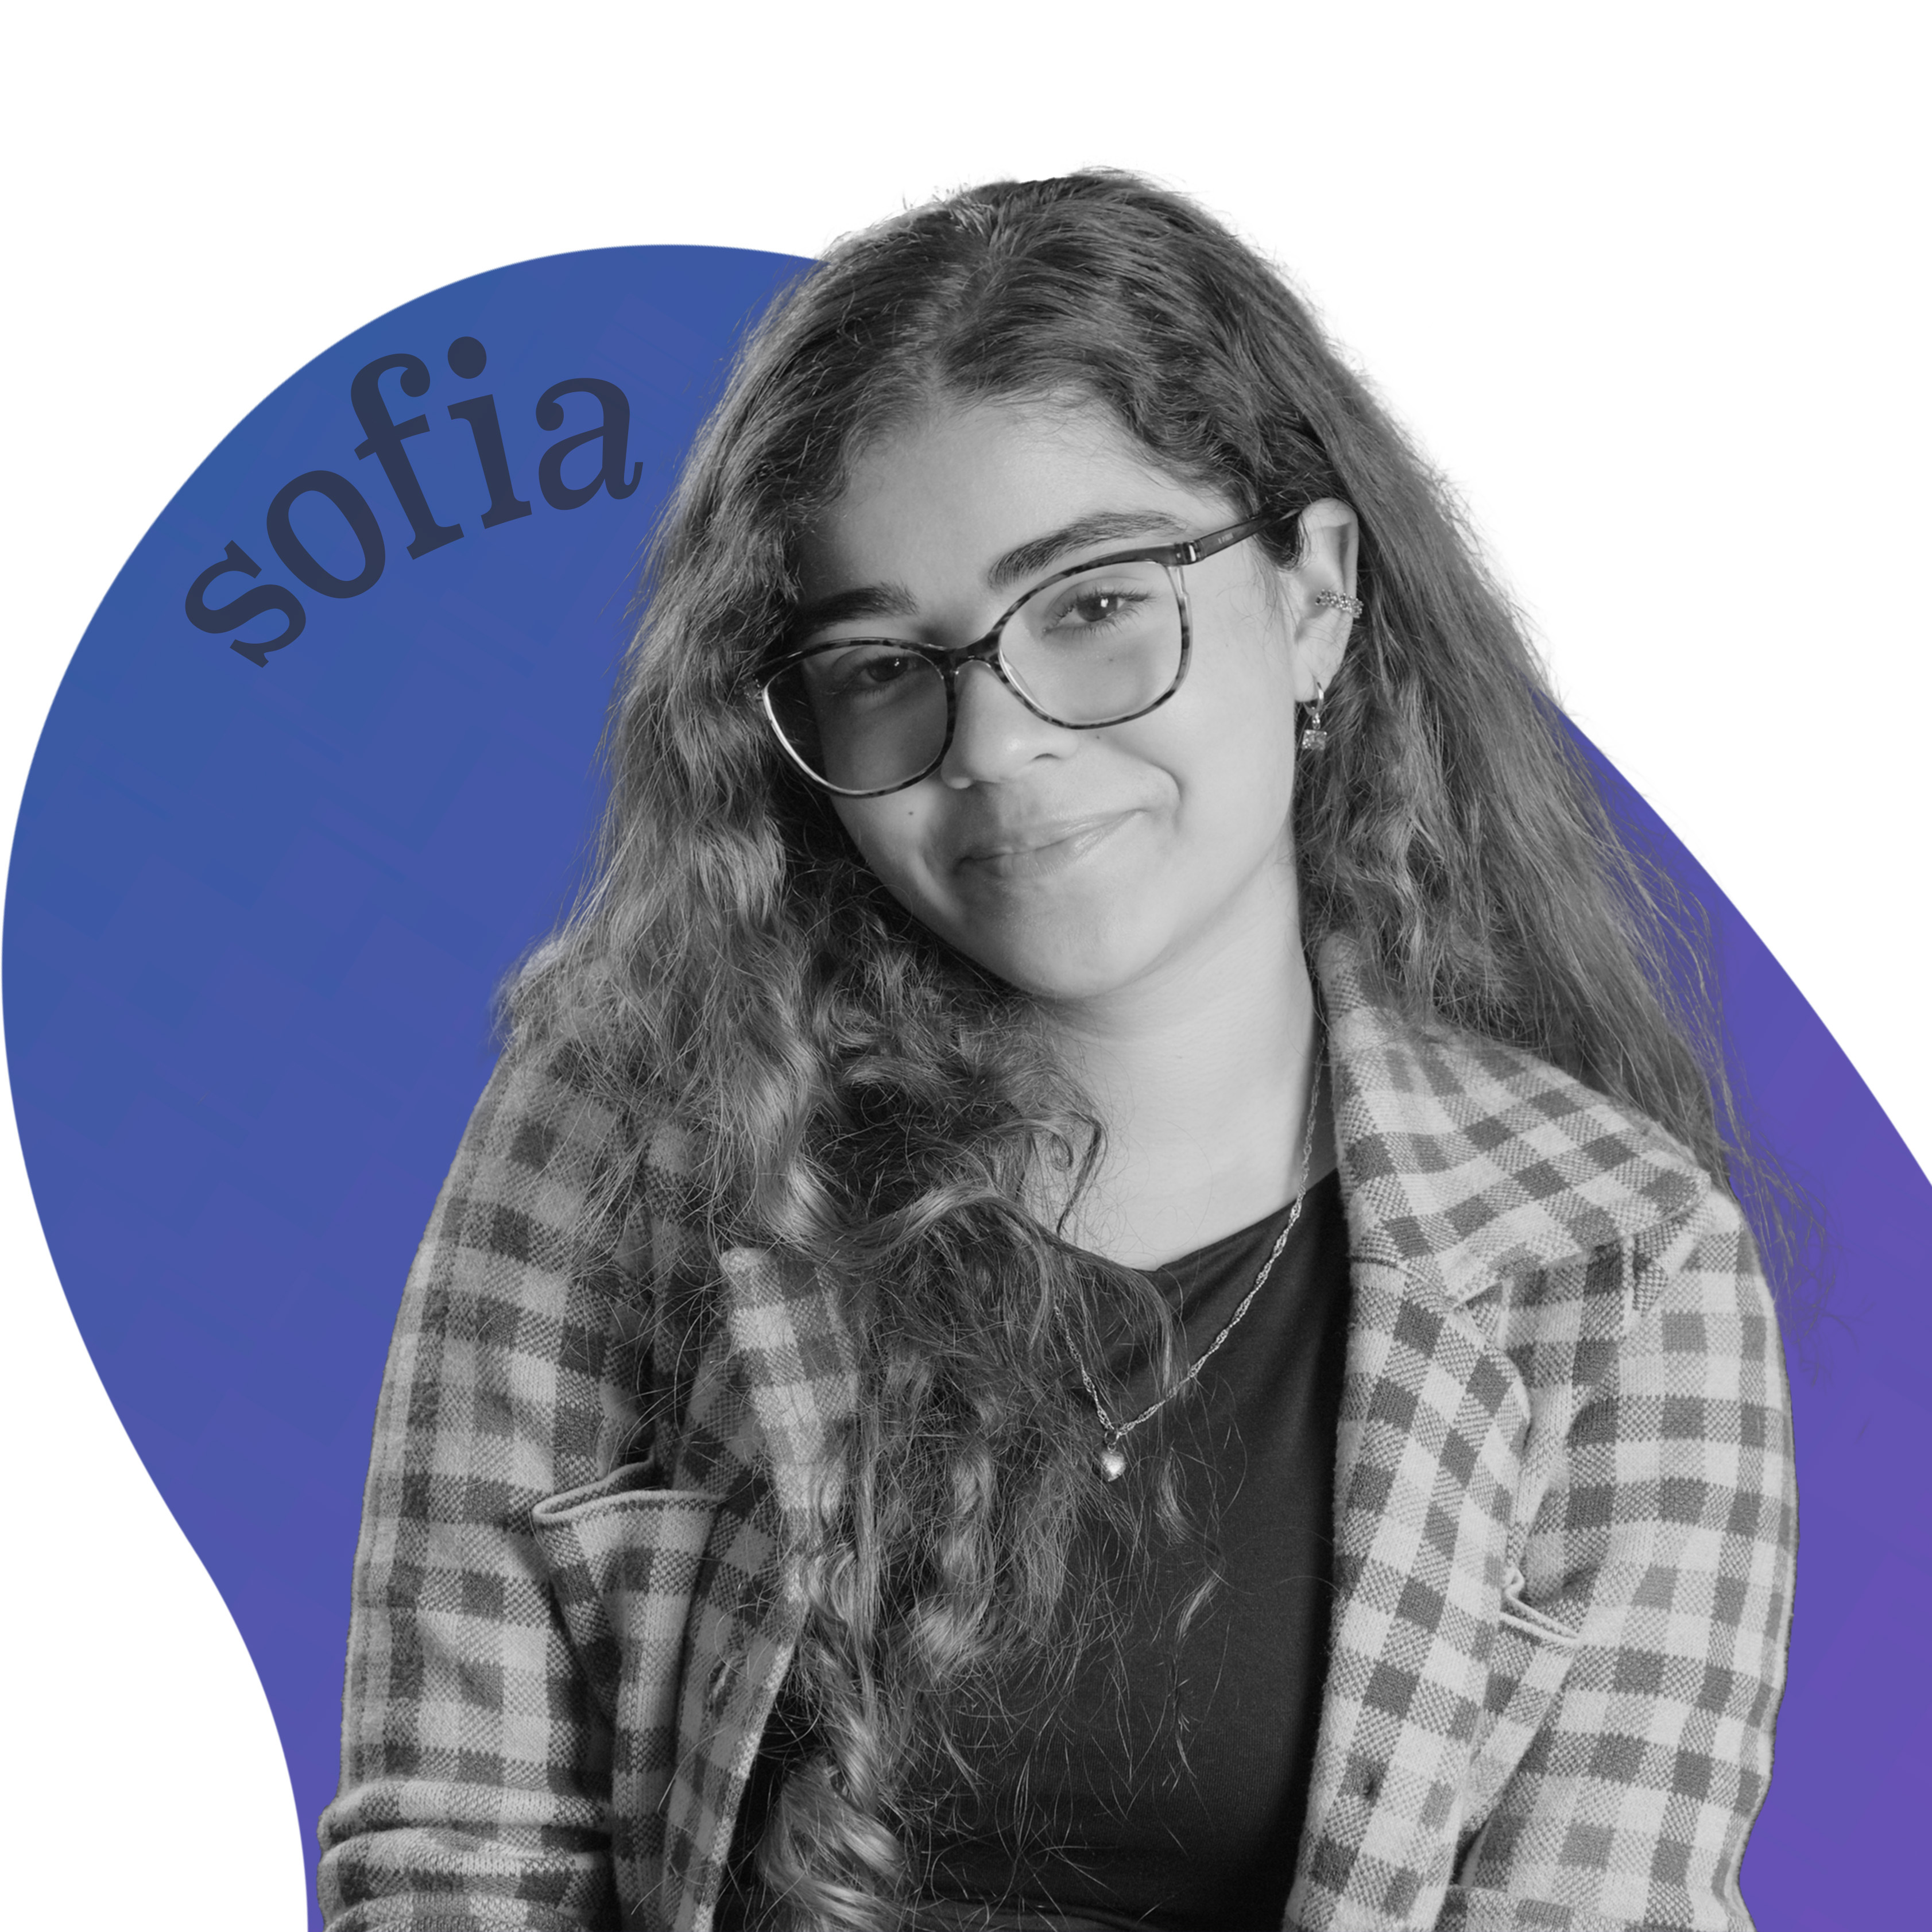
Alternative Result:
**Project 4: Max and Aadit**
Inspiration:

Result:
[](https://i.imgur.com/NjPEcJp.jpg)[](https://i.imgur.com/1dURjR3.jpg)
Process:
* take three stills facing in three dif directions using above resolve directions
* Now in photoshop, remove the background of all three images (go to windows, then properties, then under quick actions click remove background) (there are lots of youtube tutorials of this if confused)
* Move the images to the center or how you like
* Reduce the opacity of the three images to different degrees (find opacity right above layers select)
* change the color of the three images by clicking the little circle thing in the bottom right under layers and click curve, (also click the little square with an arrow down button at the bottom of properties so it only applies to the layer below it), then adjust the red, green and blue curves seperately until you get something cool you like
* Now add a background! Add a new layer
 Sign in with Wallet
Connect another wallet
Sign in with Wallet
Connect another wallet