# Portuguese 30 Animation Resource
## Canva animations
Canva's free Animated Video feature is a video editor that allows you to [animate images and text](https://www.canva.com/create/animated-videos/) over your videos. Think about this like animating elements in PowerPoint, on top of an iMovie editor!
>⚠️ **If you learn better by playing around first instead of reading instructions,** check out this [pre-made Canva video project](https://www.canva.com/design/DAG0wHbV9GY/SZsklmnLPsMBtS-0PrnAoA/edit?utm_content=DAG0wHbV9GY&utm_campaign=designshare&utm_medium=link2&utm_source=sharebutton) where you can click around and see how the animations are made.
### First steps
1) Create an account and/or log in to [Canva](canva.com).
2) On the Canva homepage, click on the pink button that says "Video."
3) You can choose from a number of free templates, or create your own video based on a specific format (landscape, portrait/phone, etc).
4) To preview one, hover your mouse over it and click the (more icon) that appears. Select Preview this template.
5) To use the template, select Customize this template. You’ll then be taken to the editor.
### Video editor guide
1) **The timeline** on the bottom of the page shows clips of each "scene" of your animation. You can lengthen or shorten them by clicking and dragging the right and left edges. Think of these as storybook pages that are made of videos! If you upload audio, it will also show up in the same space.
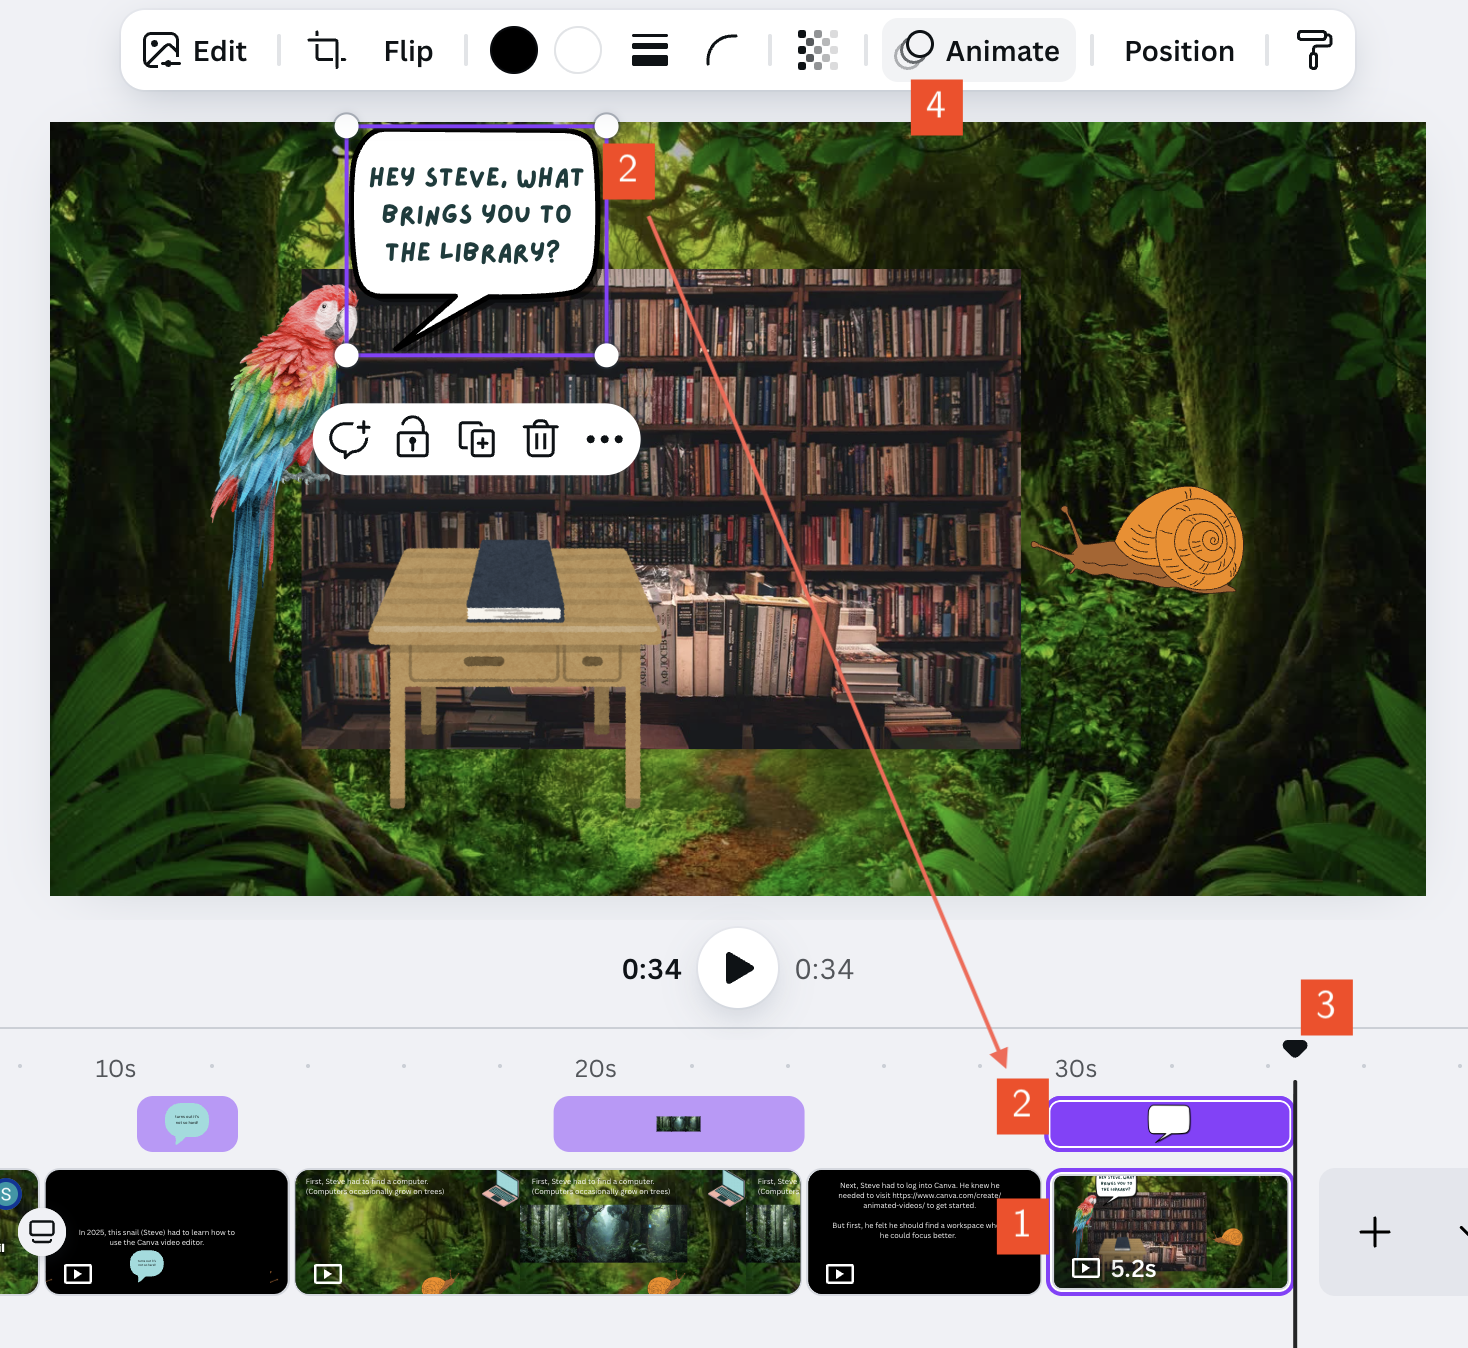
2. When you **click on an element**, you will see a purple square appear around the element, and a purple bar will appear on top of the current movie clip. This shows when and for how long the element will be visible on the screen. To make it shorter, treat it the same way as the video clips. To move it in the timeline, just click and drag!
3. To see **where you are in the movie**, look for this **playhead** (playback position indicator).
4. Each element (image, text, etc.) that you add **can be separately animated**. See the next section!
### Animating elements (Texts, images, etc)
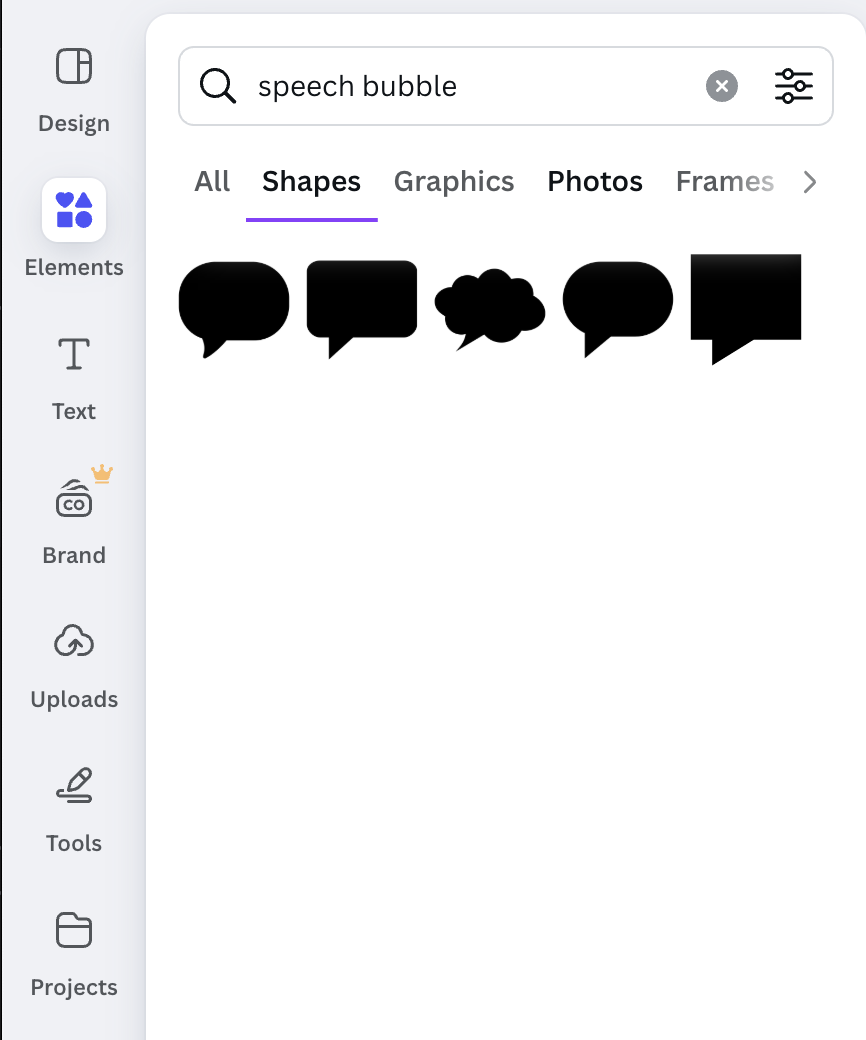
Elements can be created by clicking one of the options in the left sidebar. You can upload your own images, or search from pre-made shapes and effects available on Canva. Items with a gold crown attached are not free.
1. When you click on an element, a white bar will appear at the top. For text elements, you can choose your font, as well as transparency, size, etc.
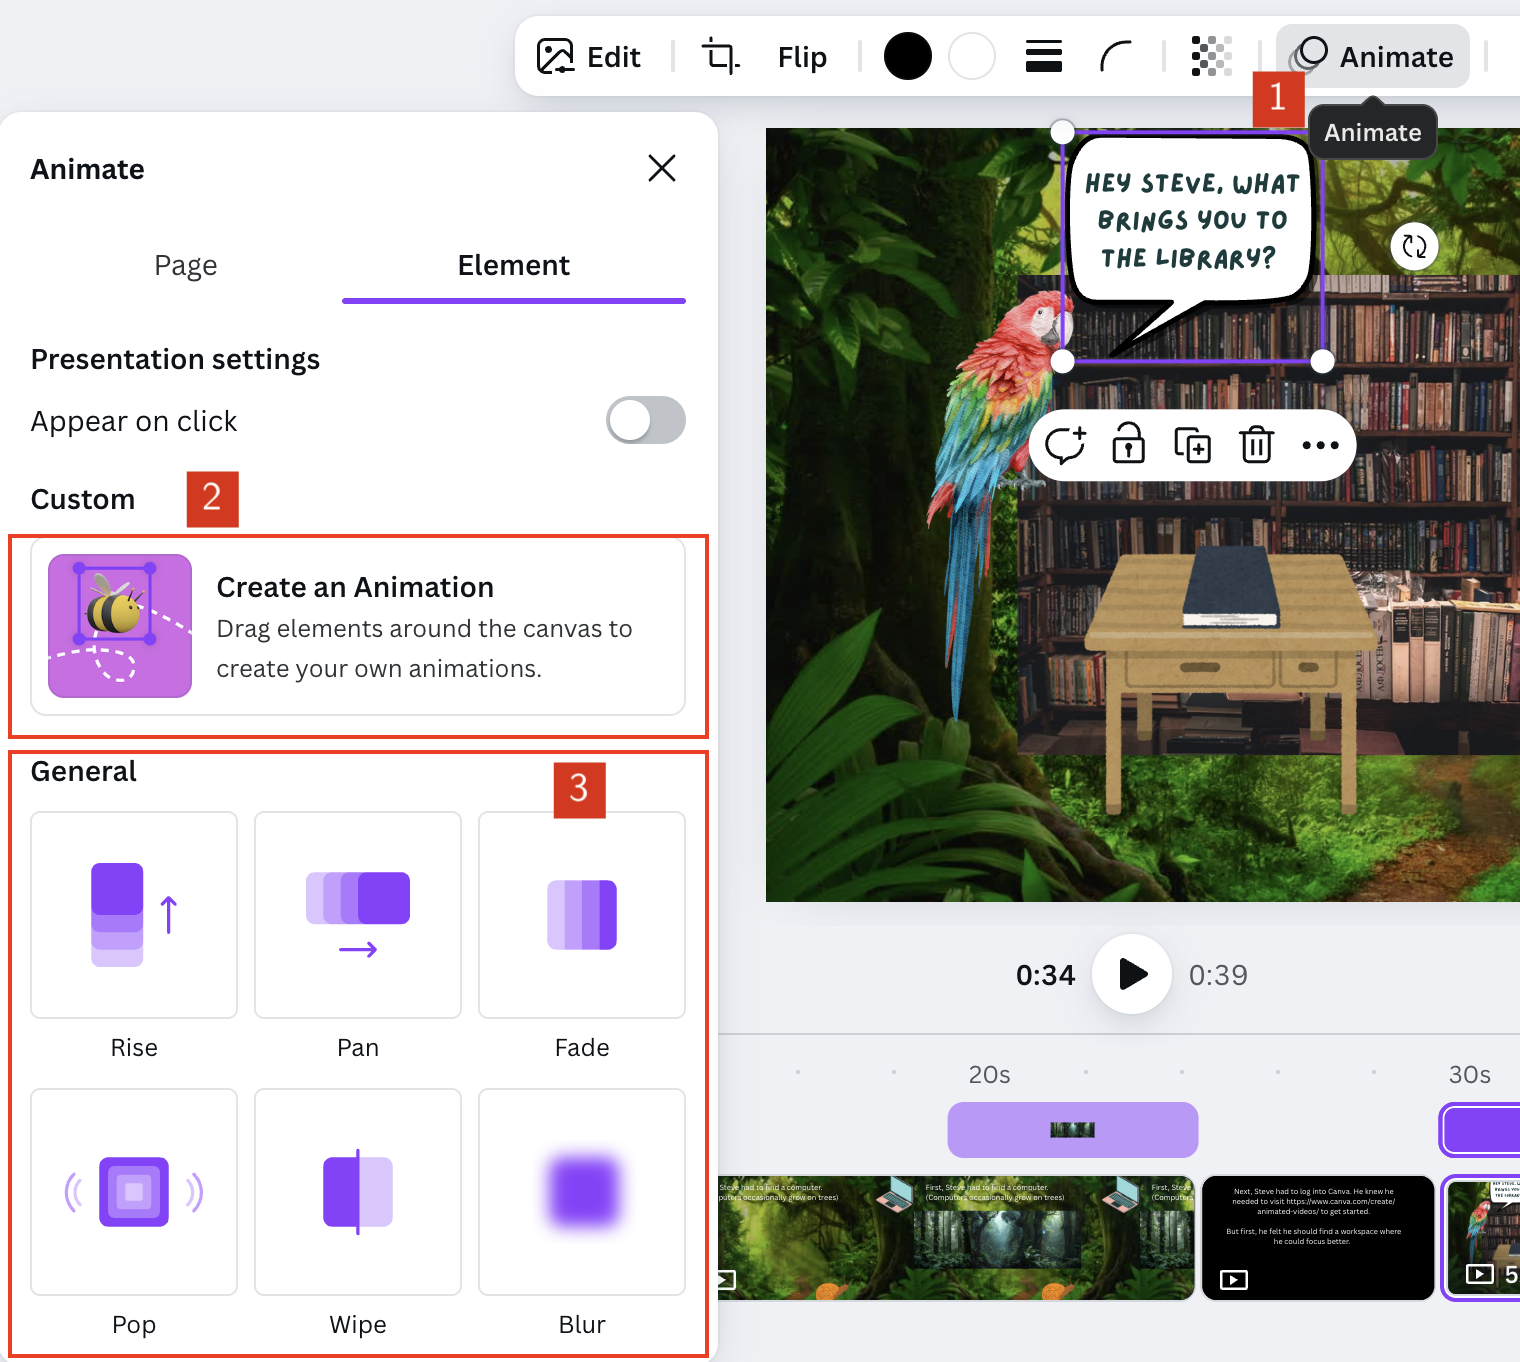
2. If you click Animate, a pane will appear on the left. You can create a custom animation, or
3. you can choose a preset animation. Preset animations are very similar to slide or film clip transitions, but they apply only to your element.
### Any other useful integrated tools?
Yes!
If you click on the Apps button on the left sidebar, you can access all sorts of tools. Use the search bar to explore. Some suggestions:
* Music/audio tracks
* AI voice generators
* Lipsyncing
* Video translators
* Video reverser
* Custom shape creators (eg, Wave Generator)
### Share access/collaboration
1. Go to the white Share button at the upper right
2. Add emails, or edit the access level
### Download to a video file
1. Go to the white Share button at the upper right
2. Go below the access options and hit Download. We recommend downloading as an MP4 video.
3. You can also create an online, view-only link with Public view link.
## Tips and tricks
* To make the background of an image transparent, you can use Mac's Preview app to remove it!
* Select the Magic Wand tool, put your cursor on the background, and then click + drag to remove more or less pixels.
* Make sure to save as a PNG!

* If you upload audio, Canva has an auto-captioning feature.
* [Here's a quick summary of what's available](https://www.canva.com/features/add-subtitles-to-video/)
* The generated captions can be edited, if there are mistakes!
* In the left sidebar, scroll to the bottom—you'll see a button that says "captions." Select the clip you want to caption.
* This will only work if Canva can detect speech in the video/audio.
* You can easily generate permanent QR codes within Canva, both to use in your presentation and to share you presentation with!
* In the left sidebar, scroll to the bottom—you'll see a button that looks like a QR code. Paste the URL you want to turn into a QR code.
* You can also customize the colors of the QR code.
 Sign in with Wallet
Connect another wallet
Sign in with Wallet
Connect another wallet