# Lighting Guide for Filming Objects
## Shot List
### 1. Wide Establishing Shot
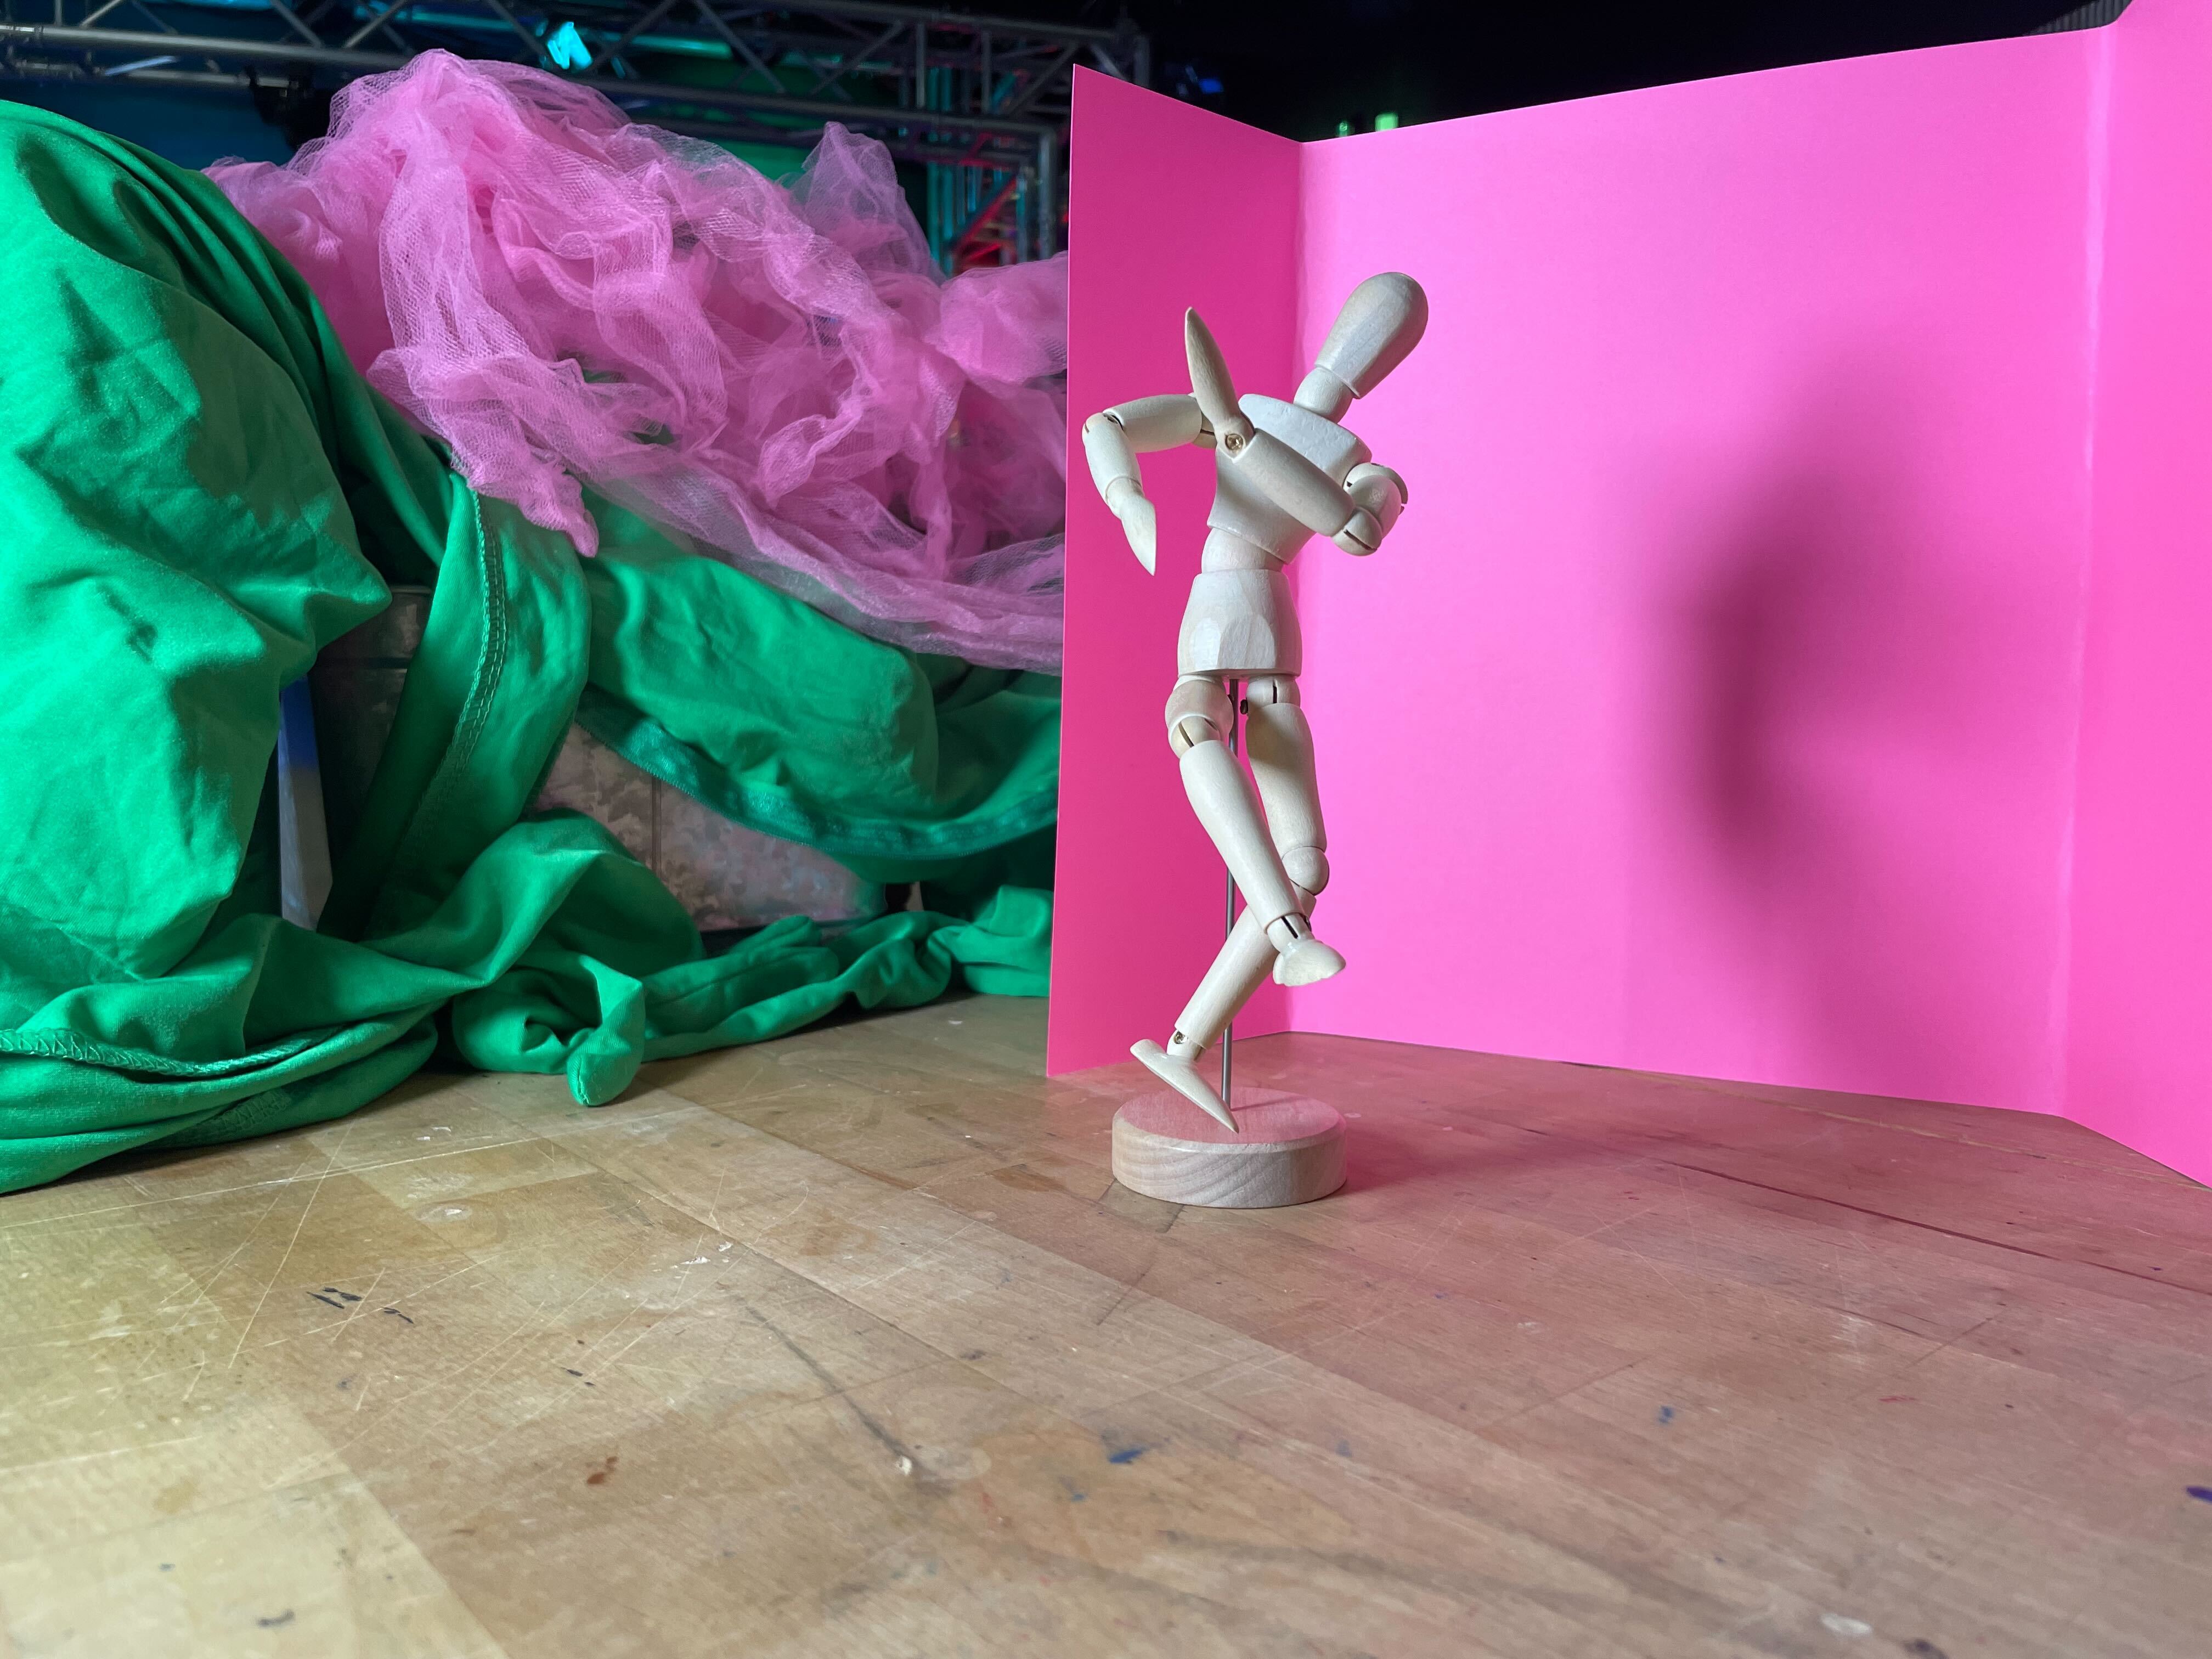
- **Purpose:** Frame the entire scene or object in context (e.g., on a table or in its space) so the viewer sees what they’re looking at and where.
- **Lighting:** Soft key light at an angle (to avoid harsh shadows), plus fill/back lighting as needed.
- **Angle:** Slightly above the object (looking down at ~10–20°) if tabletop; or level if upright.
- **Shot Length:** Show full object plus modest background for context.
---
### 2. Medium Shot / Three-Quarter View
- **Purpose:** Focus more closely on the object while still showing some surroundings.
- **Lighting:** Key light at ~45° from front, fill from opposite side or reflector, optional rim/back light to separate from background.
- **Angle:** ¾ view (not purely flat front) to give depth.
---
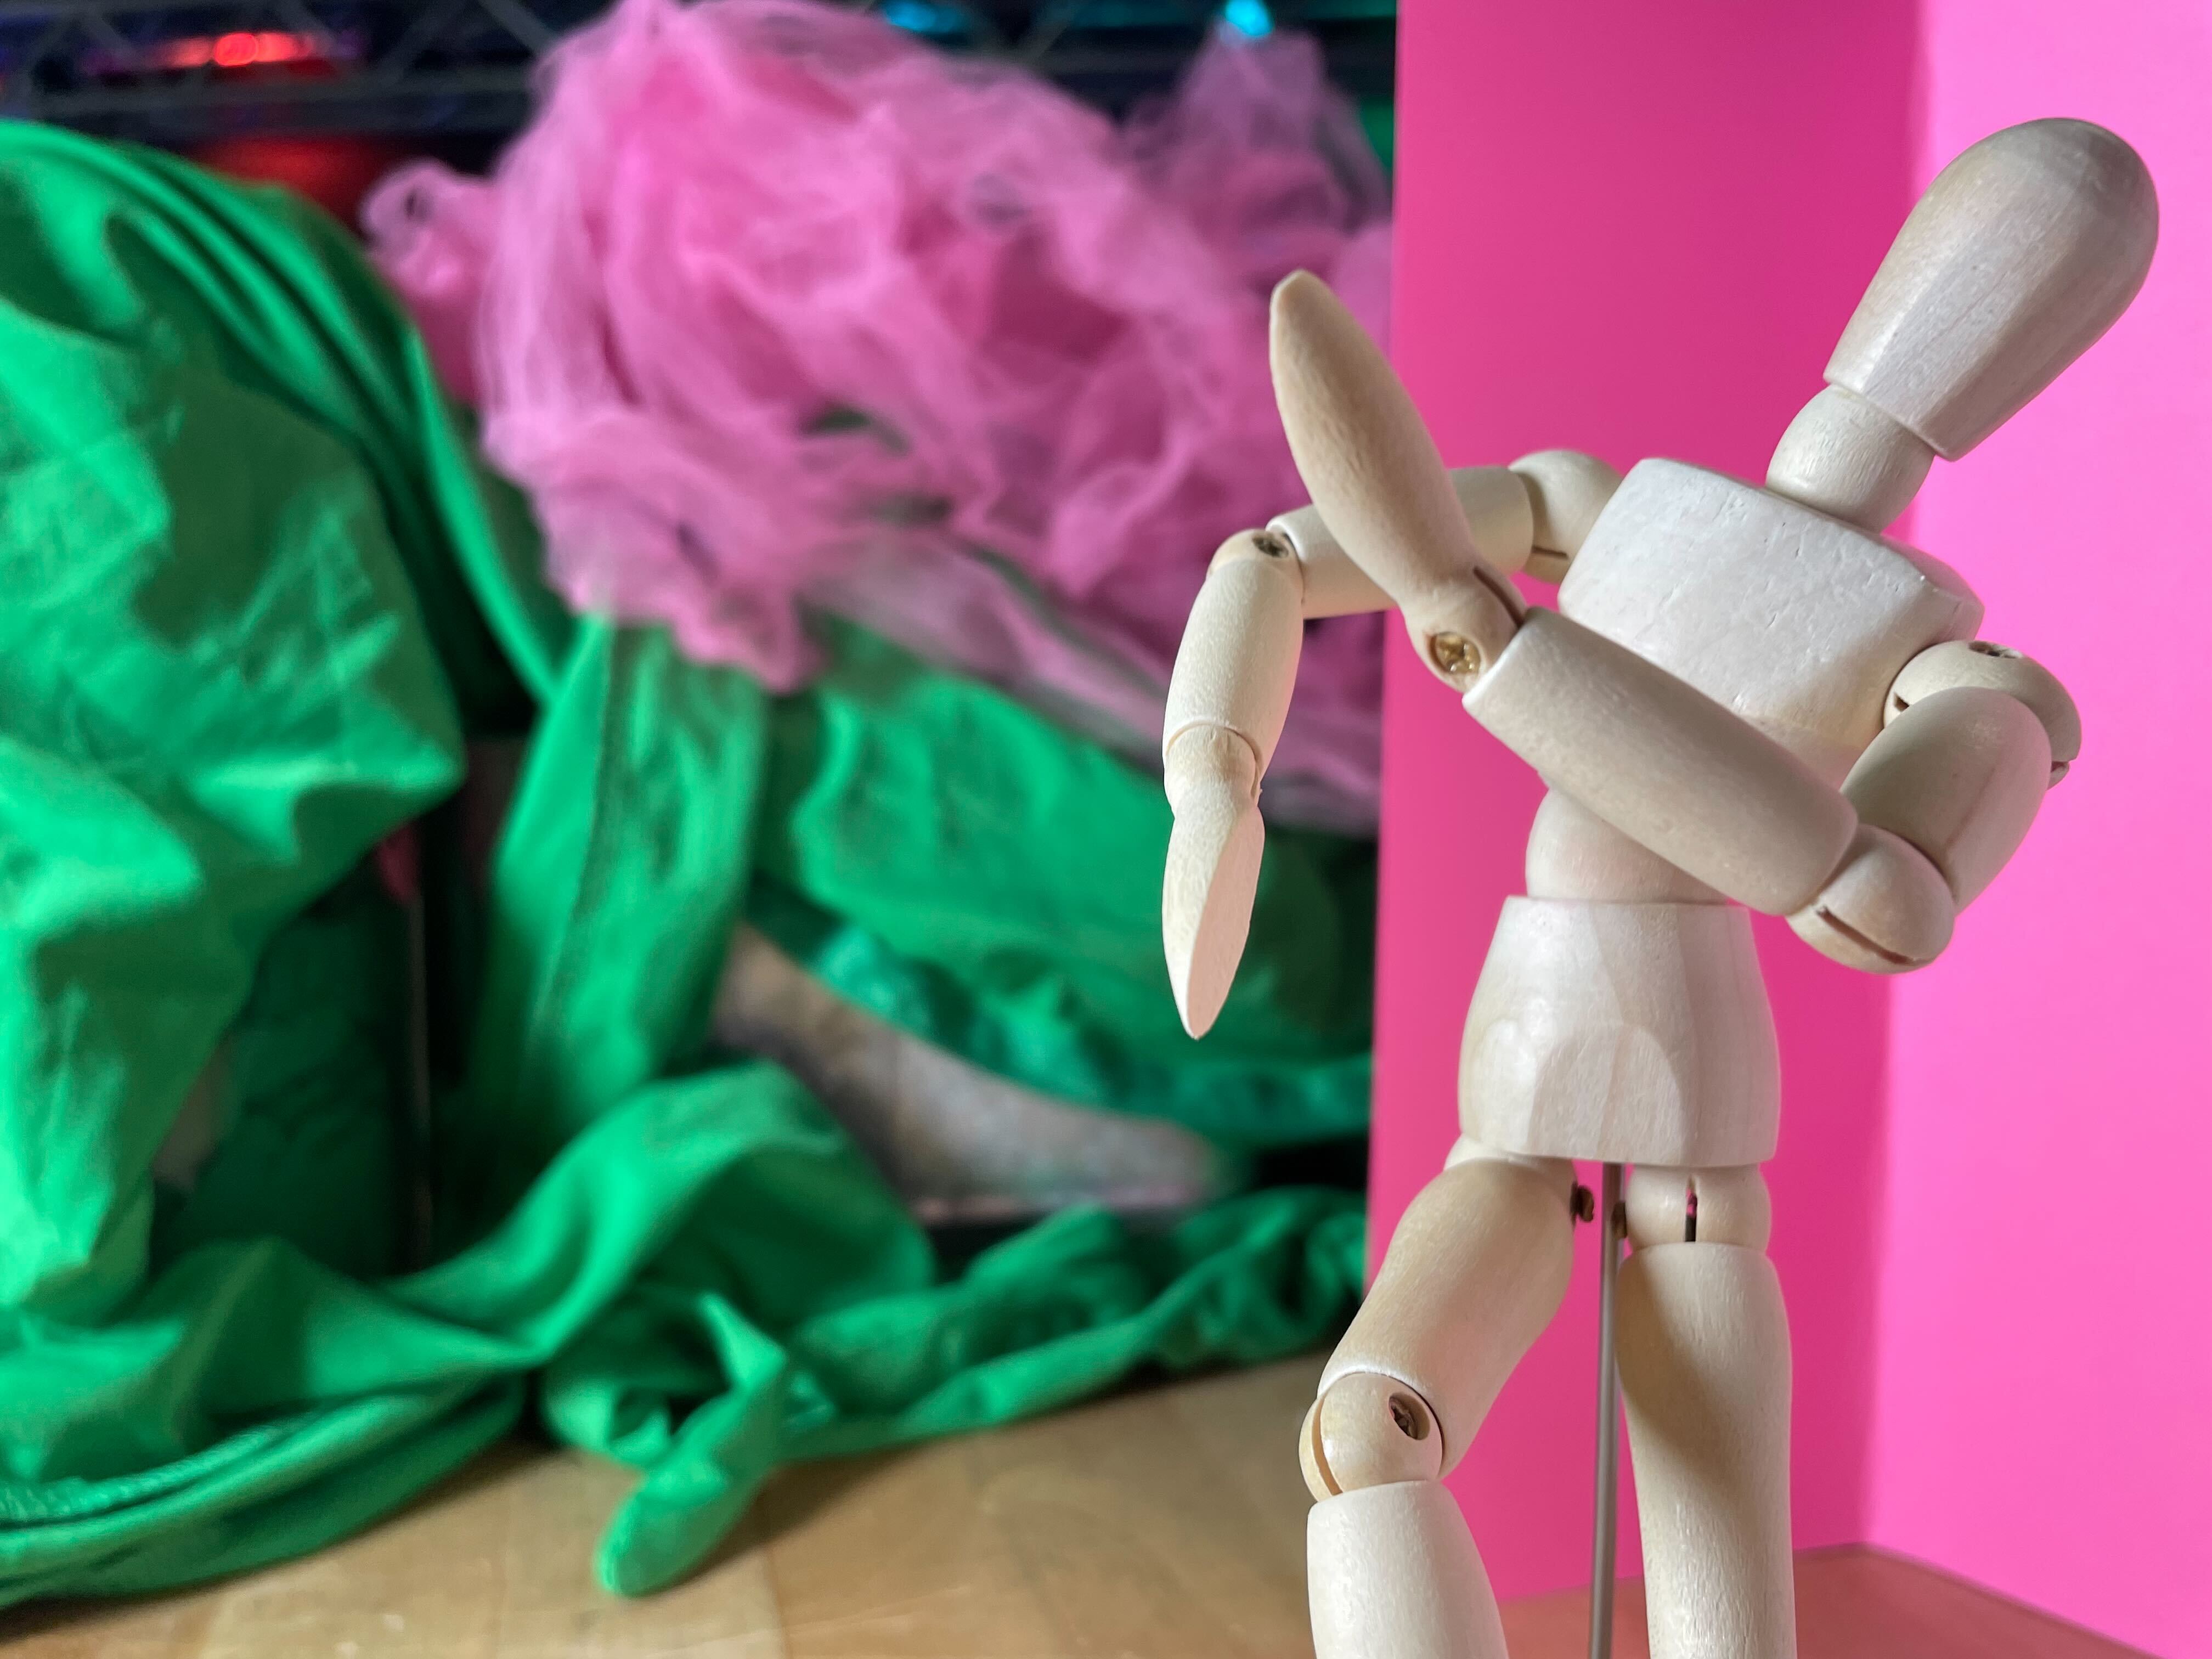
### 3. Close-Up / Detail Shot

- **Purpose:** Highlight a key feature or texture (e.g., branding, finish, joints).
- **Lighting:** Directional light (spotlight or small softbox) to emphasize texture; use polarizer if needed to reduce glare.
- **Angle:** Straight-on or slightly low/high to accentuate shape.
---
### 4. Top-Down / Overhead Shot
- **Purpose:** Show flat objects or arrangements from above.
- **Lighting:** Even, soft lighting (overhead softbox or diffused natural light); minimize shadows.
- **Framing:** Full object plus slight border for context.
---
### 5. Side Profile / Silhouette Shot

- **Purpose:** Emphasize outline and shape.
- **Lighting:** Back light behind object, optional fill to bring out edges.
- **Angle:** Level or slightly below for dramatic effect.
---
### 6. 360° or Sweep-Around Shot
- **Purpose:** Reveal all sides of a 3-D object.
- **Lighting:** Consistent key + fill + back lights to maintain even exposure throughout movement.
- **Framing:** Keep object centered and similarly sized through the rotation.
---
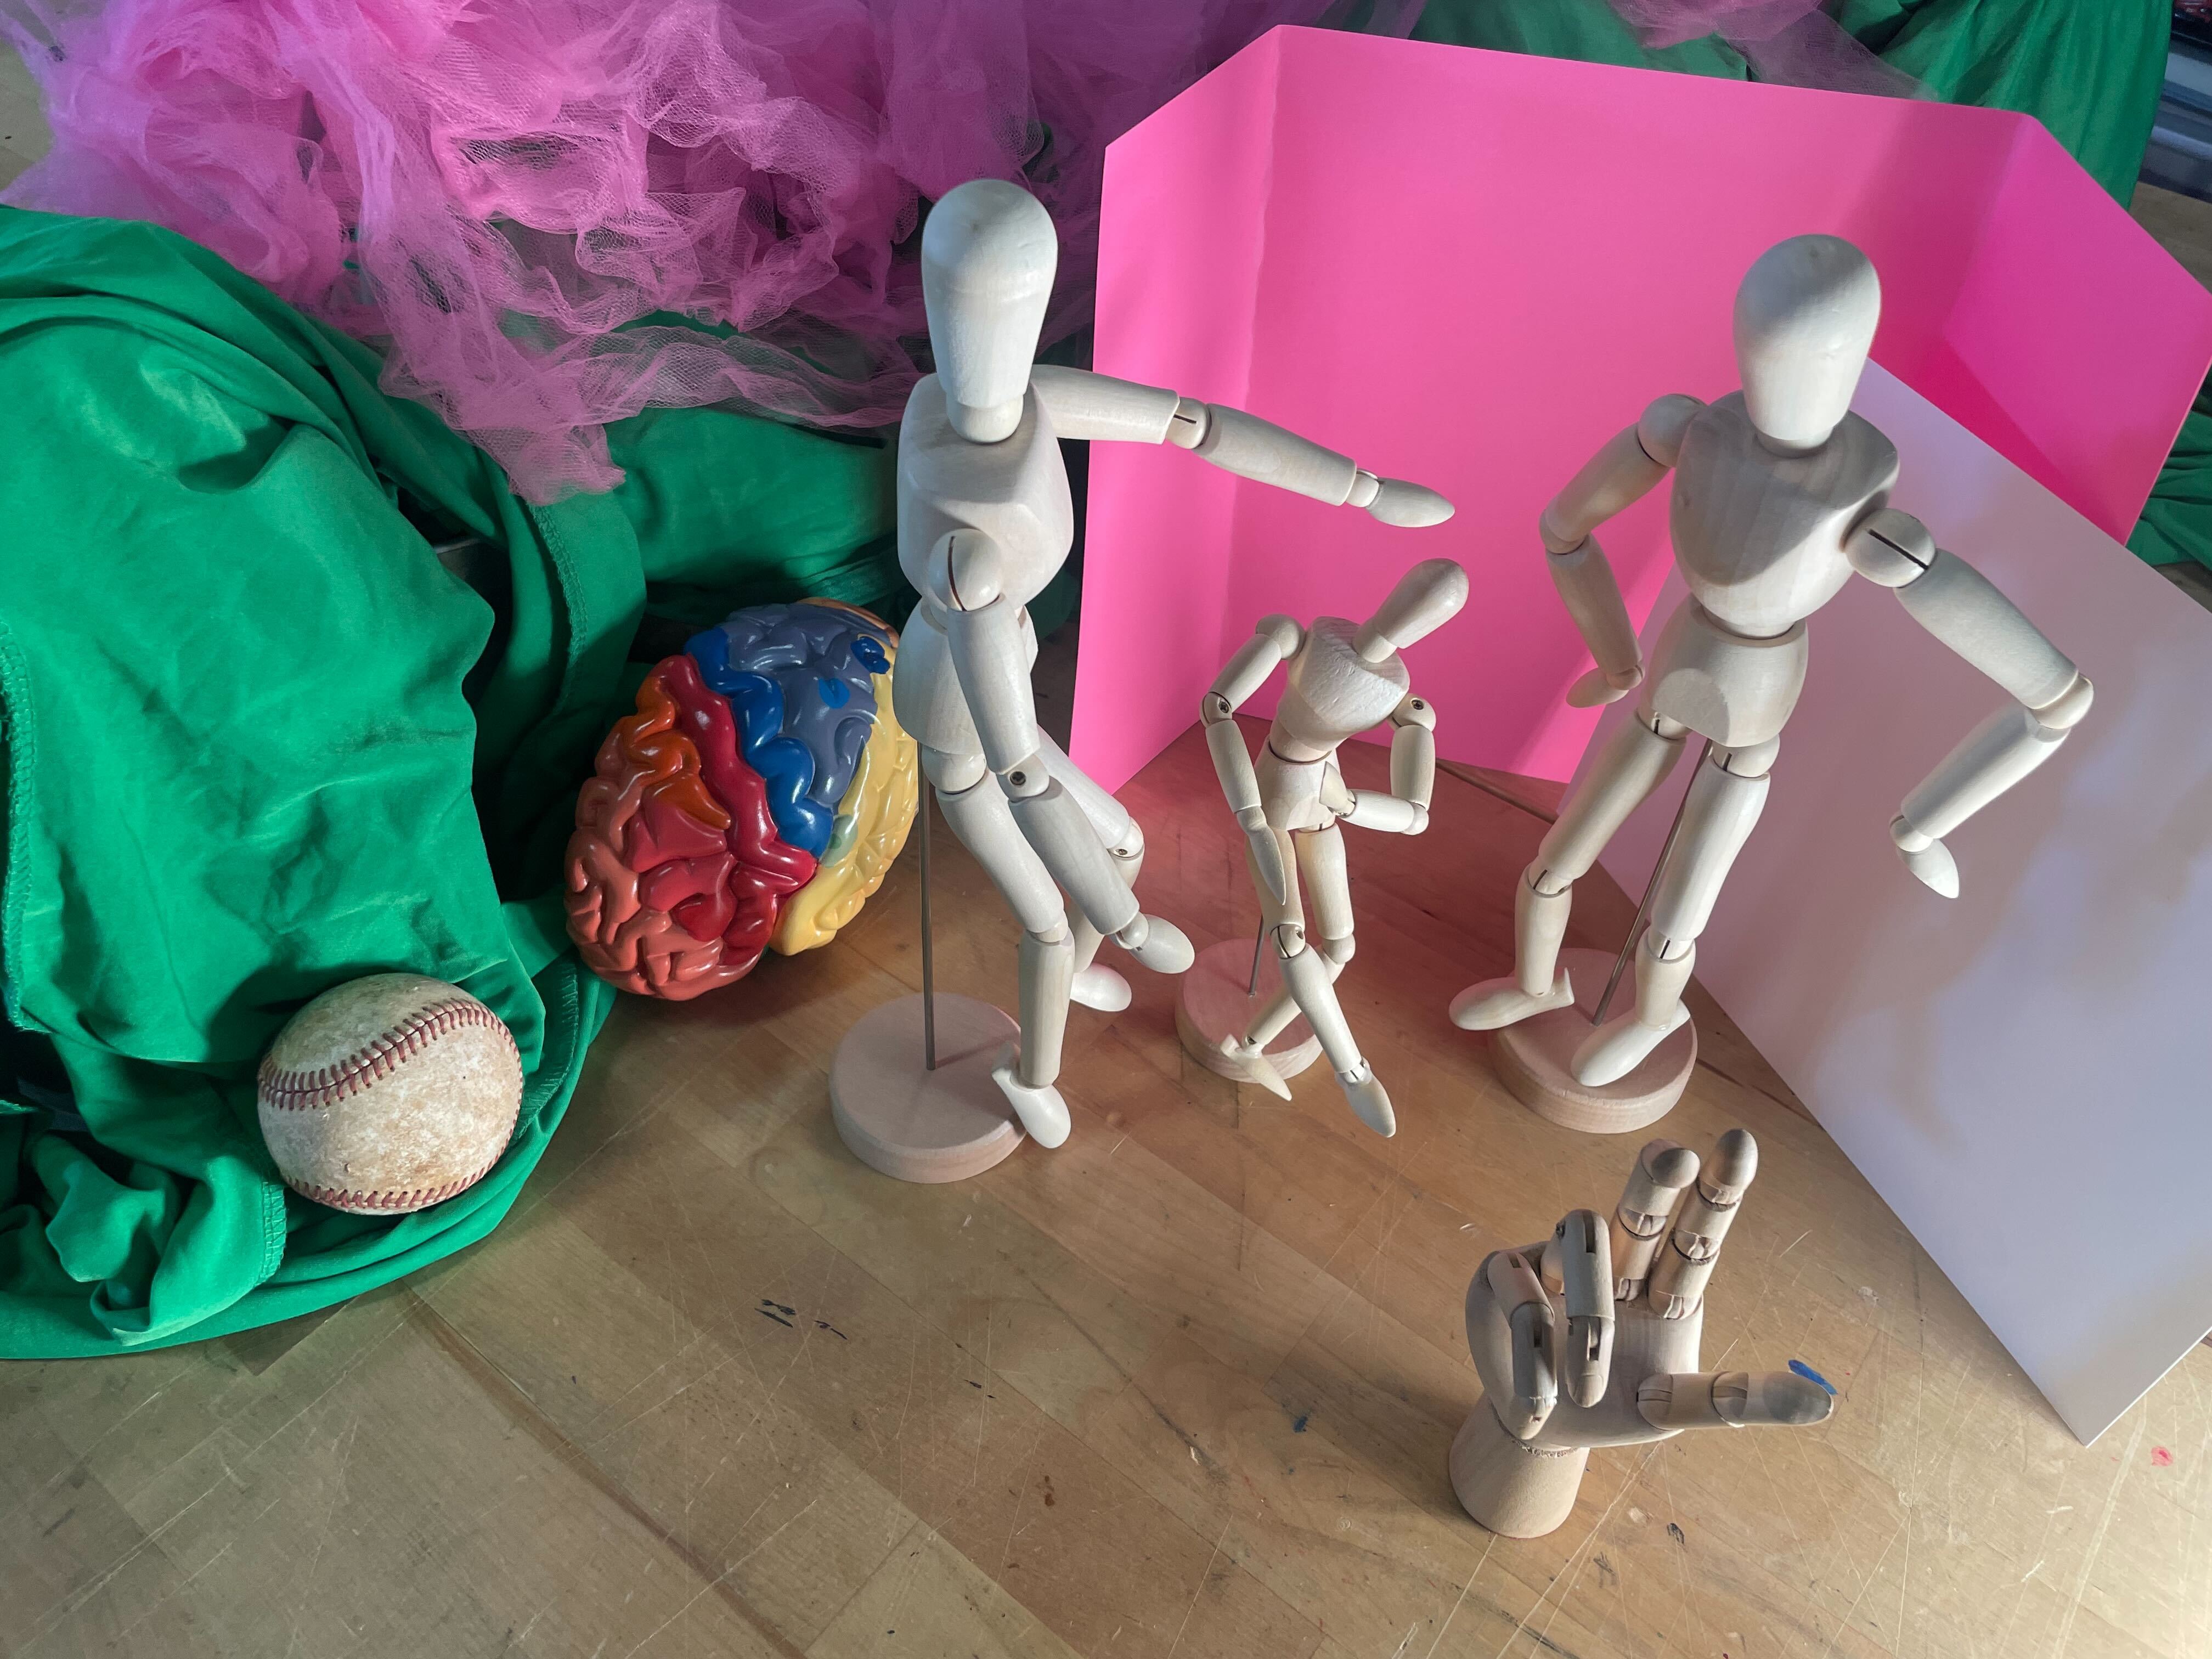
### 7. Context / Scale Shot
- **Purpose:** Show object relative to environment or another item for scale.
- **Lighting:** Similar to wide shot but include extra background lighting if needed.
- **Angle:** Choose a viewpoint that reveals both object and setting.
---
### 8. Cutaway / Functional Detail Shot
- **Purpose:** Show moving parts or special features in use.
- **Lighting:** Dedicated small light to highlight the functional part; keep rest subdued.
- **Angle:** Tight, purposeful framing on the action.
---
### 9. Creative / Aesthetic Shot
- **Purpose:** Add mood or artistic expression (texture, color, shadow play).
- **Lighting:** Experiment with gels, side/back color lights, or low-key setups.
- **Angle:** Creative—low angle, oblique, or extreme close-up.
---
### 10. Final Overview Shot (Pull-Back or Zoom-Out)
- **Purpose:** Re-establish the full object after detail shots.
- **Lighting:** Match the establishing shot for continuity.
- **Shot Length:** Hold longer so viewer “lands” on the object.
---
 Sign in with Wallet
Connect another wallet
Sign in with Wallet
Connect another wallet