# **Audio Interfaces and Recording**
## Notes:
- There are older and newer audio interfaces (older: USB input [top], newer: USBC input [bottom]) - inputs are found on the back
- The newer ones are better to use
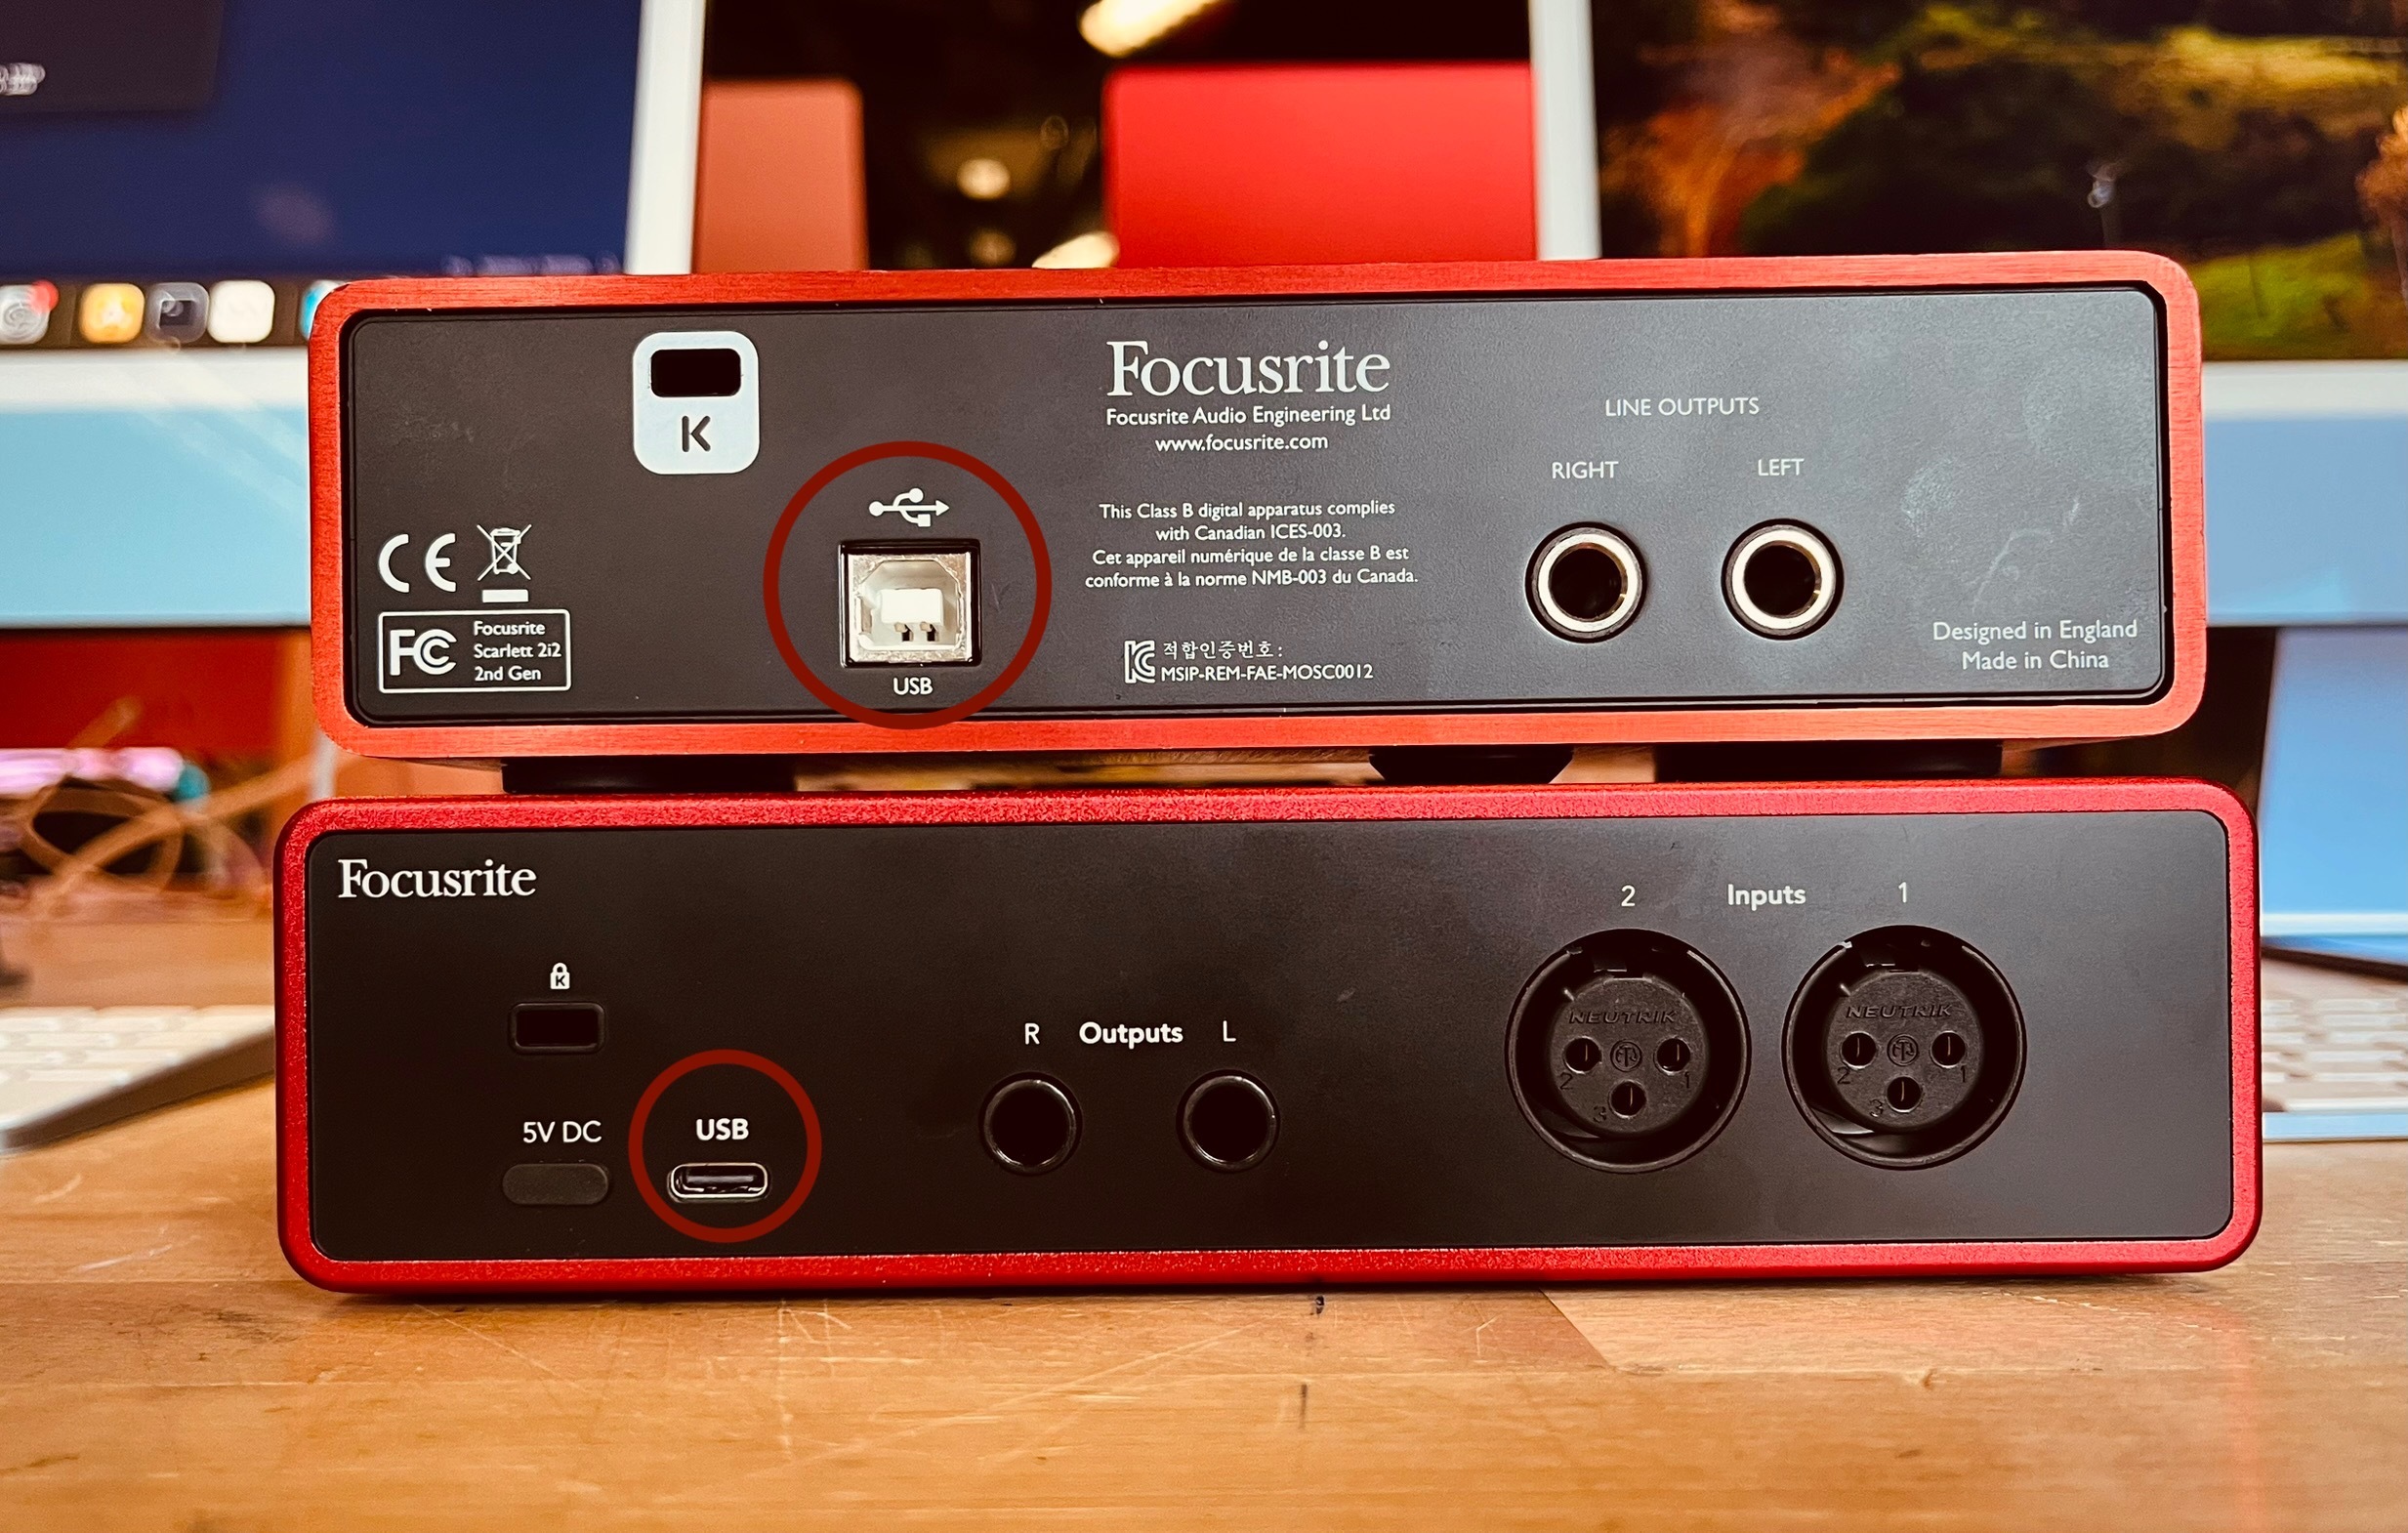
- These audio interfaces can only take up to two microphones (mics); there are some audio interfaces that can take up to 10 microphones
- The two inputs will correlate to which is microphone 1 and 2.
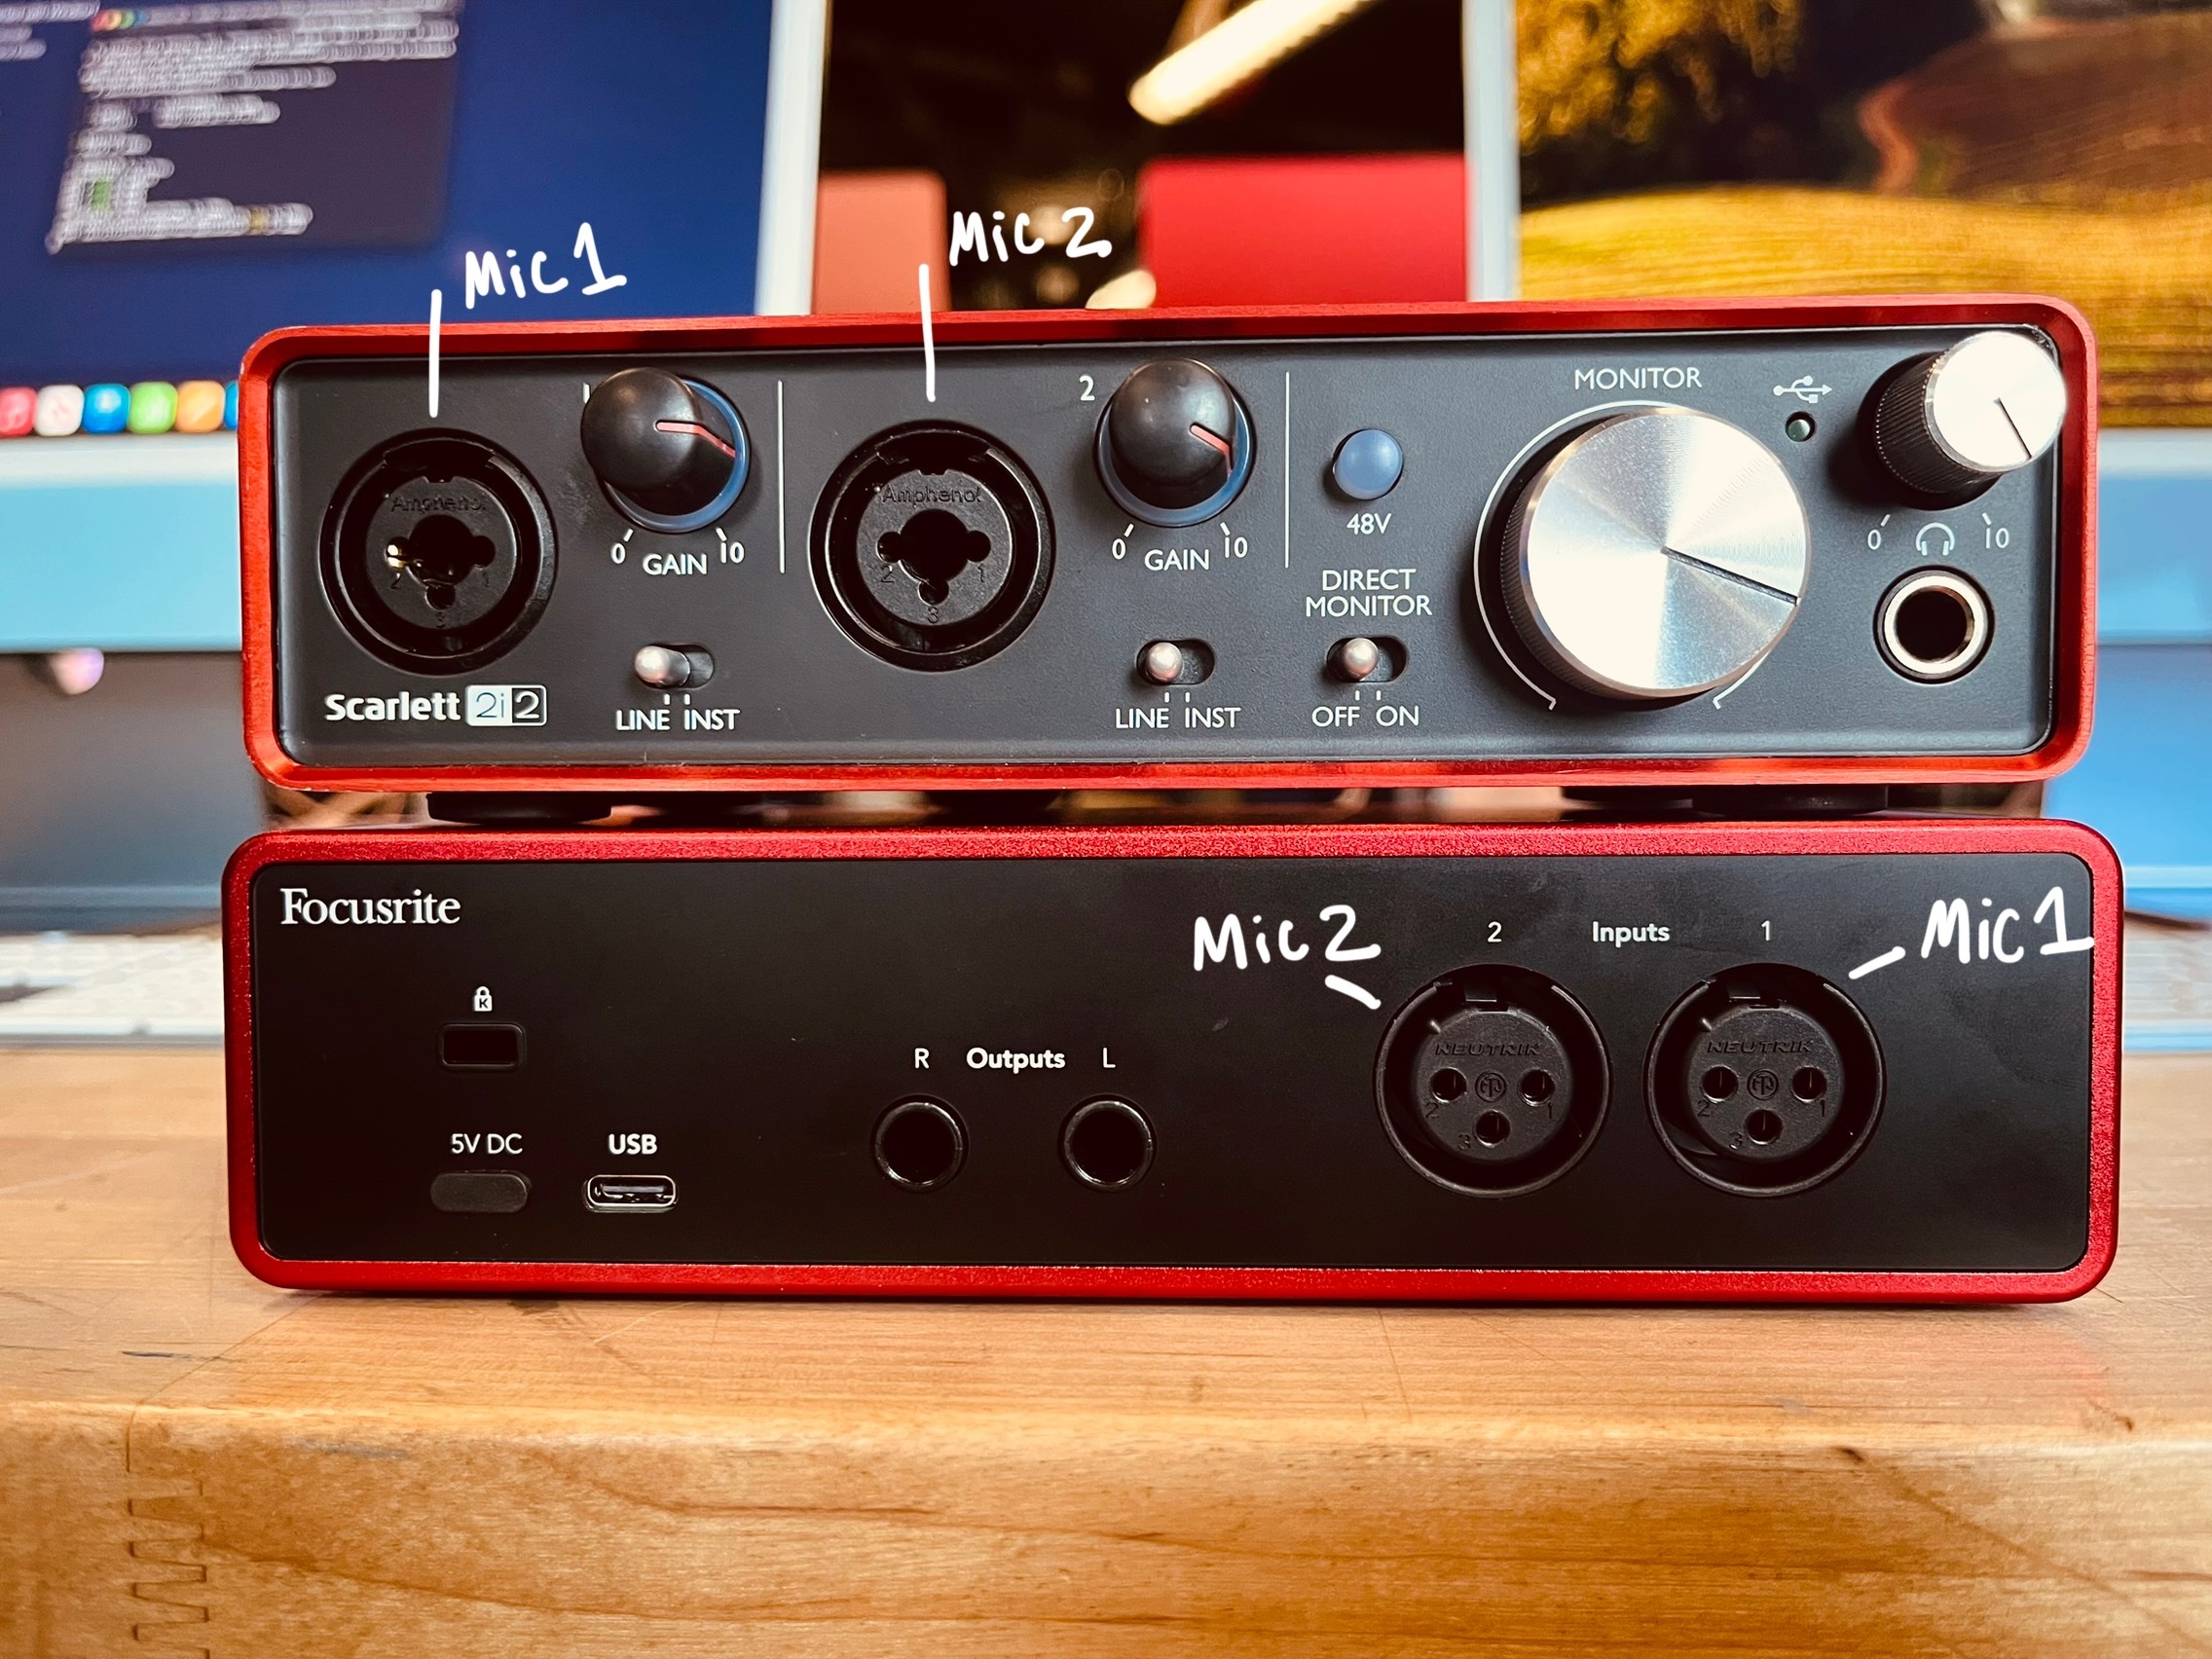
- The microphones can also be called pod(cast) mics, top mics, or condencer mics
## Materials Needed:
- Audio interfaces 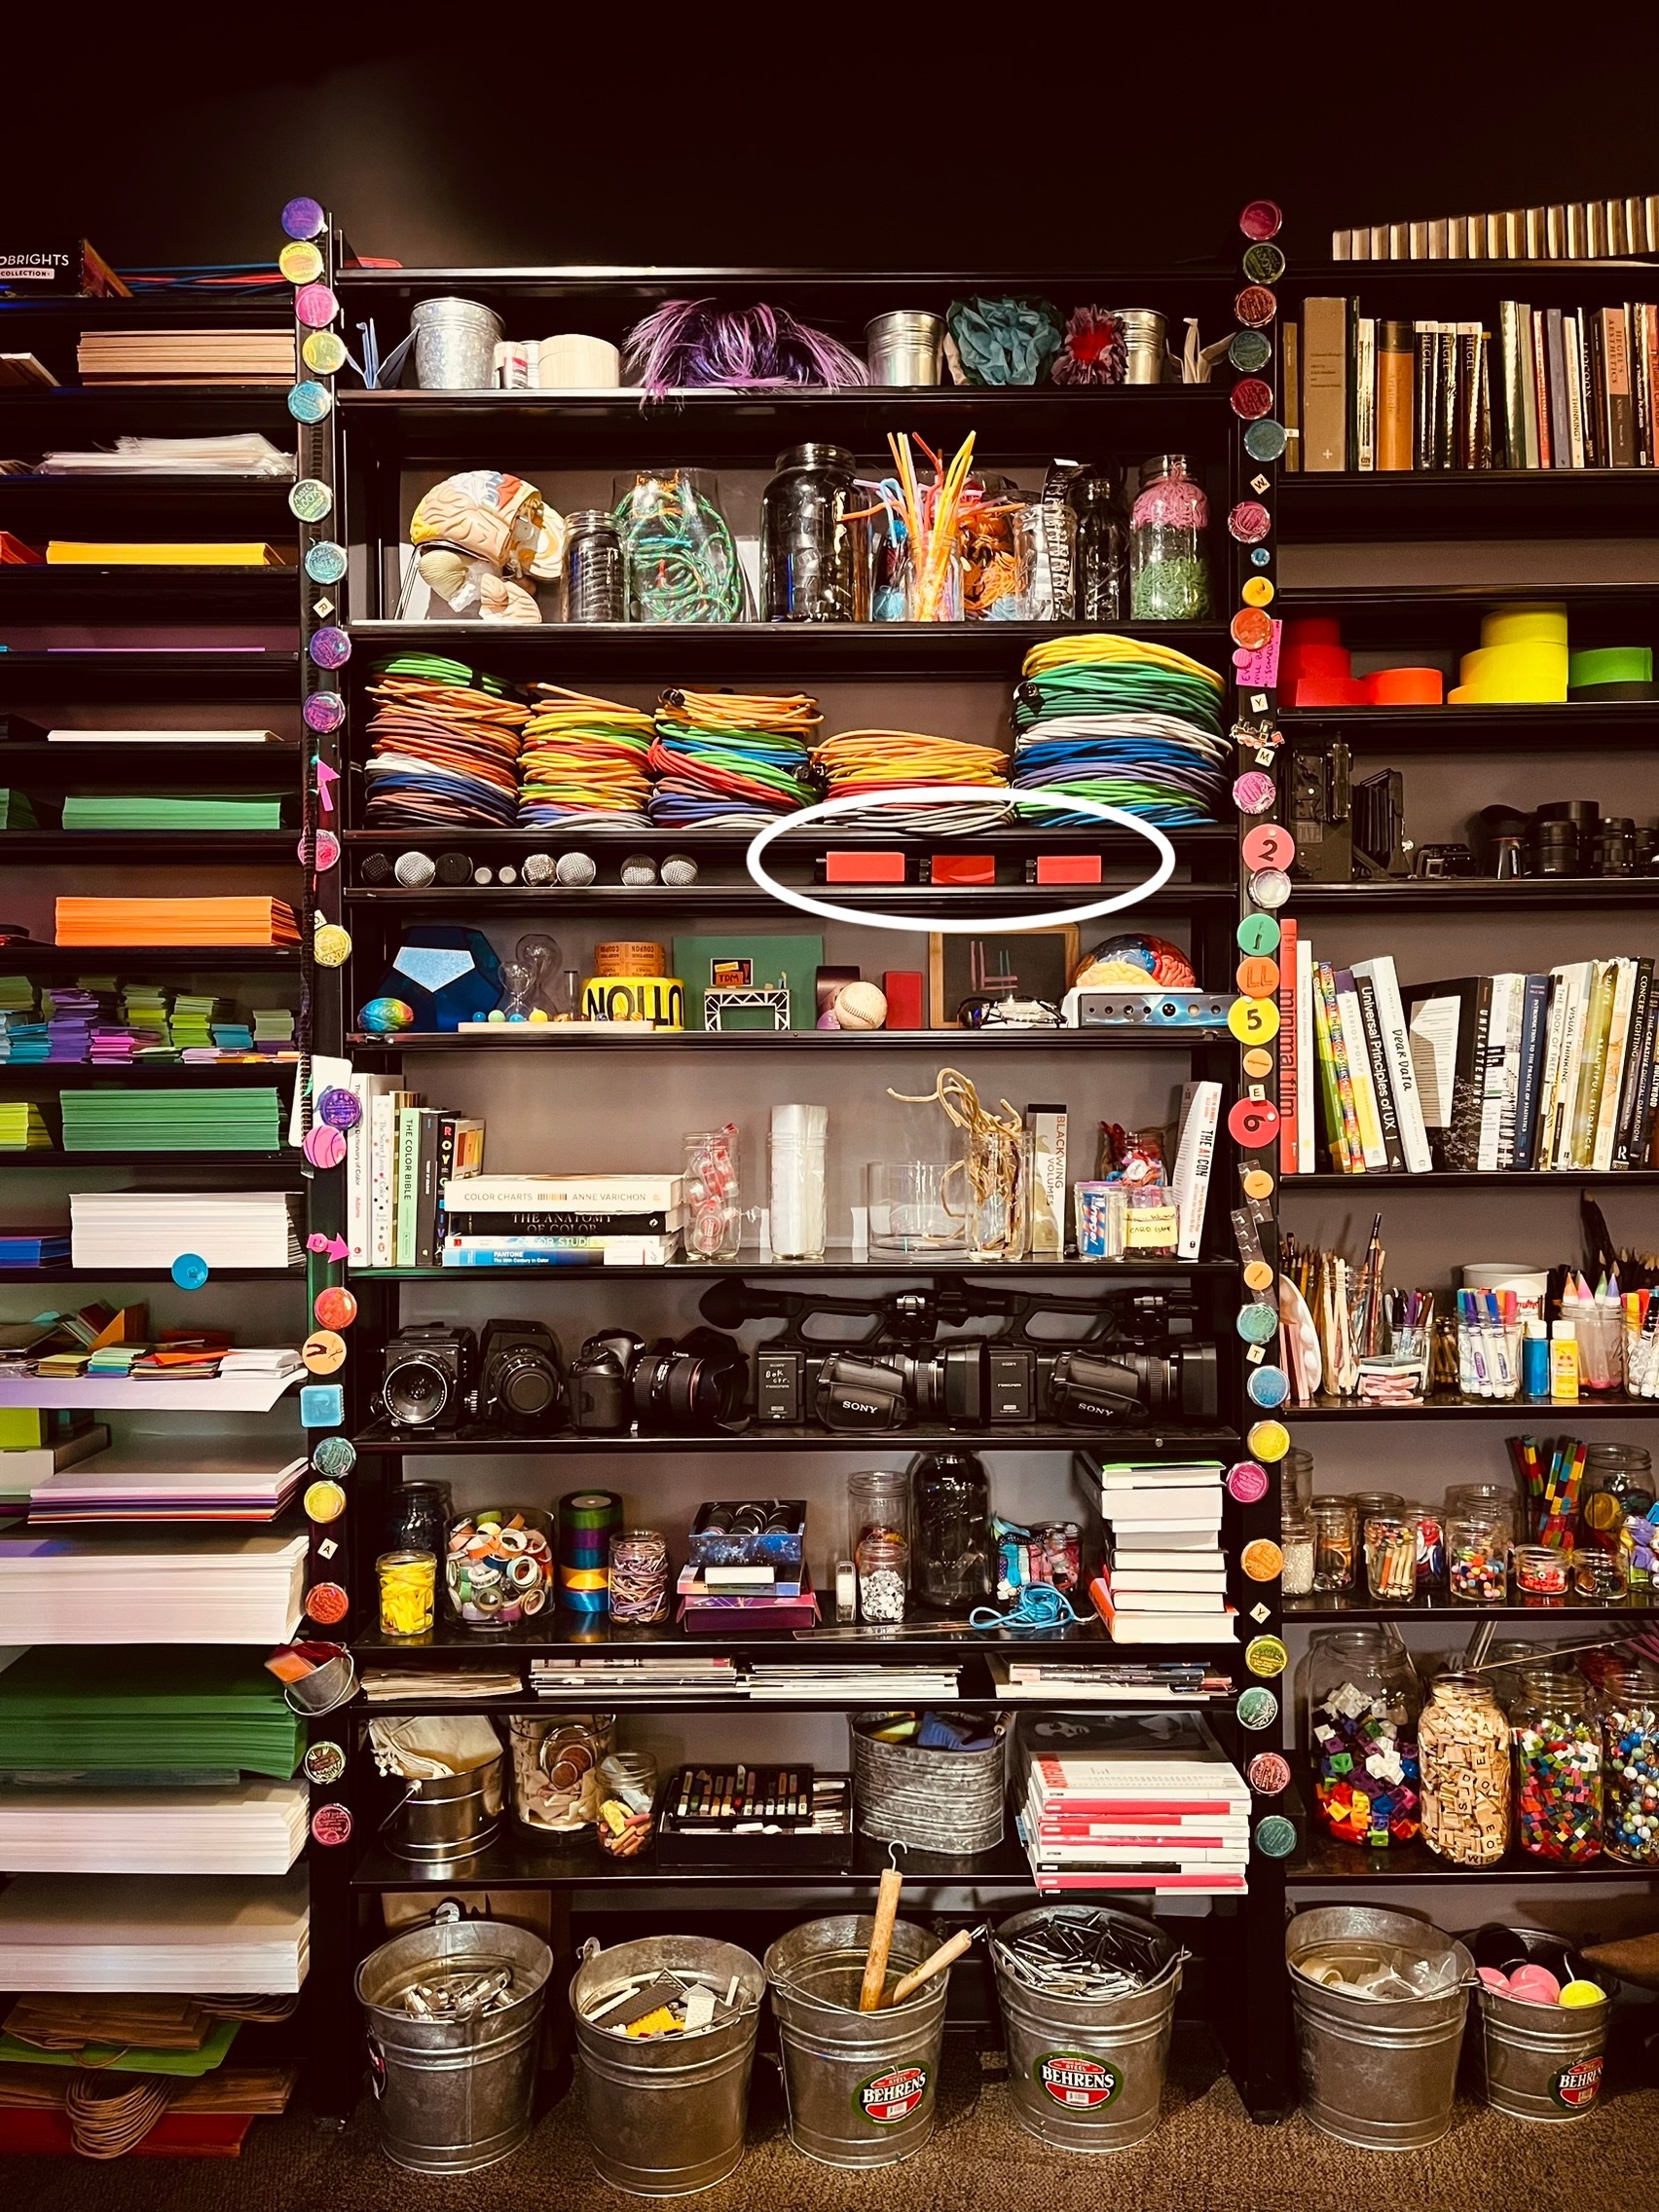*Found in the main studio on the shelves*
- Microphones 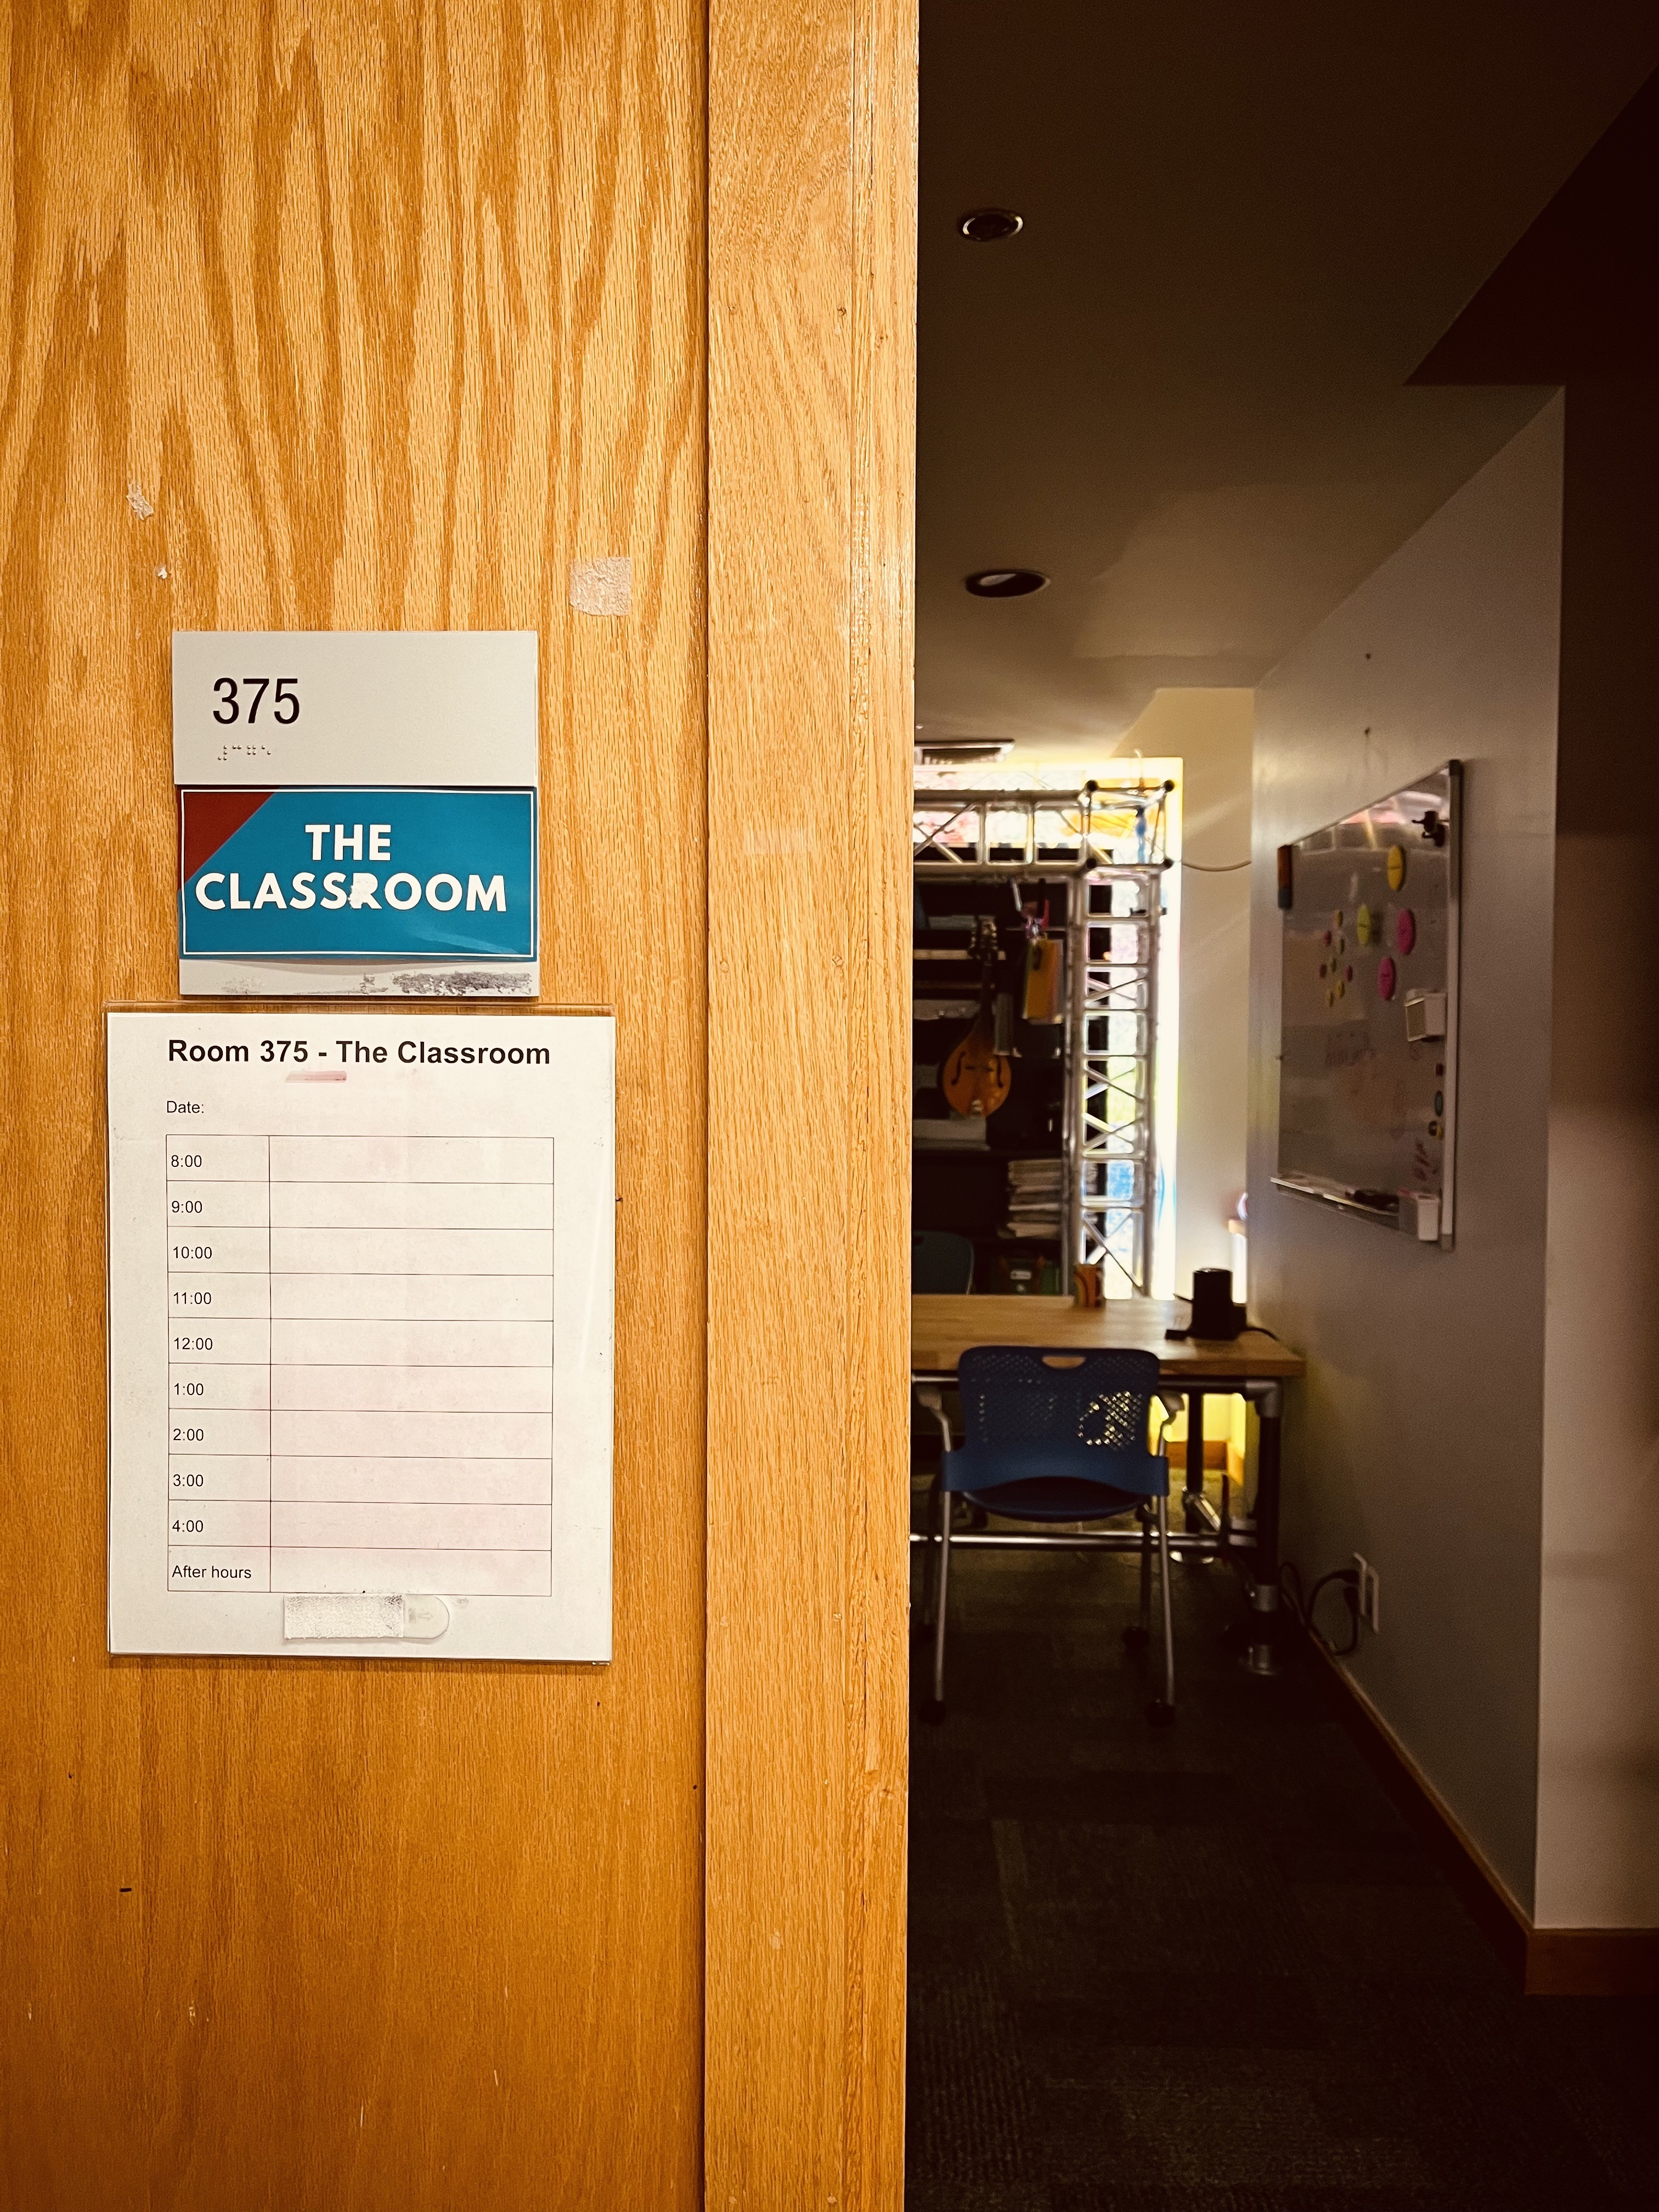 *Found in The Classroom*
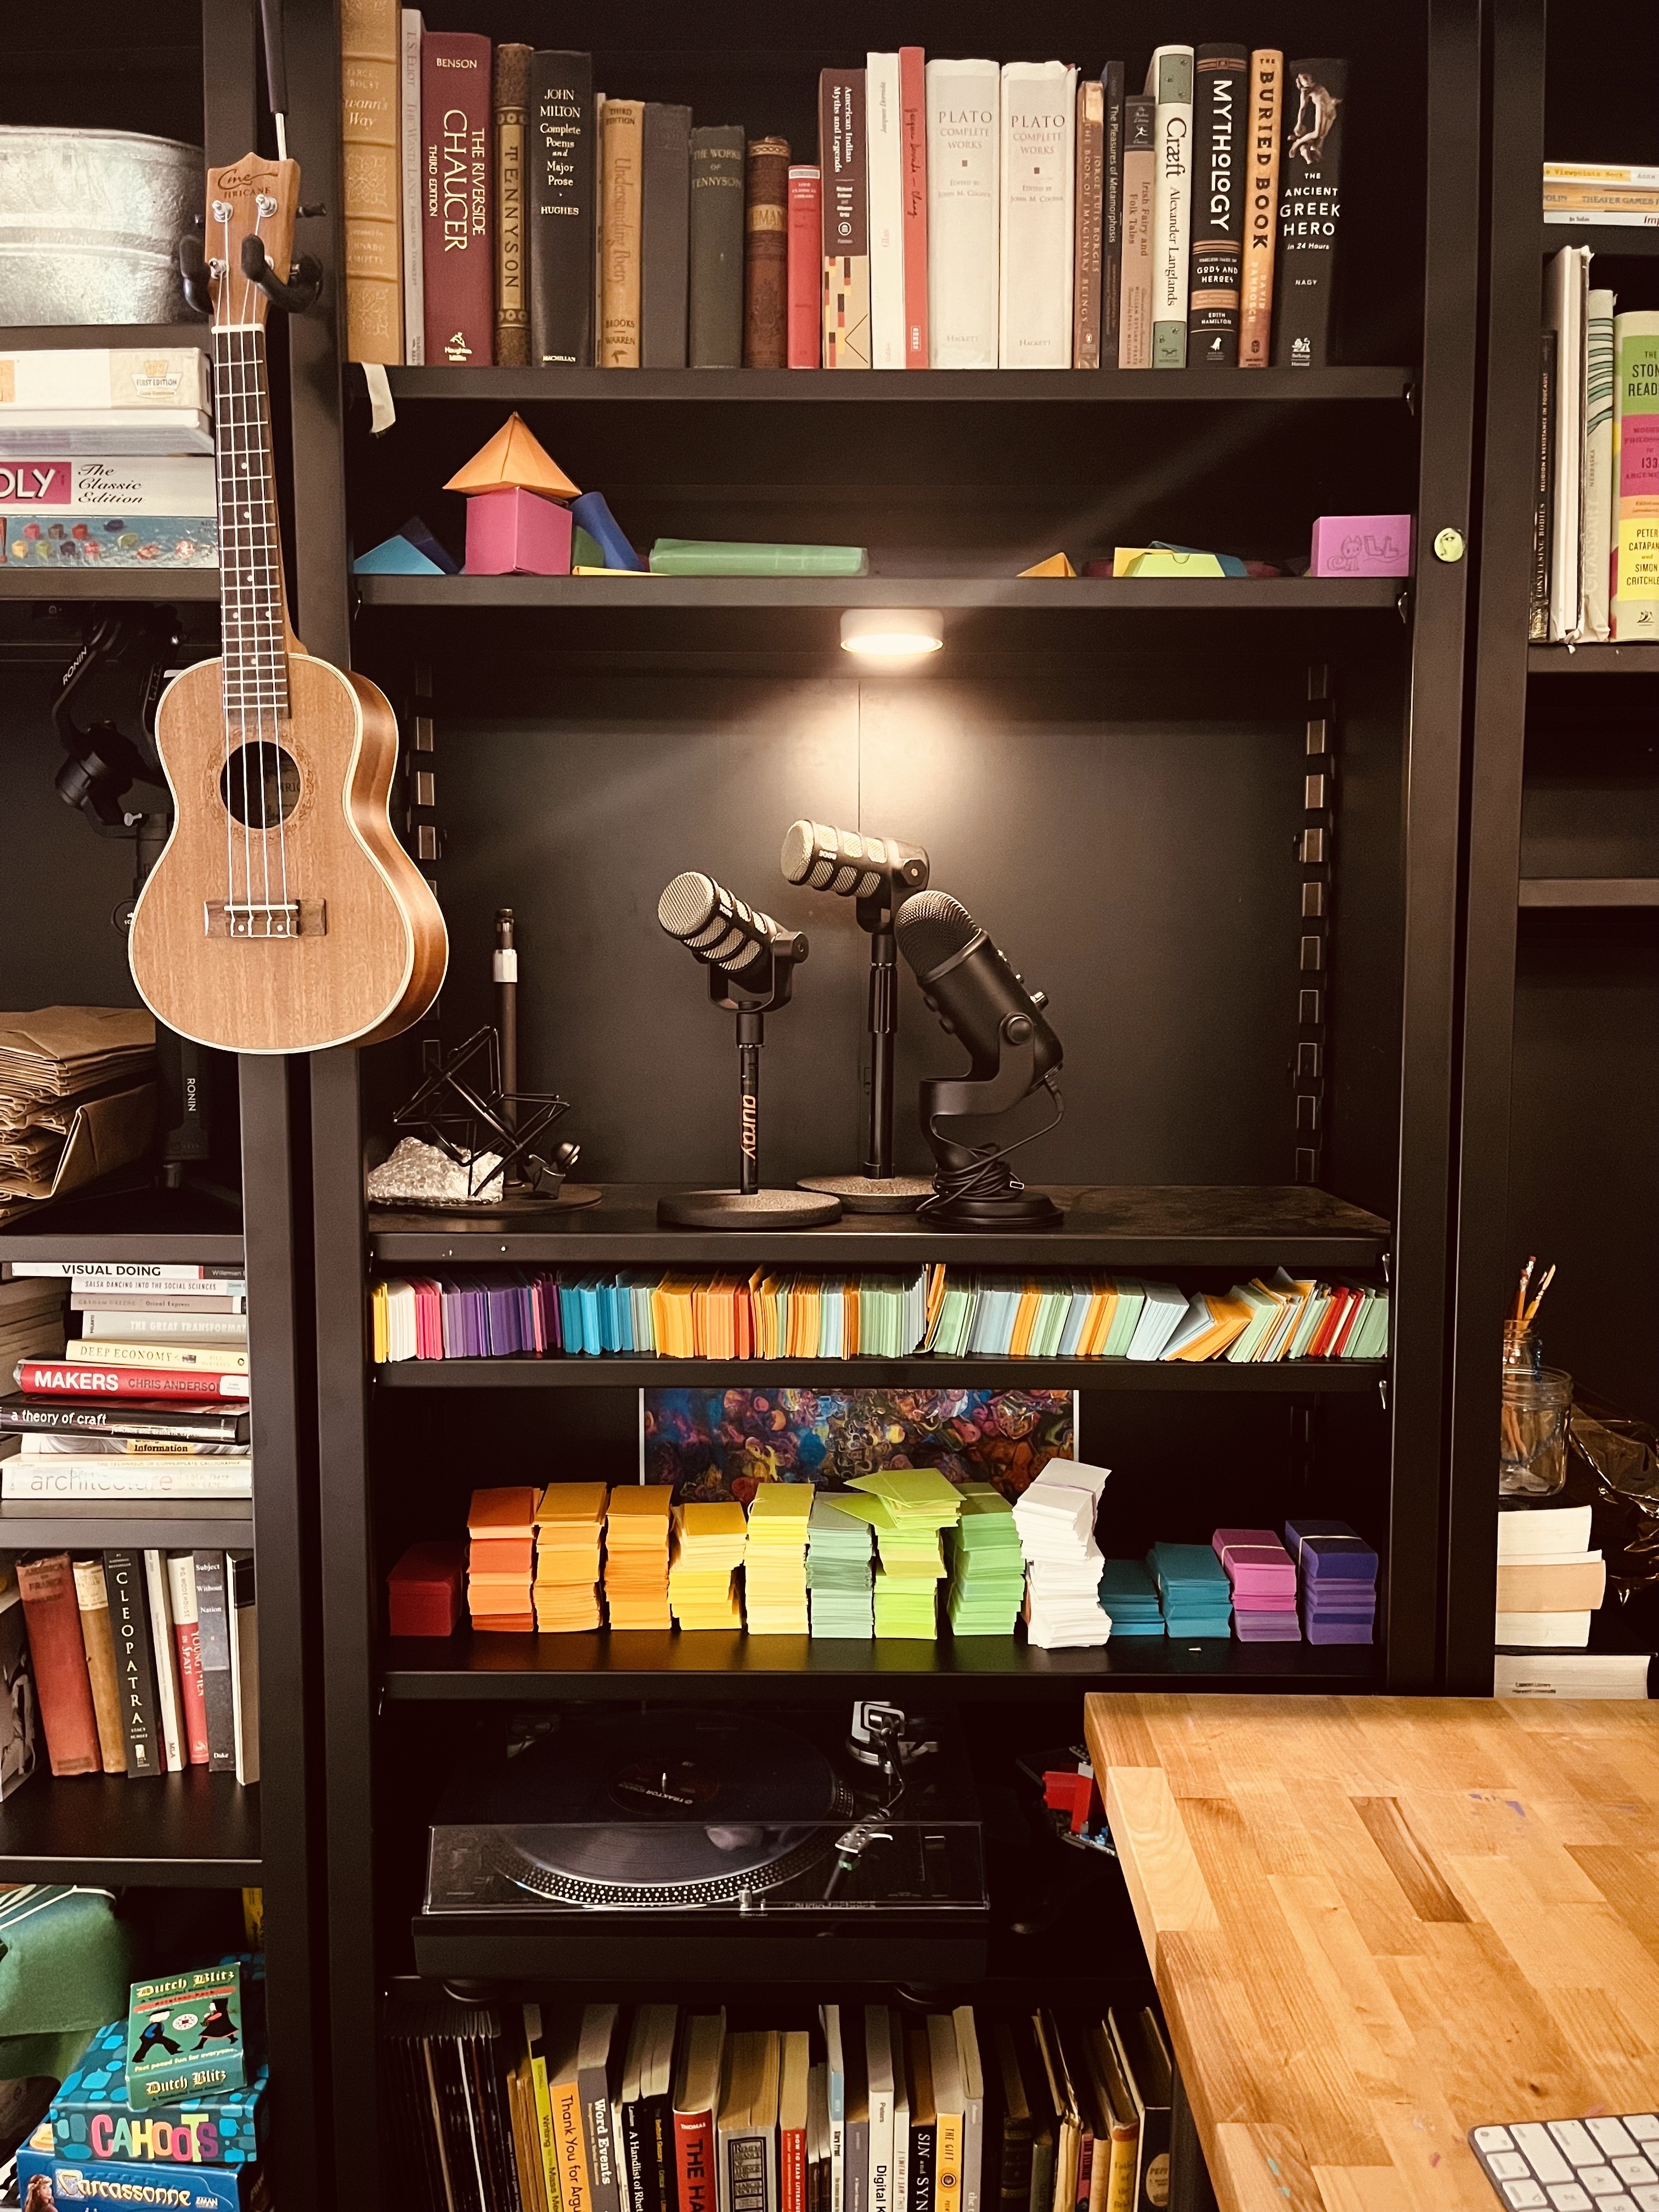
*Shelf in The Classroom*
- Headphones - one for each listener + headphone splitters
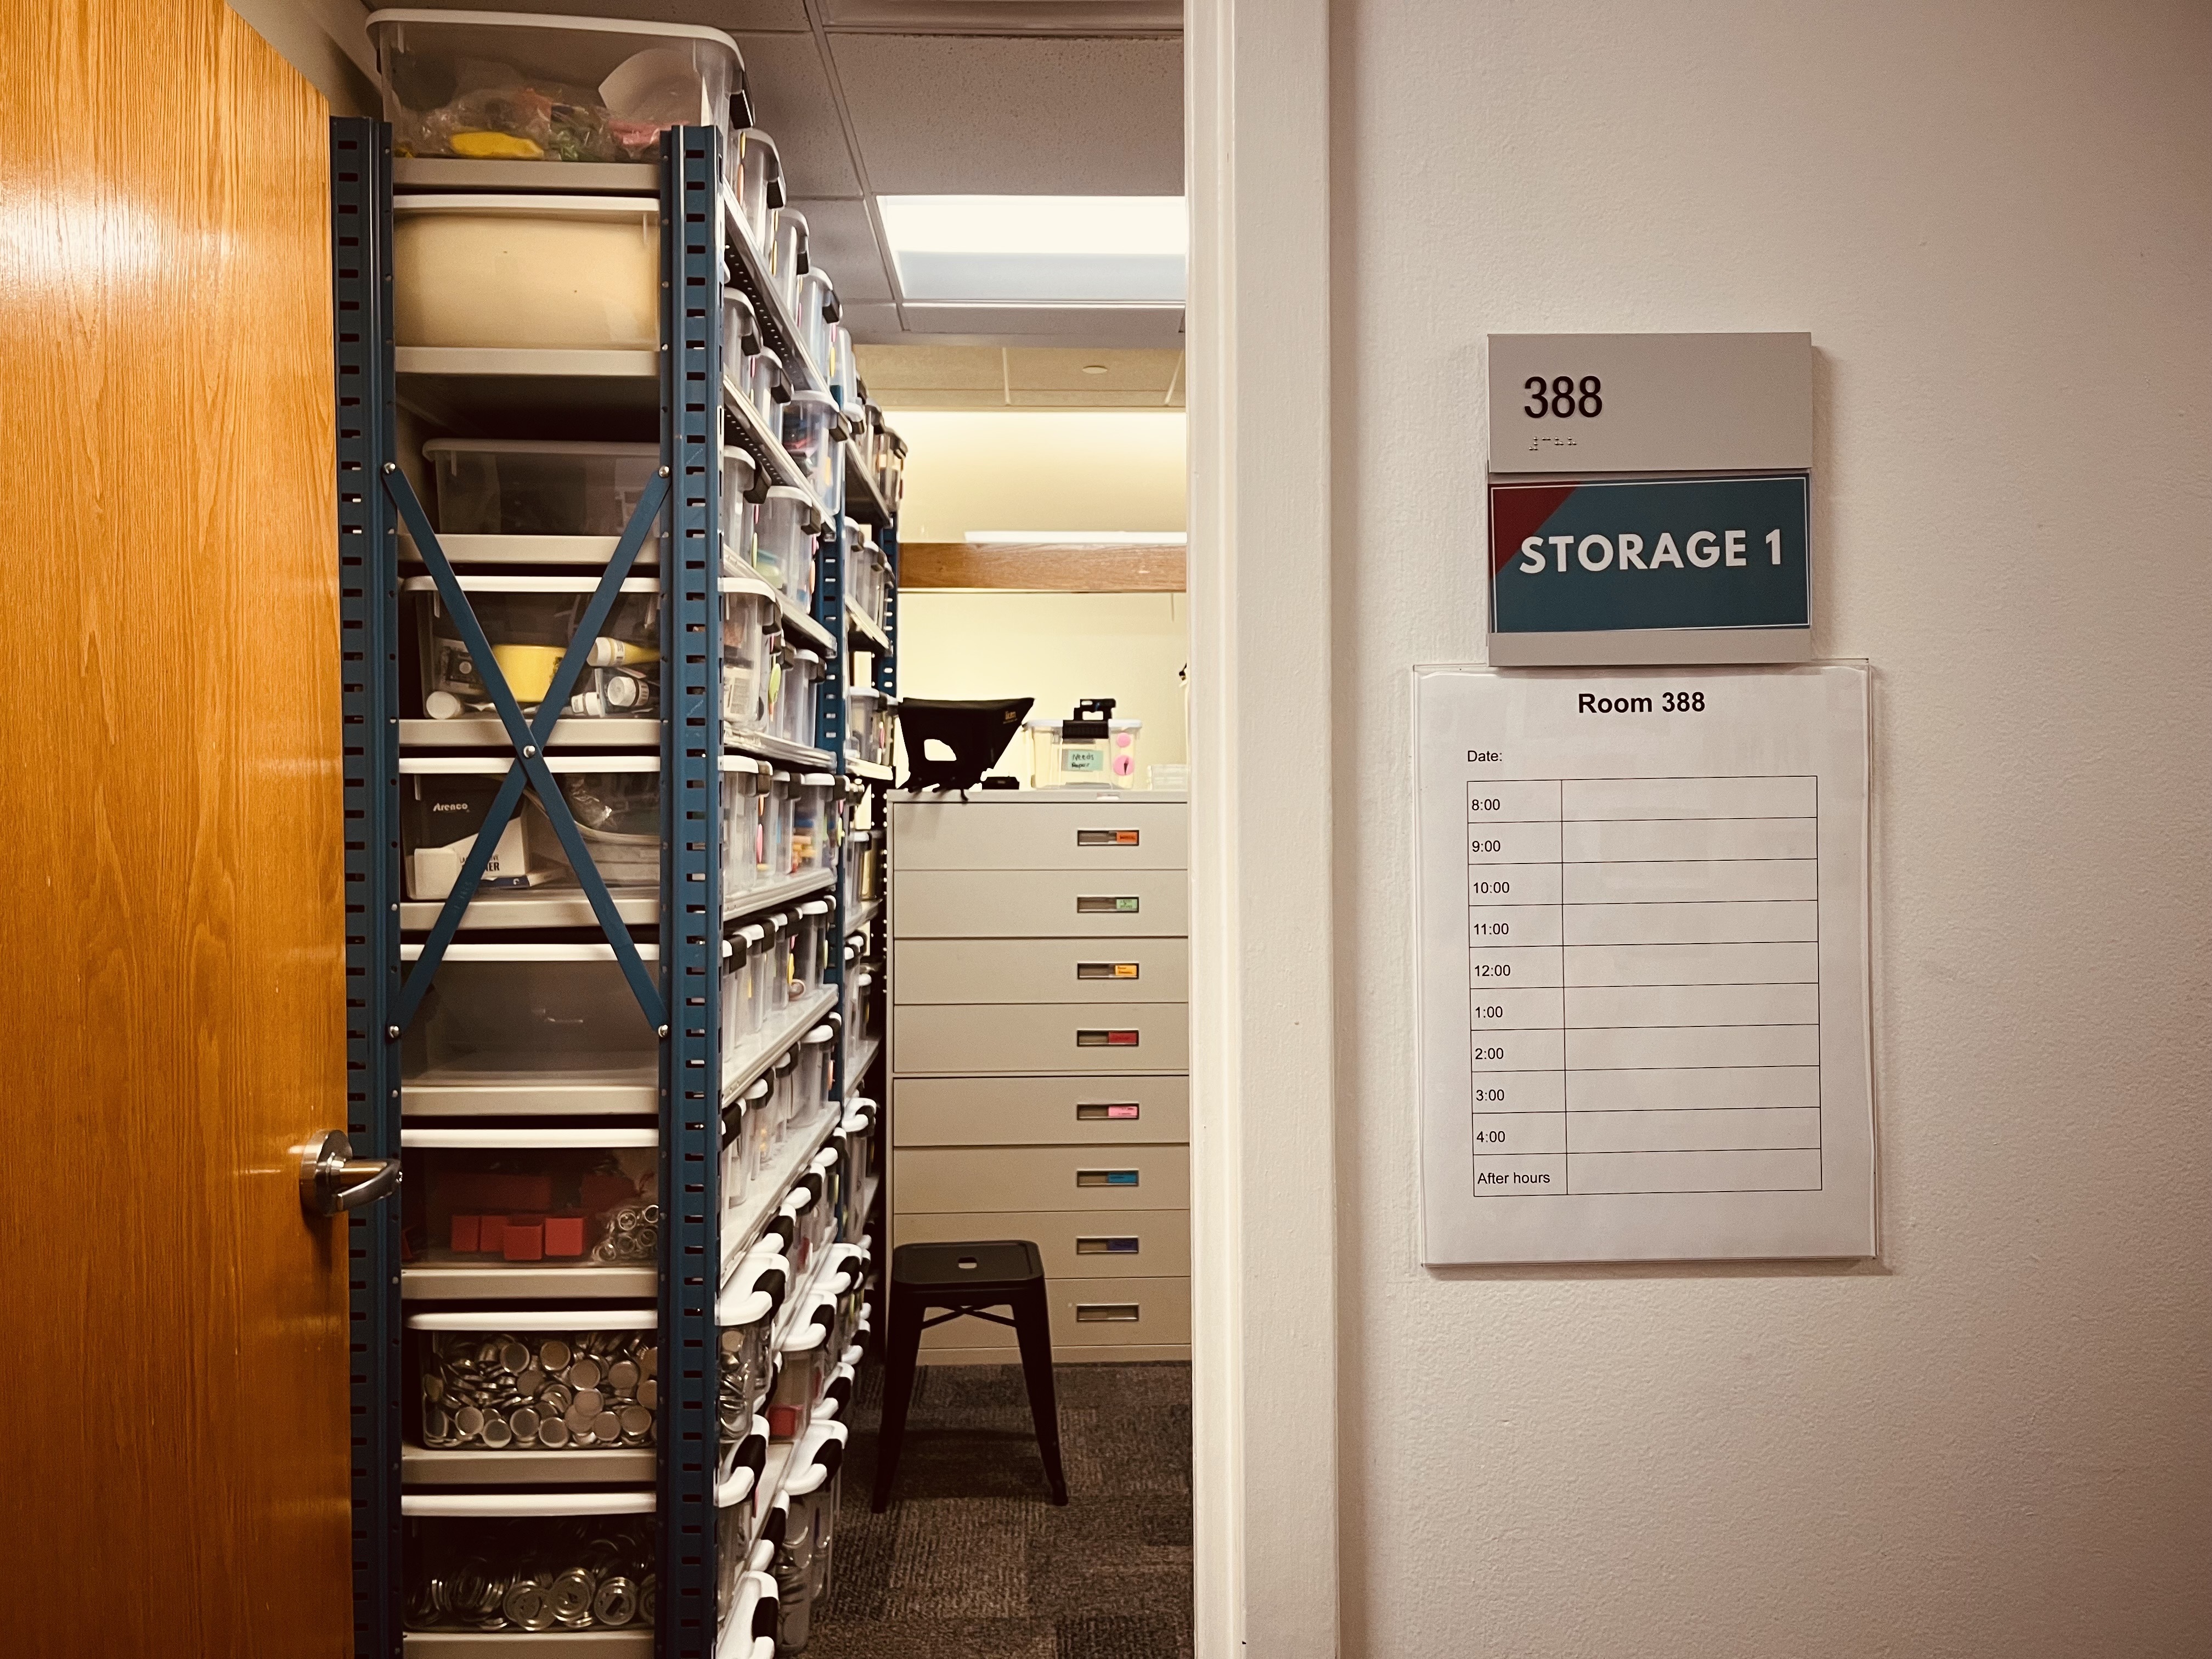
*Found in Storage room 1*
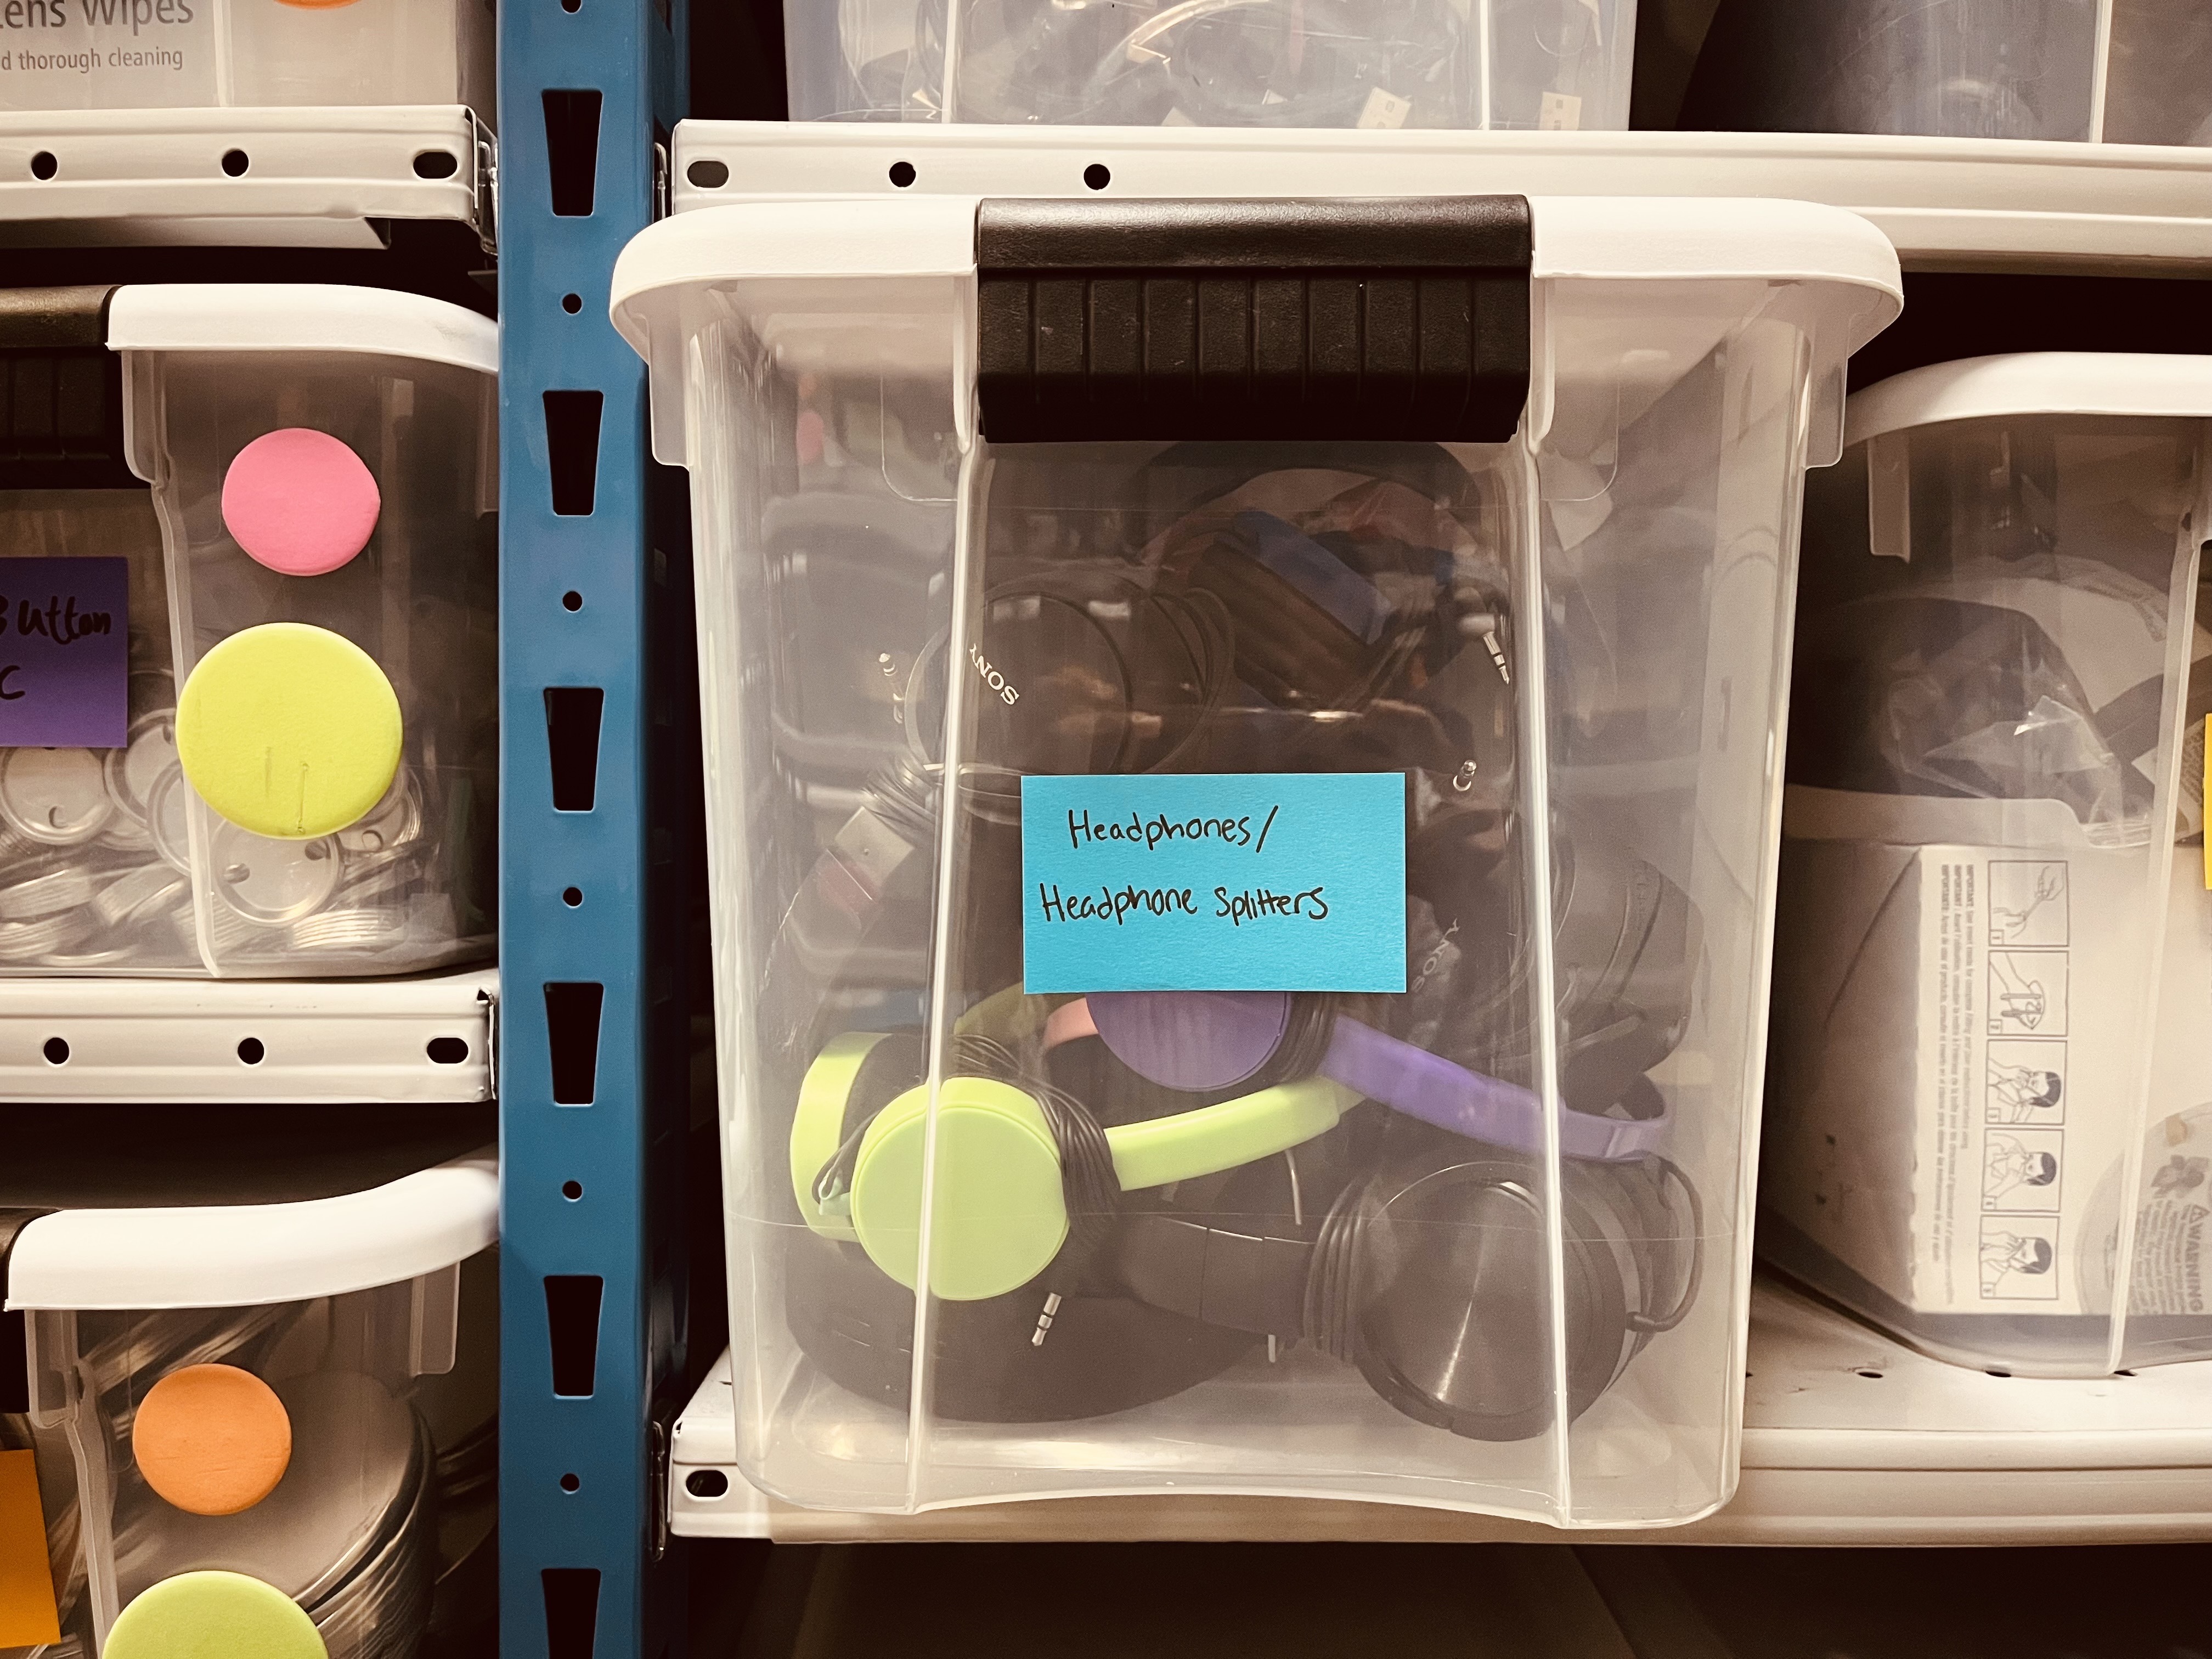
*Shelf in Storage room 1*
- If you want to listen with more people (more than one headphone) you can use an extention/headphone splitters
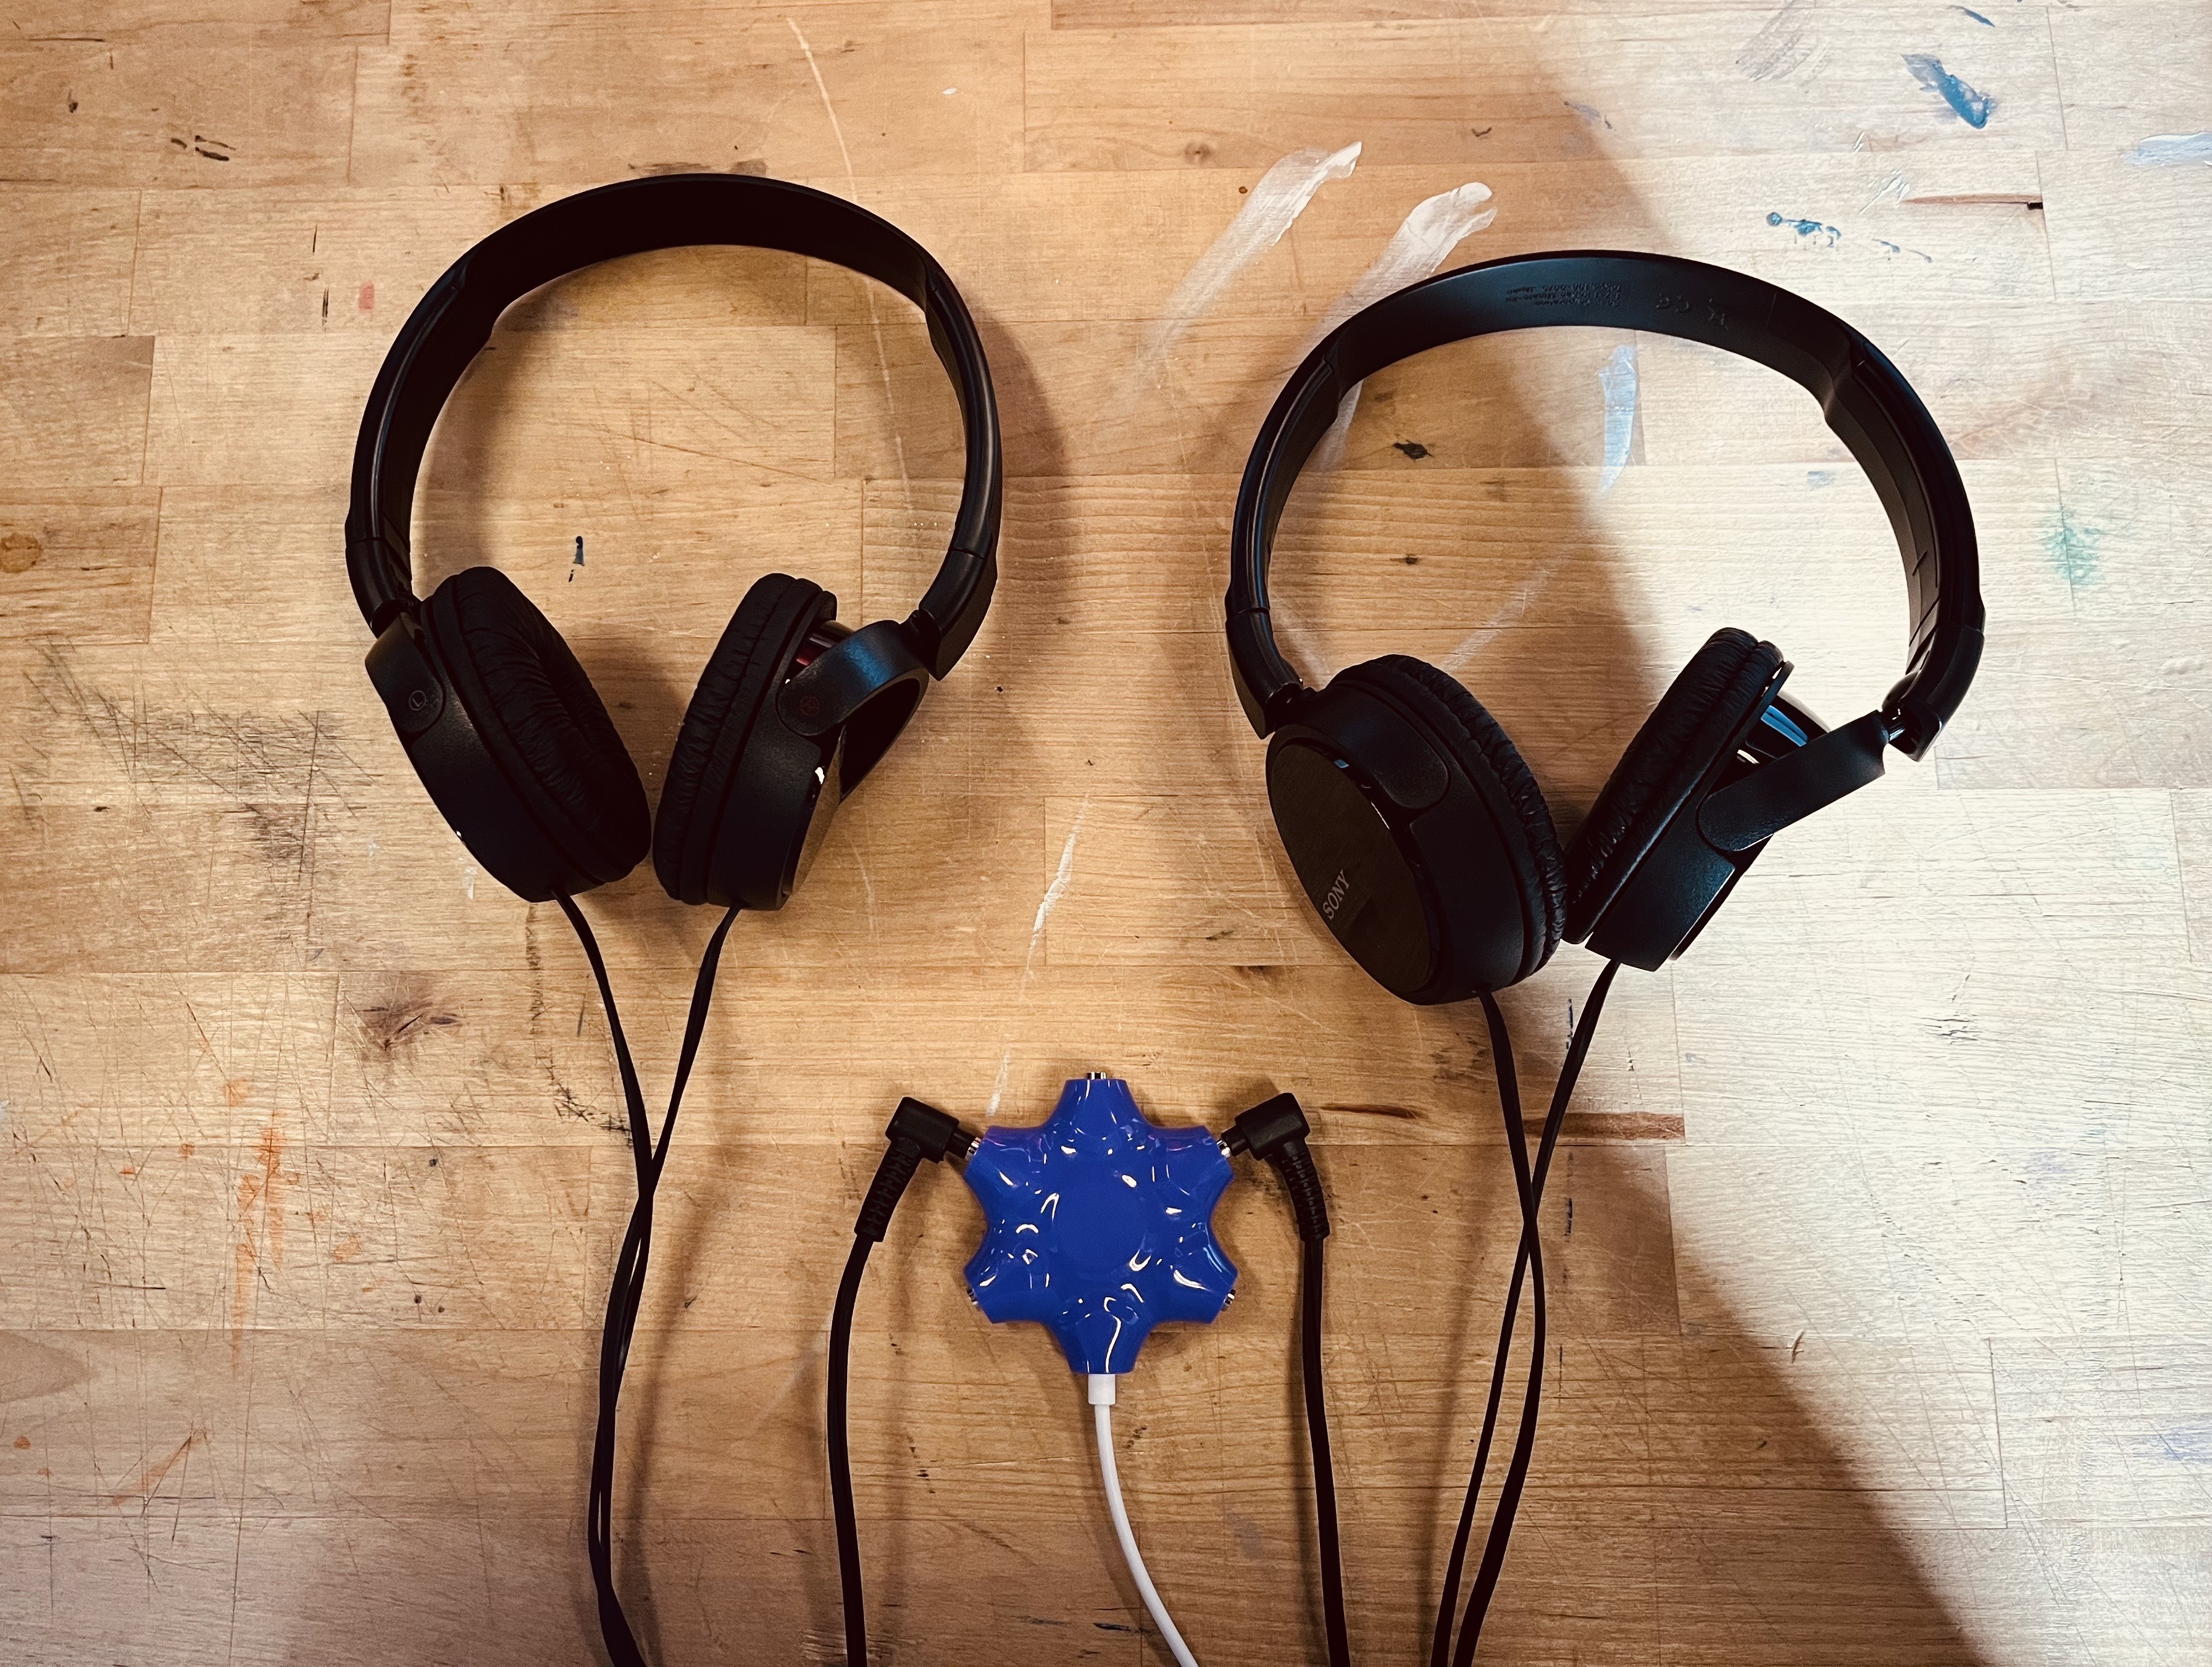
*Headphones connected to a headphone splitter*
- Usbc to usbc cable and USB to USBC cable - to connect the audio interface to the computer
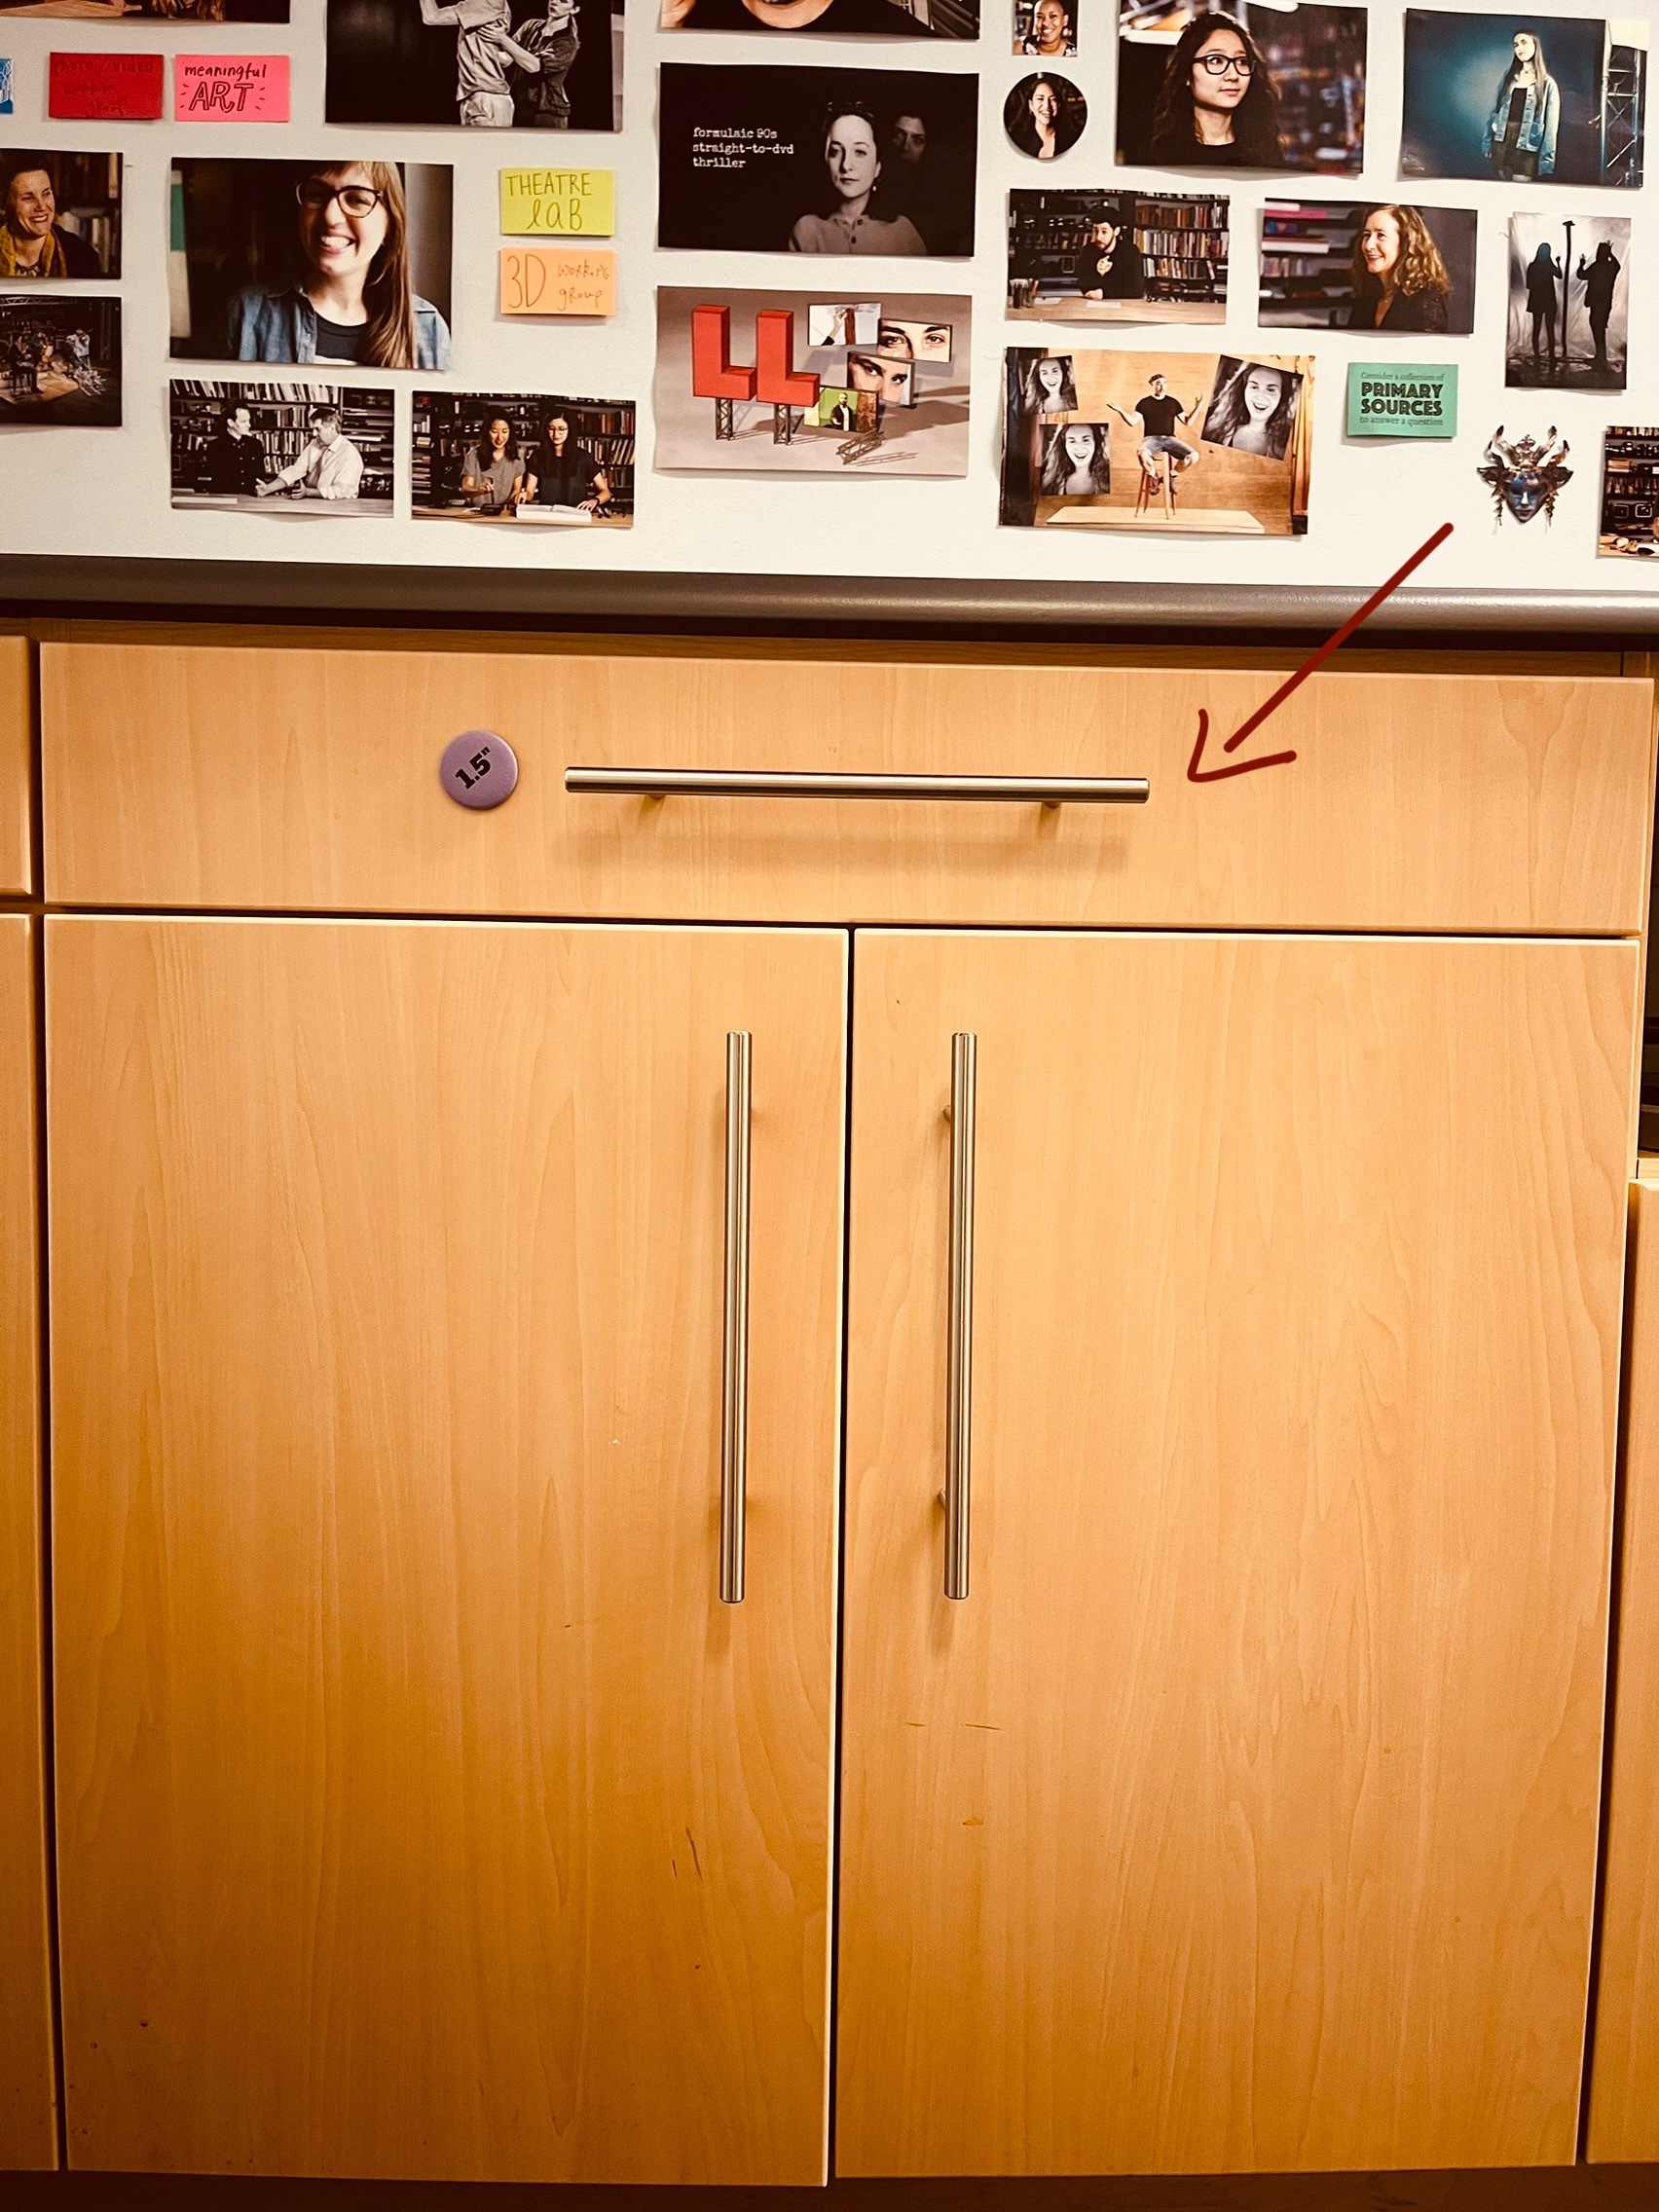
*Found in a drawer in the hallway*
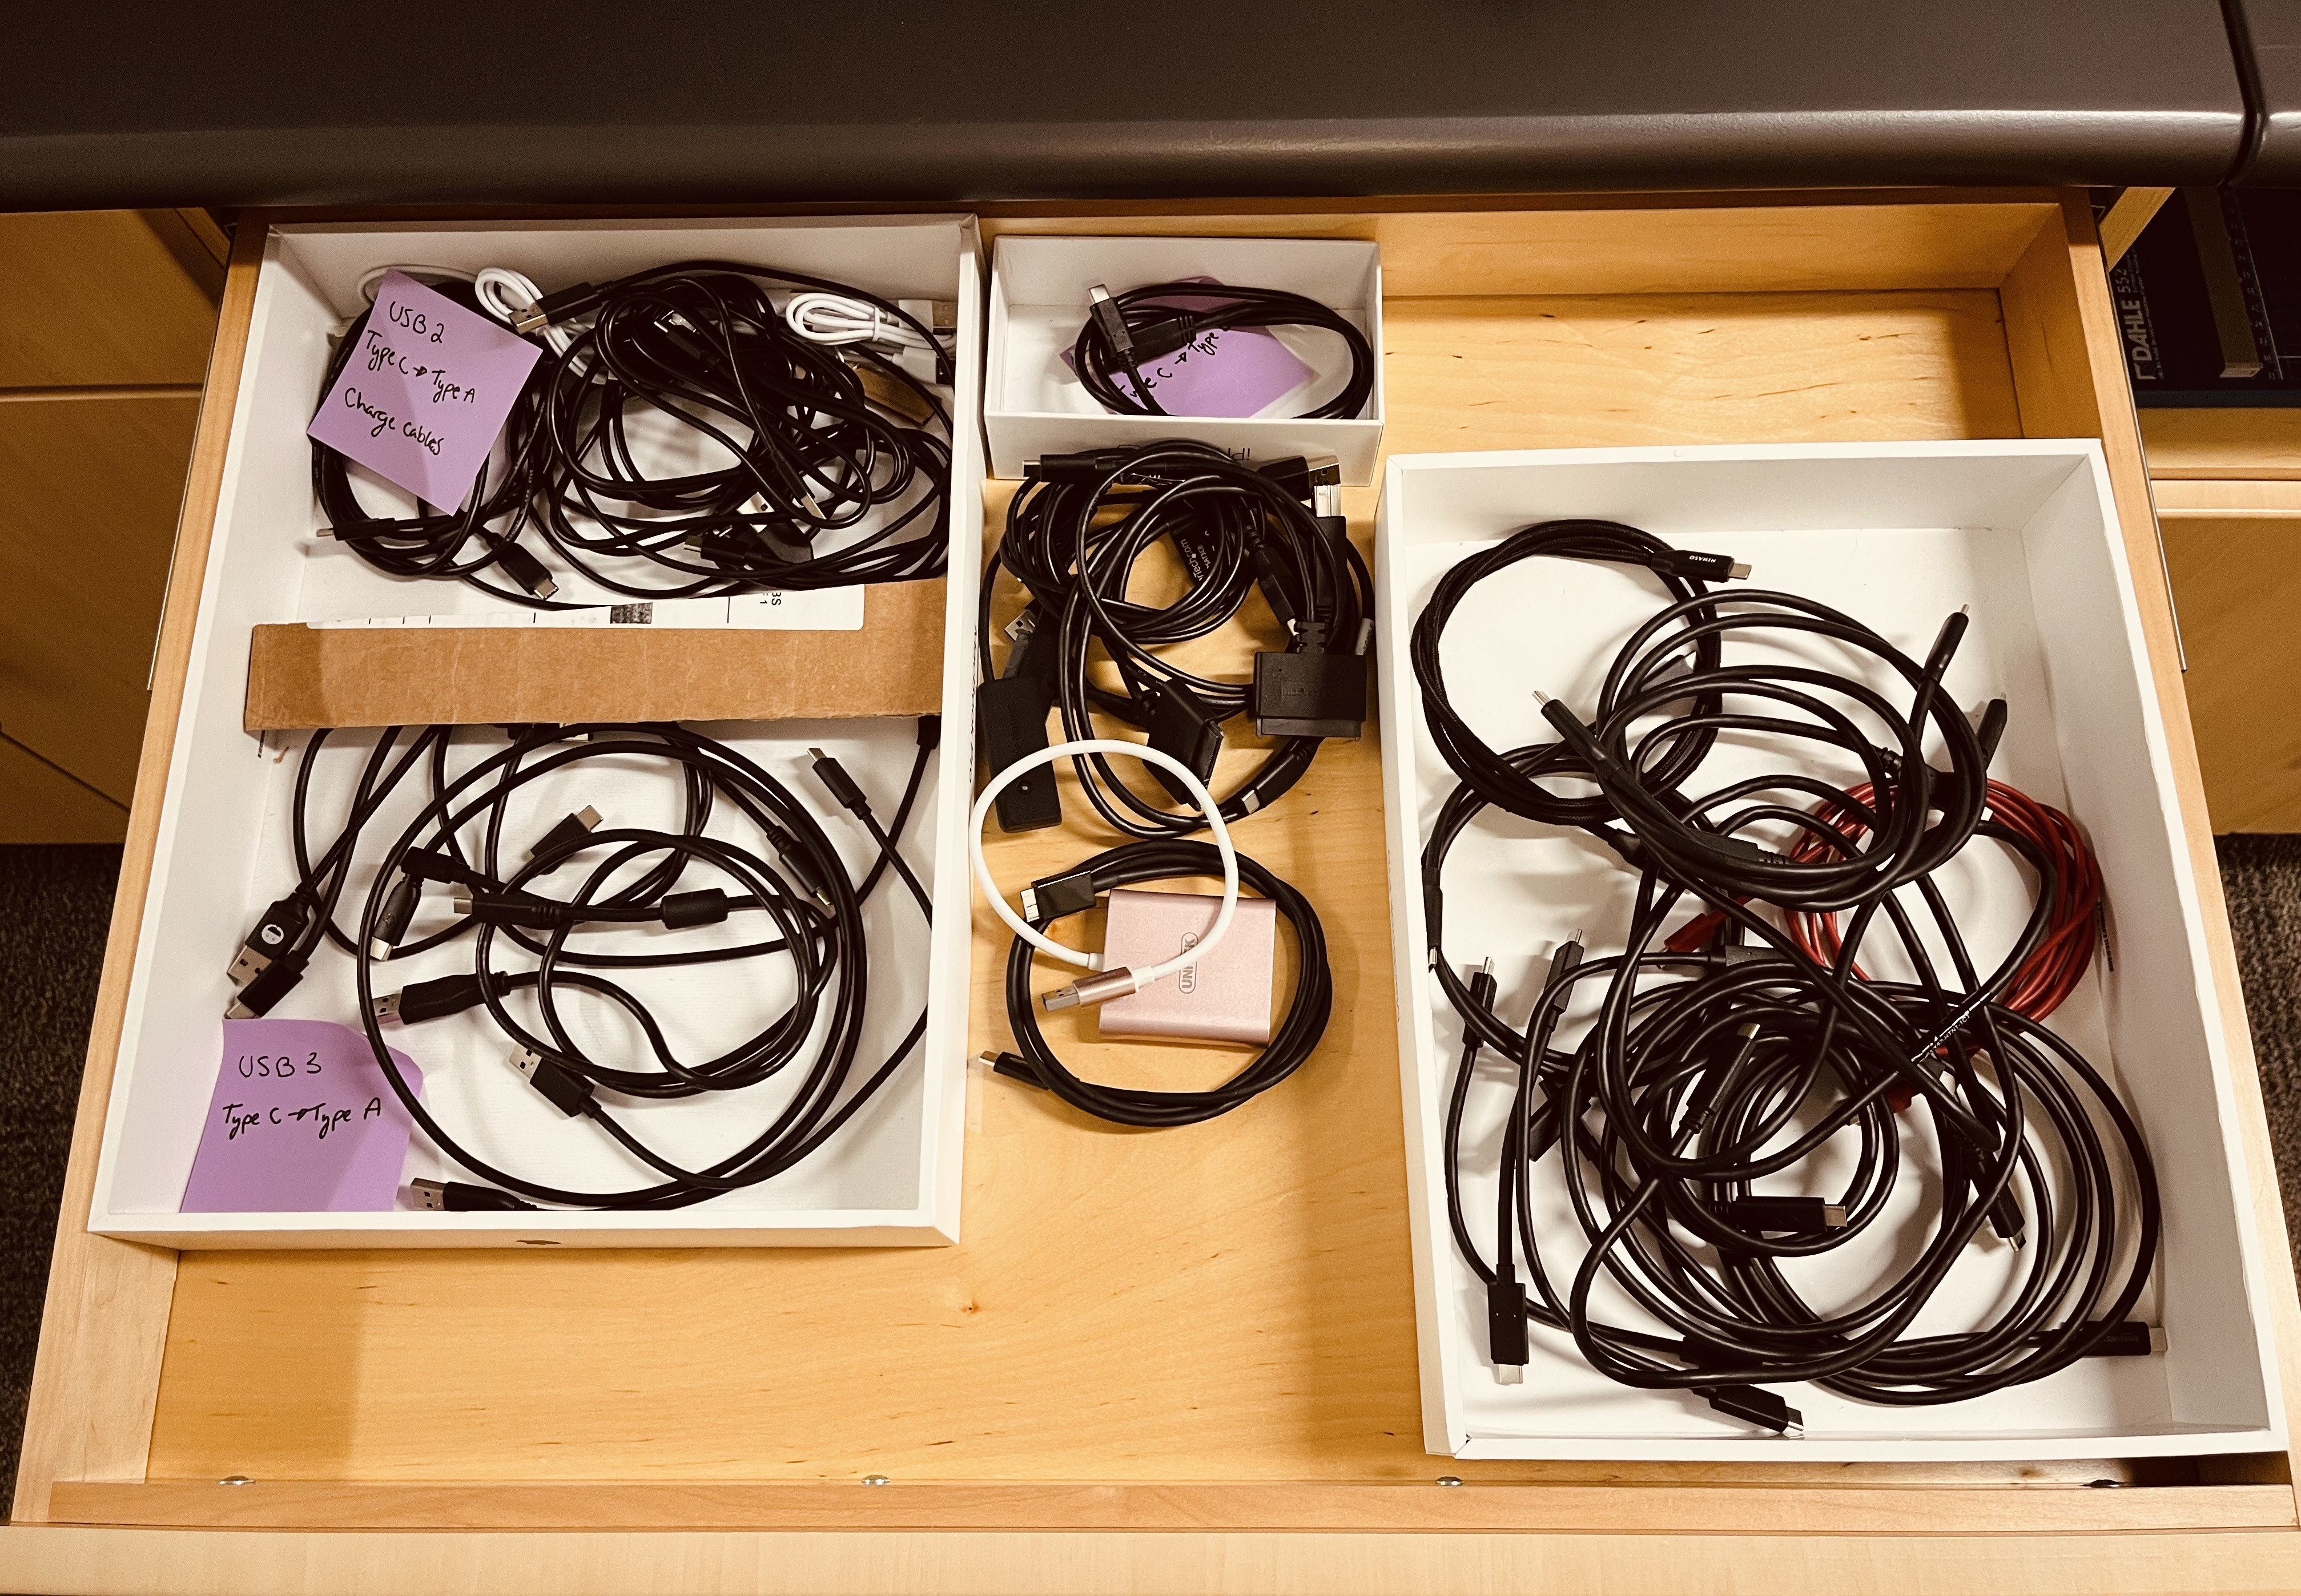
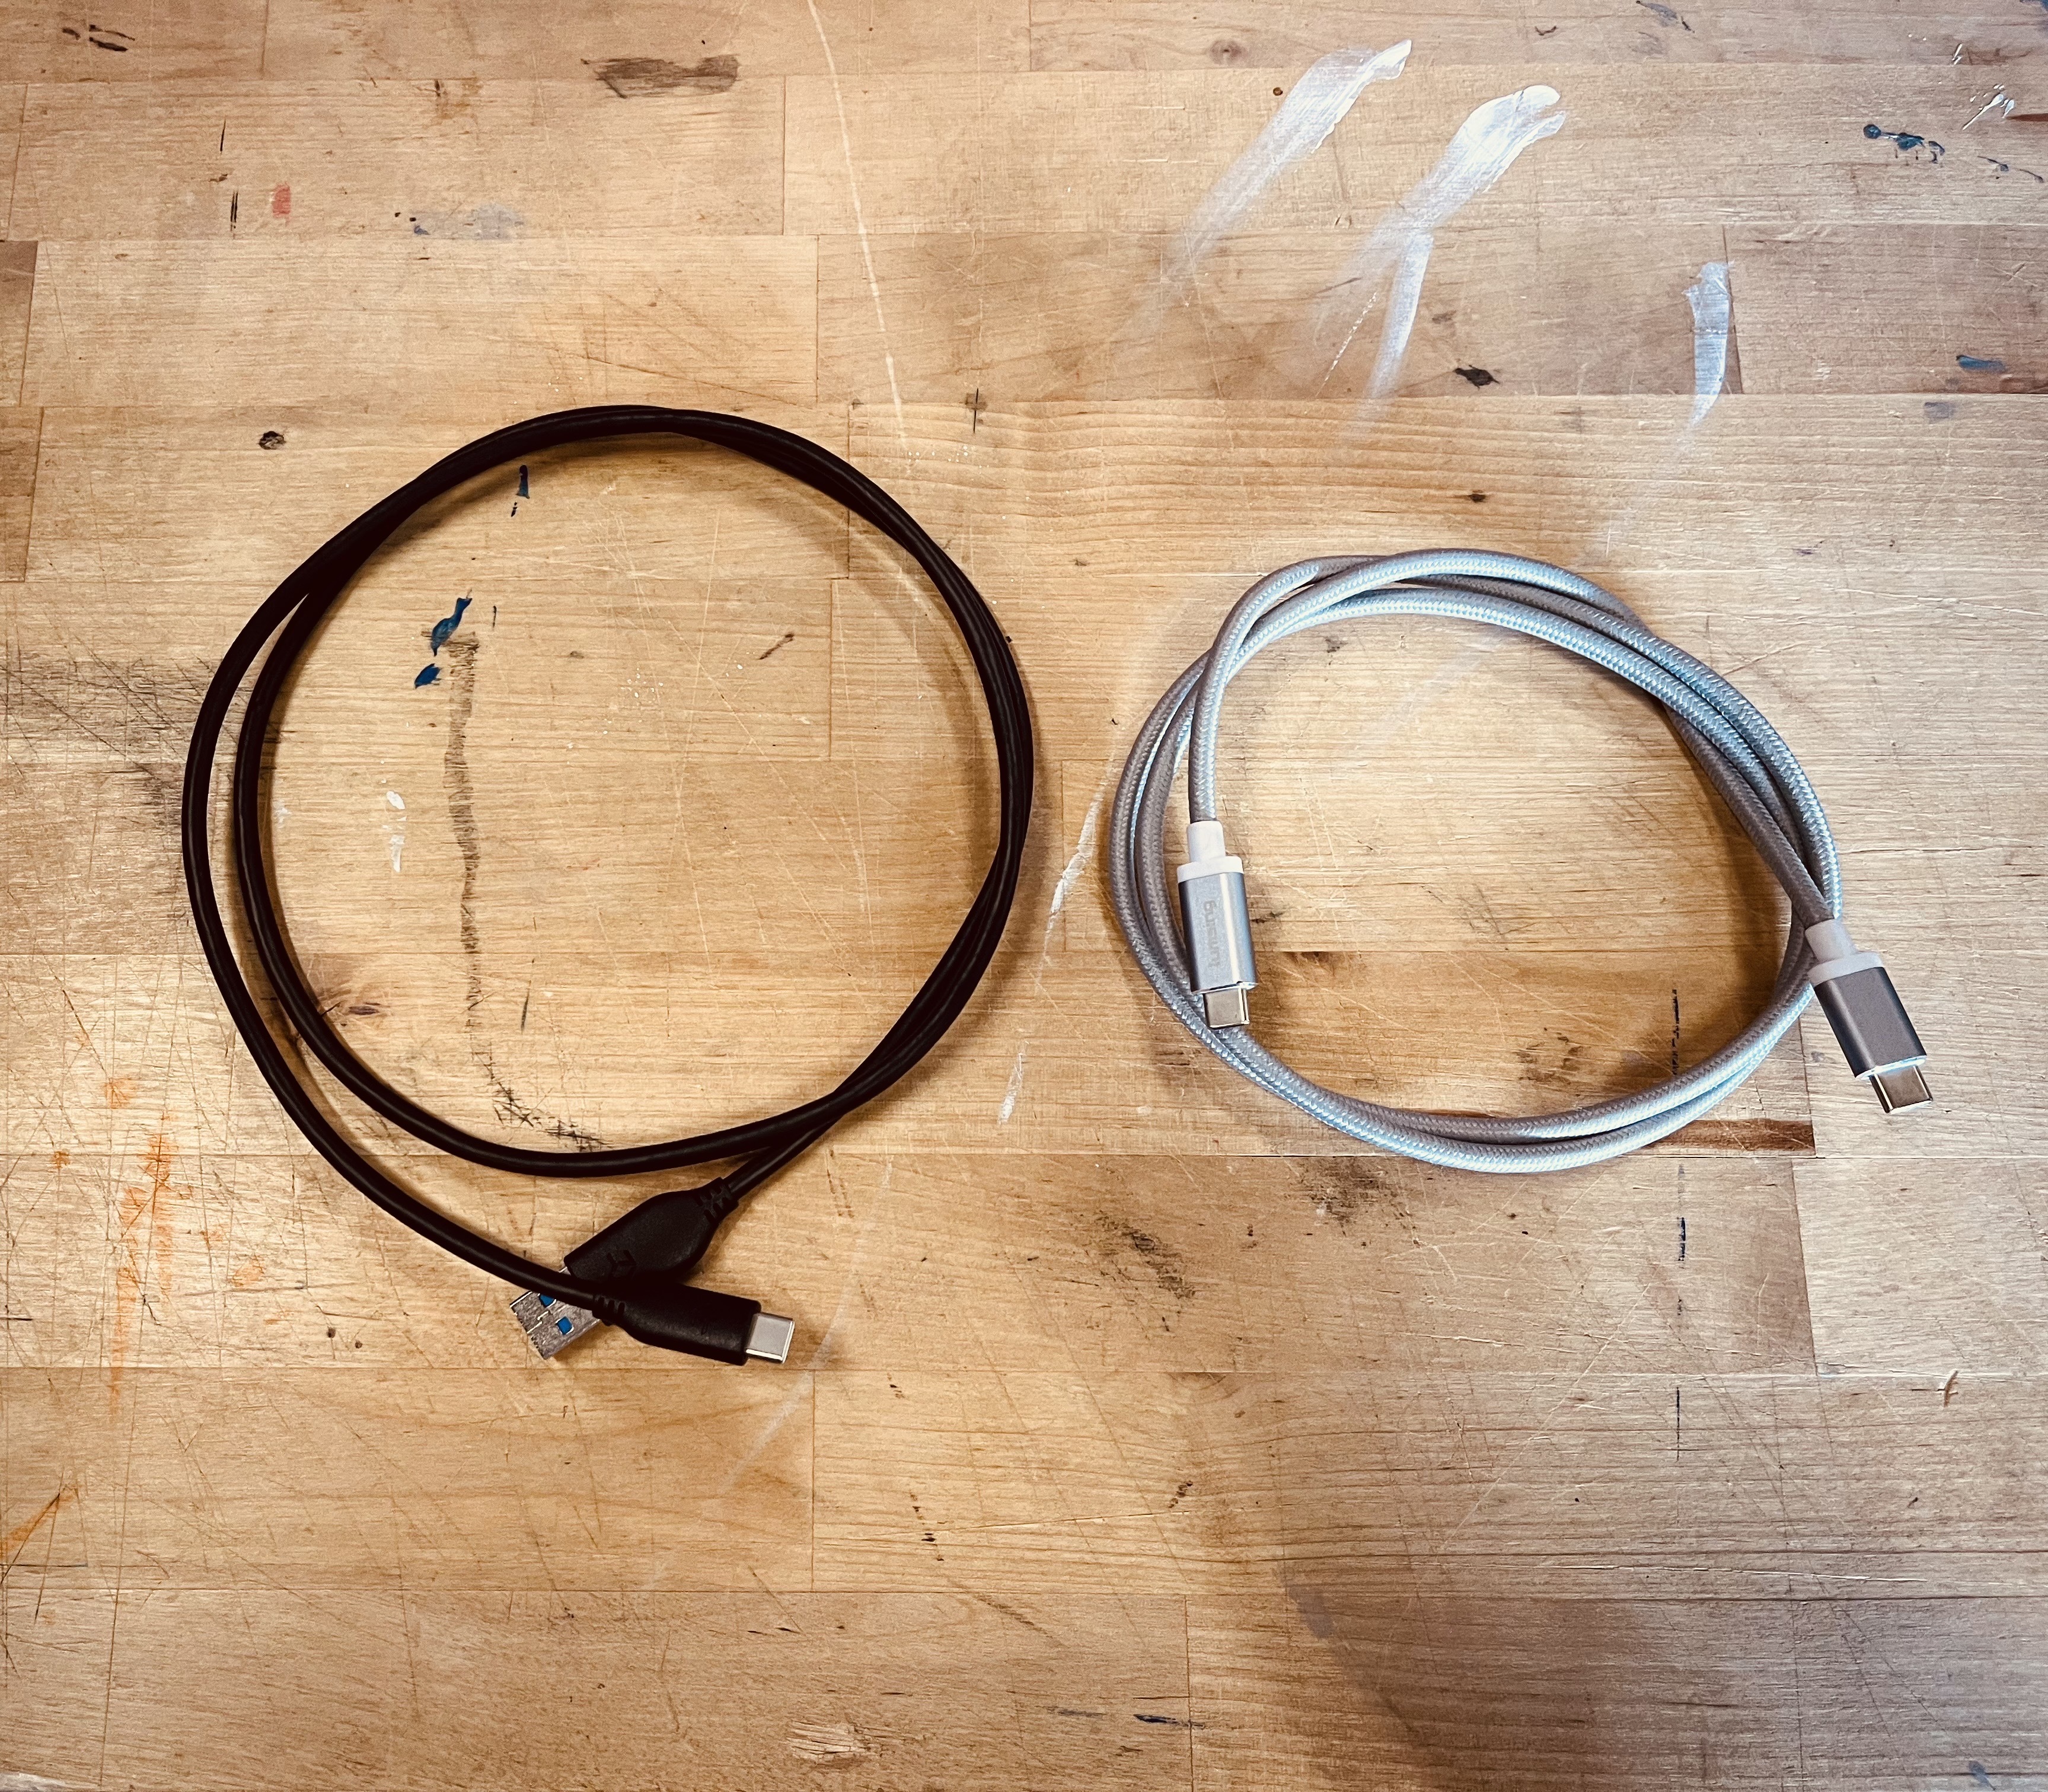
*Cables from drawer*
- Short XLR cable for each microphone being used - to plug the microphone into the audio interface
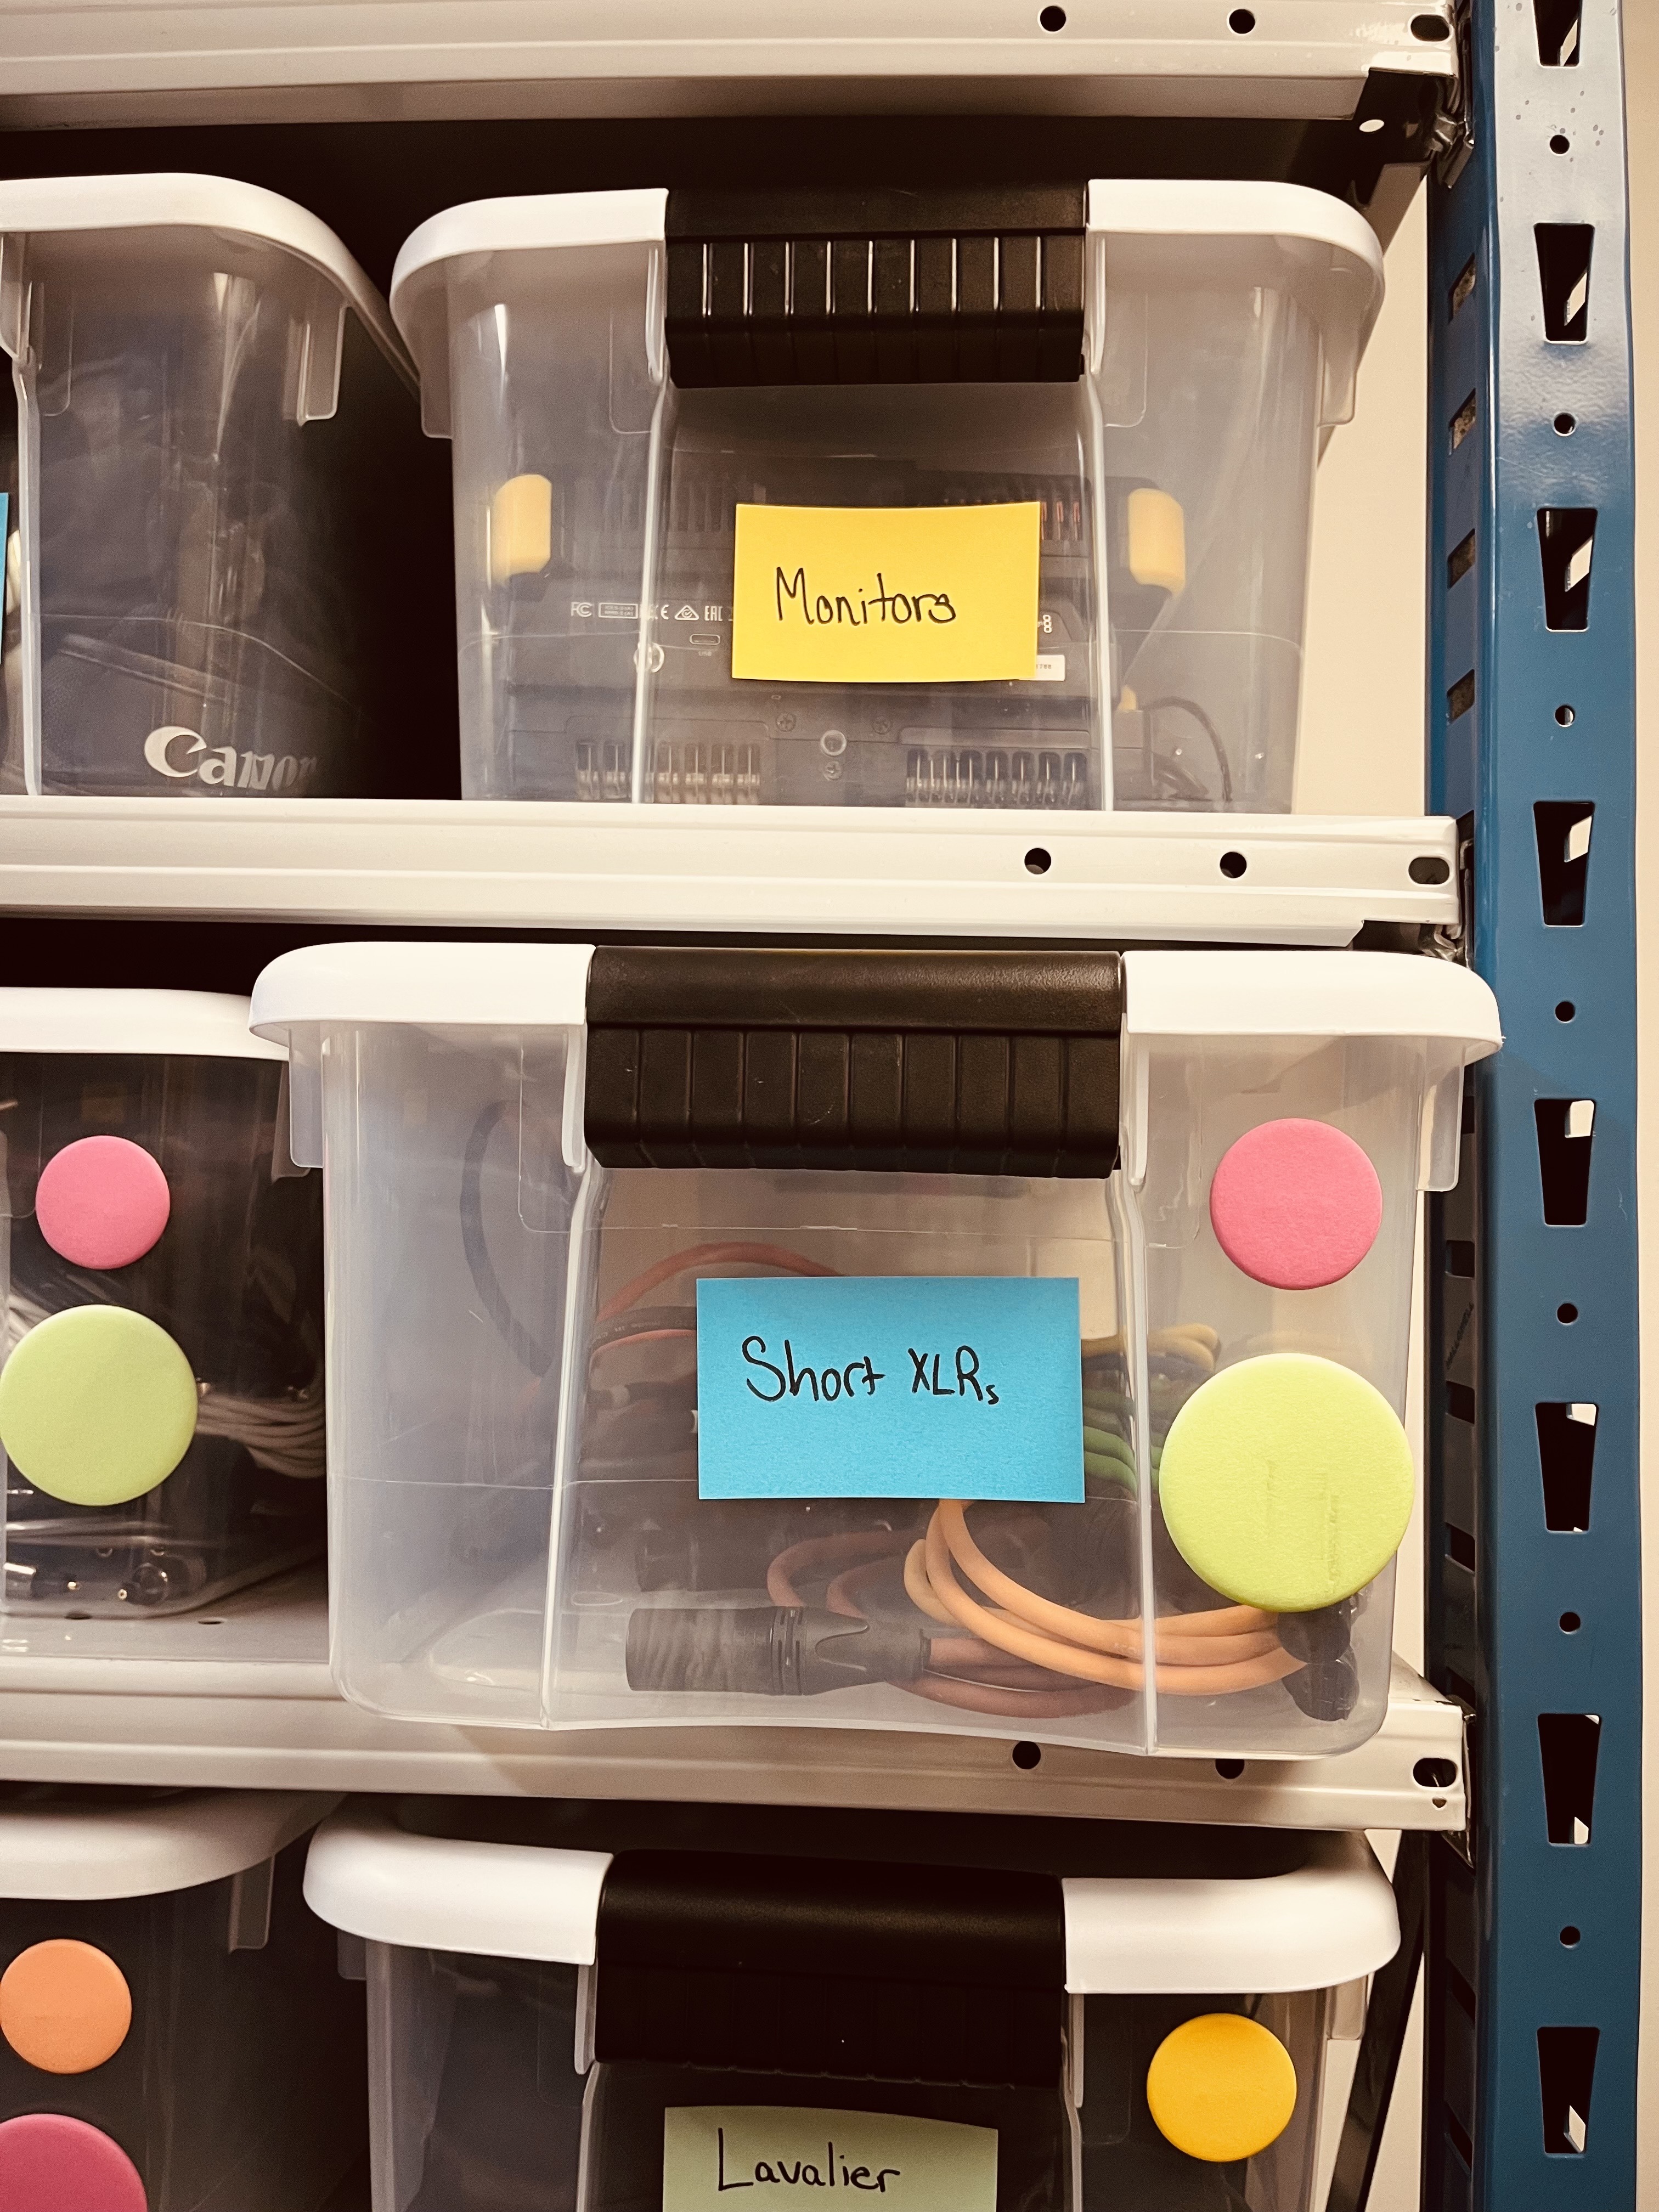
*Found in the storage room*
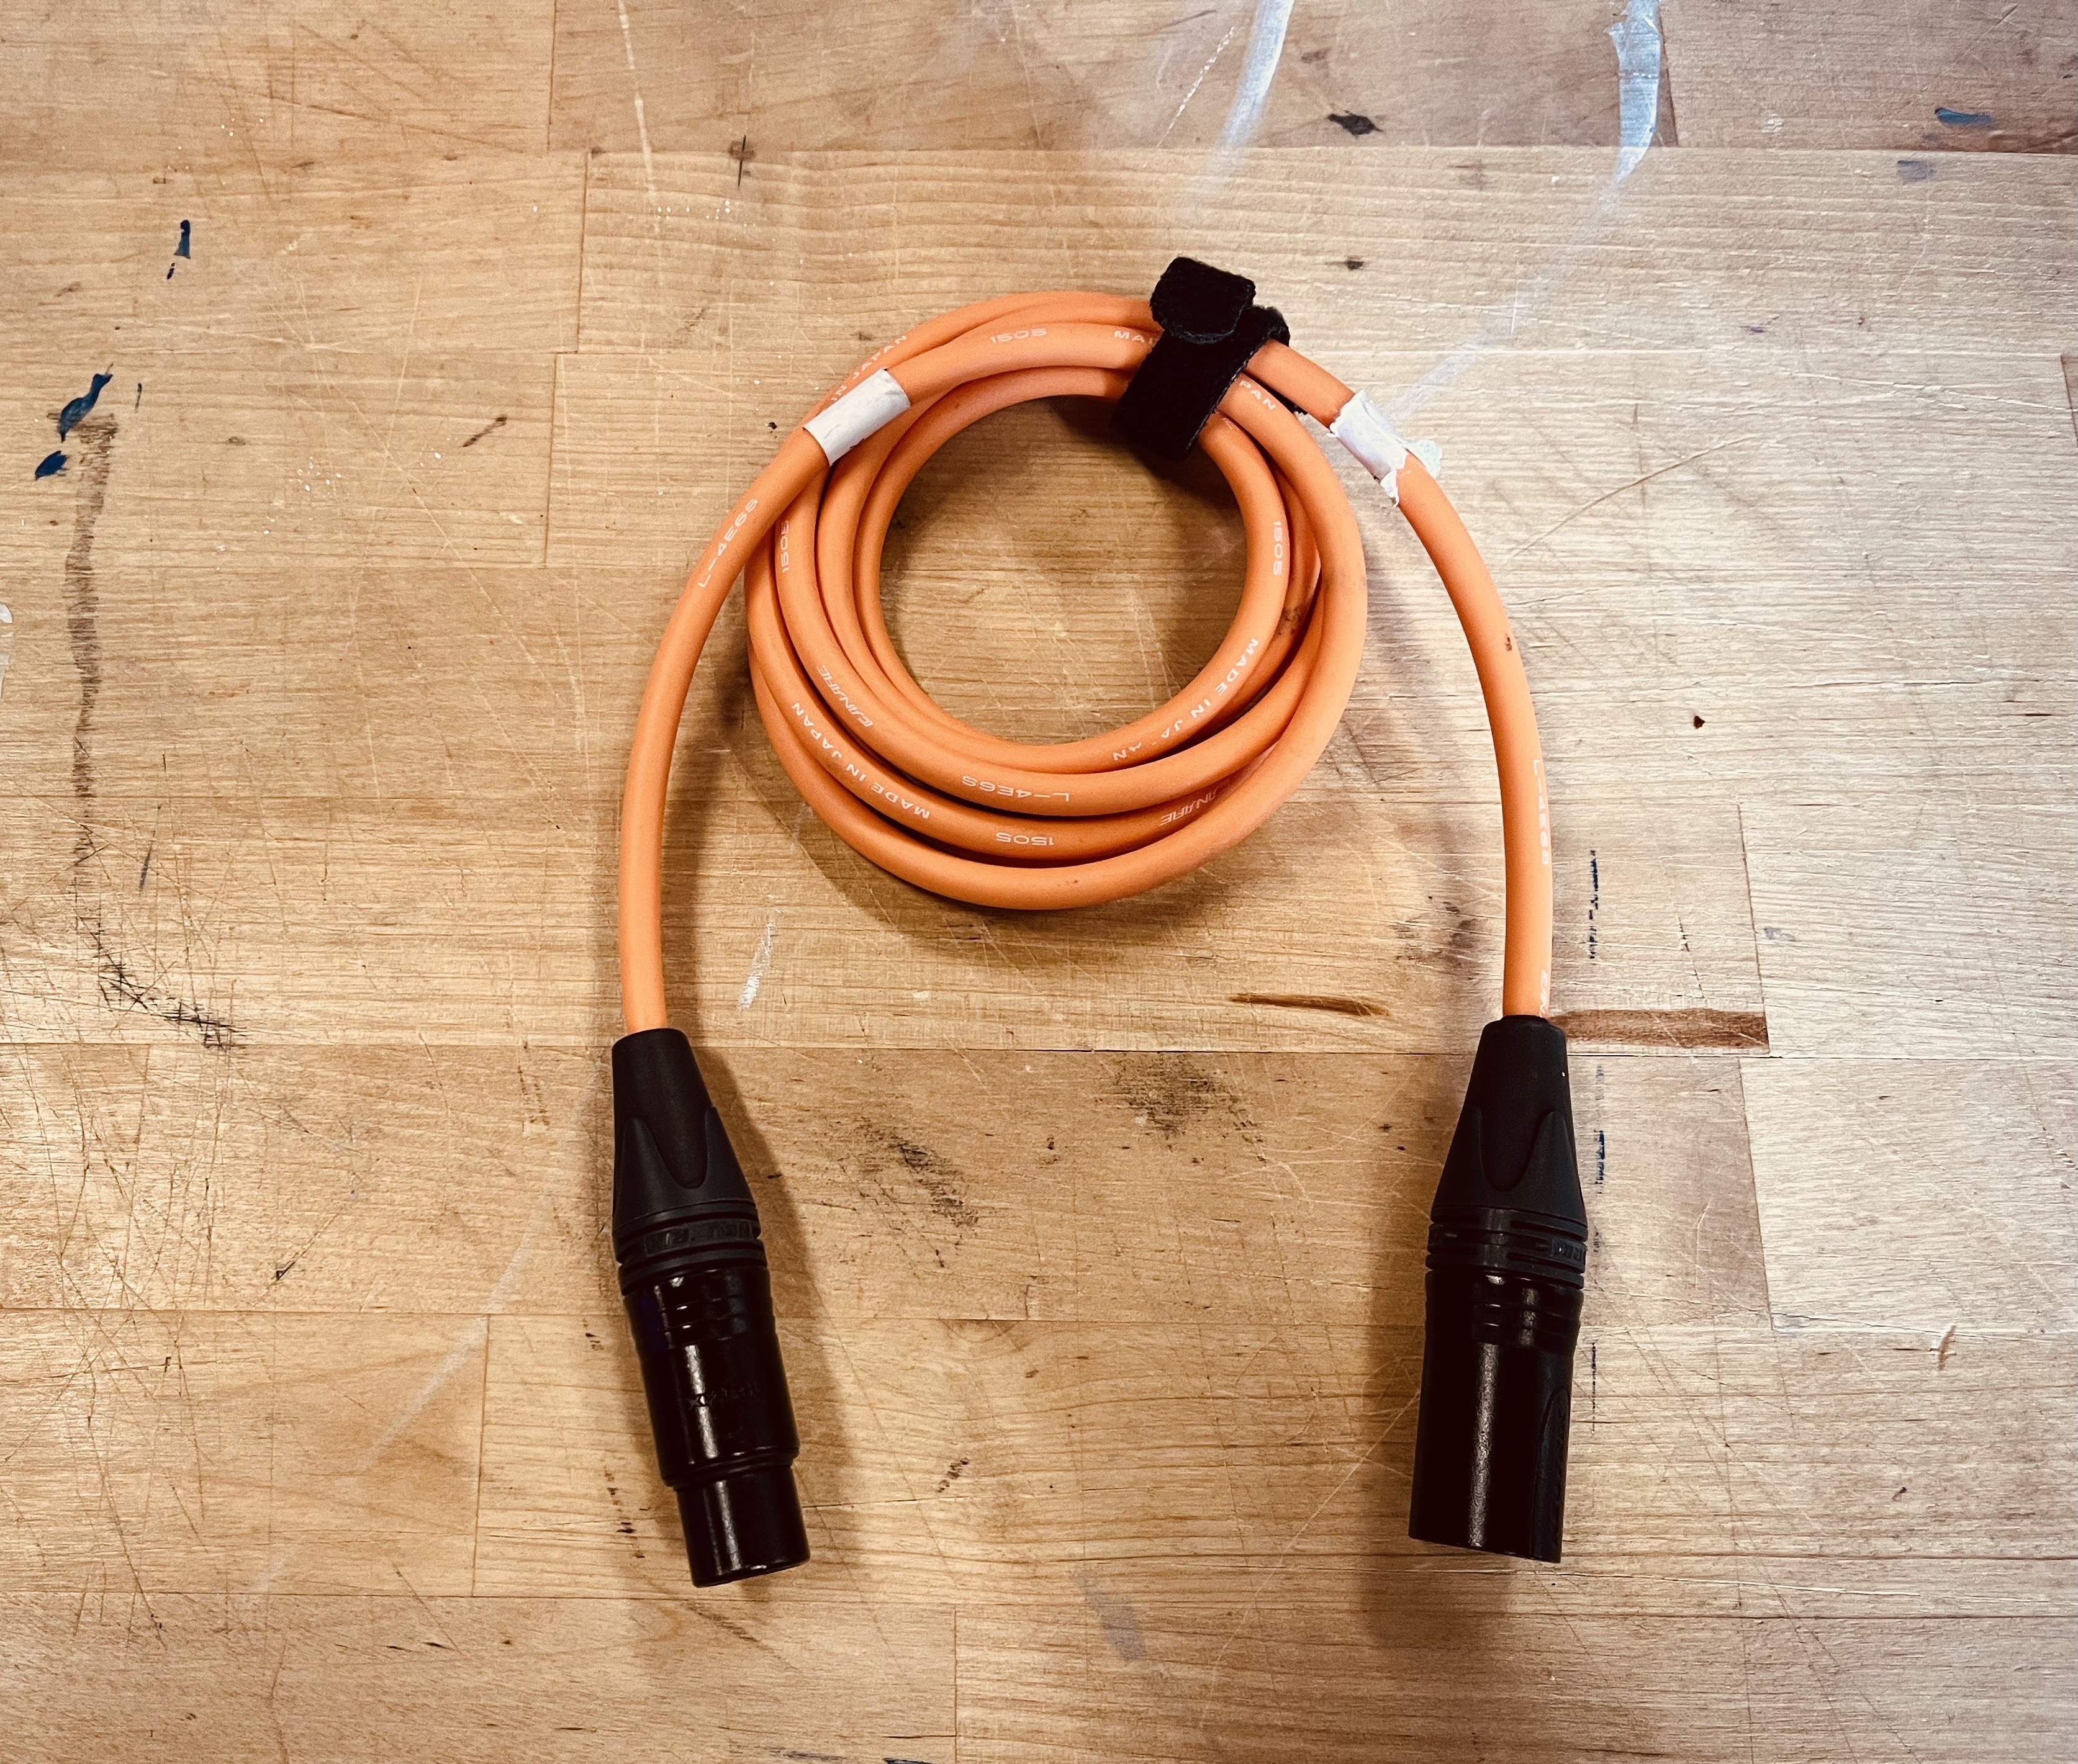
*Short XLR cable*
## Set up:
- Plug the usbc cable into the back of the computer (right side), perferably into the lightning connection (has a lightning bolt symbol) and then connect it to the audio interface
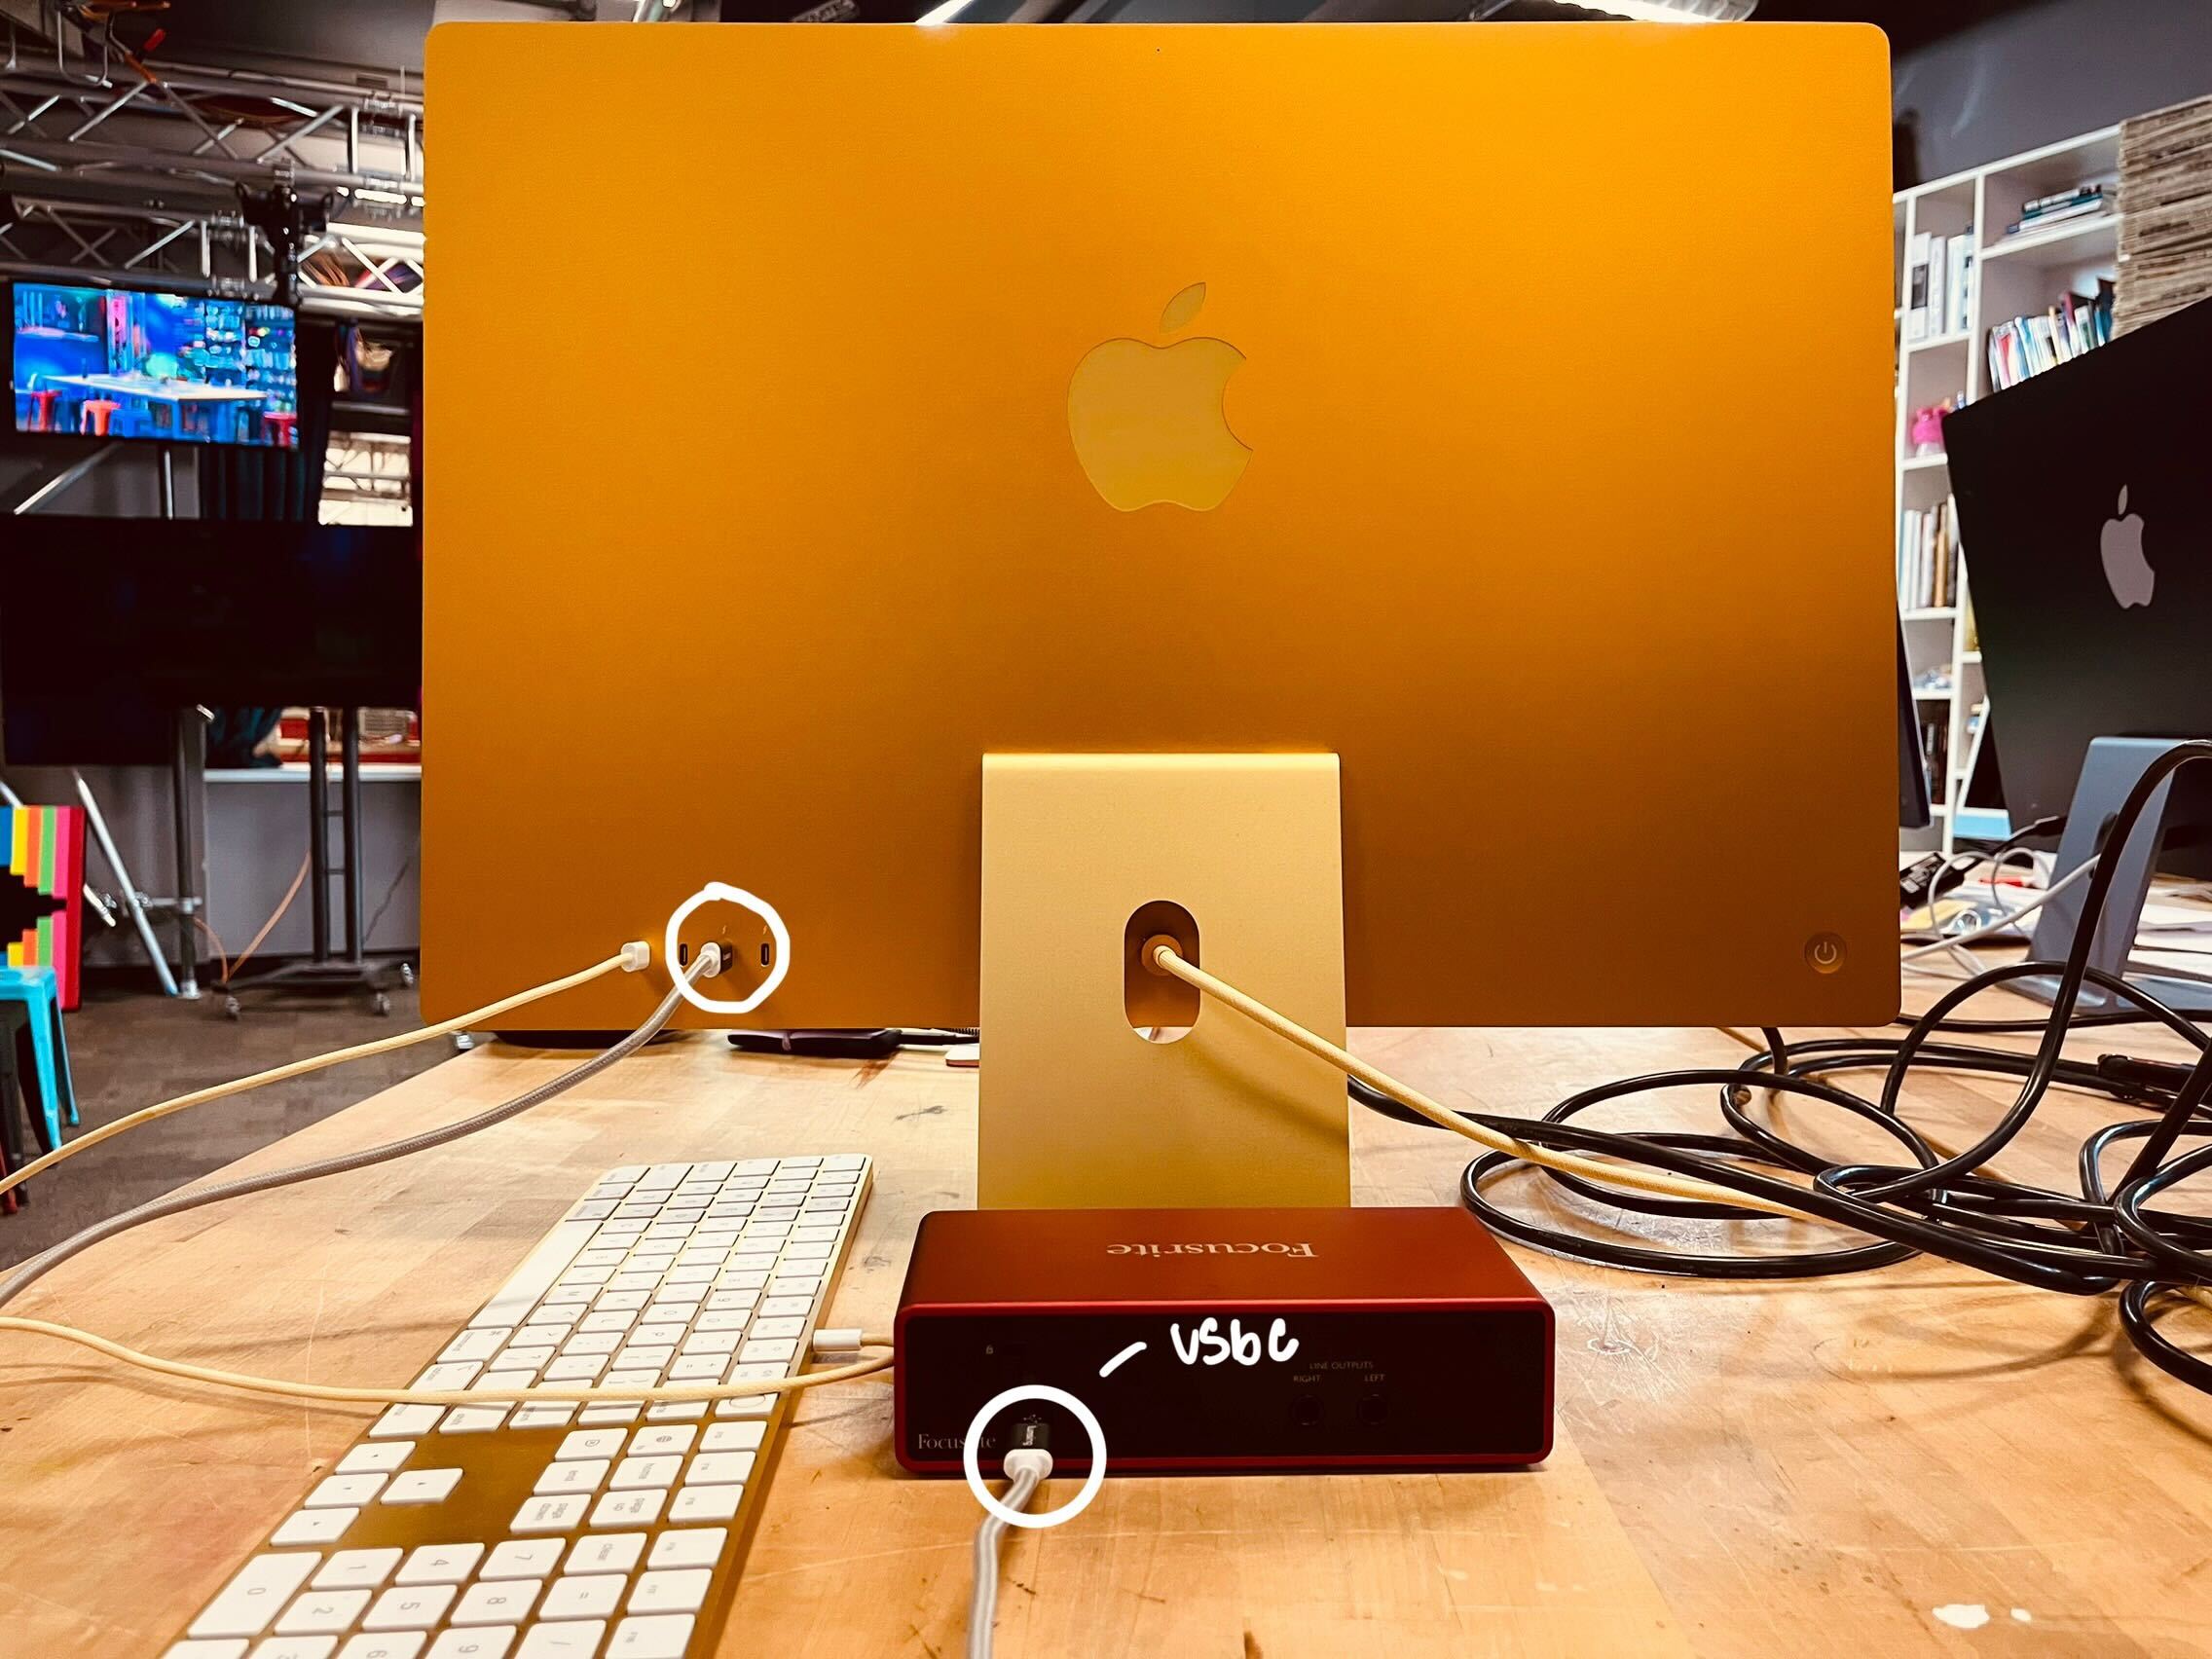
*Usbc from audio interface into computer*
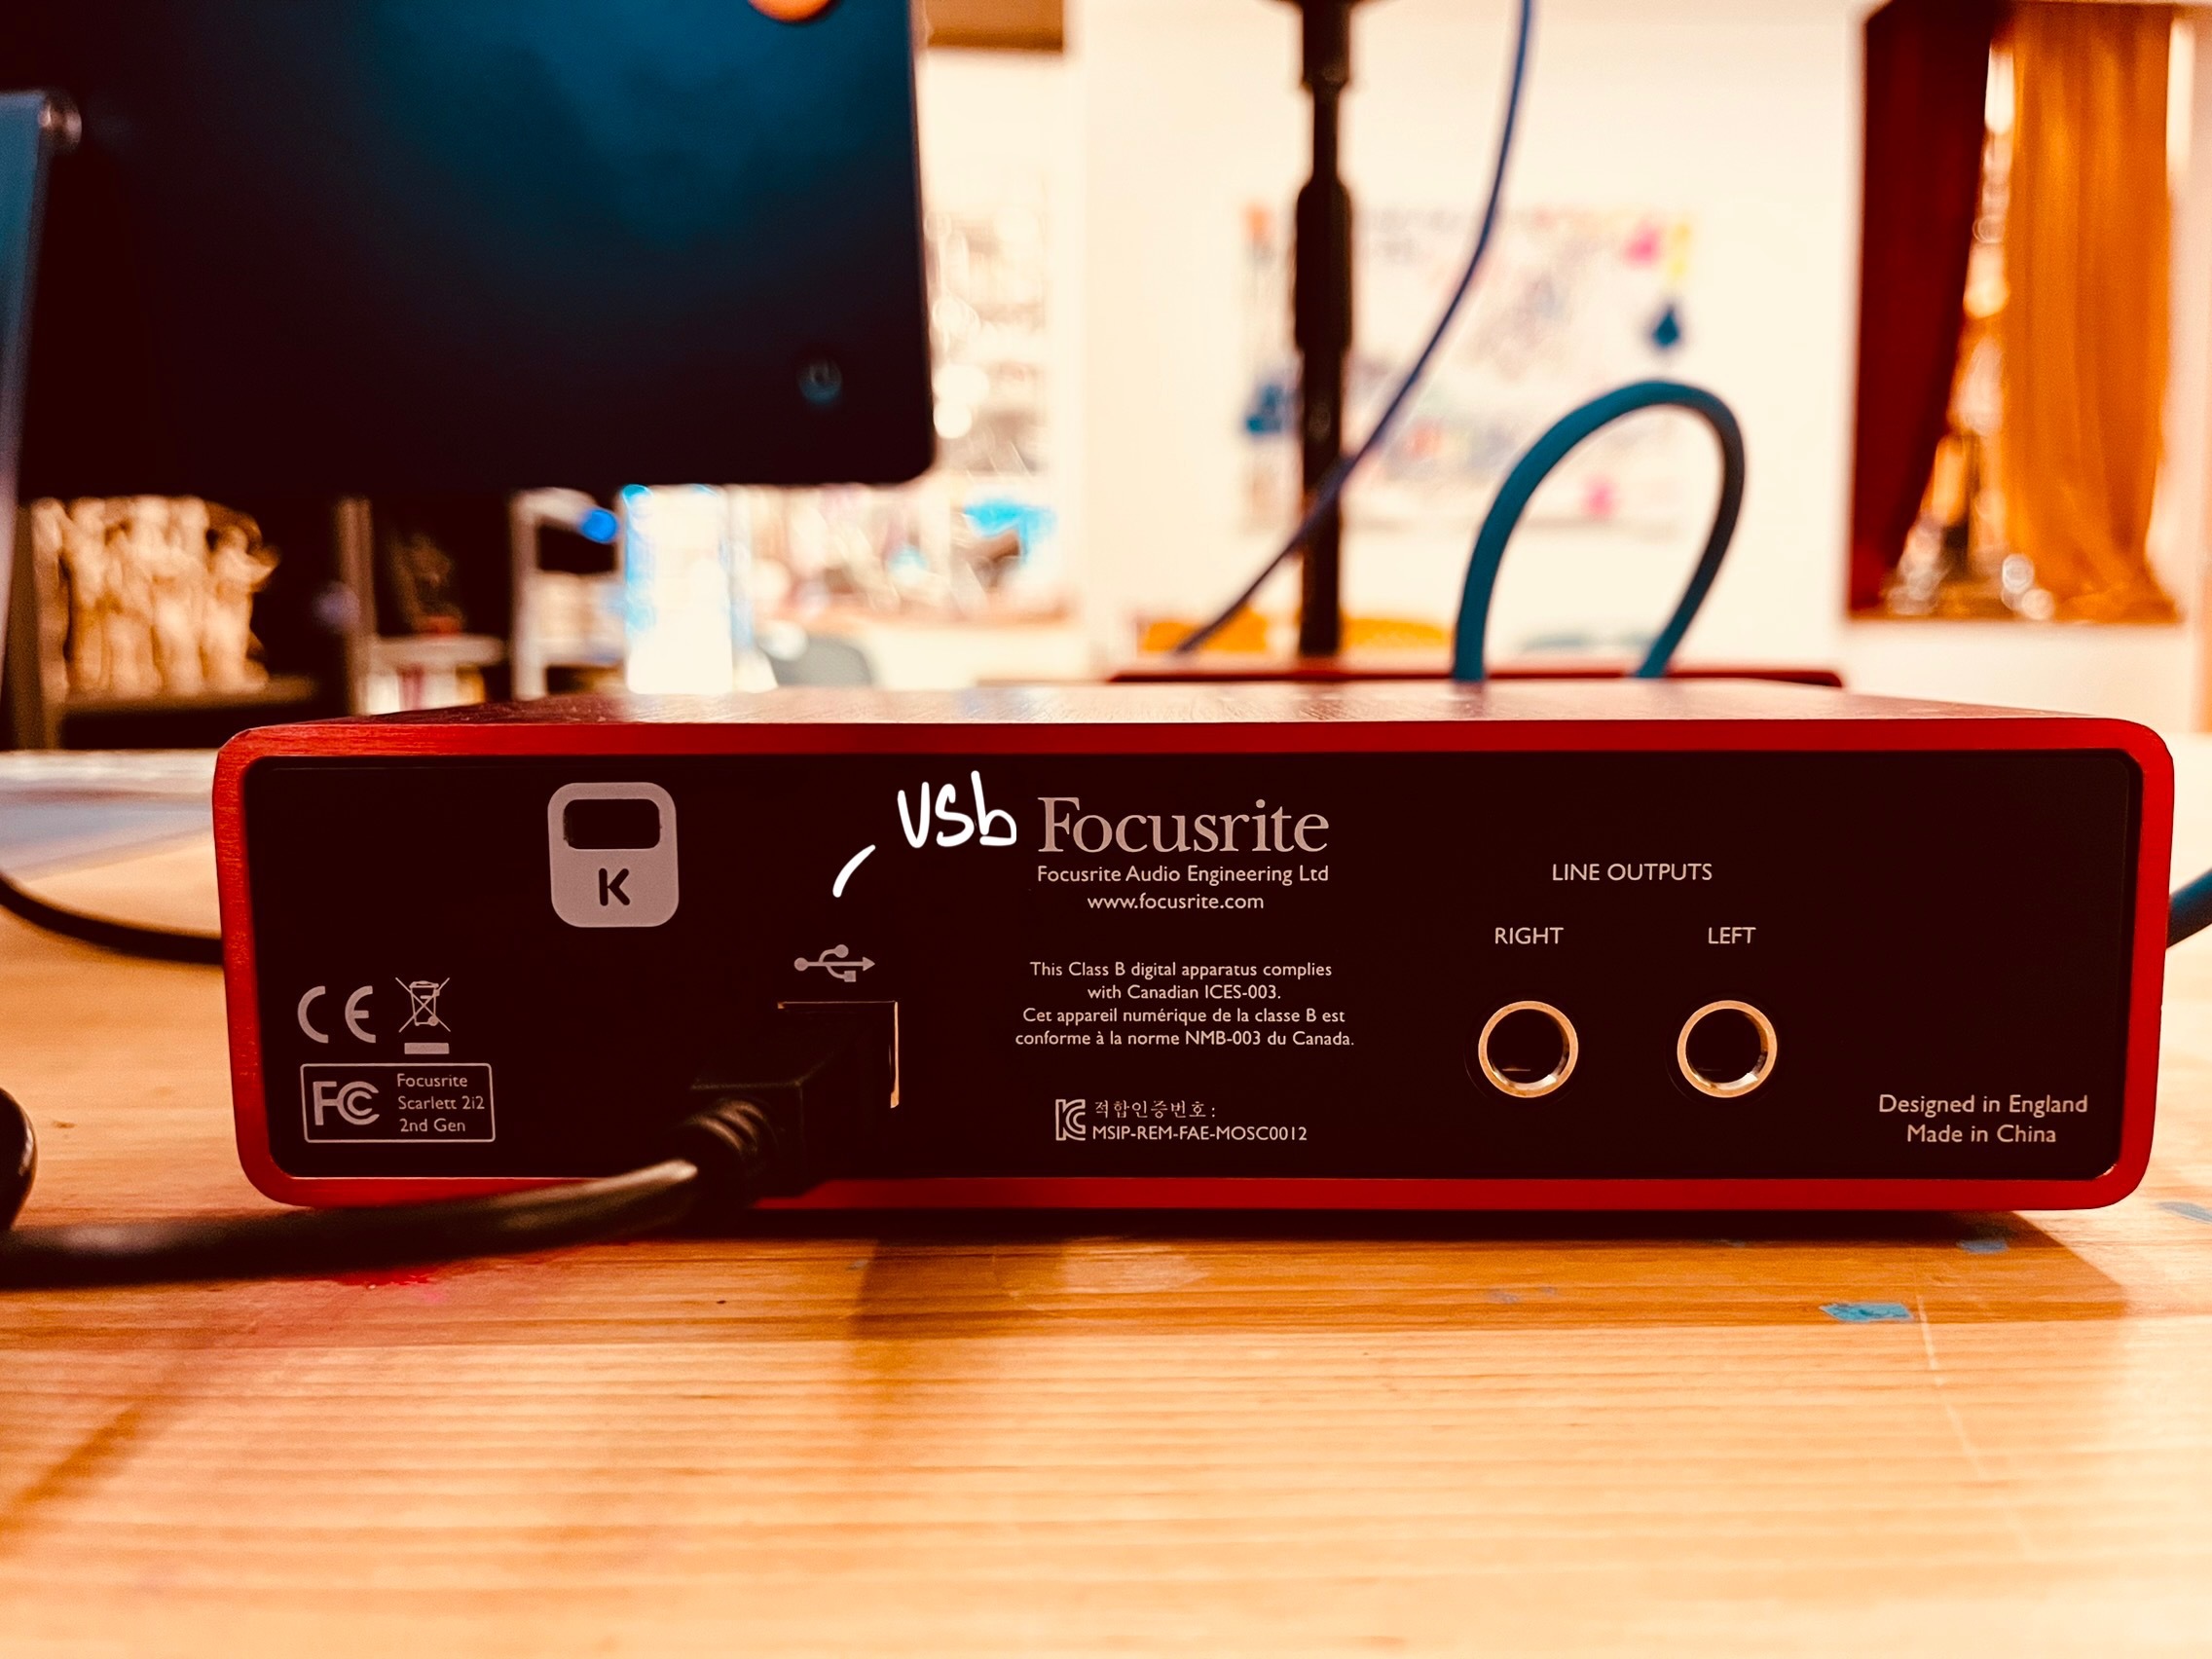
*Usb connected to audio interface*
- Take the short XLR cable with the three prongs and plug it into the audio interface- either the back or the front depnding on the type of audio interface- and then connect the other end into the back of the microphone (the microphone back will have 3 prongs)
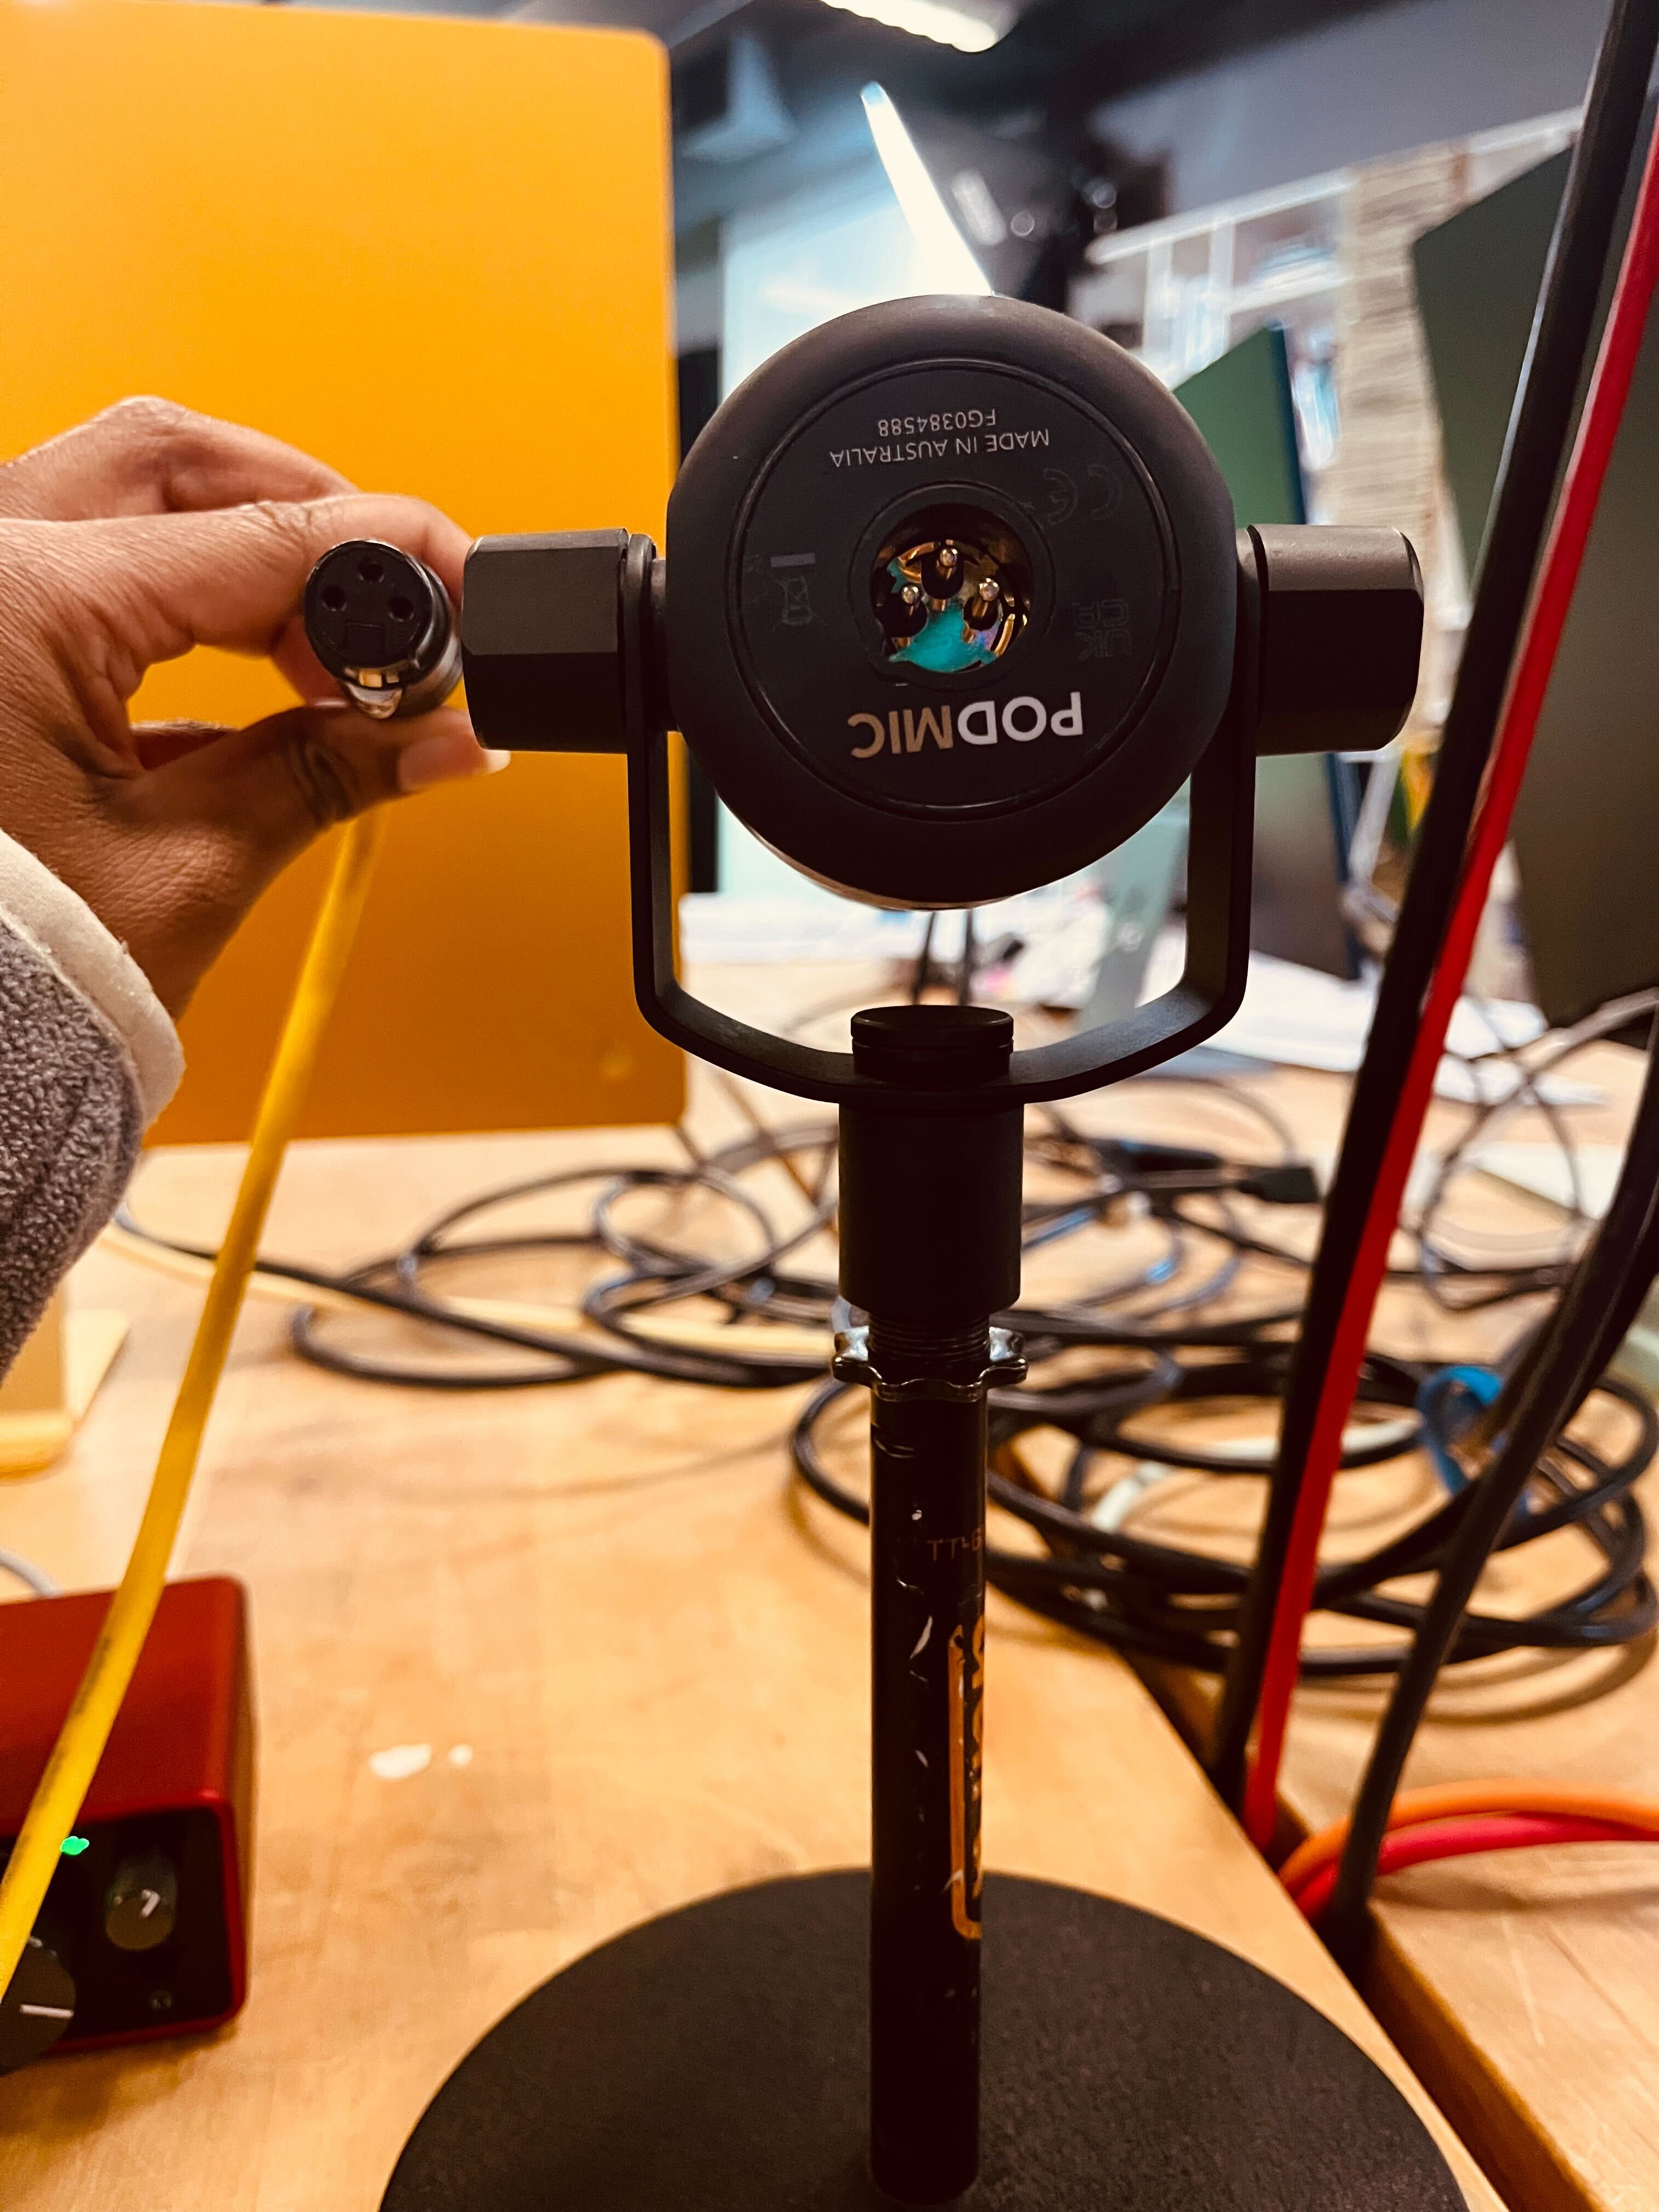
*Short XLR ending and back of microphone*
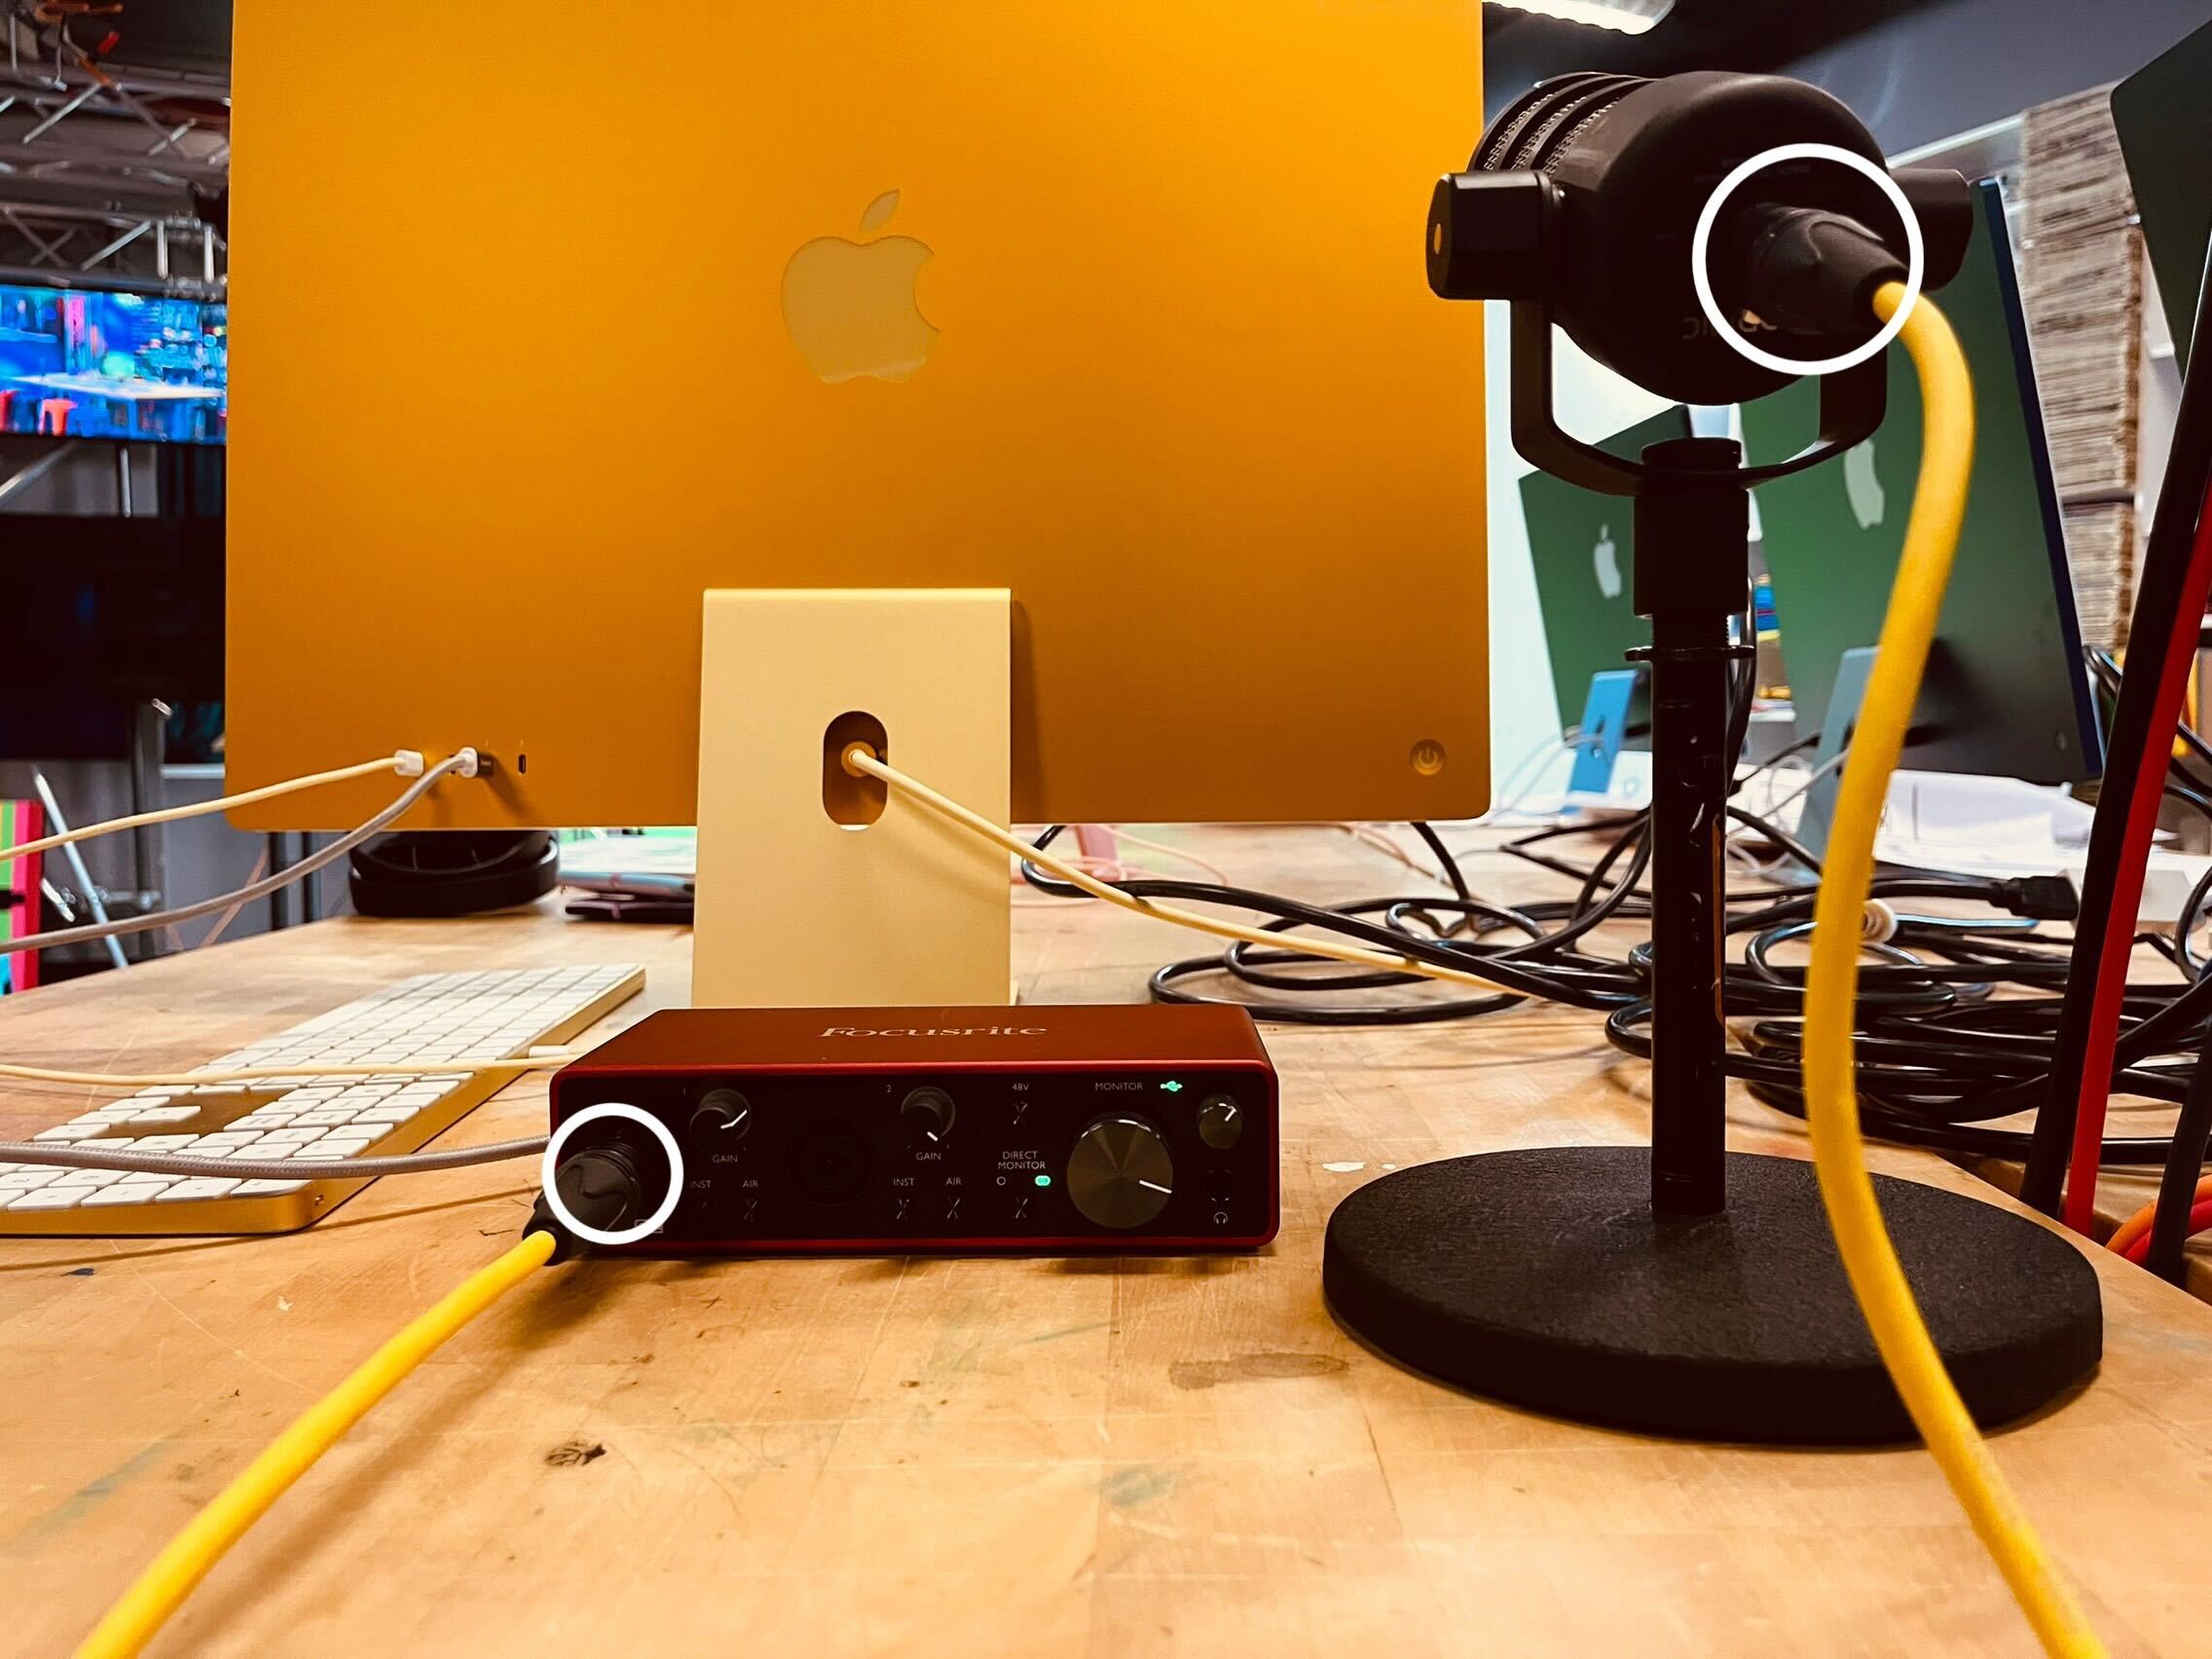
*Short XLR connecting audio interface to microphone*
- Plug headphones into the computer, the audio jack is on the left side of the IMac
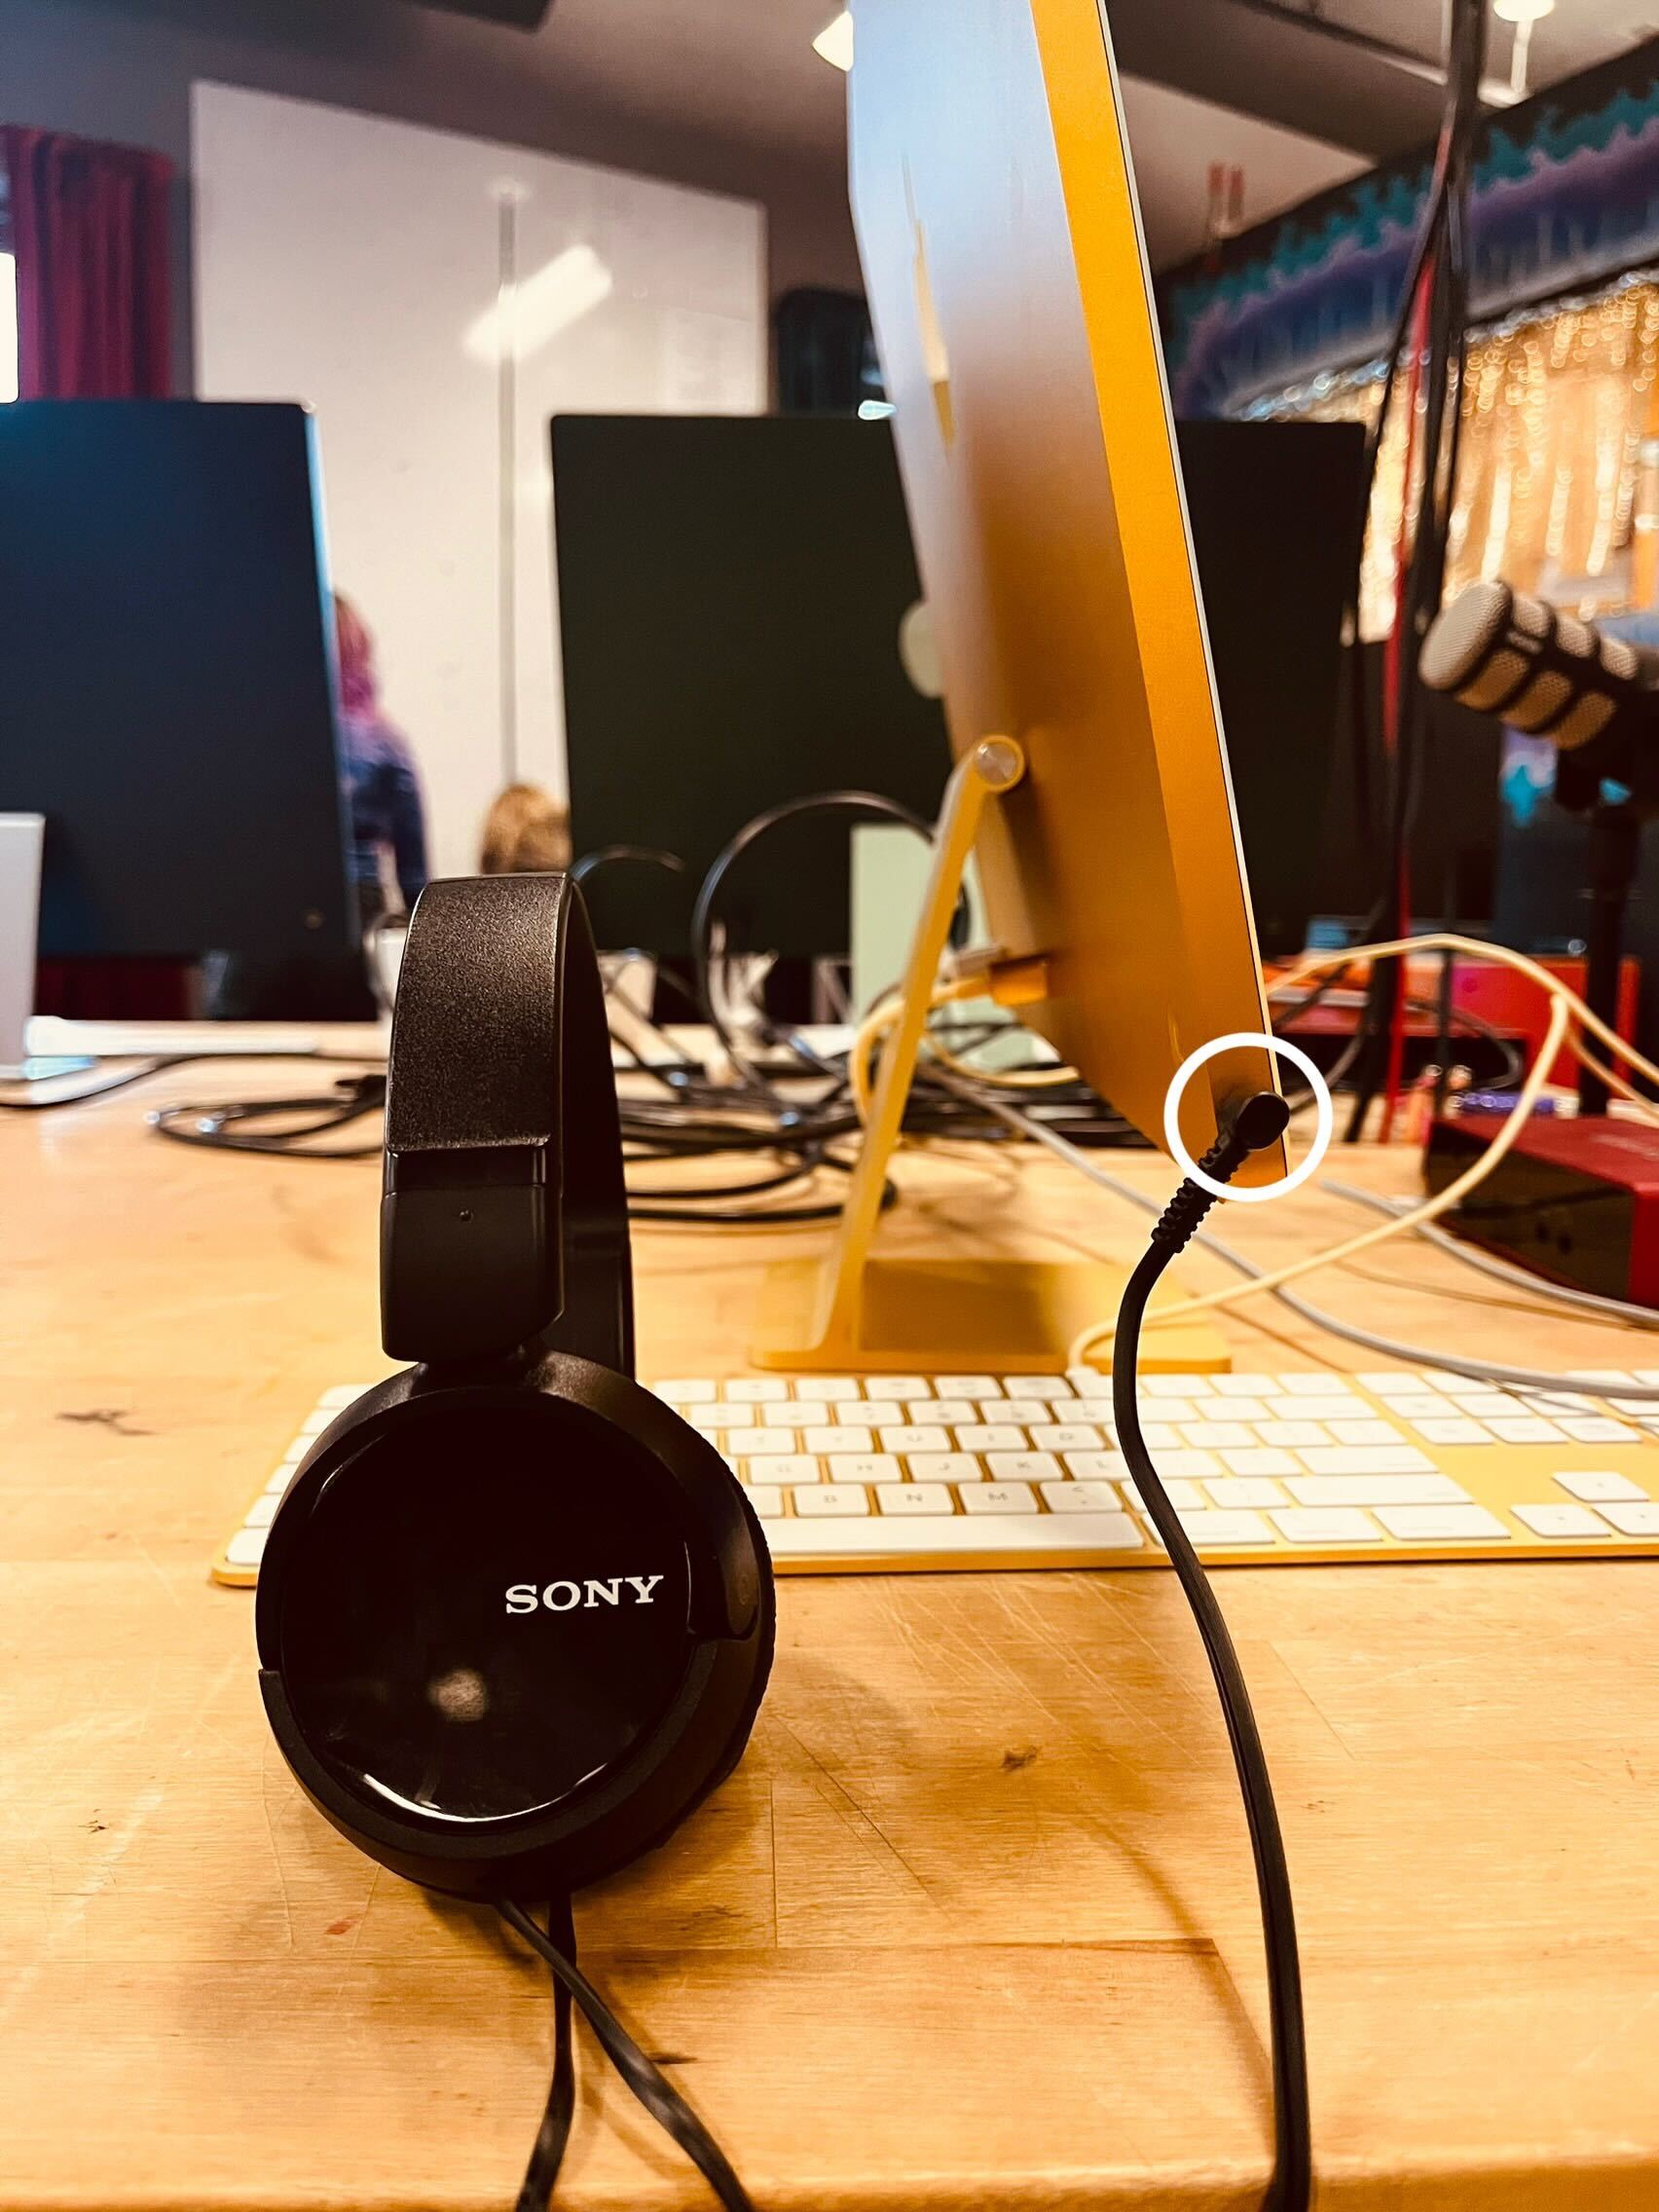
*Headphones connected to the audio jack in the computer*
## Recording:
- Go to Garage Band, or you can use Logic Pro
- Using command space bar brings up spotlight to help you search
`s.s of spotlight`
- Make a new flile (at the top of the computer screen), empty project will automatically select and just press choose at the bottom of the screen
`s.s showing where file is and then choosing empty project`
- Select the track: Mic or Line audio
's.s showing this section'
- Shut off the numeric and the metronome (icons at the top)
`s.s showing where they are located`
- Select the mic audio input by clicking on it
's.s showing selcting the line'
- Choose which microphone is being used- if using more than one be aware of which you select depending on the input- if you are using only one mic, choose the first inout
- The red audio interfaces show up as Scarlett
`s.s chosing which input microphone (showing input 1 and input 2)``
- Go to audio input (selected microphone) and two finger click (double click), go to configure track header, and click record enable (now you can record!)
`s.s step by step instuctions`
- If you would like to hear yourself on the microphone while recoding - click monitoring button
`s.s monotioring button`
- Lastly, to record, use the red button or you can press the R key and use the space bar to stop recording!
`s.s showing a recording `
## If You Have Two Microphones:
- Right click and add a new audio track choosing Mic or Line audio
- Make sure to select the first microphone as the first input, choose first Scarlett input (1 Scarlett)
- Choose the second microphone and select it as the second input (2 Scarlett)
## Possible Hearing Issues
- Check if the audio interface has inst or air selected, if so unselect it
```
picture hsowing these buttons
```
- Check the volume level, can be adjusted using the left most knob on the audio interface
`picture showing volume`
- Insure the audio output of the computer is going to the right place in settings
`s.s shwoing where to check this`
 Sign in with Wallet
Connect another wallet
Sign in with Wallet
Connect another wallet