# gened-1145-vibe-coding-station
[revised-gened-1145-vibe-coding-station](/aFb-w96SRdiWMQnAYHte4Q)
## intro
This station will help you see how genAI tools can assist you with coding and command-line tools in ways that align with course learning objectives (getting technical, not conceptual help!):
1. Gemini and other LLM-based AI tools can help you code or create command line scripts that can help you generate or transform video assets for your video essays
2. These AI tools can also help us imagine what the future of the "video essay” might look like as a **web-based, interactive, multimodal form**.
## Command Line Tools
### What are they? Why use them?
* The command line is like a minimalist creative studio: no interface, just direct control.
* You can batch-process media, automate boring steps, and combine tools into custom workflows.
* Great for video essays because it:
* Speeds up media prep (compressing, clipping, converting)
* Enables reproducibility (same commands = same results)
* Integrates easily with code notebooks, AI tools, or web apps
## Installing `ffmpeg` and `yt-dlp`
These two command-line tools are the foundation of your video-essay toolkit.
They let you download, trim, compress, and transform media files with a few lines of code.
---
### macOS (using **Homebrew**)
1. **Install Homebrew** (if you don’t already have it):
```bash
/bin/bash -c "$(curl -fsSL https://raw.githubusercontent.com/Homebrew/install/HEAD/install.sh)"
```
2. **Install `ffmpeg` and `yt-dlp`:**
```bash
brew install ffmpeg yt-dlp
```
3. **Verify installation:**
```bash
ffmpeg -version
yt-dlp --version
```
If both print version numbers, you’re good to go.
> Tip: You may be asked to add Homebrew to your PATH. The terminal will show you how — usually something like:
>
> ```bash
> echo 'eval "$(/opt/homebrew/bin/brew shellenv)"' >> ~/.zprofile
> eval "$(/opt/homebrew/bin/brew shellenv)"
> ```
---
### Windows (using **Chocolatey**)
1. **Install Chocolatey** (if not already installed):
Open **PowerShell as Administrator** and run:
```powershell
Set-ExecutionPolicy Bypass -Scope Process -Force; `
[System.Net.ServicePointManager]::SecurityProtocol = `
[System.Net.ServicePointManager]::SecurityProtocol -bor 3072; `
iex ((New-Object System.Net.WebClient).DownloadString('https://community.chocolatey.org/install.ps1'))
```
2. **Install `ffmpeg` and `yt-dlp`:**
```powershell
choco install ffmpeg yt-dlp -y
```
3. **Verify installation:**
```powershell
ffmpeg -version
yt-dlp --version
```
## things to try with yt-dlp
To get some clips for your video essay, you may want to use `yt-dlp` which is the tool that's used on the backend of those dodgy YouTube downloader sites that attack you with pop-ups (or even malware).
Once you've installed it (see above) go ahead and find a YouTube video, then paste it into your LLM and ask it for the yt-dlp command to download it to your Desktop. Should look like this:
```
yt-dlp "https://www.youtube.com/watch?v=EjNYWCH-fJw" -o ~/Desktop/%\(title\)s.%\(ext\)s
```
If you get an error, just paste that error back into your LLM of choice.
You may find that the video format you get back isn't ideal for your computer, for instance, the above command will give you a `.webm` video, which isn't ideal for macOS. Go ahead and ask for a better mac-compatible format, and you'll get a command like this:
```
yt-dlp "https://www.youtube.com/watch?v=EjNYWCH-fJw" \
-f "bv*[ext=mp4]+ba[ext=m4a]/b[ext=mp4]" \
--merge-output-format mp4 \
-o ~/Desktop/%\(title\)s.mp4
```
## things to try with ffmpeg
FFmpeg is a great all-purpose command-line video transformation tool that is helpful for thousands of workflows (at least).
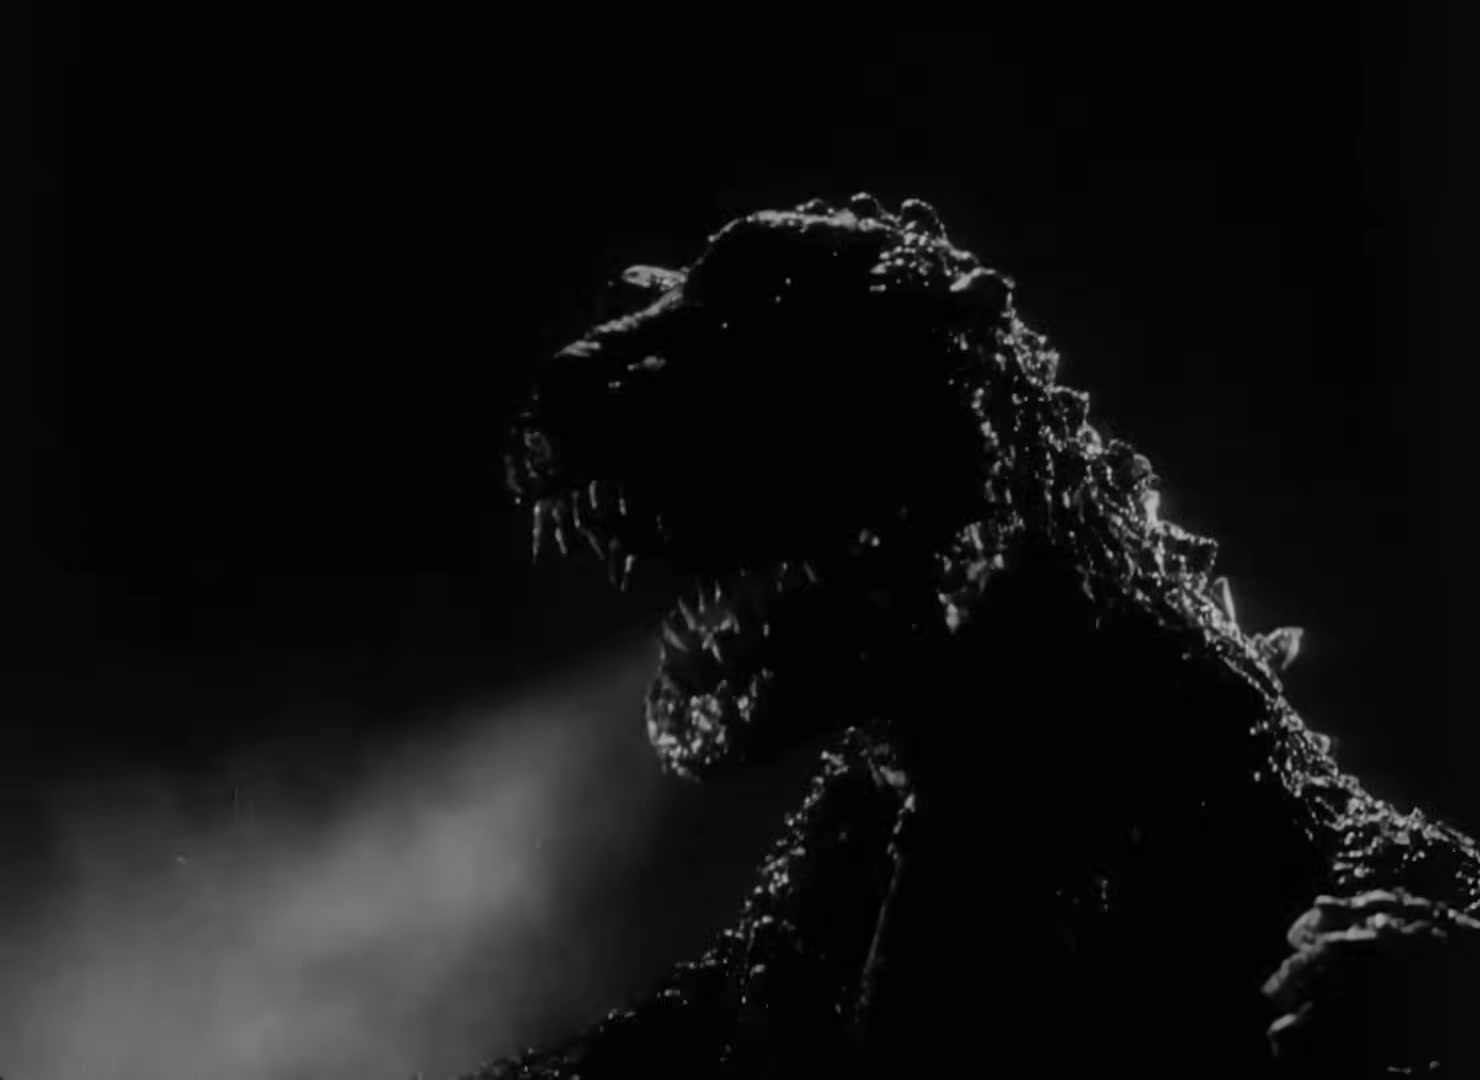
But just to get you started, paste the path for your video into your LLM of choice and ask it to give you the FFmpeg command for extracting one still every 5 seconds of your video (or 5 stills a second if you prefer). You should see something like
```
mkdir -p ~/Desktop/godzilla_stills
ffmpeg -i ~/Desktop/godzilla.mp4 -vf fps=1/5 ~/Desktop/godzilla_stills/frame_%03d.jpg
```
Now let's say you see a still or two that are from a segment you'd like to analyze--ask your LLM how to use ffmpeg to grab a gif from that segment. For instance two stills that find a segment from the video that you really like and you want to create a gif of it.
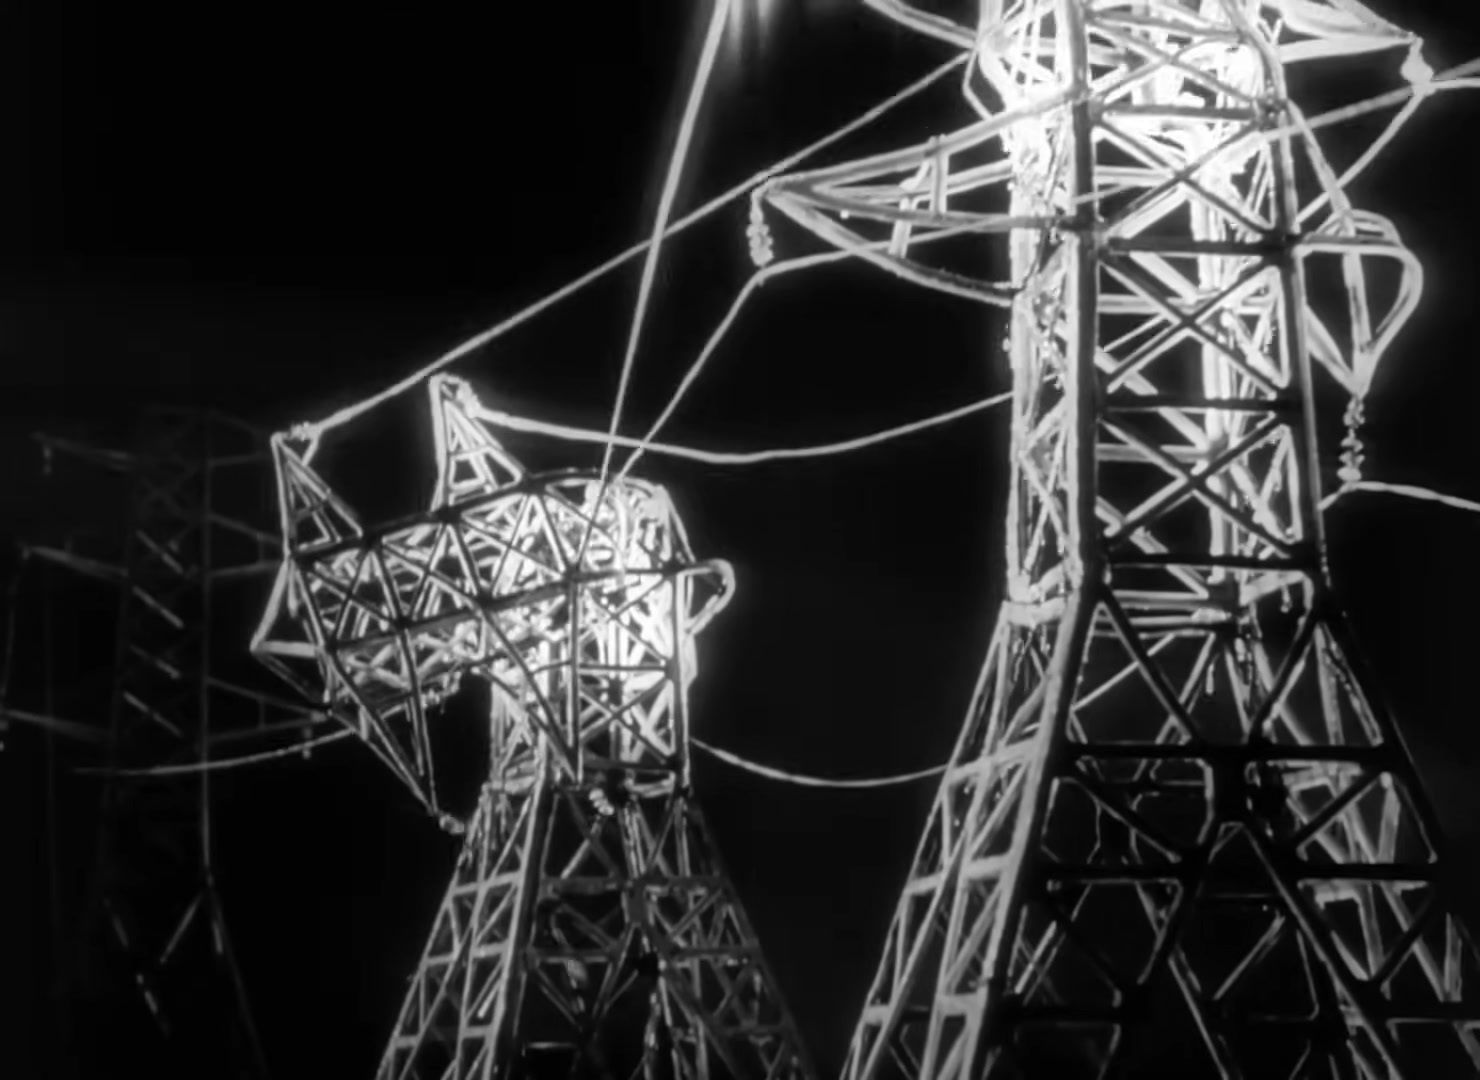
You should get back something like:
```
ffmpeg -ss 100 -to 105 -i ~/Desktop/godzilla.mp4 -vf "fps=12,scale=640:-1:flags=lanczos" ~/Desktop/godzilla_clip.gif
```
And have a nice gif like
## What Else Can You Do with `ffmpeg`?
### 🎧 Extract Audio from a Scene
```bash
ffmpeg -i ~/Desktop/godzilla.mp4 -ss 60 -to 90 -q:a 0 -map a ~/Desktop/godzilla_scene.mp3
```
**What it does:**
Extracts the audio between 1:00 and 1:30 and saves it as an MP3.
Useful for pulling dialogue or ambient sound for close analysis or remix.
---
### ✂️ Pull Out a Video Segment
```bash
ffmpeg -ss 60 -to 90 -i ~/Desktop/godzilla.mp4 -c copy ~/Desktop/godzilla_clip.mp4
```
**What it does:**
Copies the video between 1:00 and 1:30 without re-encoding (instant and lossless).
Great for isolating a single shot or sequence for classroom discussion or editing.
---
### 📦 Compress a Video for Web or Email
```bash
ffmpeg -i ~/Desktop/godzilla.mp4 -vcodec libx264 -crf 28 -acodec aac -b:a 128k ~/Desktop/godzilla_compressed.mp4
```
**What it does:**
Creates a smaller file that’s still good quality — easy to upload or share.
`crf` (Constant Rate Factor) controls quality: lower = higher quality, higher = smaller file (23 is good, 28 is smaller).
---
### 🔄 Transcode to a Friendly Editing Format
```bash
ffmpeg -i ~/Desktop/godzilla.mp4 -c:v prores_ks -profile:v 3 -c:a pcm_s16le ~/Desktop/godzilla_prores.mov
```
**What it does:**
Converts your file to **Apple ProRes 422** — ideal for editing in Final Cut, Premiere, or DaVinci Resolve.
---
### 🎬 Detect Cuts or Scene Changes
```bash
ffmpeg -i ~/Desktop/godzilla.mp4 -filter:v "select='gt(scene,0.4)',showinfo" -f null - 2> ~/Desktop/cuts.txt
```
**What it does:**
Analyzes the video and logs timestamps where major scene changes occur (based on visual difference).
The results in `cuts.txt` can help you identify shot boundaries automatically.
---
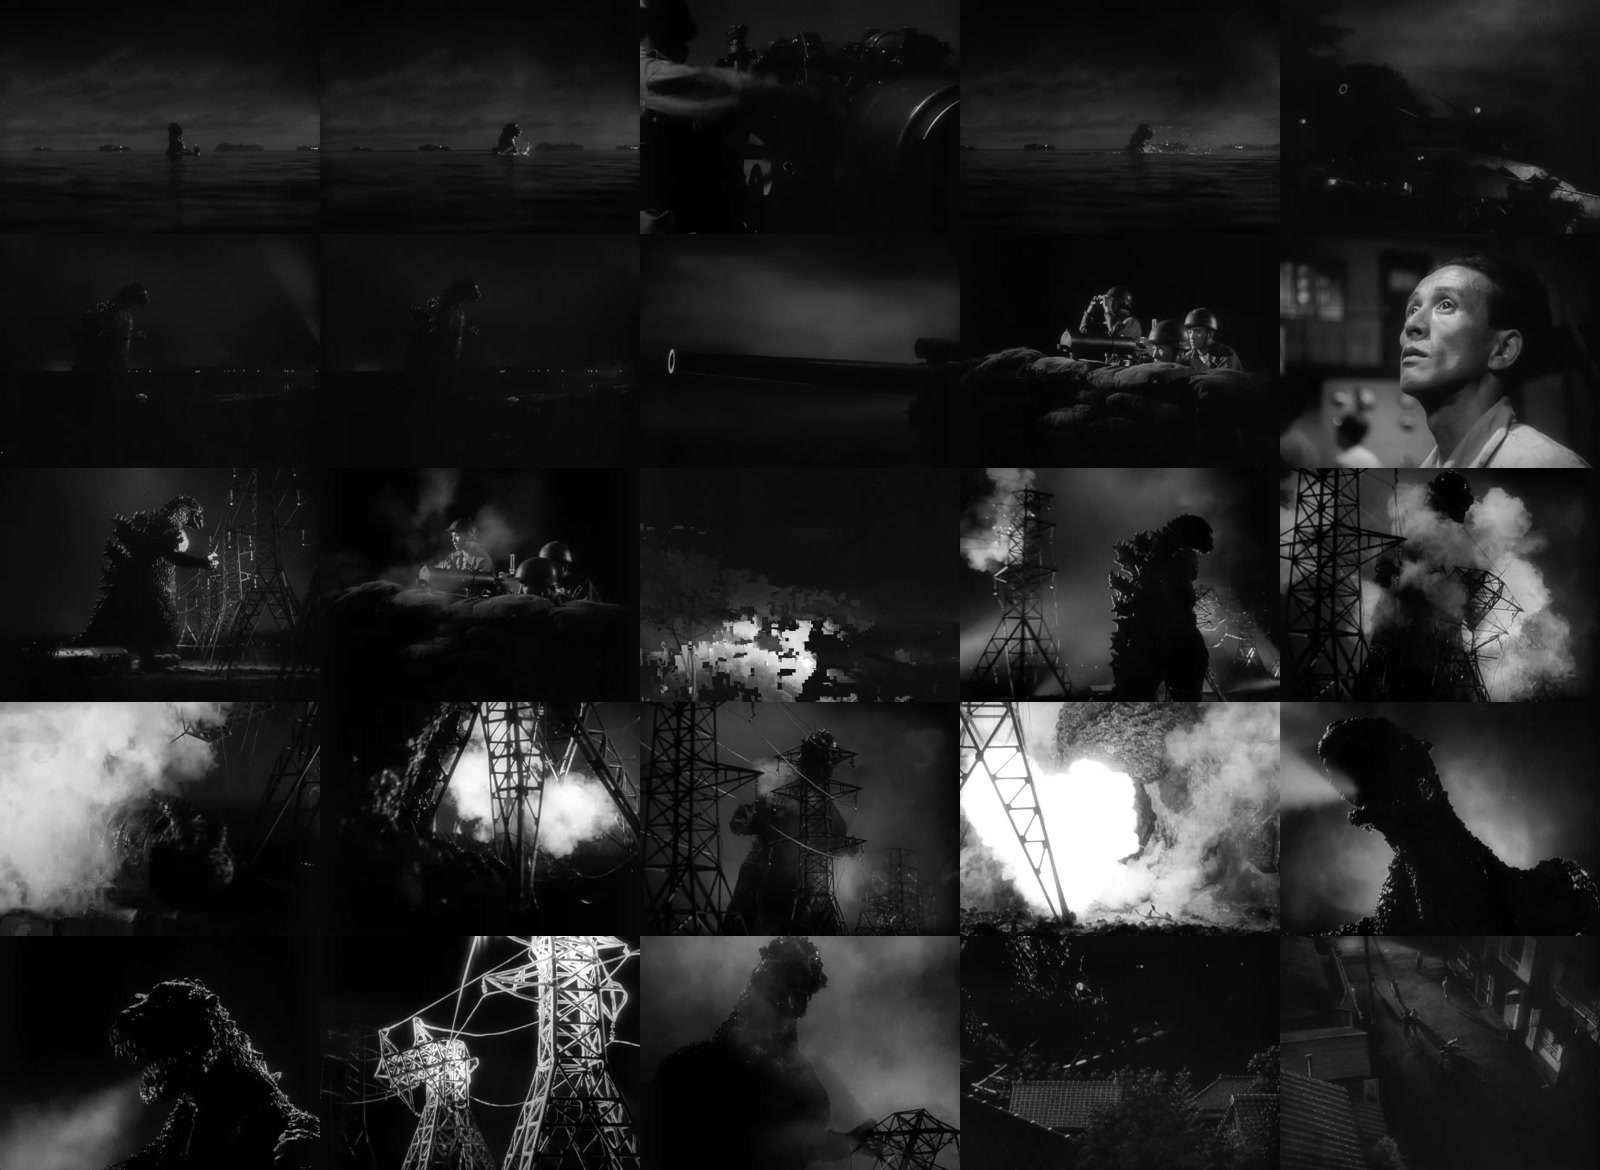
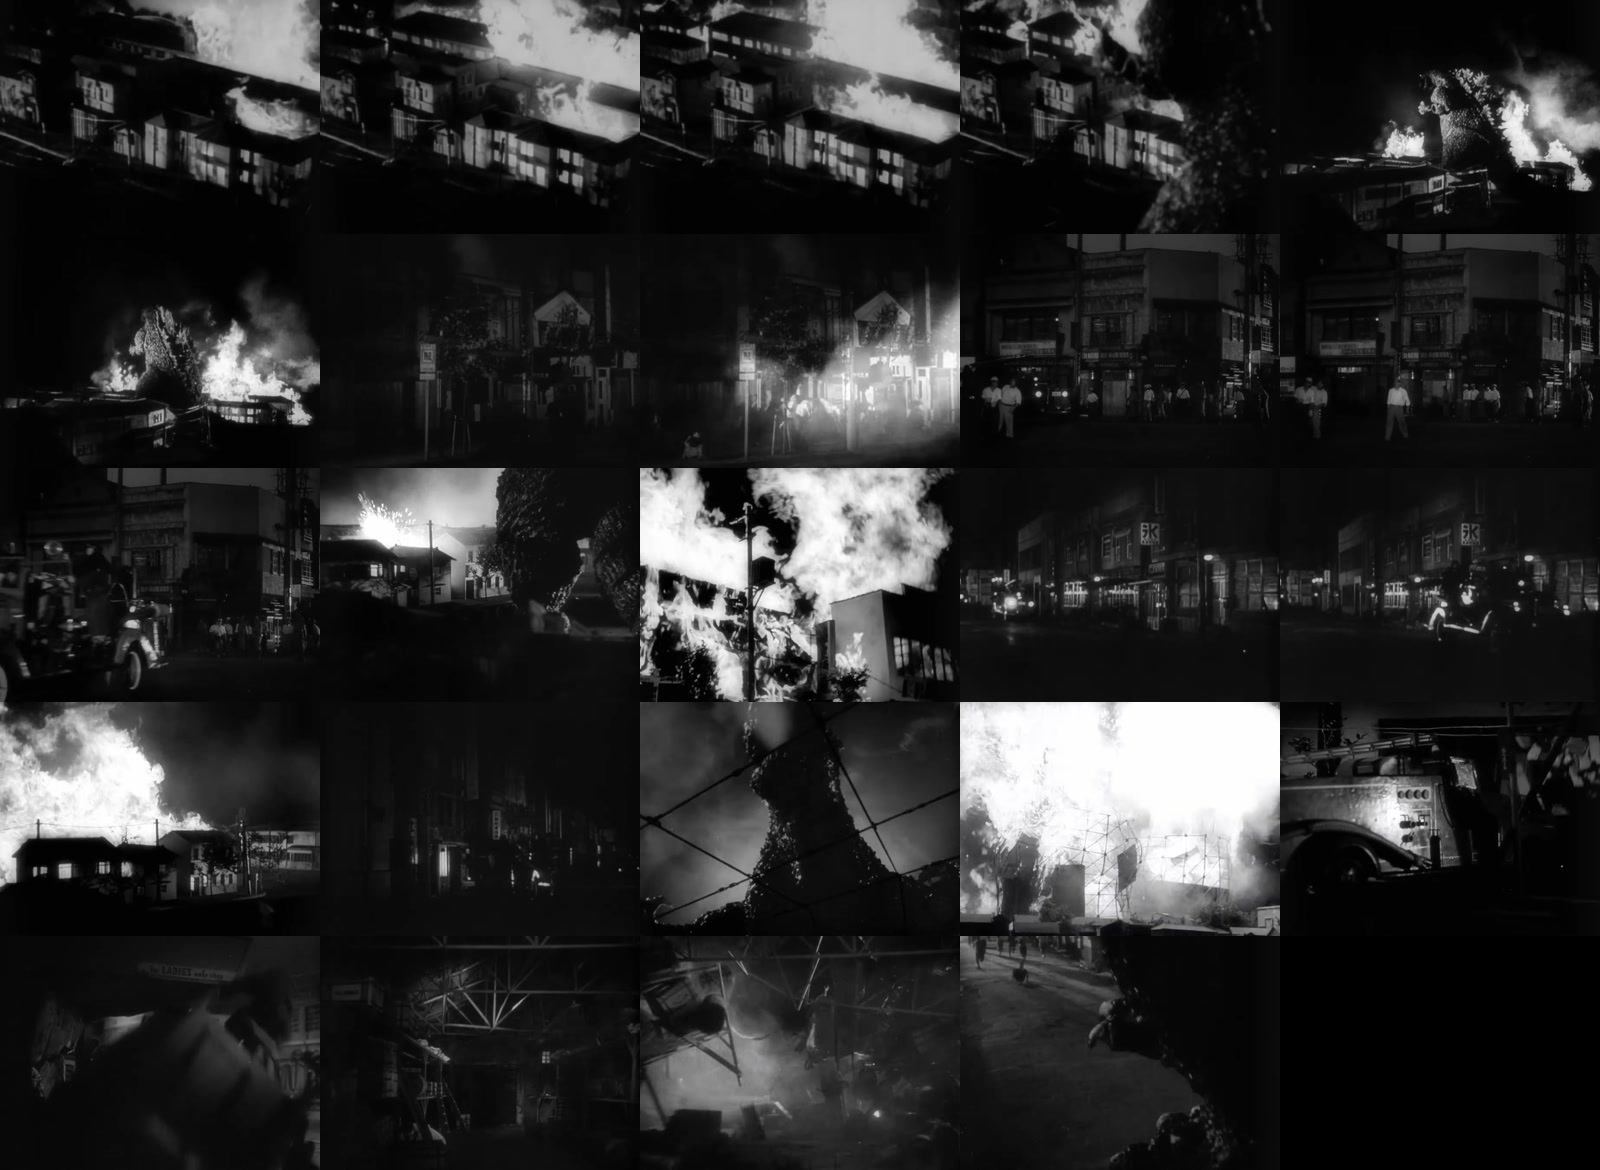
### 🎨 Make a Contact Sheet of Frames
```bash
ffmpeg -i ~/Desktop/godzilla.mp4 \
-vf "fps=1/5,scale=320:-1,tile=5x5" \
-q:v 2 \
~/Desktop/godzilla_contactsheet_%02d.jpg
```
**What it does:**
Generates a single image grid (5×5) of frames sampled every 5 seconds — a visual fingerprint of your clip.
---
### 🔊 Create a Waveform Visualization
```bash
ffmpeg -ss 100 -to 102 -i ~/Desktop/godzilla.mp4 \
-filter_complex "[0:a]aformat=channel_layouts=mono,showwavespic=s=1280x200" \
-frames:v 1 ~/Desktop/godzilla_waveform.png
```
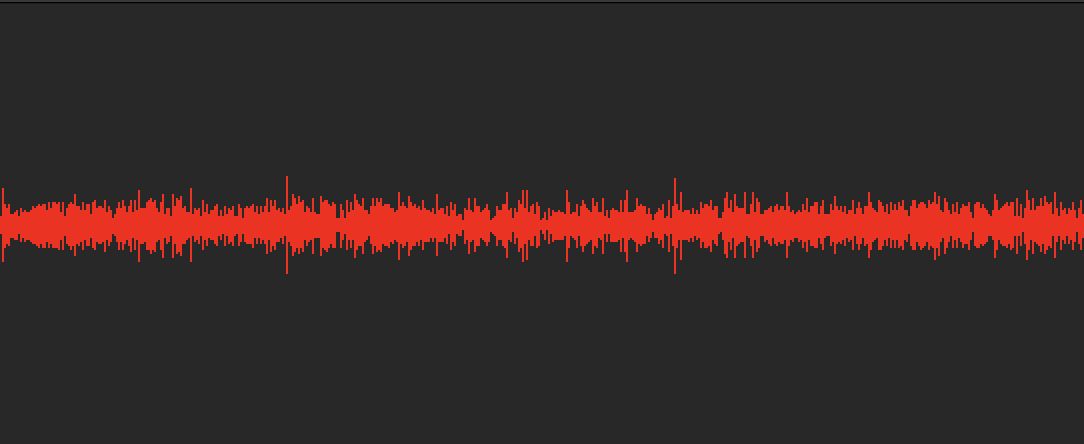
**What it does:**
Turns an audio track into a waveform image — perfect for syncing with visual analysis or transcripts.
---
### 📚 Bonus: Batch Process Files
```bash
for f in ~/Desktop/*.mp4; do ffmpeg -i "$f" -vcodec libx264 -crf 28 "${f%.mp4}_small.mp4"; done
```
**What it does:**
Runs compression on **all** `.mp4` files in a folder — great for bulk prep work.
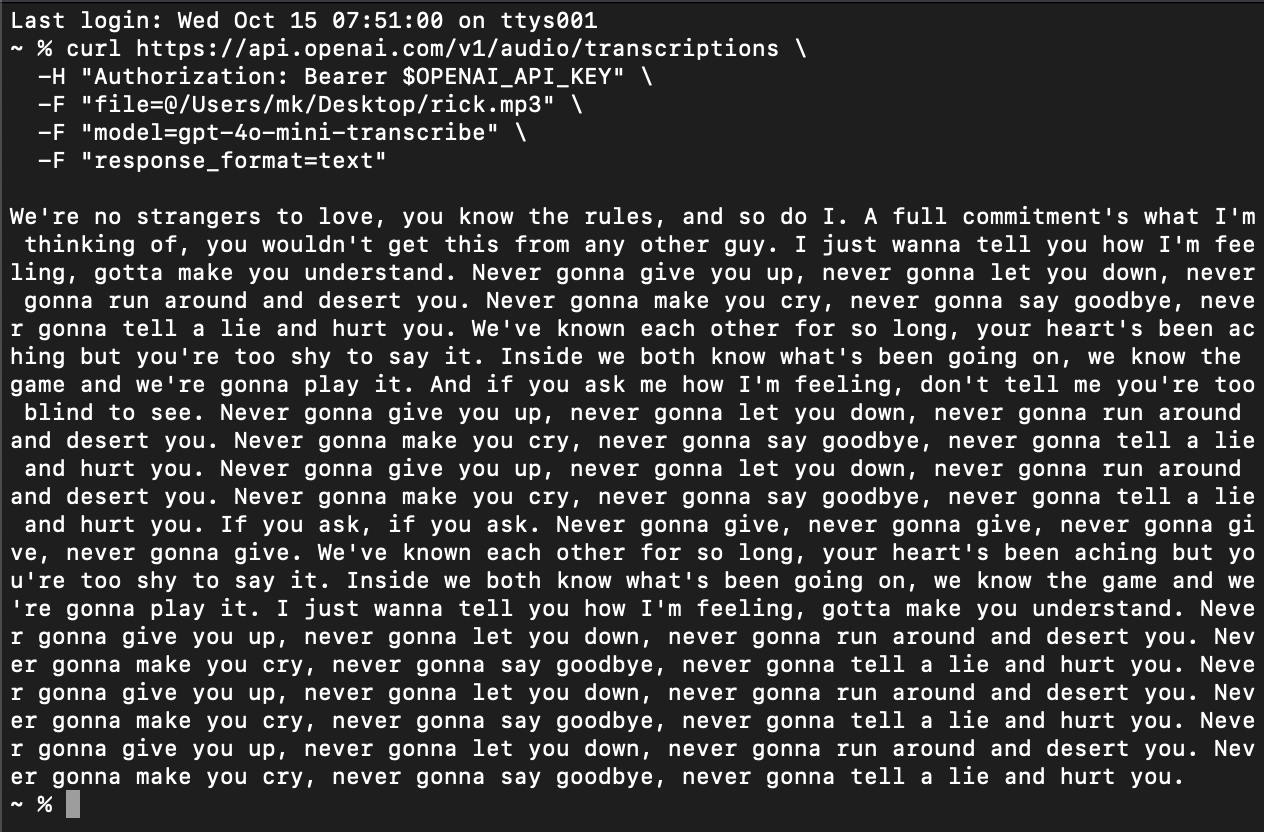
## 🤖 The OpenAI API (Optional)
* Use it **only for technical assistance**, not content generation.
* You might use it to:
* Write scripts that rename, organize, or batch-process files.
* Generate HTML/JS snippets for embedding media.
* Create captions or alt-text for accessibility (via Whisper API).
#### Example
```bash
curl https://api.openai.com/v1/audio/transcriptions \
-H "Authorization: Bearer $OPENAI_API_KEY" \
-F "file=@/Users/mk/Desktop/rick.mp3" \
-F "model=gpt-4o-mini-transcribe" \
-F "response_format=text"
```
---
## Coding the “Alt Video Essay”
### 1. **Video Embeds in Markdown or HTML**
Experiment with embedding videos and GIFs directly into minimalist web essays.
```html
<video src="clip.mp4" controls loop muted></video>
<img src="output.gif" alt="scene loop">
```
You can edit and preview these on:
* [**Lovable.app**](https://lovable.app)
* **Google Gemini Code Assist**
* **Claude Code**
* **ChatGPT’s “Code Interpreter” or “Web” mode**
---
### 2. **Scrolling Video**
Create a “scrolling essay” where video playback follows the reader’s scroll position.
Conceptual model:
```js
window.addEventListener("scroll", () => {
const percent = window.scrollY / document.body.scrollHeight;
video.currentTime = video.duration * percent;
});
```
> Each scroll reveals a new “moment” of the clip — analysis through rhythm.
---
### 3. **Mixing Media & Code**
Let students remix video, text, and animation:
* Display stills as a mosaic grid of motifs.
* Use CSS `blend-mode` and transitions for visual mood.
* Add small snippets of code-generated text (e.g. frame metadata, subtitles).
---
 Sign in with Wallet
Connect another wallet
Sign in with Wallet
Connect another wallet