# Local Stable Diffusion for Mac
First, make sure your device (when working in the Learning Lab) does not already have Stable Diffusion downloaded. Go to the "Development" folder. If a folder ``stable-diffusion-webui`` is present, you may be able to launch the webui in terminal, and begin without downloading.
If downloaded, go to yout terminal and type the following commands:
```
cd Development
```
```
cd stable-diffusion-webui
```
```
./webui.sh
```
This should open the webui, after a few moments, at http://localhost:7860/
Skip down to "Using ControlNet for Image Generation in the Stable Diffusion Web UI" for instructions on how to use the webui.
## Initial Steps: Installing Homebrew, Python, Git, and Required Packages
If no folder titled ``stable-diffusion-webui`` exists in Development, start here:
### 1. Install Homebrew
Homebrew is a package manager for macOS that simplifies the installation of software on macOS. To install Homebrew, open the Terminal app and run the following command:
```
/bin/bash -c "$(curl -fsSL https://raw.githubusercontent.com/Homebrew/install/HEAD/install.sh)"
```
This command downloads and runs the Homebrew installation script from the official Homebrew GitHub repository.
This command installs the latest stable version of Python. If you specifically need Python 3.10 as mentioned, you can use brew install python@3.10 to install that version specifically.
### 2. Install Git
Git is a version control system that's essential for managing code changes and collaborating on software projects. To install Git using Homebrew, run:
```
brew install git
```
### 3. Install Additional Packages (cmake, protobuf, rust, wget, Python)
The command you provided bundles the installation of several packages that are likely dependencies for your AI projects. To install them, simply run:
```
brew install cmake protobuf rust git wget python@3.10
```
This command will install:
* cmake: a cross-platform tool for managing the build process of software.
* protobuf: a method for serializing structured data that's useful in applications that involve communication with servers or storing data.
* rust: a programming language focused on safety and performance, required for certain projects that use Rust components.
* wget: a utility for non-interactive download of files from the web.
* python@3.10: this specifies the version of Python to install, ensuring compatibility with projects that require this specific version.
## Clone the Stable Diffusion WebUI Repo
There is a repo you need to clone in order to use the Stable Diffusion Web UI. To clone this repo on a Mac, open Terminal, go to your Development folder (or ```mkdir Development``` if you don't have a Development folder already), and run ```git clone URL```, replacing URL with the actual URL for the repo (see URL below or use the COPY function in the top-right corner of the repo in Github).
### stable diffusion webui repo
* https://github.com/AUTOMATIC1111/stable-diffusion-webui.git
Installing the Stable Diffusion web UI repository is crucial because it provides a user-friendly browser interface for interacting with the Stable Diffusion model. This interface includes features like image generation from text, image modification, and support for various advanced image processing techniques, all accessible through an easy-to-use graphical interface. It simplifies the use of Stable Diffusion for those without technical expertise, allowing for creative and professional image generation with minimal setup.
## Launch Stable Diffusion as a Local Server
Next, you'll set up and access the user interface of Stable Diffusion on your computer. By changing directories to ```stable-diffusion-webui```, you navigate to the location where the software is installed.
* change directorties into your ```stable-diffusion-webui``` directory
* run the ```./webui.sh``` shell command in terminal
Running ```./webui.sh``` starts the web server that hosts the interface. It should automatically open a broswer window, but you can also open http://localhost:7860/ in your browser to see the Stable Diffusion web UI. The web UI allows you to interact with the model for generating and modifying images directly in a webpage.
## Add ControlNet Extension
Once you've launched the Stable Diffusion Web UI, you will want to add the ControlNet Extension. Doing this in the following steps justifies all of the pathways that you would normally be creating manually (and thus makes the install more accurate).
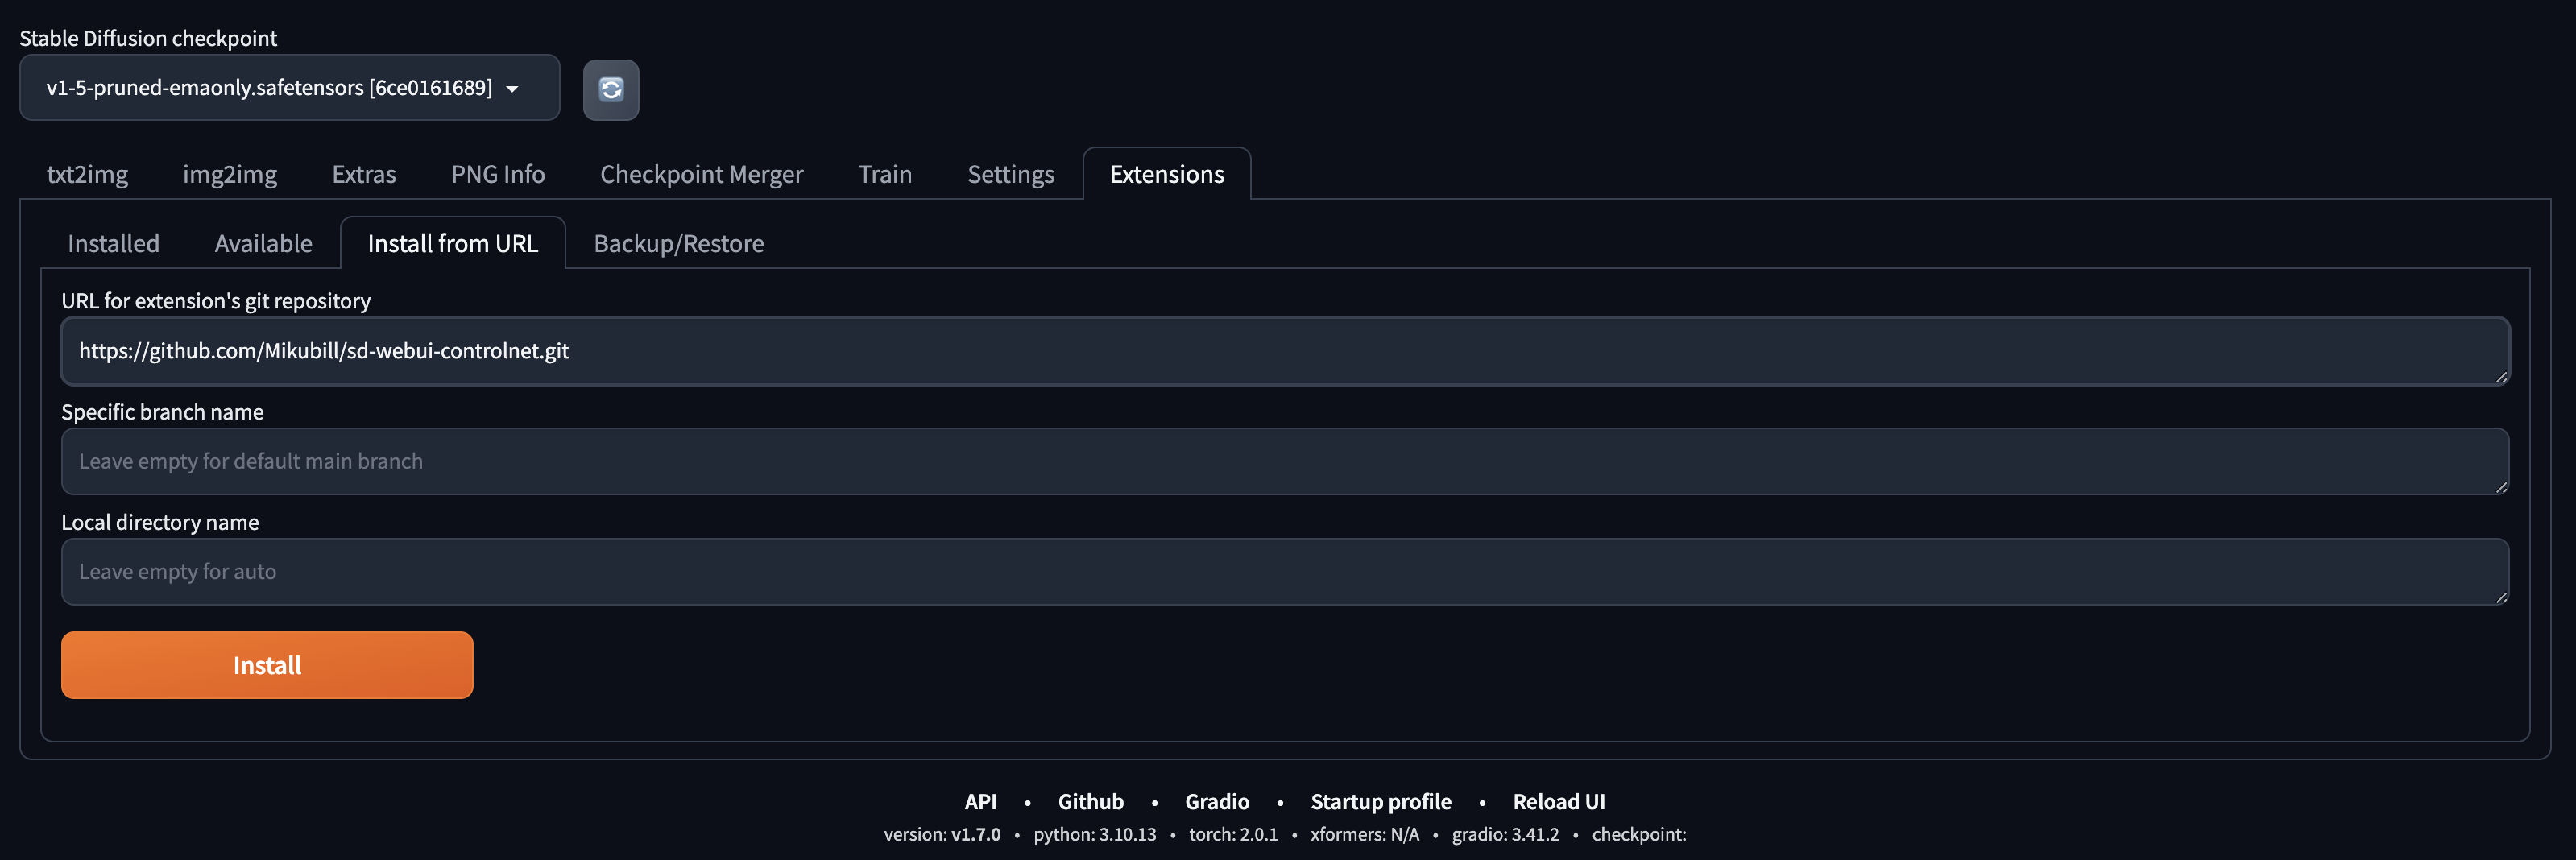
In the Stable Diffusion Web UI, click on the "Extensions" tab. Then select "Install from URL." Add this URL into the "URL for extension's git repository" bar: ```https://github.com/Mikubill/sd-webui-controlnet.git```
Then, click on the "Installed" tab and hit the big orange button on the left, "Apply and restart UI."
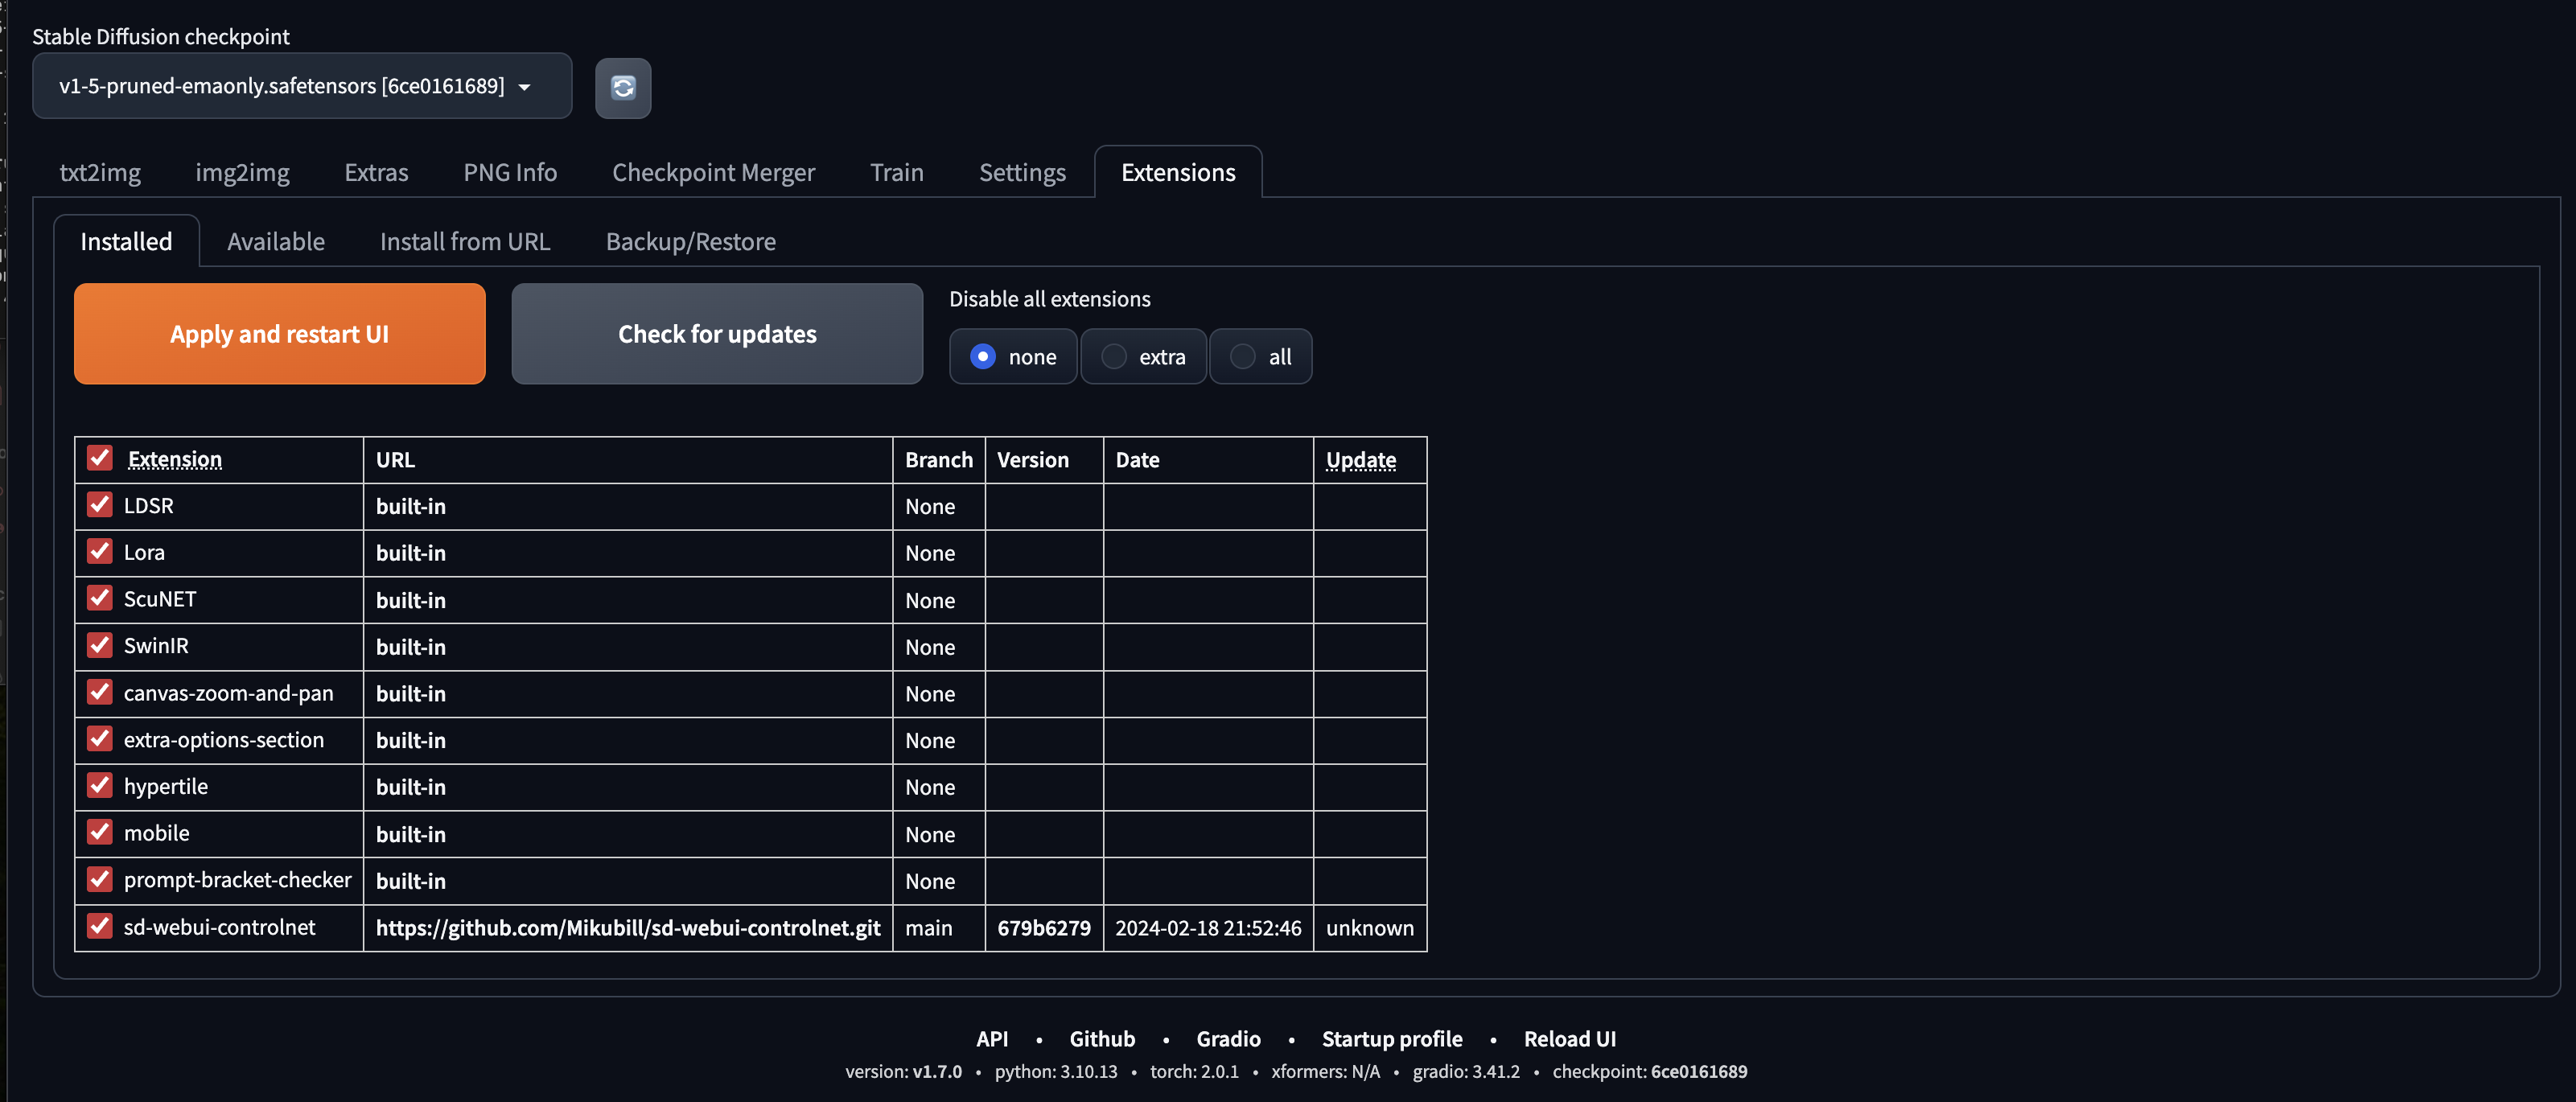
This will restart the UI without making you go through terminal and will still apply all of the new changes you've made to Stable Diffusion Web UI (in this case, installing the ControlNet extension).
You should see Control Net added to the Stable Diffusion UI homepage!
### Add ControlNet Models
While you have ControlNet appearing in your webUI, you need to download several models to get it to work.
Why Add ControlNet Models?
* Enhanced Customization: ControlNet models provide tools to make more targeted adjustments to images, going beyond basic generation to include detailed editing capabilities.
* Greater Control: They offer a way to manipulate images in ways that are not possible with the base Stable Diffusion model alone, allowing for specific changes to be made based on user input.
* Improved Quality: These models can help improve the quality of the generated images by allowing for finer control over the output, potentially leading to more realistic or artistically appealing results.
* New Features: Adding ControlNet models can introduce new functionalities to your Stable Diffusion setup, enabling you to explore a wider range of creative possibilities.
Download the models from ControlNet 1.1: https://huggingface.co/lllyasviel/ControlNet-v1-1/tree/main
You **only need** to download model files ending with ".pth" which are easy to identify, as they feature this icon next to them:

NOTE: Do not right-click the filenames in HuggingFace website to download. Some users right-clicked those HuggingFace HTML websites and saved those HTML pages as PTH/YAML files. They are not downloading correct files. Instead, please click the small download arrow “↓” icon in HuggingFace to download.
**Once downloaded**, go to your Development folder and move the models from the Downloads folder to: "stable-diffusion-webui\extensions\sd-webui-controlnet\models".

Then, go to the "Extensions" tab and click the big orange button "Apply and Restart UI."
### Add Checkpoint Models
Go to Hugging Face and download some checkpoint models. Here are a few we recommend:
* [Dreamshaper](https://huggingface.co/Lykon/DreamShaper/tree/main)
* [Realistic Vision](https://huggingface.co/SG161222/Realistic_Vision_V6.0_B1_noVAE/tree/main)
Try to find the most recent version of the checkpoint model you're interested in trying. For instance, Dreamshaper 8 is the most recent checkpoint model in [this repository](https://huggingface.co/Lykon/DreamShaper/tree/main), so we're going to grab some Dreamshaper 8 and 7 files. **You'll want to look for ippen or safetensor files.**

Click the download button and wait for the files to finish downloading.
Once they have:
1. open your downloads folder
2. open another finder window
* Development → stable-diffusion-webui → models → Stable-diffusion
* there should be a txt file in this foler that says "Put Stable Diffusion checkpoints here"
3. Drag and drop your downloaded checkpoint model files into the "Stable-diffusion" file you opened in the other window
Back in the Stable Diffusion Web UI, go to the Extensions tab and click the orange "Apply and Restart UI" button so that the UI understands that you've added these models to the model folder in the repository that the UI is connected to. Wait for the webui to restart.
Now, when we go to the "Checkpoints" tab (to the right of our Generation tab, where we uploaded our images and checked off the different settings outlined above) in the Stable Diffusion Web UI, we should see our checkpoint models there.

## Using ControlNet for Image Generation in the Stable Diffusion Web UI
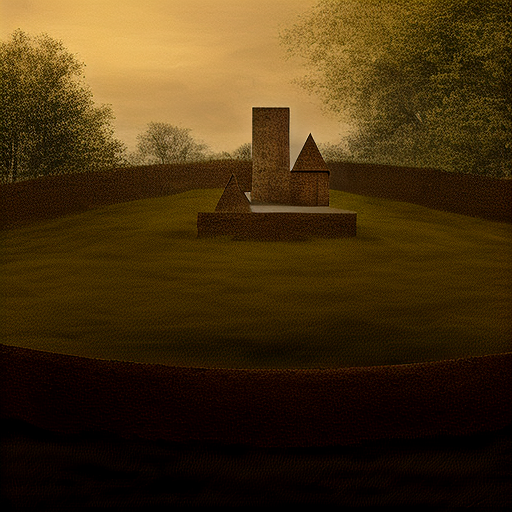
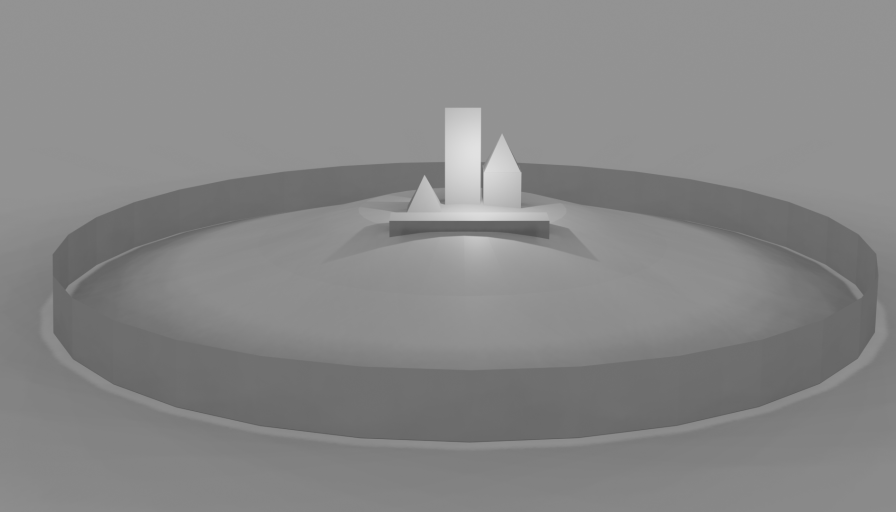
### 1. Draw or 3D model some simple shapes
To start, we can draw a few simple shapes -- for bonus points, you can use Blender to place 3D objects roughly within a scene. But taking a clean photo of a drawing on white paper would work basically just as well.
### 2. Bring the image into Stable Diffusion
Next, we'll put a screenshot into Stable Diffusion, in the Controlnet drop down interface:
### 3. Settings to Select
There are different settings you'll want to select to achieve particular qualities, level of detail/precision, three-dimensionality, etc. We'll outline below both the settings we suggest choosing when you generate and image and what each of those settings mean. **Make sure to add your image to each of the ControlNet Unit tabs!**
**ControlNet Unit 0**
Upload your image here by dragging and dropping or by selecting the Click to Upload text. In the ControlNet Unit 0 window (where you should automatically be when you open up the ControlNet dropdown menu), we recommend selecting:
* Enable
* MLSD
* Pixel Perfect
* Allow Preview
**ControlNet Unit 1**
Upload the same image as ControlNet Unit 0 here by dragging and dropping or by selecting the Click to Upload text. In the ControlNet Unit 1 window (the tab to the right of ControlNet Unit 0), we recommend selecting:
* Enable
* Depth
* Pixel Perfect
* Allow Preview
**ControlNet Unit 2**
Upload the same image here by dragging and dropping or by selecting the Click to Upload text. In the ControlNet Unit 2 window (the tab to the right of ControlNet Unit 1), we recommend selecting:
* Enable
* Reference
* Pixel Perfect
* Allow Preview
## Troubleshooting
* Most common error:
* If you are using a computer with a weak CPU/GPU (like the Rainbow iMacs) you may be getting this error:
* "*NansException: A tensor with all NaNs was produced in Unet. This could be either because there's not enough precision to represent the picture, or because your video card does not support half type. Try setting the "Upcast cross attention layer to float32" option in Settings > Stable Diffusion or using the --no-half commandline argument to fix this. Use --disable-nan-check commandline argument to disable this check.*"
* To help solve this error:
* run **```./webui.sh --disable-nan-check --no-half```** shell command in terminal
* if you are running into this error, rendering images will take a longer time on your computer
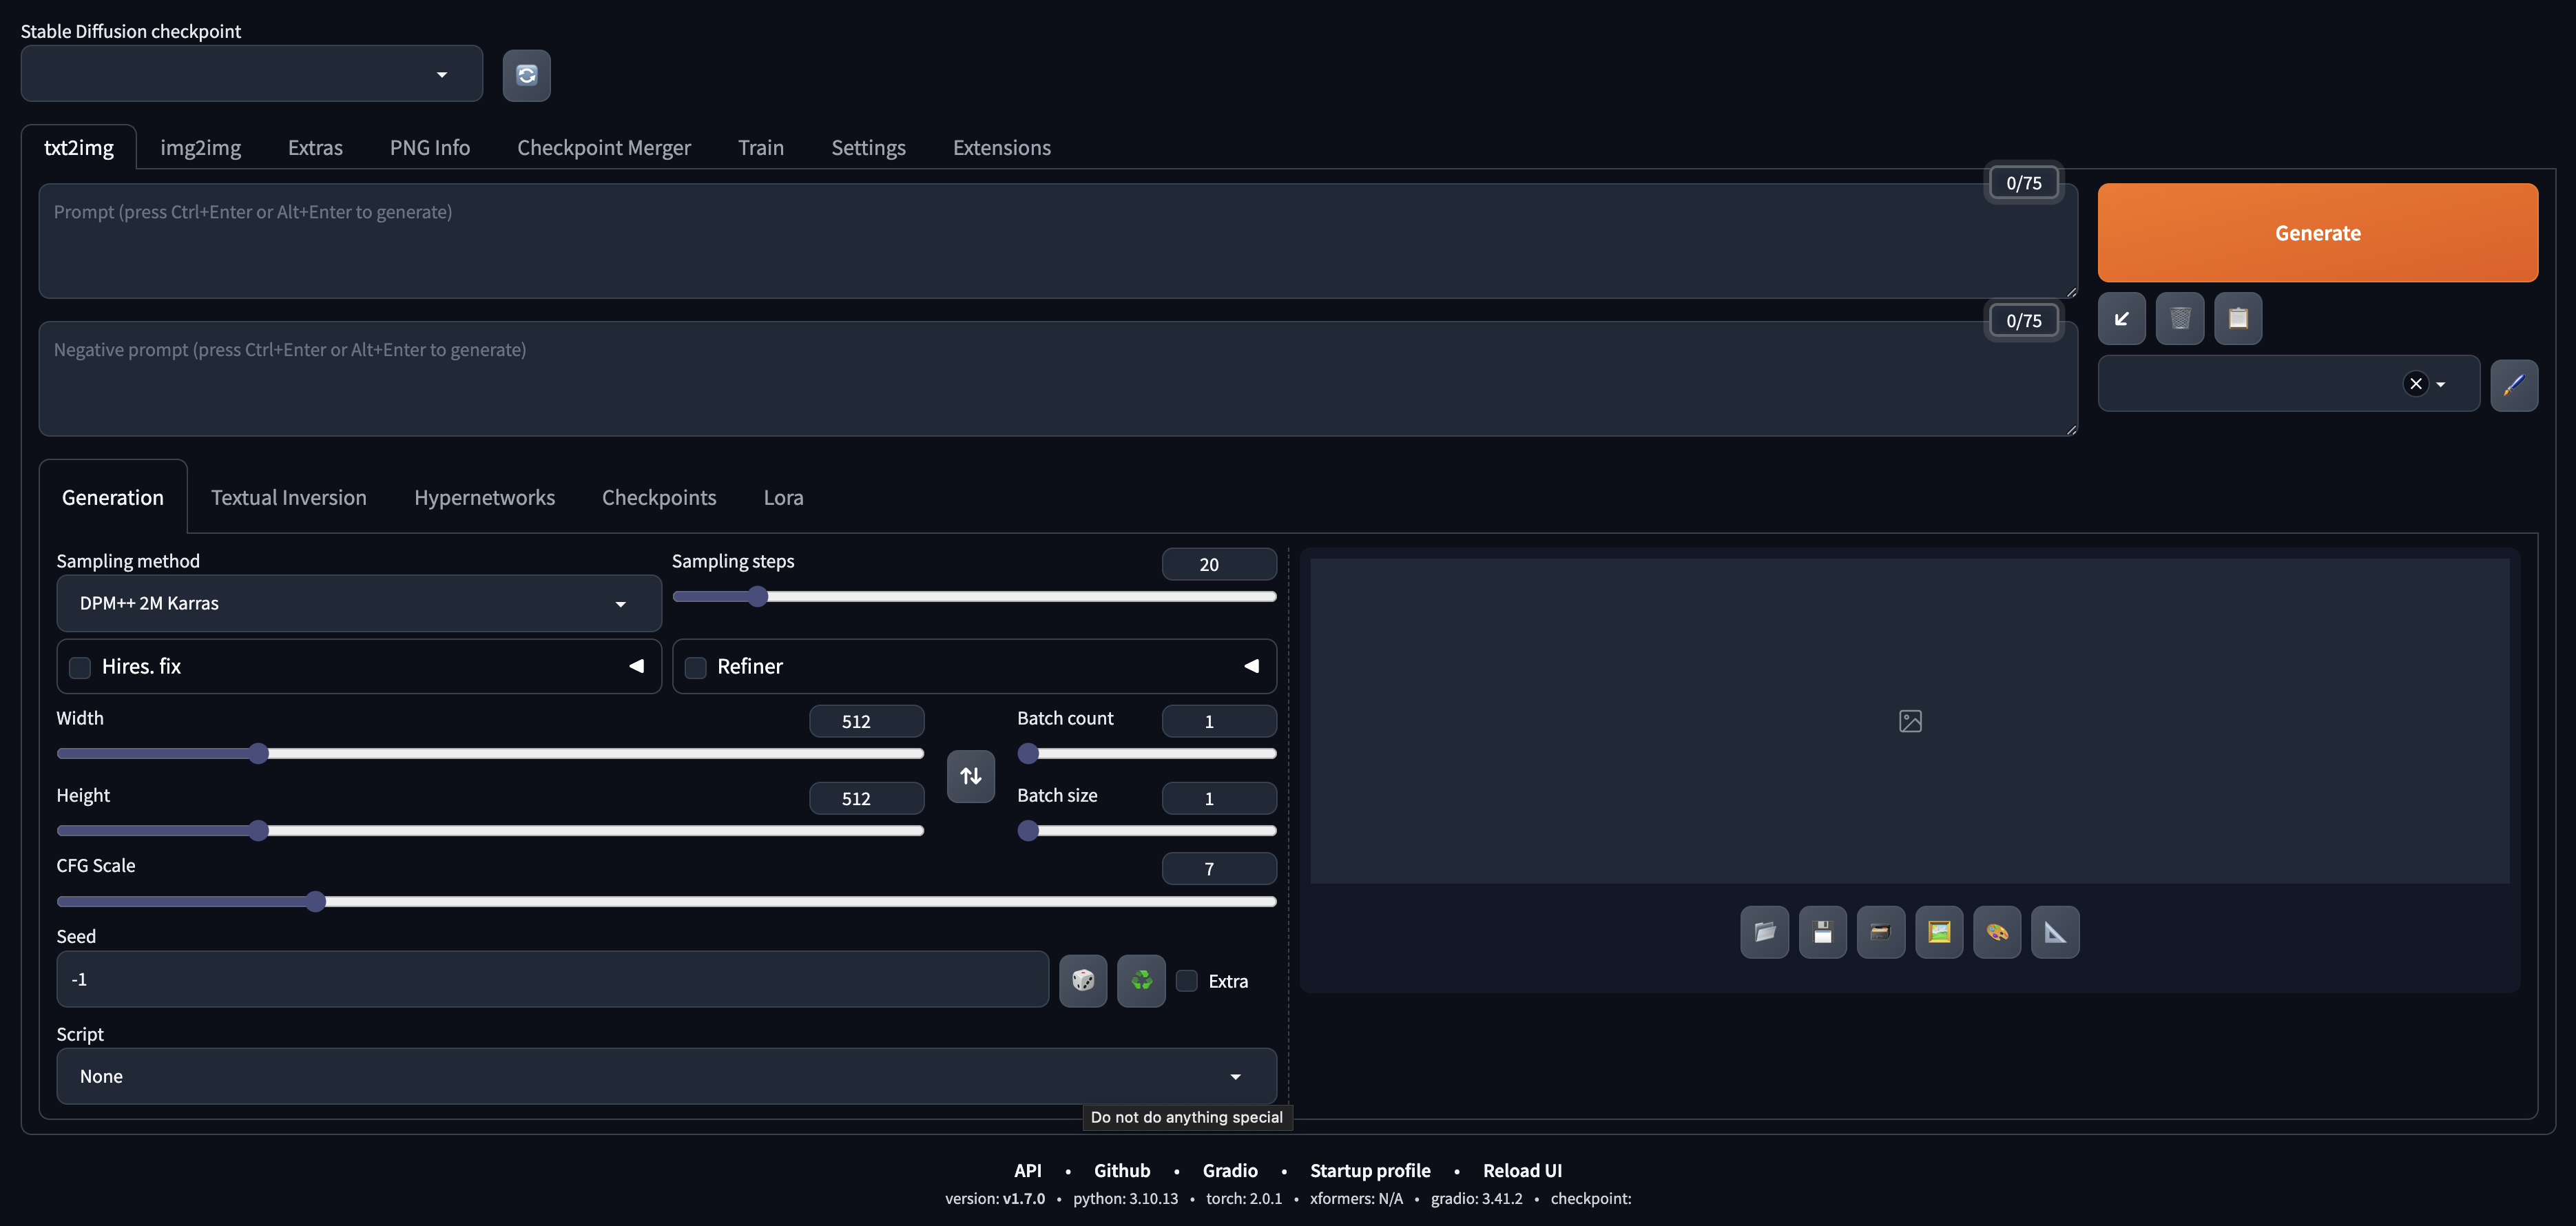
* head to http://localhost:7860/
* you should see the Stable Diffusion web UI
* if you ran the ```./webui.sh --disable-nan-check --no-half``` shell command make sure to go to settings and check off the box that says **Upcast cross attention layer to float32**
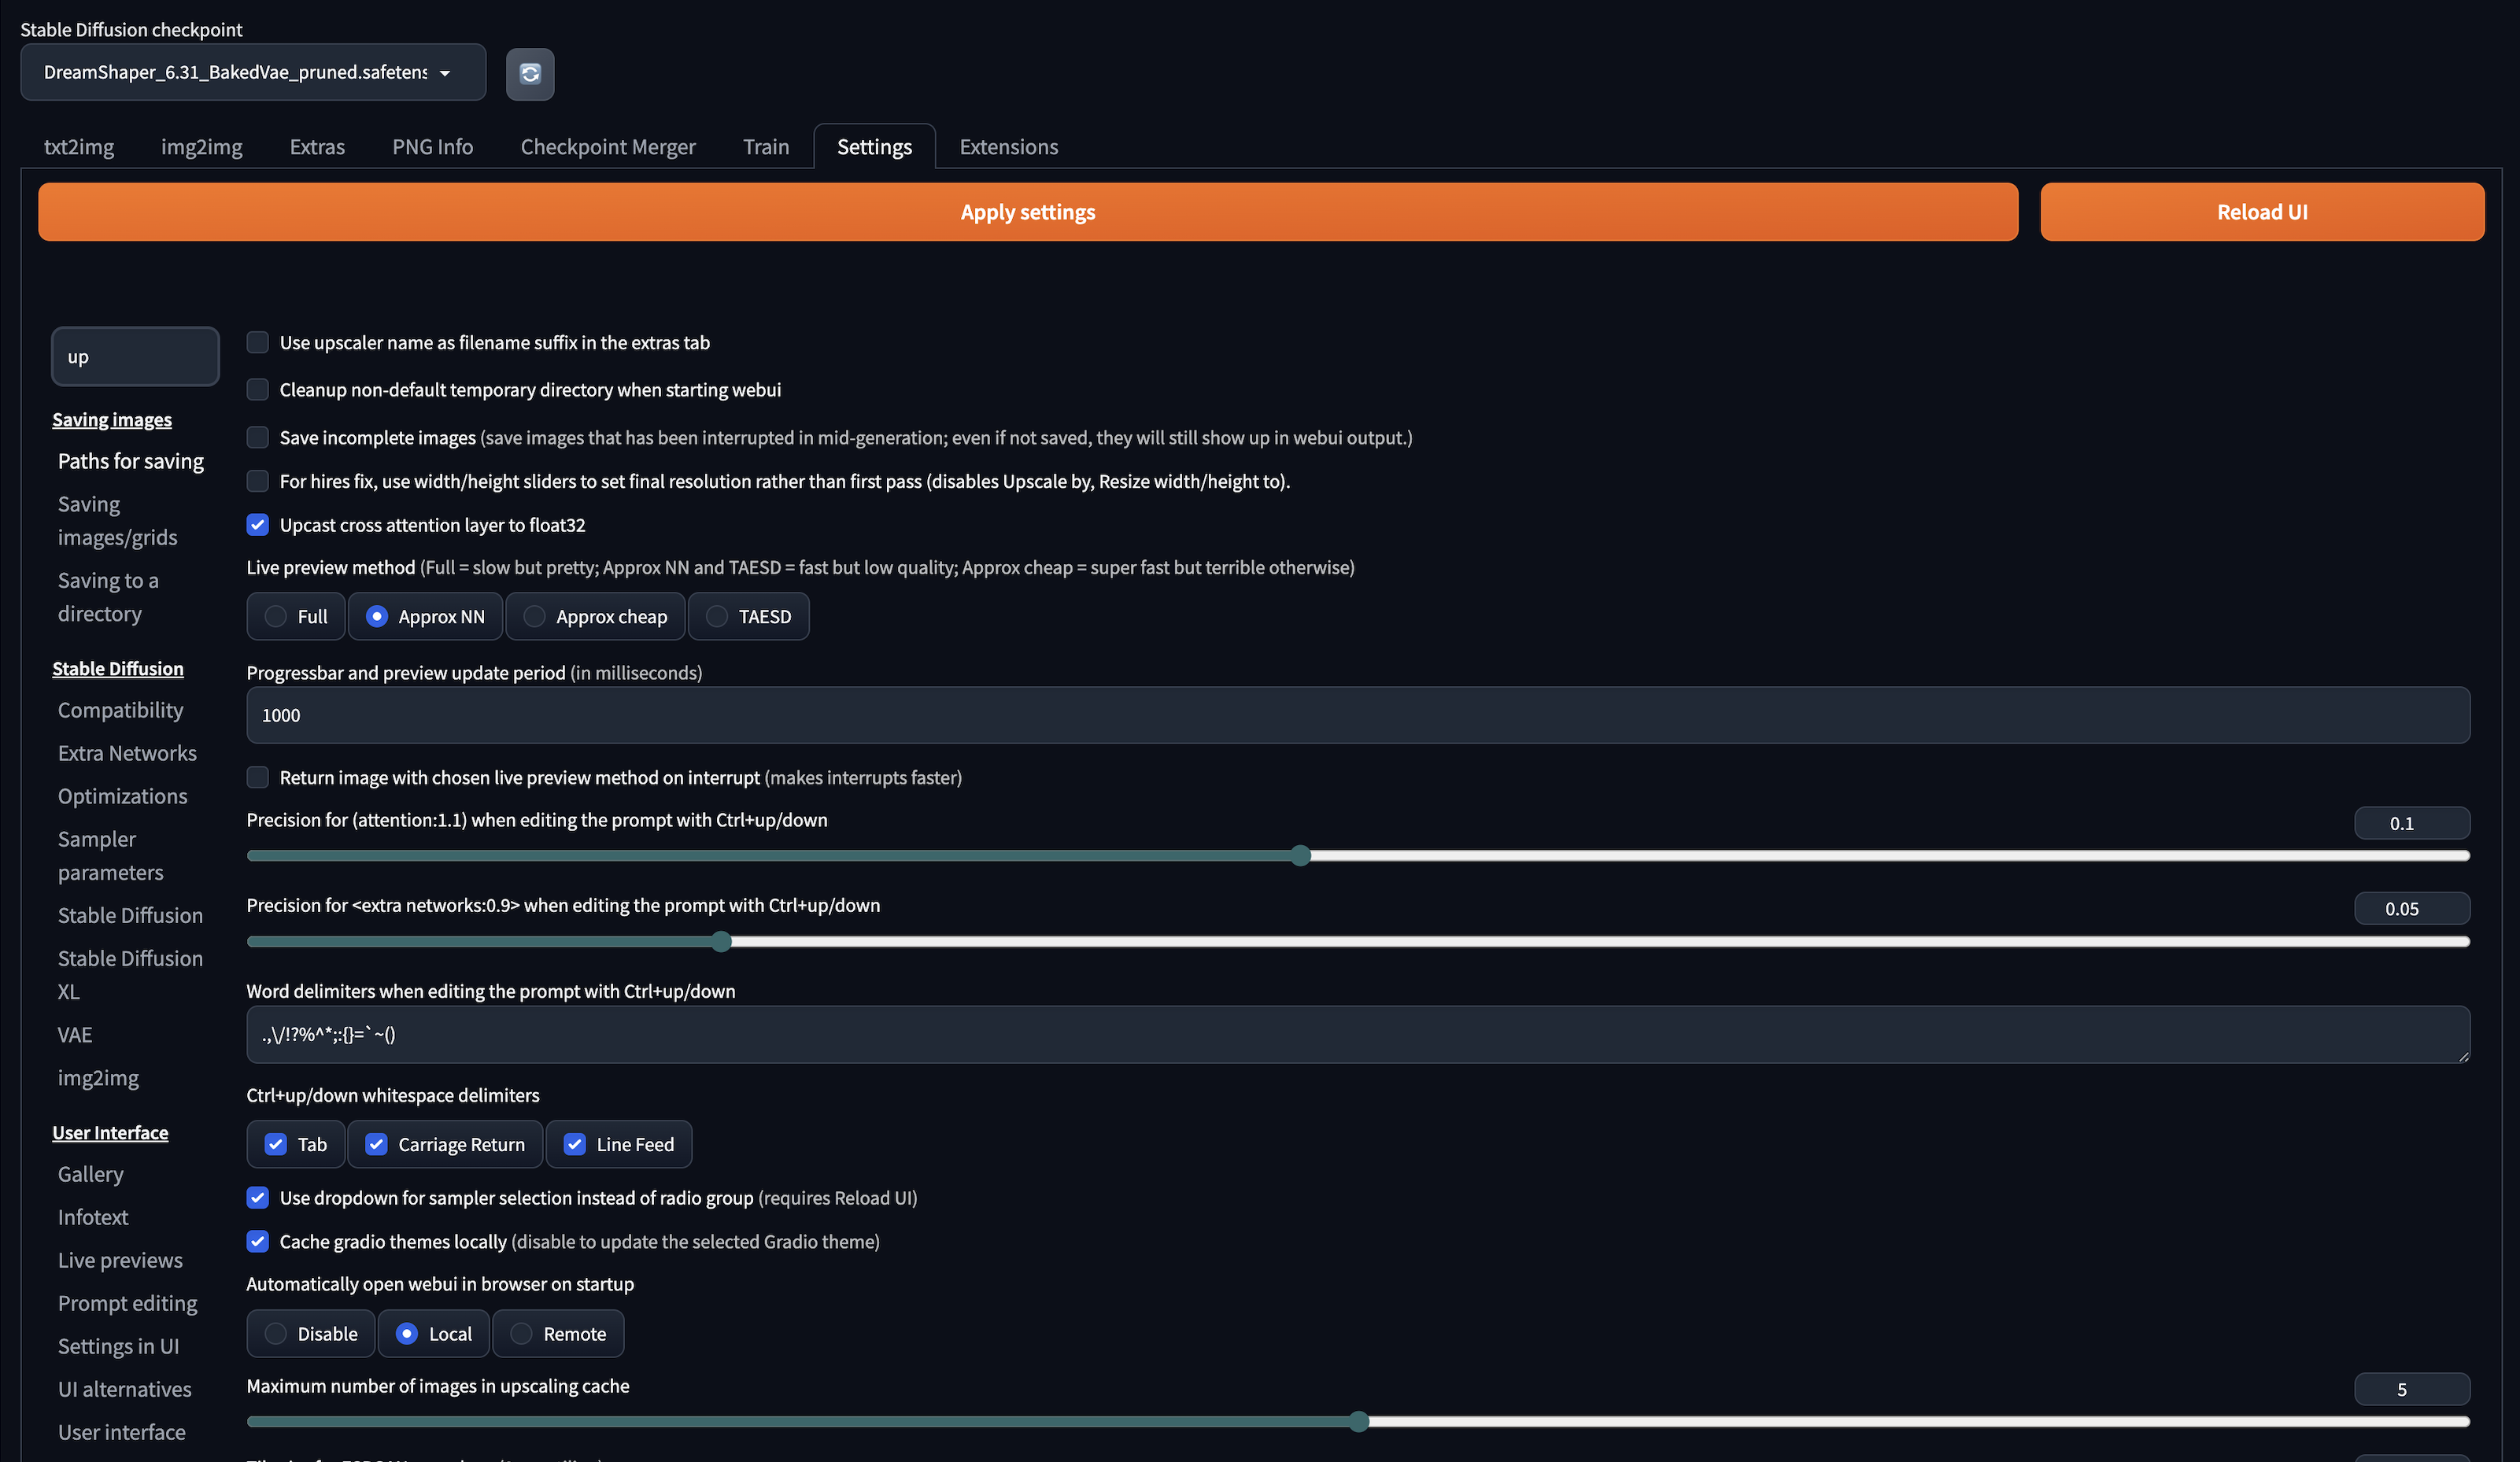
* then click the orange 'Apply Settings' button and then the 'Restart UI' button
### Glossary of Selection Options in ControlNet
**Enable**
* This activates the ControlNet extension for the current operation, whether it's MLSD (Multi-Level Semantic Descriptors for precise control over the image generation), Depth (for manipulating the perceived depth in images), or Reference (using reference images to guide the generation process).
* Why use it: Activating ControlNet allows you to leverage additional control layers over the standard Stable Diffusion process, enhancing the capability to generate images that closely match your requirements.
**MLSD/Depth/Reference**
* MLSD: Provides semantic control at multiple levels, allowing detailed manipulation of the generated image.
* Depth: Adjusts or manipulates the depth perception within the image, creating a more 3D-like effect or altering the focus.
* eference: Uses a reference image to guide the generation process, aiming to replicate certain styles, colors, or themes from the reference.
* Why use them: These settings enable specific types of control over the image generation process, each catering to different needs or artistic goals. MLSD for semantic details, Depth for 3D effects, and Reference for style replication.
**Pixel Perfect**
* Ensures that each pixel in the generated image aligns perfectly with the intended resolution and detail level, avoiding any mismatch or blurriness.
* Why use it: This setting is crucial for achieving the highest quality images, especially when fine details or precise control over the image composition is desired.
**Allow Preview**
* Enables you to see a preview of the generated image before finalizing it.
* Why use it: Previewing allows for adjustments and refinements to be made based on the visual feedback, ensuring the final image meets your expectations without needing to fully generate the image multiple times.
### 5. Prompt and Generate!
We'll craft a written prompt to tell Stable Diffusion what this scene should look like, and enter this into the **Prompt** field at the top of the interface.
Hit **Generate** and wait for your image to generate! It might look like nothing is happening, but if you look in your terminal window, you should see a percentage indicating how far along the generation process is.
Then, you should get a super cool image!