# ll-job-film-strips-and-stills
**Location:** the lab
**Materials:** computer logged into learning lab accounts, the footage as a file, printer, cutters
**Slack Channel:** TBD
## steps: creating the film strips and stills
1. first, make sure you have the footage we need turned into filmstrips downloaded locally on your device.
2. Make sure you are logged into a device with the *studio@learninglab.xyz* google account
### NOW PAUSE
Are you creating film strips? If so:
* click on this [link](https://colab.research.google.com/drive/1acOPRJNkMngZVMgfPbTM1q7wrSq8V48J?usp=sharing), which brings you to a colab that will run the code needed to turn the file into film strips.
* wondering this difference? "Film strips" are created printing out every 10 frames of a video
Are you getting timed shots of transitions? If so:
* click on this [link](https://colab.research.google.com/drive/170Fk8xFHjUJFnHoOnzafFi6DFVvAkMLt?usp=sharing), which brings you to a colab that will run the code needed to turn the file into film strips.
* "shots" in this context are created analyzing the video for each cut and printing the first frame of every shot transition
Are you getting specific stills?
* go to the bottom section titled "stills"
### Okay, back to regular programming:
3. Hit "run," and the system will prompt you to upload a video file at the bottom of the page.
* This is the case for BOTH colab files.
* you'll see that option is greyed out until you run the code.
the process may take a few minutes, so don't fret. you can watch the progress at the bottom of the page.
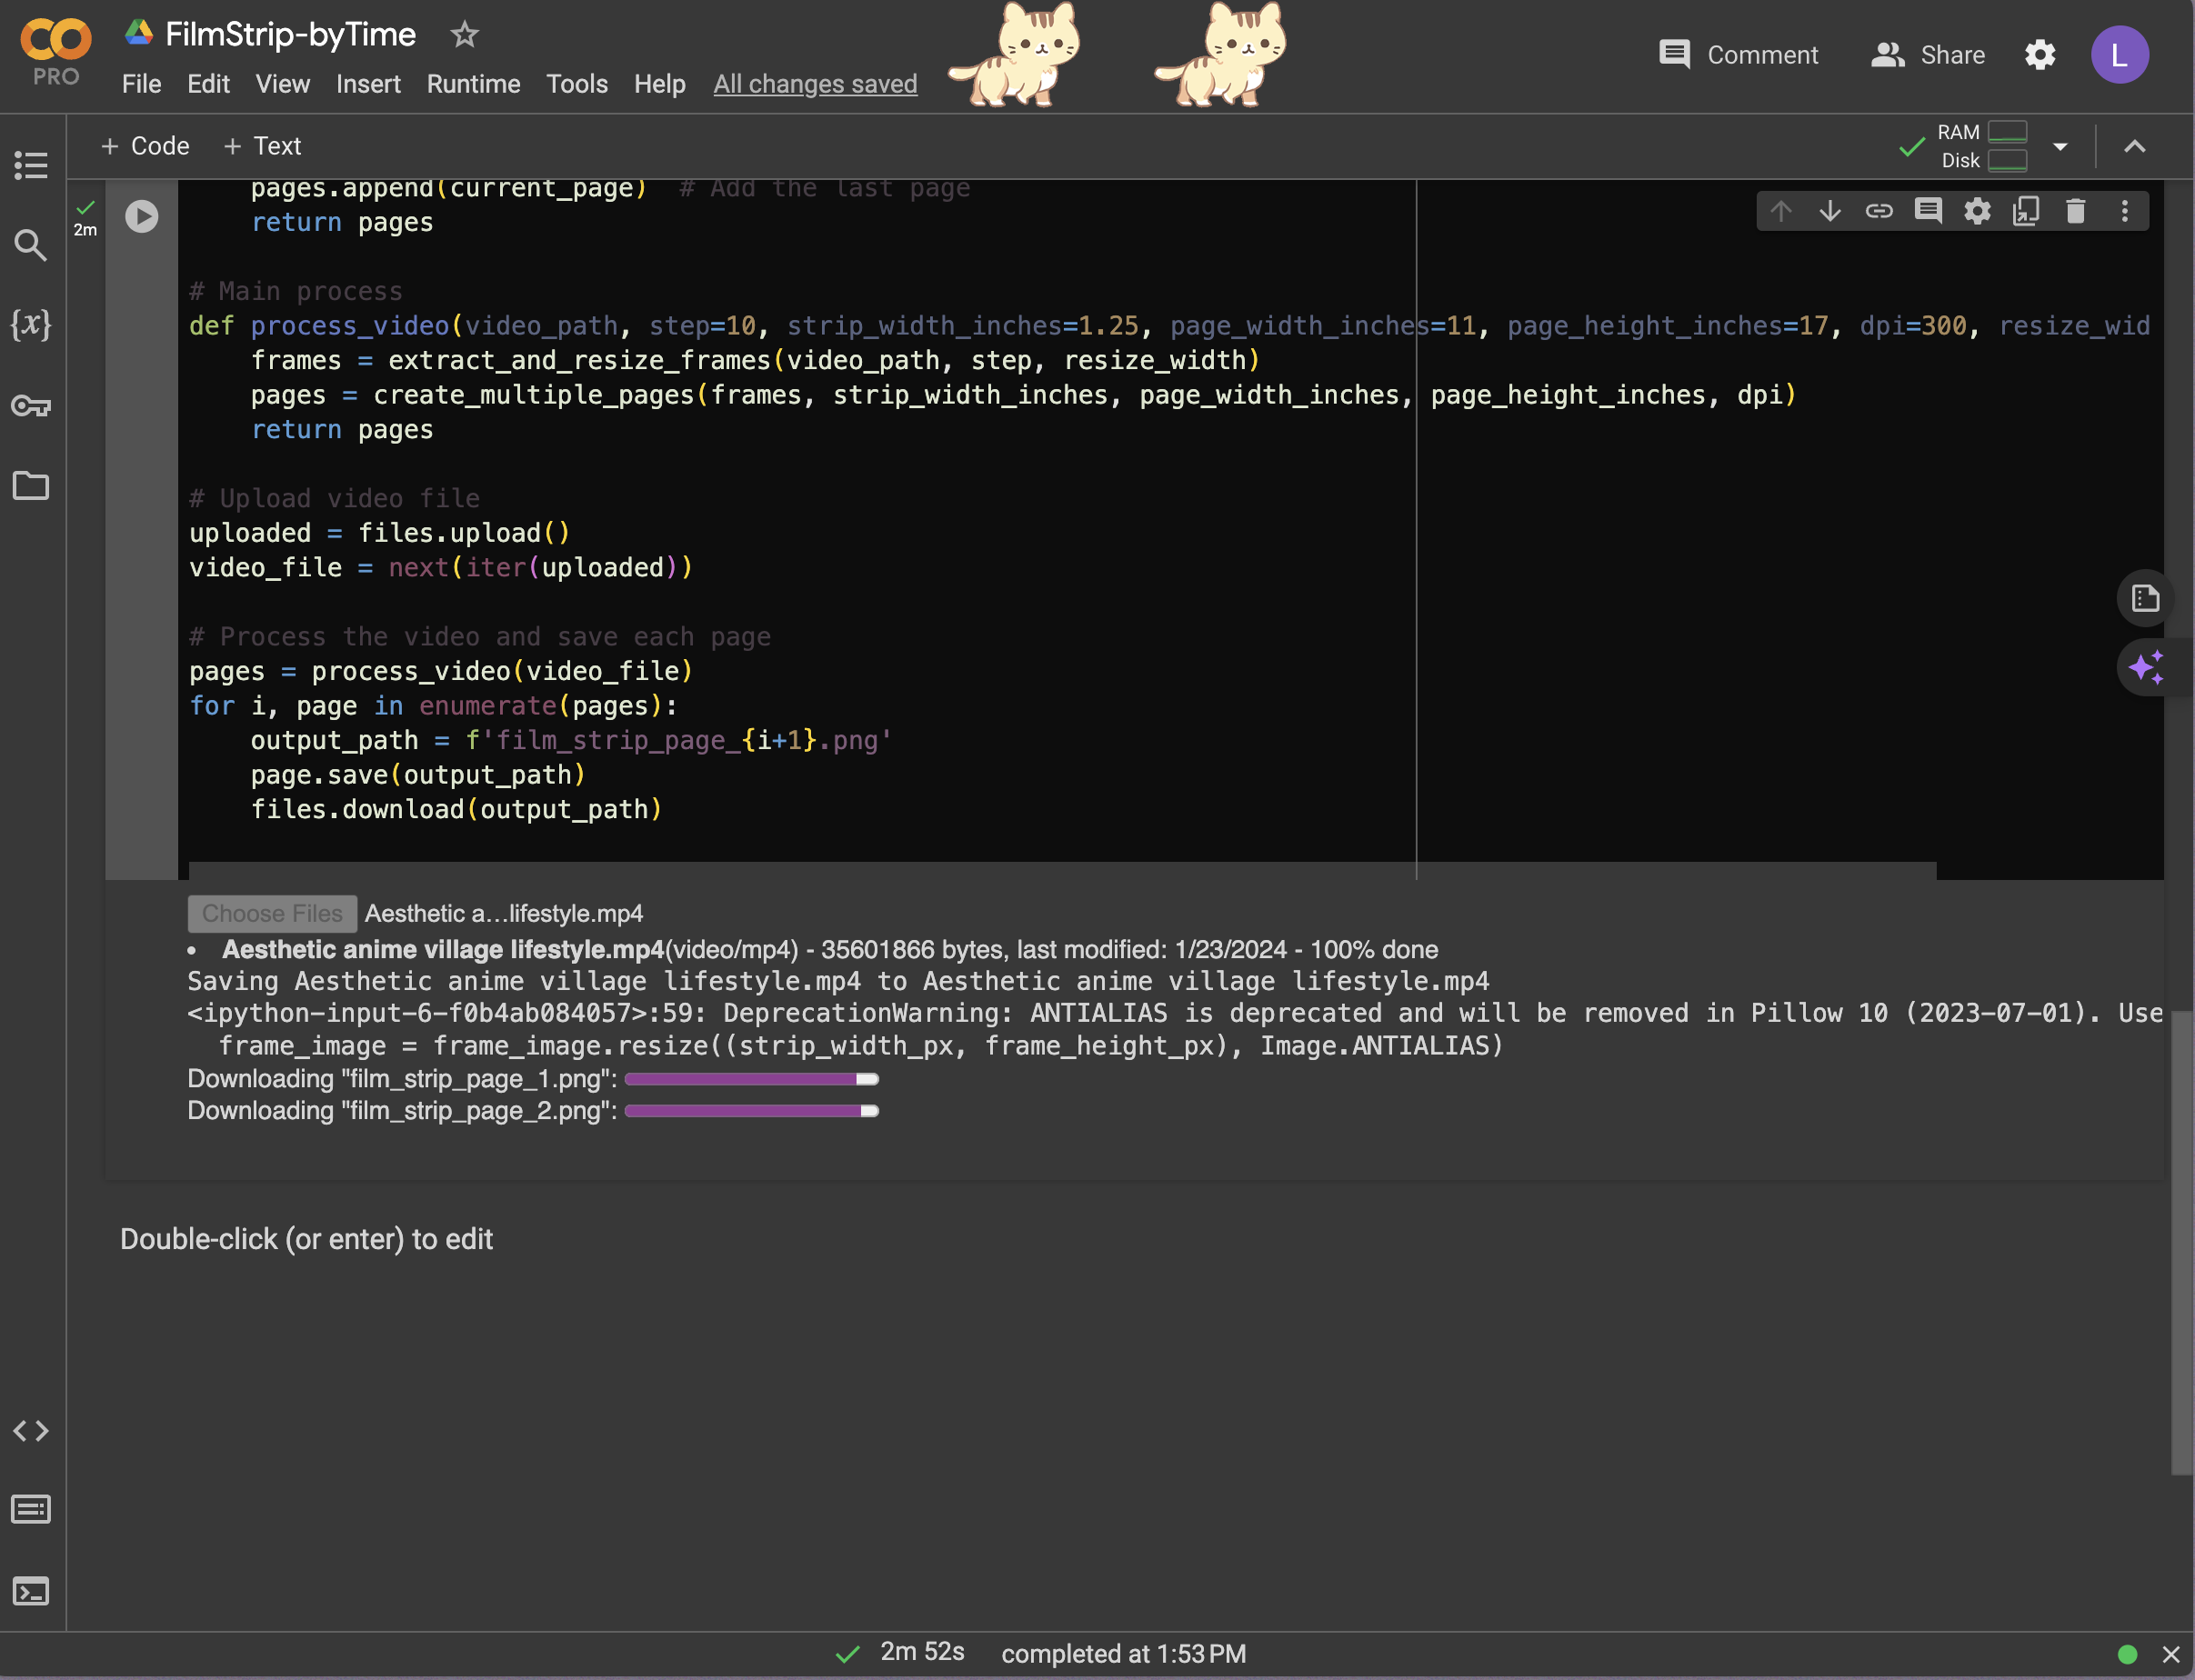
4. The code will automatically download the file it creates, which should feature the film strips or shots.
* For printing and cutting, skip down to the "steps: printing and cutting" section below.
5. Drop the file in **Slack Channel: TBD** to keep track of your progress and to make sure you don't lose the file if switching between devices between the download and printing.
## steps: printing and cutting
1. Find the file that was automatically downloaded after using the colab code to turn the footage into film strips OR shots.
2. Print! Just make sure you are printing on 11x17 Borderless with Fill Entire Page enabled.
3. Cut! Use any number of cutting devices in the Learning Lab, usually found in the glass studio or in the hallway near the kitchen. Make sure you cut carefully along the lines between film strips.
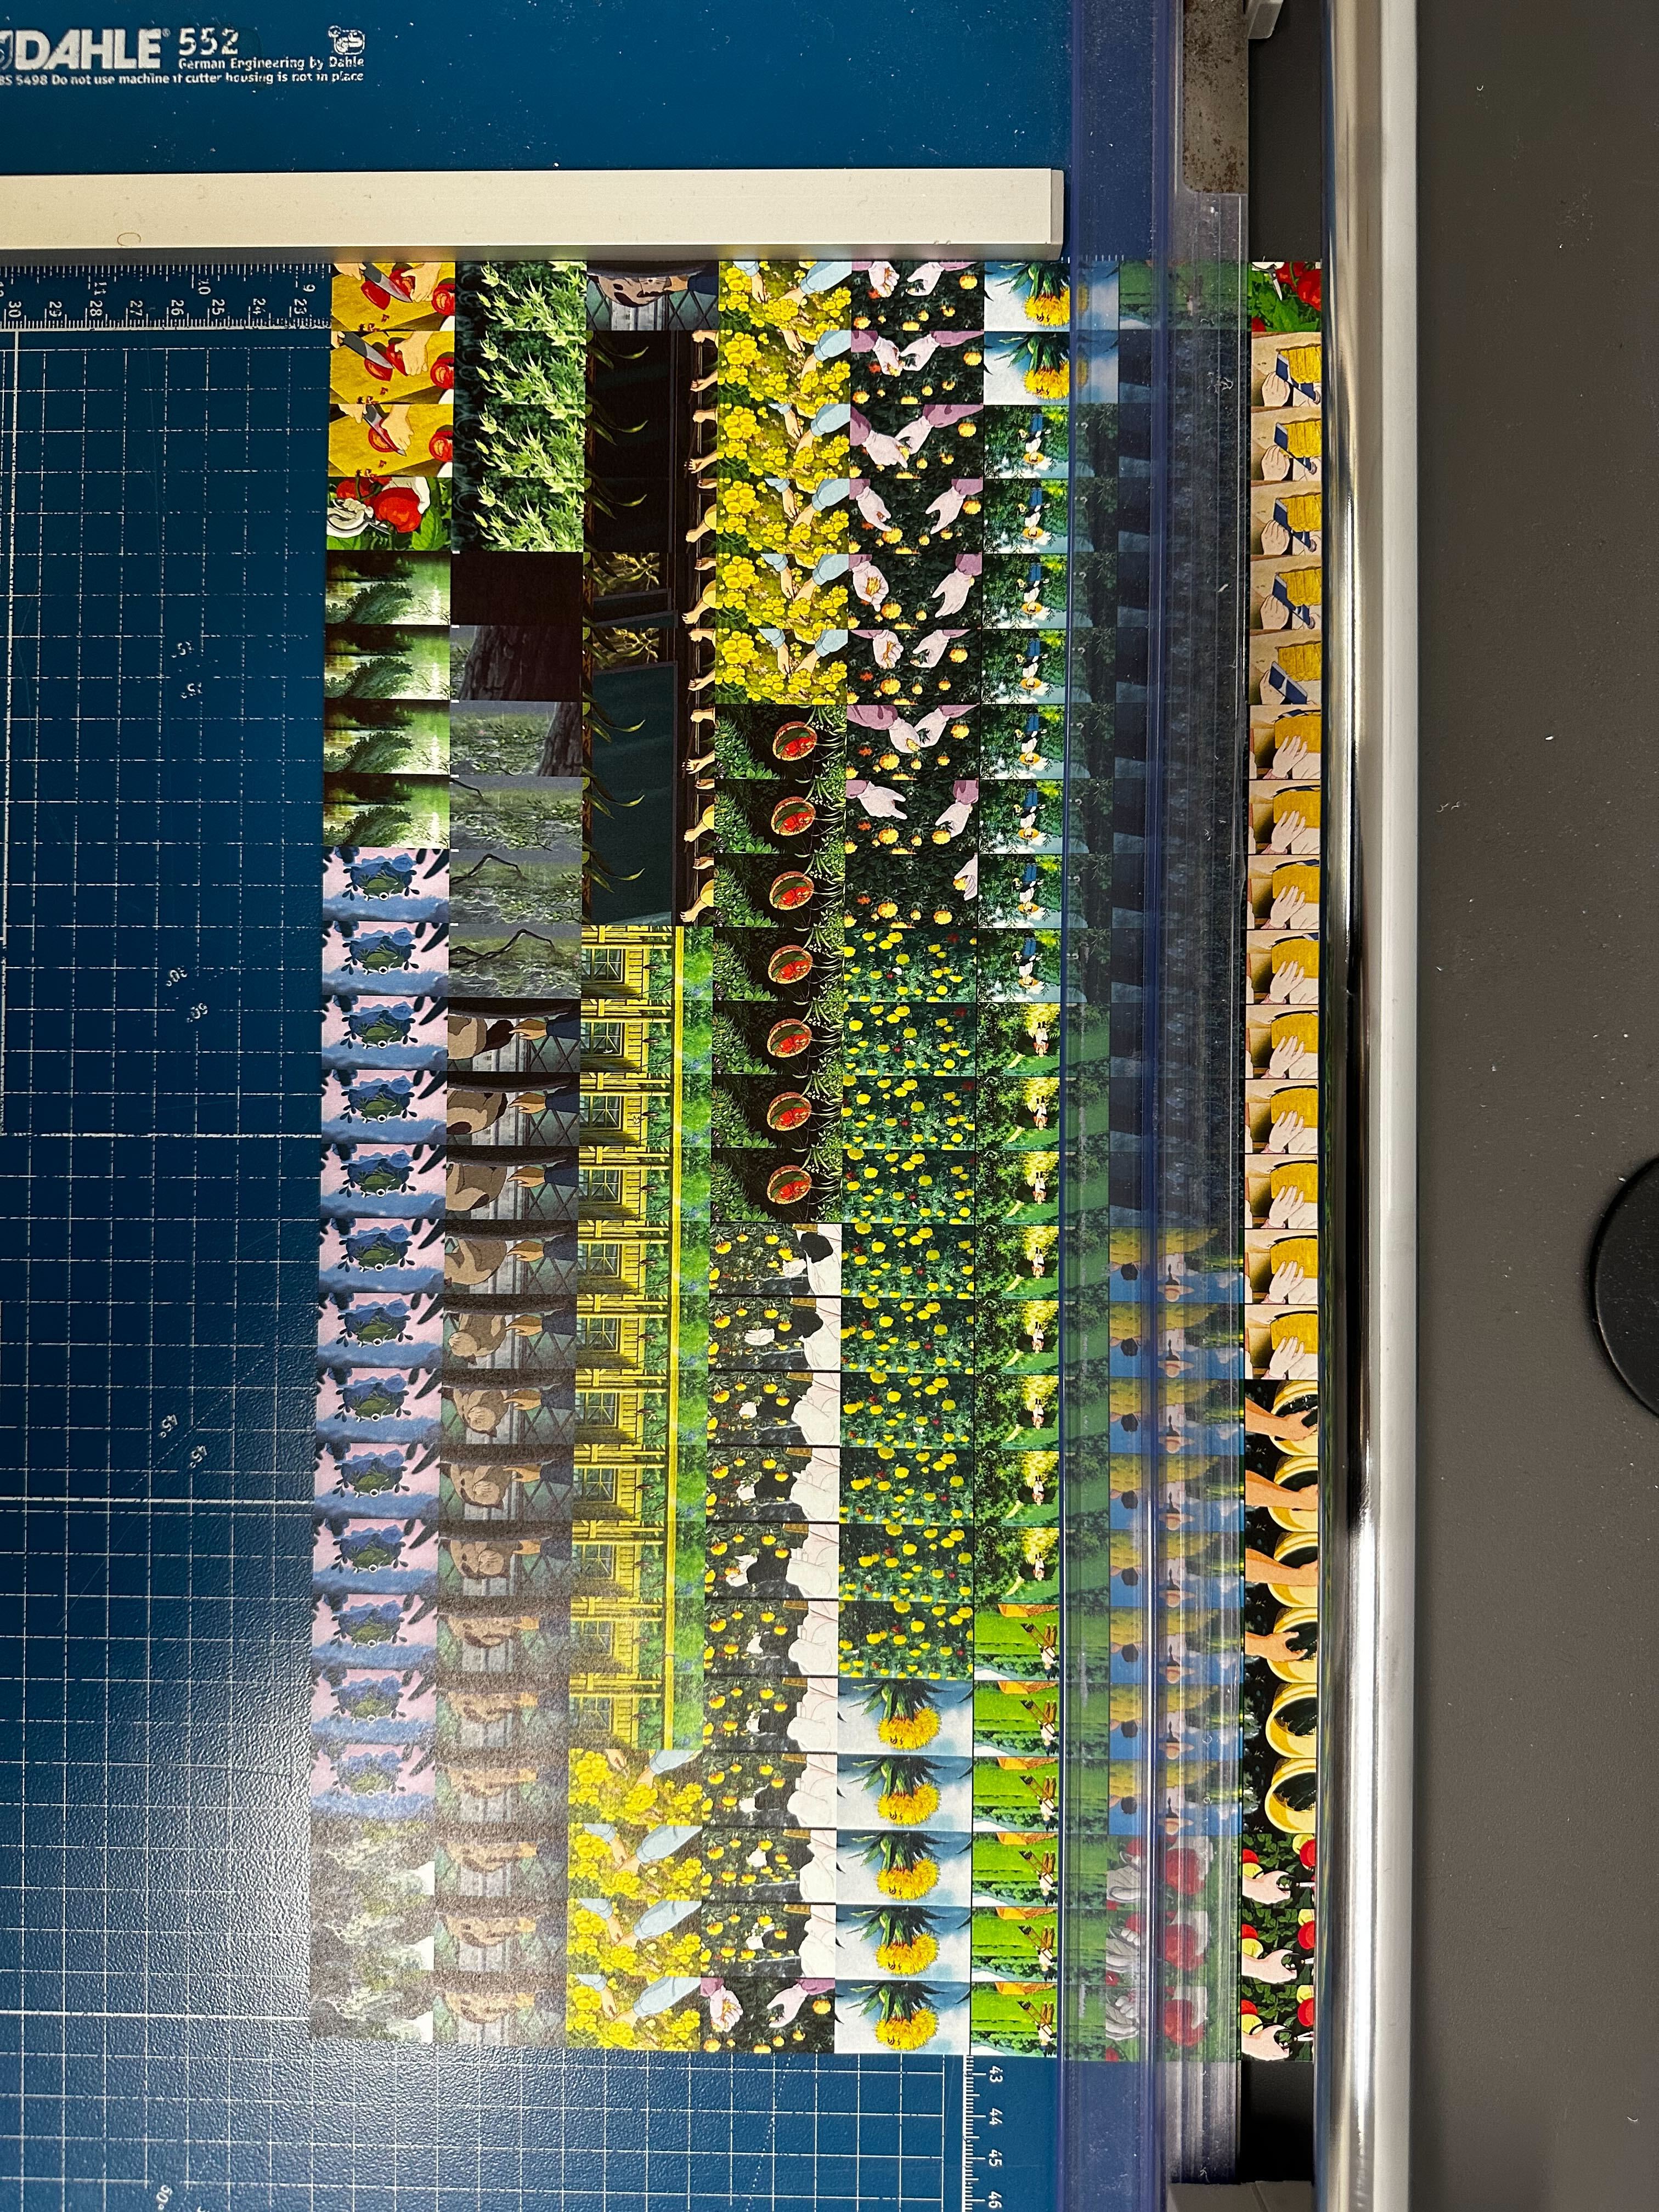
4. **VERY IMPORTANT** FINAL STEP. As you cut, stack the resulting strips in a way that allows you to lay them out in order later.
## stills
* IF you need specific stills and want to make them large, you can full-size your screen and hit command-shift-4. This allows you to screen shot the stills, and then you can print directly from the created file (often goes to desktop).
---
## this particular ask
### the core task
### references
 Sign in with Wallet
Connect another wallet
Sign in with Wallet
Connect another wallet