# a colab generated resource:
### how to use the OpenAI image generation API to create an image based on a text prompt.
This example appearsto have been implemented in a Python environment, most likely Google Colab.
Let's walk through the process with a simple tutorial: ###
### Step 1: Prepare the Environment
1. **Set up a Python environment**: This code was probably run inGoogle Colab, which is a hosted Jupyter notebook service that requires no setup.However, you can run it in any environment where you can execute Python code, such as Jupyter Notebook or your local Python environment.
2. **Install necessary libraries**: Ensure that you have the OpenAI library installed. You can install this in your Python environment using pip: ```shell pip
install openai ```
3. **Obtain an API key**: To use OpenAI's API, you need to sign up with OpenAI and obtain an API key. This key is required to authenticate your requests.
### Step 2: Write the Python Code
1. **Import libraries**: Start your Python script by importing the necessary libraries:
```python import openai from IPython.display import Image, display import os import json ```
2. **Set up the API client**: Create an instance of the OpenAI client and set your API key. The code references an environment variable or a place to securely store your API key. Replace`'YOUR_OPENAI_API_KEY'` with your actual API key. ```python
openai.api_key = 'YOUR_OPENAI_API_KEY' ```
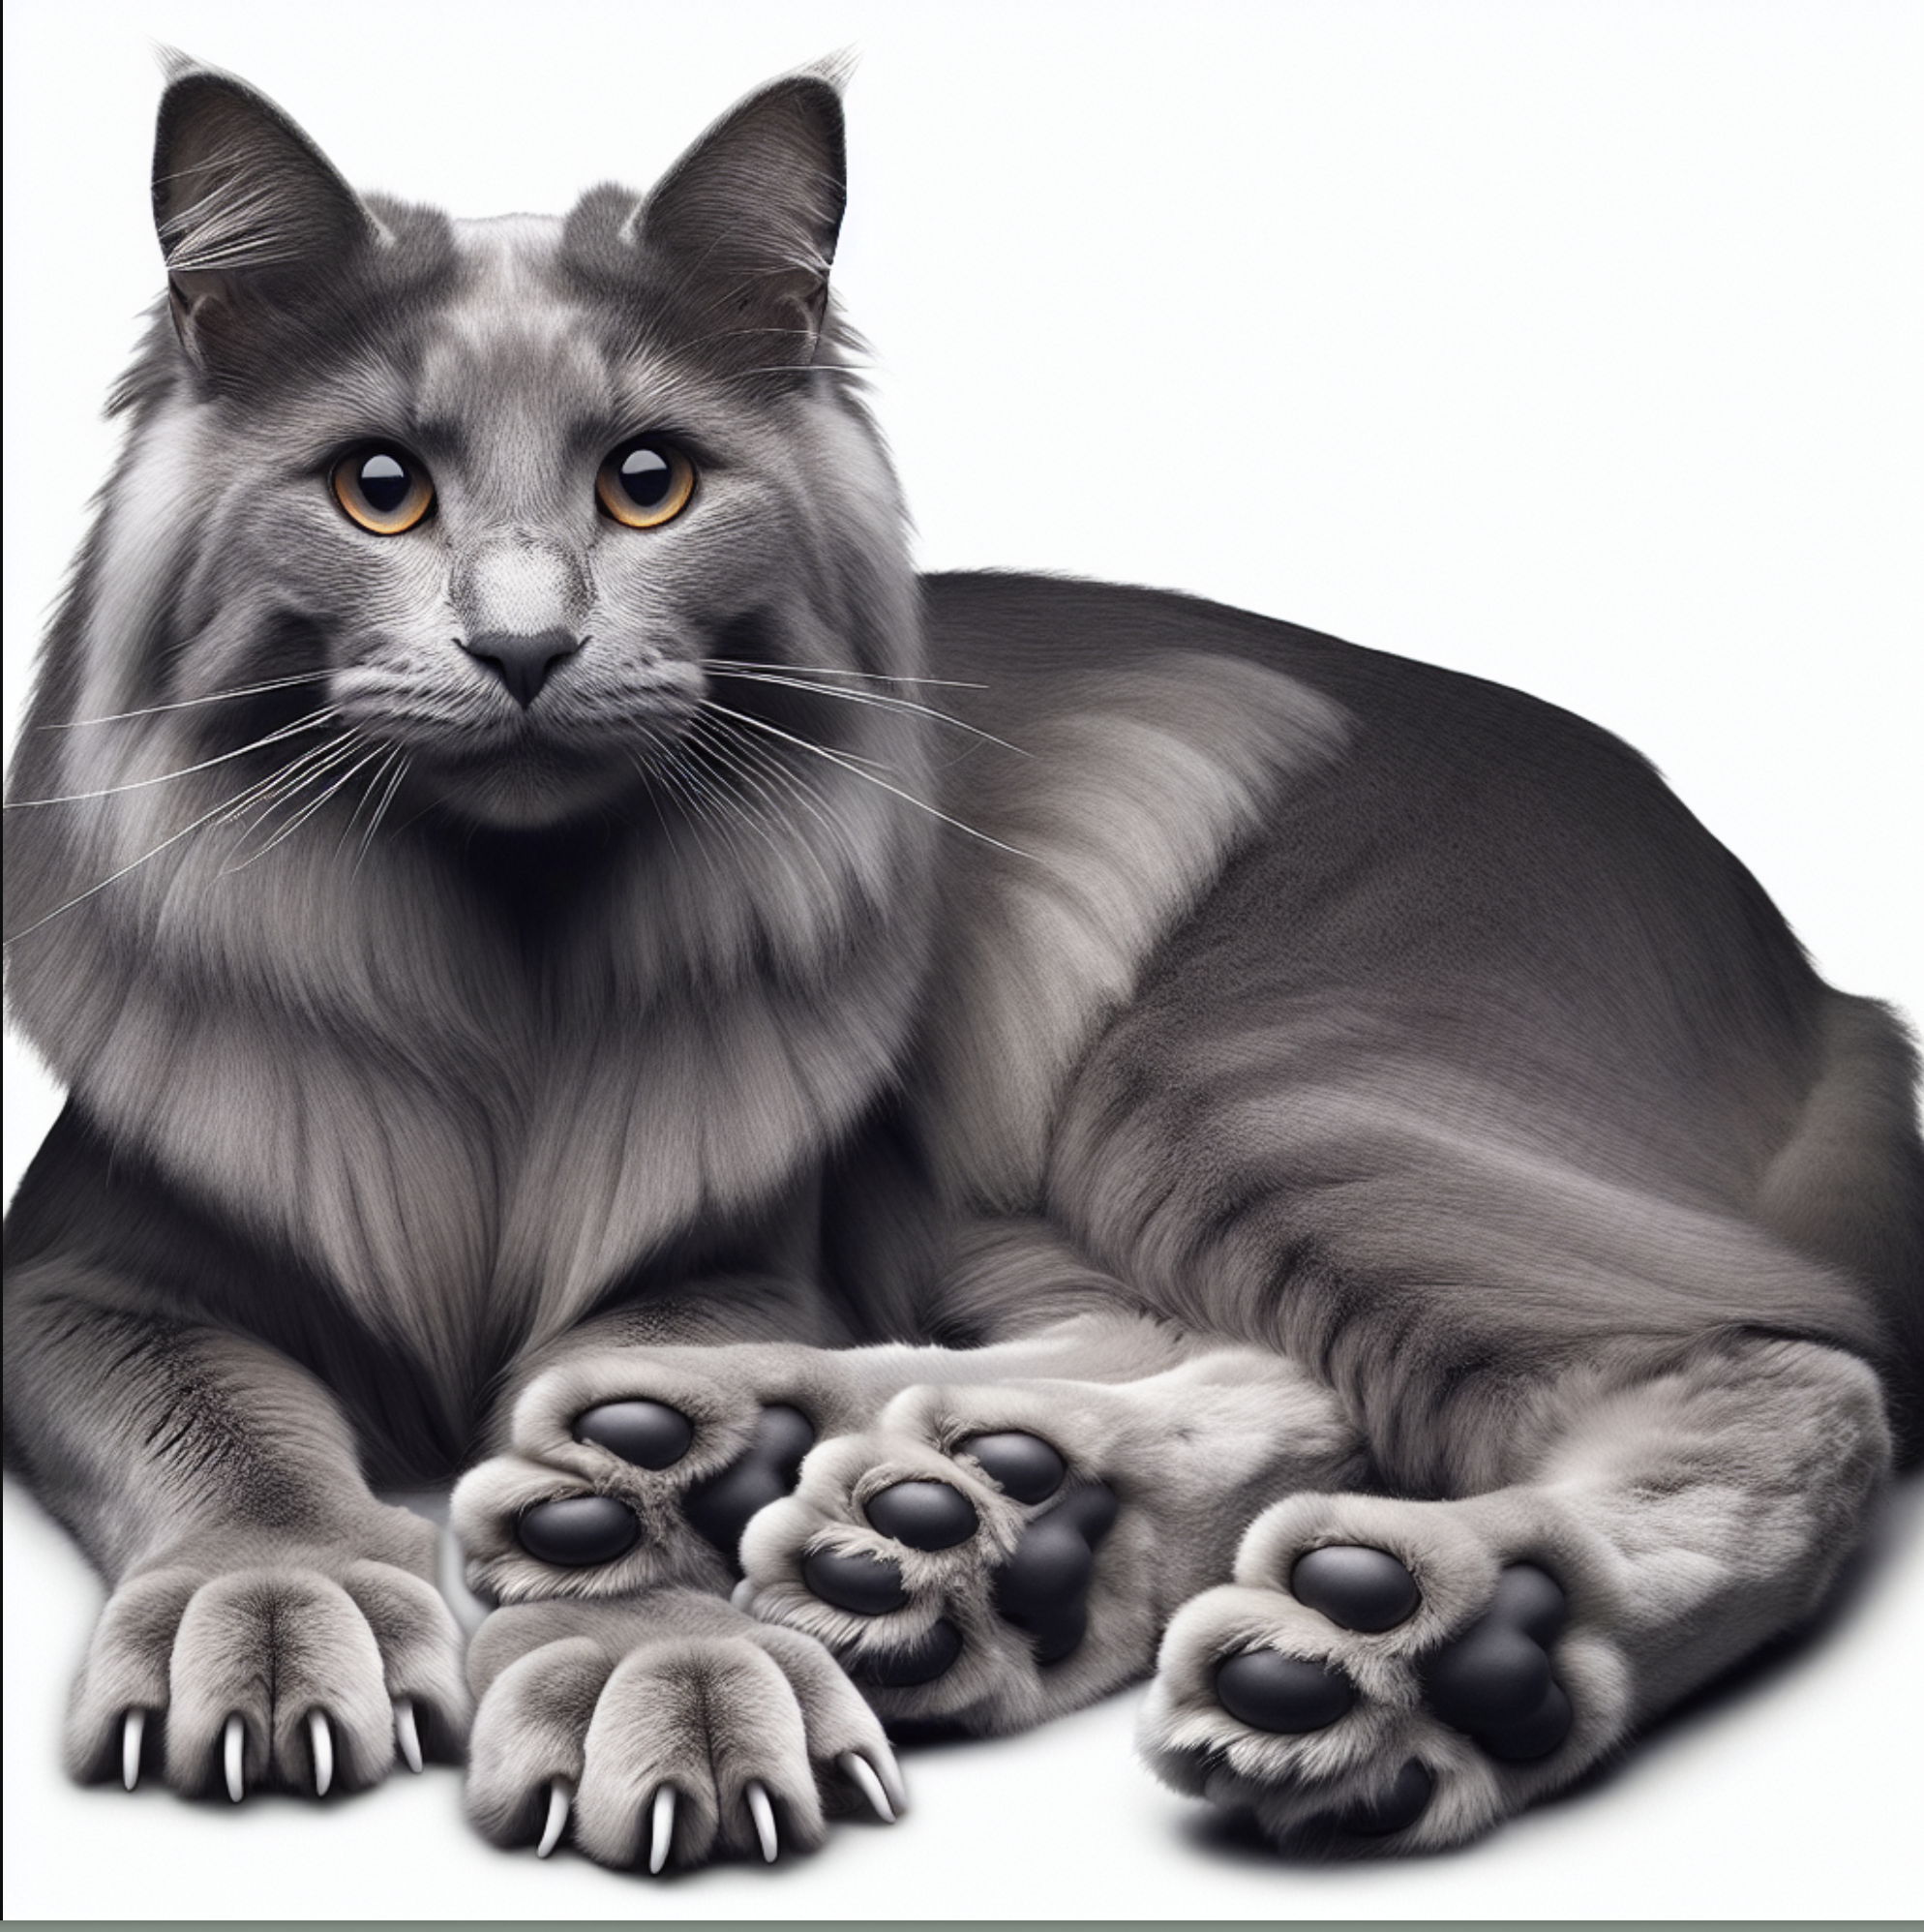
3. **Generate the image**: Use the `openai.Image.create()` method to generate an image. You provide a text prompt and other configuration settings like model, size, and quality. ```python response = openai.Image.create( model='dall-e', prompt='a
gray cat with 6 toes called "wolfl"', size='1024x1024',
quality='standard', n=1 ) ``` In this prompt, you're asking the
DALL-E model to generate an image of "a gray cat with 6 toes called 'wolfl'".
4. **Retrieve the image URL**: After the image is generated, you can get the URL
to the image from the response. ```python image_url =
response['data'][0]['url'] ```
5. **Display the image** (optional): If you
want to display the image directly in your Python environment (like Jupyter
Notebook or Google Colab), you can use the `Image` and `display` functions:
```python display(Image(url=image_url)) ```
6. **Print the image URL**
(optional): If you just want to retrieve the image URL and use it elsewhere, you
can print the URL: ```python print(image_url) ```
### Step 3: Execute the Code
1. **Run the script**: In your Python environment, execute the script. If using Google Colab, you can press the "Run" button or use the keyboard shortcut (Shift+Enter) to run the current cell.
2. **View the result**: If you're using `display`, the image should show up directly in your environment. If you're printing the URL, you'll need to visit the URL in a web browser to see the image.
That's it!
 Sign in with Wallet
Connect another wallet
Sign in with Wallet
Connect another wallet