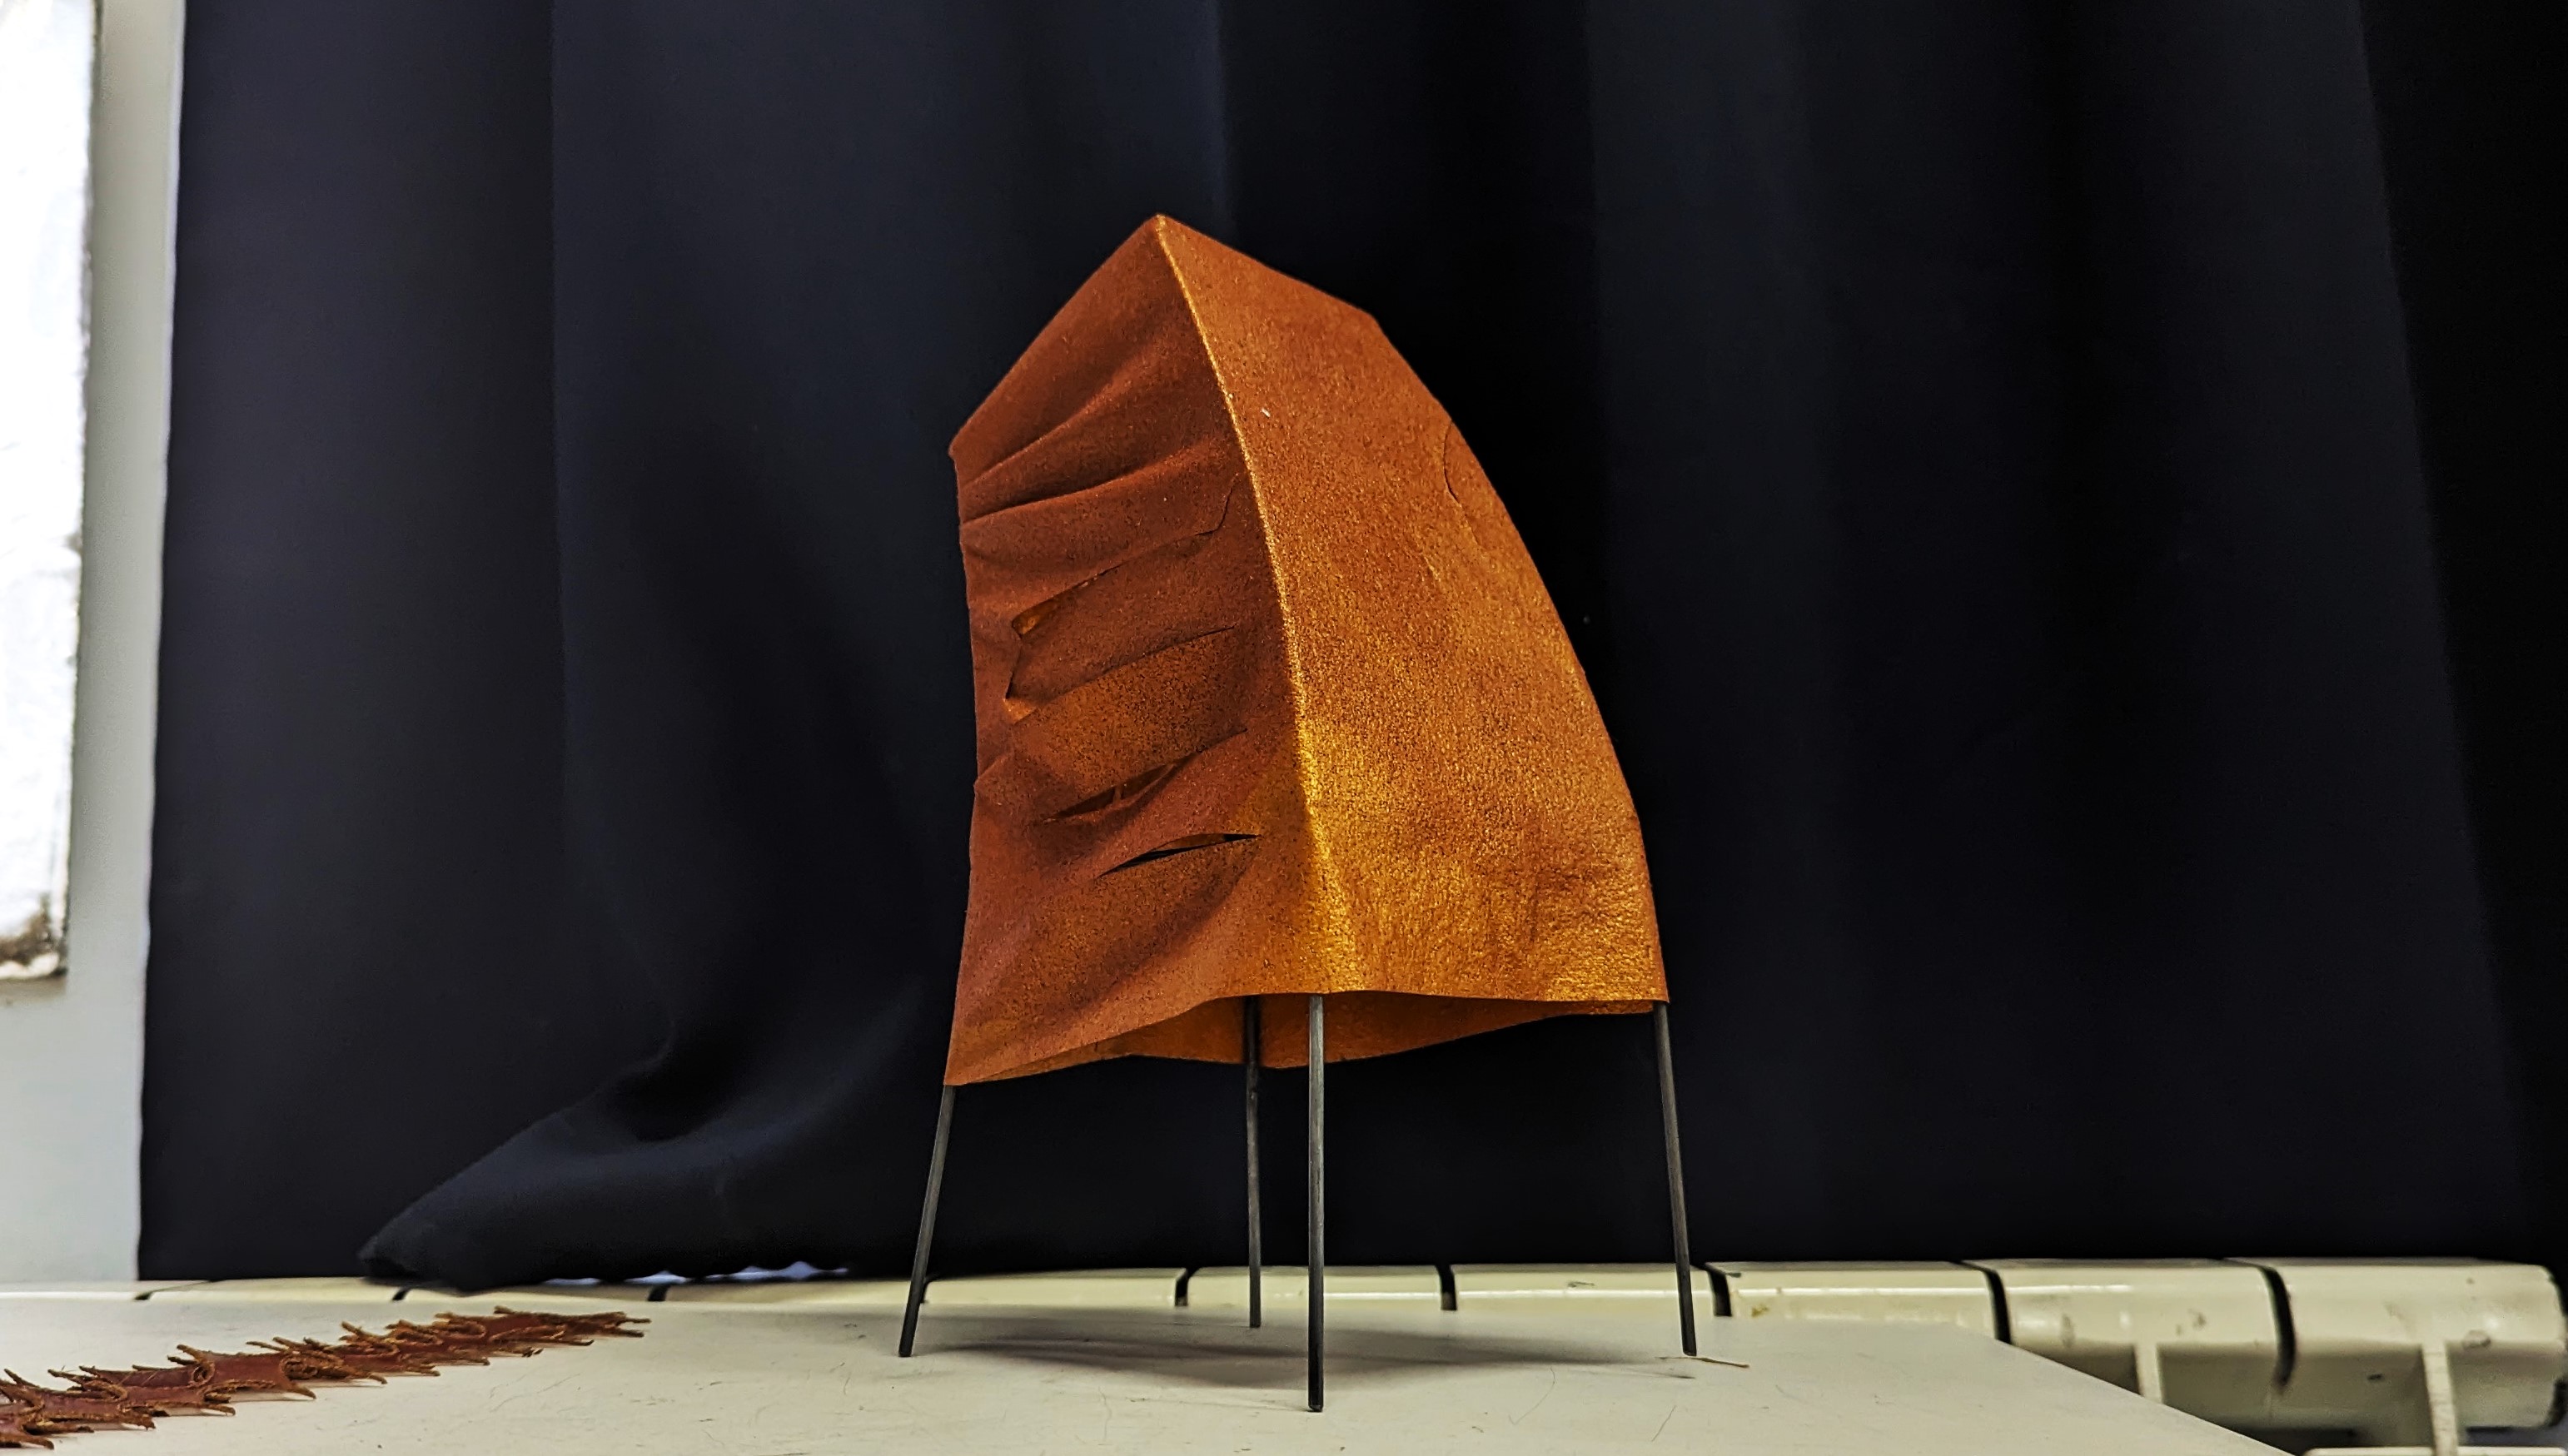
# Lamp 1
We chose sodium alginate to create a Lamp screen, as it has properties that make it translucsent, relatively flexible and water resistant, making it more durable.
The idea was to make a surface with a dinamic texture that would generate interesting and organic light effects.
We generated openings resambling a marine crature´s gills using the laser cut machine. On the process we encountred several obstacules and failures that iterated the final result.
:::success
:bulb: **Learnings**
#### In regards to biomaterial:
- Making a thin biomaterial makes it difficult to demold.
- Stretching a thin biomaterial is more likely tear up.
- Make sure the lamp wireframe is the right size to avoid screen fitting problems.
- Consider shrinkage.
#### In regards to metal wire production:
- Make sure you test welding.
- Weld with detail and precision when attaching thin wires, they might melt and break if too much heat is applied.
:::
## Biomaterial Recipes
### Recipe 01
- Water
- Sodium alginate
- Gold Mika
- Red Mika
- Glycerol
#### Batch 1
| Material | Amount |
| -------- | -------- |
| Water | 600ml |
| Sodium alginate | 12g |
| Gold Mika | Added by eye, more than Red Mika |
| Red Mika | Added by eye |
| Glycerol | 24g |
#### Batch 2
| Material | Amount |
| -------- | -------- |
| Water | 600ml |
| Sodium alginate | 12g |
| Gold Mika | Added by eye |
| Red Mika | Added by eye, more than Gold Mika |
| Glycerol | 24g |
### Recipe for Calcium Chloride Solution
Calcium Chloride
Water
| Material | Amount |
|----------| -------|
| CaCl | 10g |
| H2O | 100ml |
#### Steps
1. Mix CaCl and H2O
2. Put in a spray bottle
### Material Casting
1. Make Recipe 01 Batch 1:
1.1. Mix SA in water
1.2. Add colorants
1.3. Mix thoroughly
1.4. Add Glycerol
1.5. Mix thoroughly
2. With the same steps, make Recipe 01 Batch 2 
3. Prepare the Calcium Chloride solution
4. Prepare the mold
5. Spray the mold and spread the CaCl solution on to the mold
6. Pour Batch 1 into the mold
7. Pour Batch 2 into the mold at different spots 
8. Lightly mix the new solution in the mold to create the color effect as you like
9. Spray the CaCl solution on the surface
10. With a wet tissue paper, dab the surface to remove excess CaCl solution
11. Let dry
12. To assist the drying process, place a fan to increase airflow
13. Wait for 3-4 days to dry
14. Slowly remove the material by peeling it from the mold
## Laser Cutting
### Settings
| Setting | Value |
| -------| -------|
| Type | Cut |
| Power | 20 |
| Speed | 10 |
|Machine| Speedy 400 |
### Cutting
1. Prepare the material, make sure it is as flat as possible
2. Prepare the file
3. Run the laser machine to cut the material
:::success
:heavy_check_mark: **Testing is important**
We made small test materials of the recipes. This allowed us to test different mechanisms: folding, cutting, marking and sticking.
:::

# Lamp 2
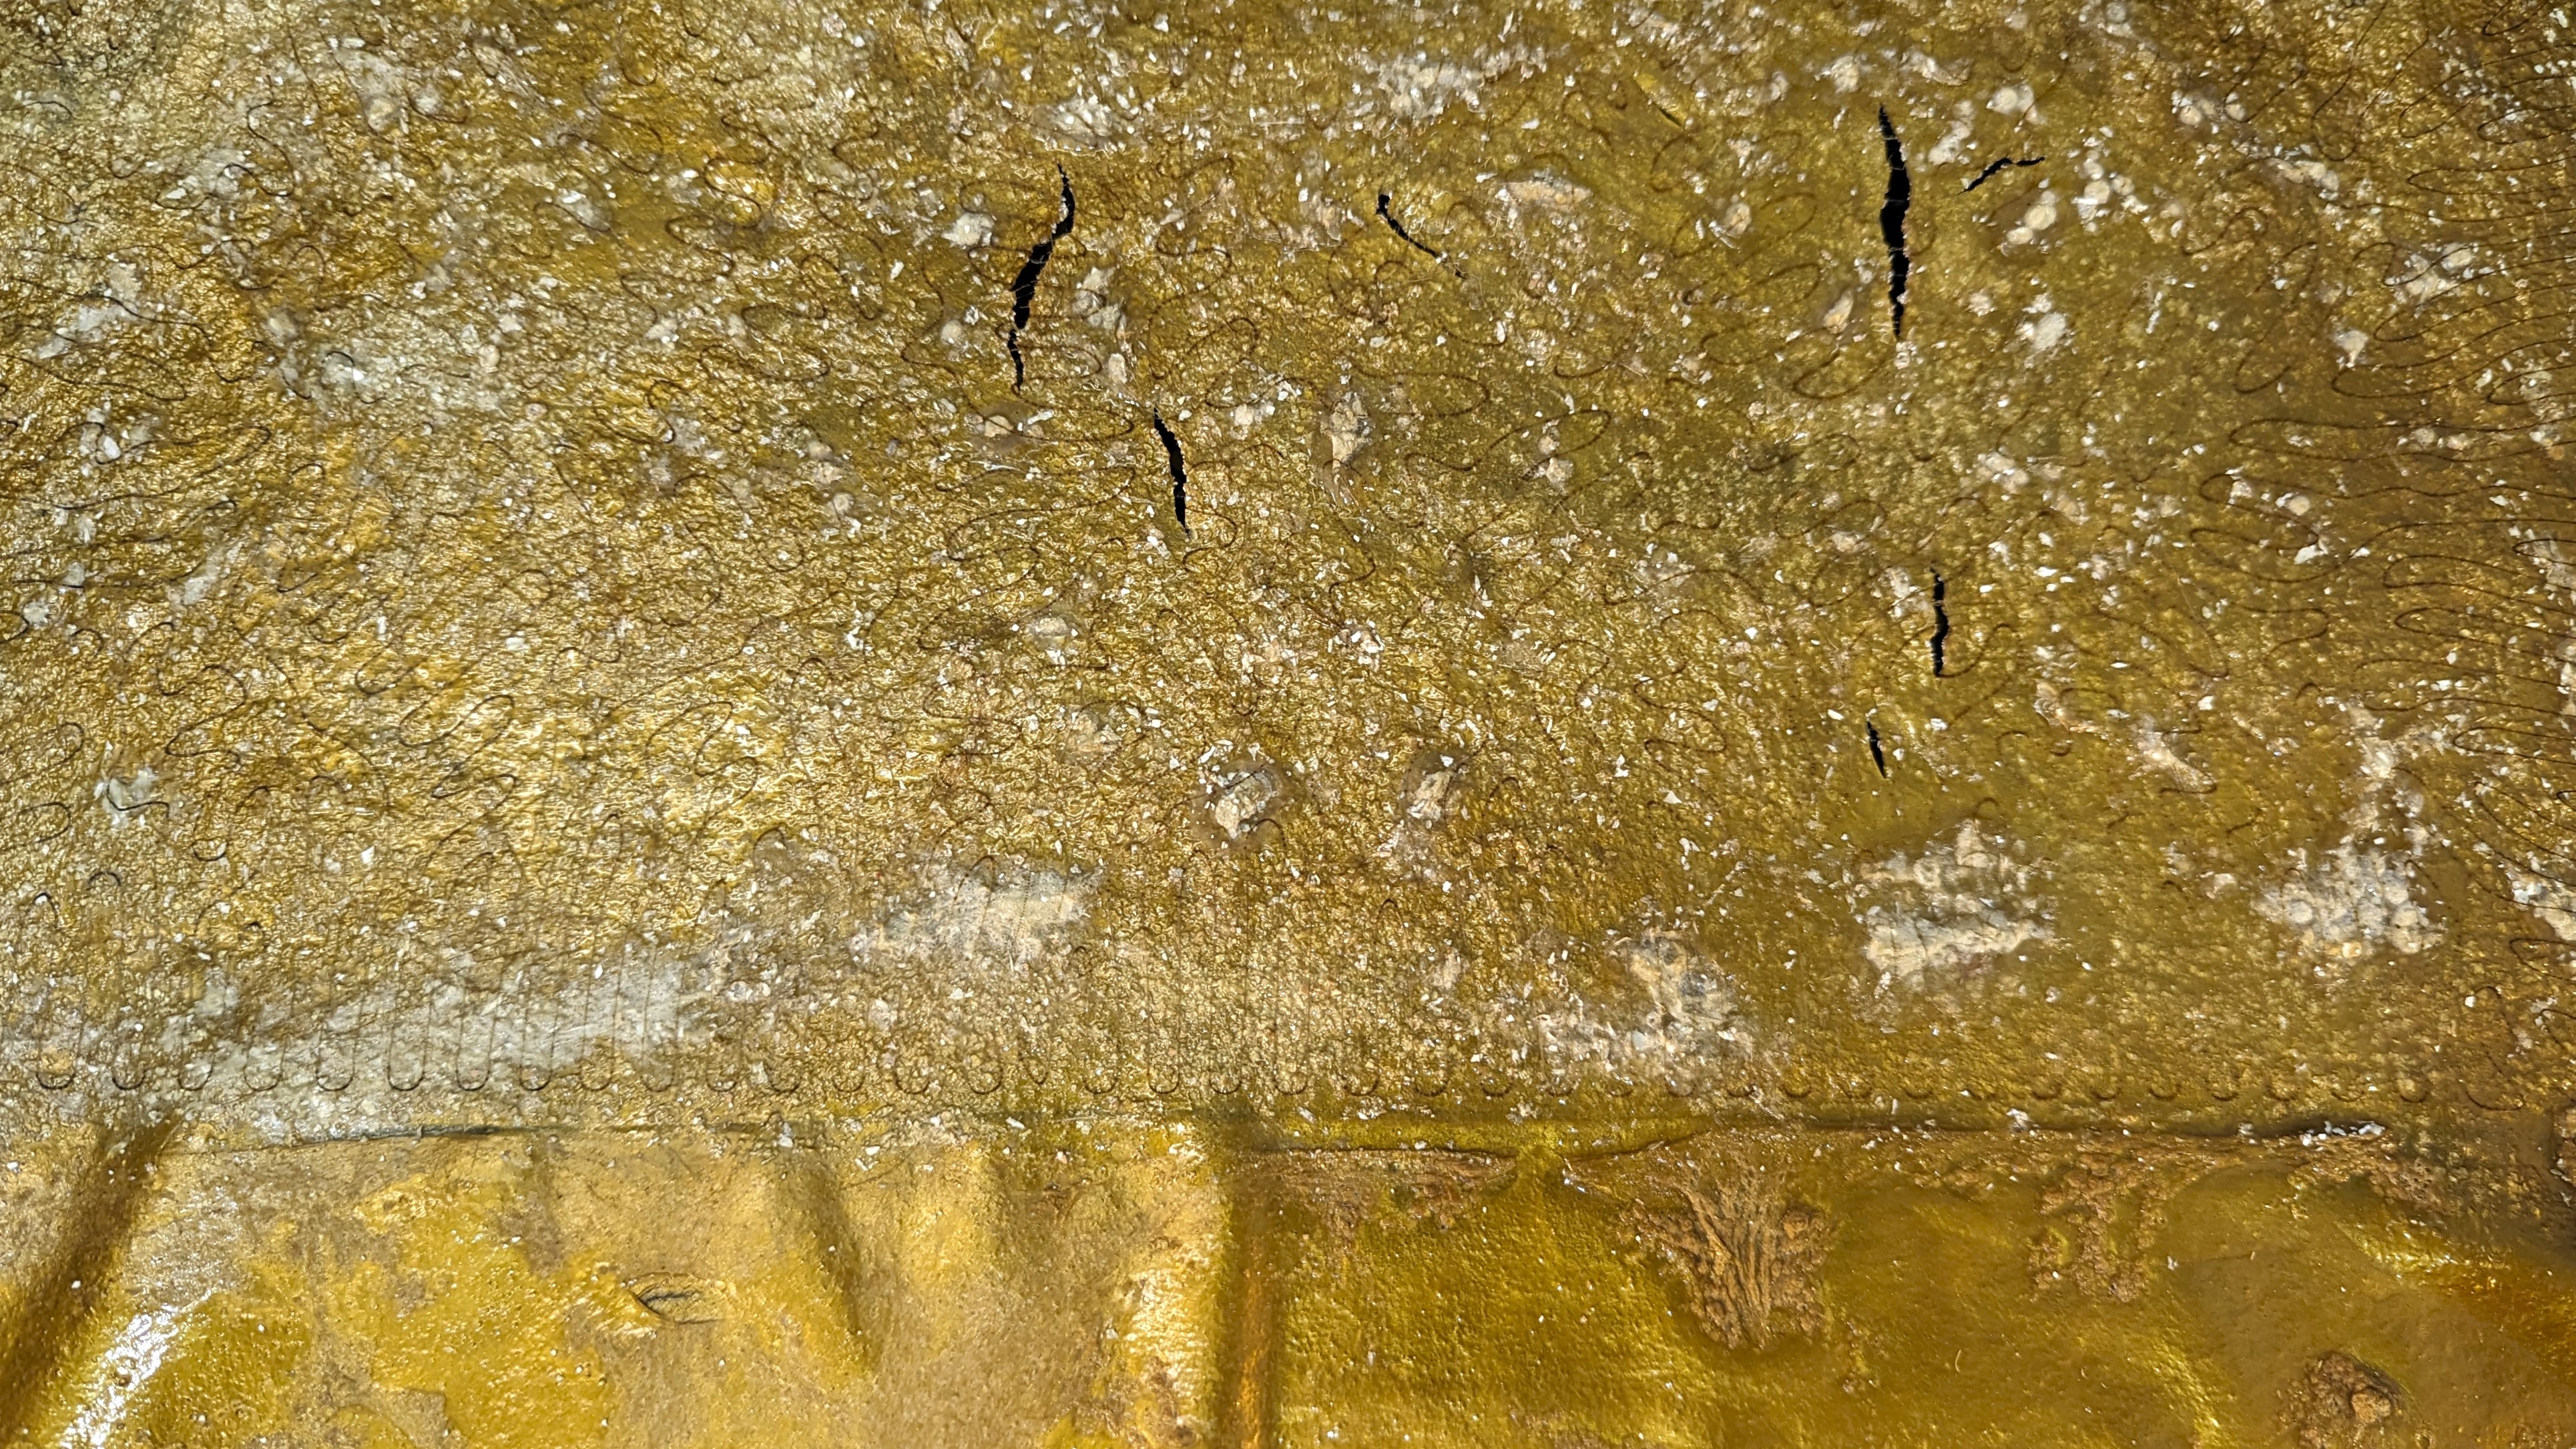
Once again we worked with sodium alginate to create a lamp screen, but this time we decided to use two different textures on the same biomaterial sheet: One with just sodium alginate and colorant which is more flexible and translucent, and a second one to which we added some granules and fibers to increase the hardness and stiffness of the material.
The idea was to engrave the fibered texture with a coral generative growht pattern using grasshopper, and generate openings between the two textures in order to play with the geometry and light.
:::success
:bulb: **Learnings**
#### In regards to biomaterial:
- Making a thick biomaterial takes more time to dry.
- Pour a thin layer of biomaterial before adding fibers and granules.
- Pour the biomaterial on top of the granules and fibers slowly for them to stay in place.
- Consider shrinkage.
#### In regards to laser engraving:
- Consider the material thickness to define power and speed values.
- If you want a thicker engraving line, lower the laser machine bed to defocus a little.
- If the engraving is not visible, test different variables: lower speed, increase power, make several passes on the same path.
- Make as many tests as possible before using the final biomaterial sheet.
:::
### Recipe 02
- Sodium Alginate
- Spirulina
- Curcuma
- Gold Mika
- Egg shells
- Horse/Goat Hair
### Recipe 03
- Sodium Alginate
- Spirulina
### Recipe for Calcium Chloride Solution
- Same as Lamp 1
### Material Casting
1. Make Recipe 02 solution:
1.1. Mix SA in water
1.2. Add colorants
1.3. Mix thoroughly
1.4. Add Glycerol
2. Make the Recipe 03 solution, as Recipe 02
3. Prepare the eggshells by crushing them into tiny pieces
4. Prepare the hair by cutting to short lengths (around 1-3cm)
5. Prepare the Calcium Chloride solution
6. Prepare the mold, put a cardboard create a division inside the mold
7. Spray and spread the CaCl solution on to the mold
8. On one side of the division, pour Recipe 02 solution
9. Spray the CaCl solution on the surface of this side of the division
10. On the other side of the division, pour in a thin layer of Recipe 03 solution first
11. Evenly put the eggshells and hair on to the surface
12. Pour the rest of the solution
13. Spray the CaCl solution on the surface of this side of the division
14. With a wet tissue paper, dab the surface to remove excess CaCl solution
15. Let dry
16. To assist the drying process, place a fan to increase airflow
17. Wait for 3-4 days to dry
18. Slowly remove the material by peeling it from the mold
## Laser Cutting
### Settings
| Setting | Value |
| -------| -------|
| Type | Cut |
| Power | 30 |
| Speed | 5 |
|Machine| Speedy 400 |
### Laser Marking
1. Prepare the material, make sure it is as flat as possible
2. Prepare the file
3. Run the laser machine to engrave/mark the design
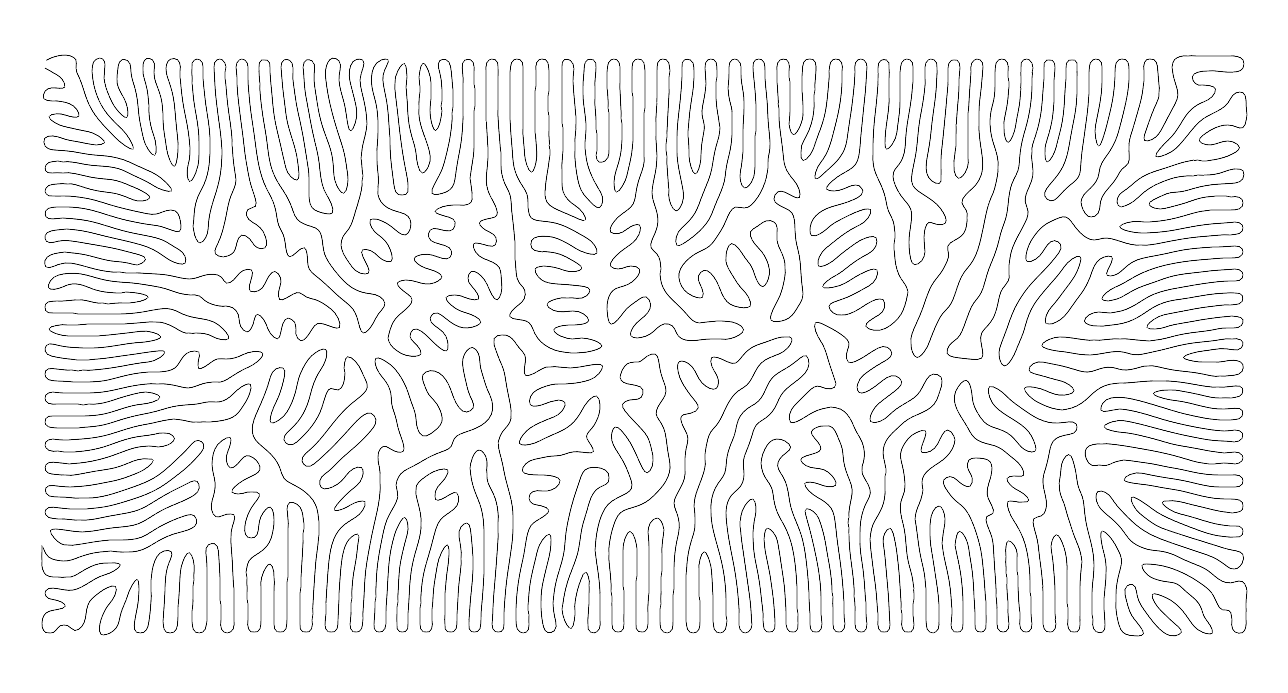
### Designs
In Rhino and Grasshopper, we generated different patterns

Finally, we decided to use this one:
 Sign in with Wallet
Connect another wallet
Sign in with Wallet
Connect another wallet