# How to clean scan like an ~~insane person~~ professional pirate in cracked Photoshop
> "Your scans look very good man, it's just a tiny bit too heavy but that seems fair to me"
> -- said nobody, like, ever
## Table of Contents
[TOC]
## Raw Scan
All of the raw scans I clean are scan in 1200 DPI without any image processing option. None color correction, de-screen nor dust/hair reduction.
For CIS scanner, it's important to use heavy object to make sure the things you scan are flat. Scanning with lid open isn't a problem ~~if you wipe the glass after each scan that is~~.
For booklet/multiple pages content, you should scan one page at a time. It should be take twice as much time to scan as we usually do but the raw scan will be much more flat which means the blurry scan issue is mostly fixed.
If you want to go another step further: Fix tilting issue right from the scan step because in my opinion digital rotating isn't that good (rotating image is kind of like a lossy transform). It works for sure but if you want the absolute best quality scans, you should rotate the booklet/CD correctly from the scan step.
## Booklet, Obi, Tray,...
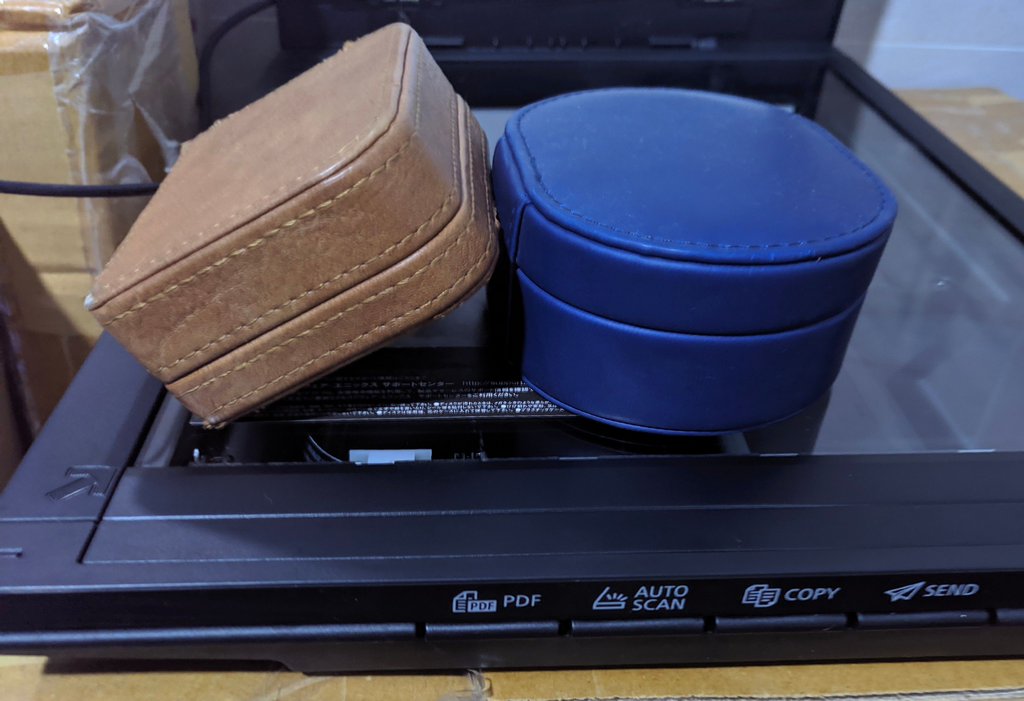
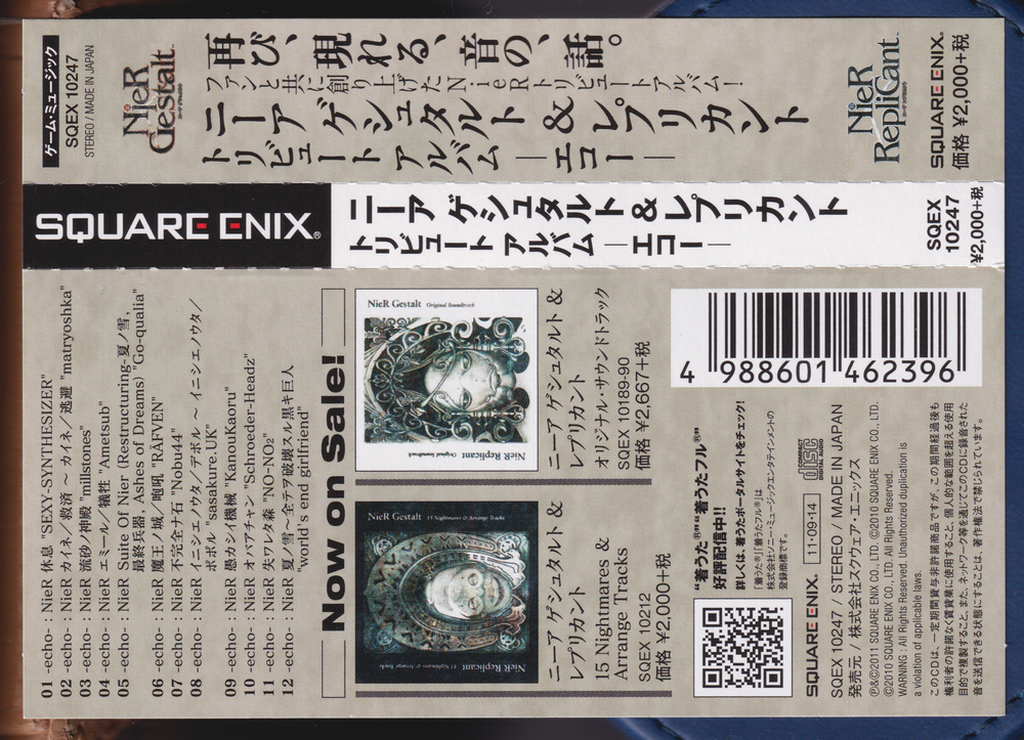
The Obi that I'm going to clean in this guide:
For image with has a rectangle/square shape, I will do the following process:
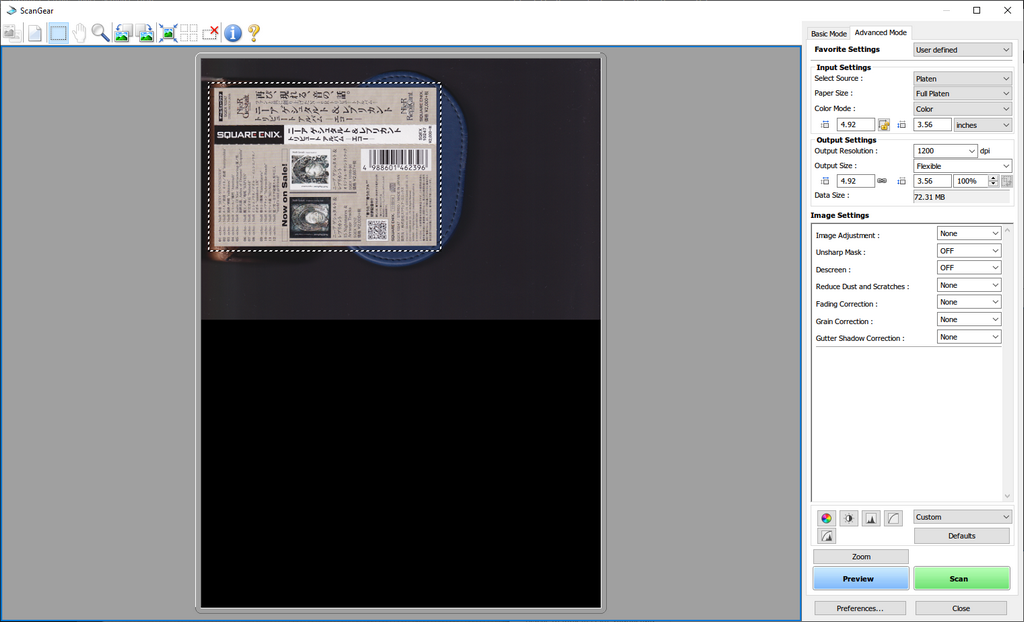
### Cropping the image
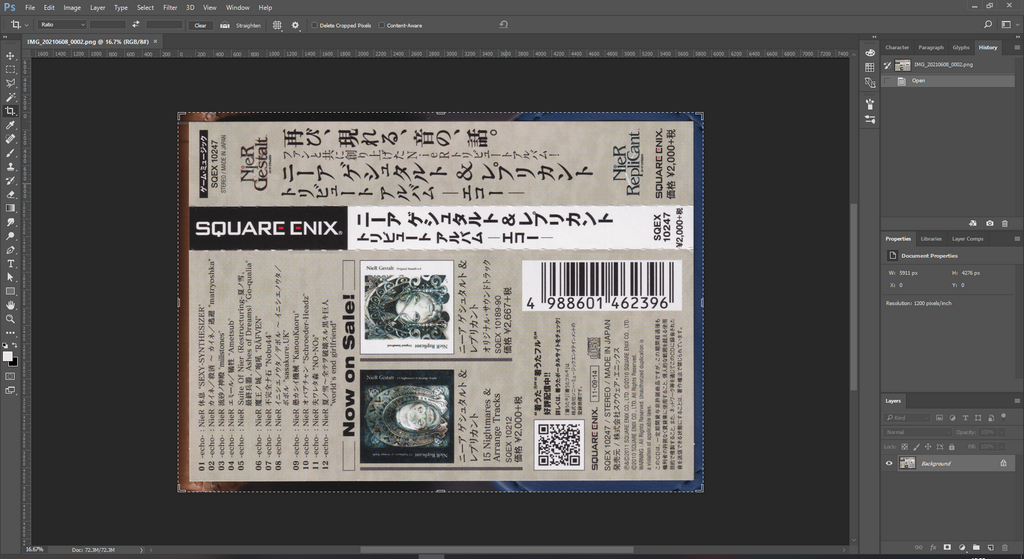
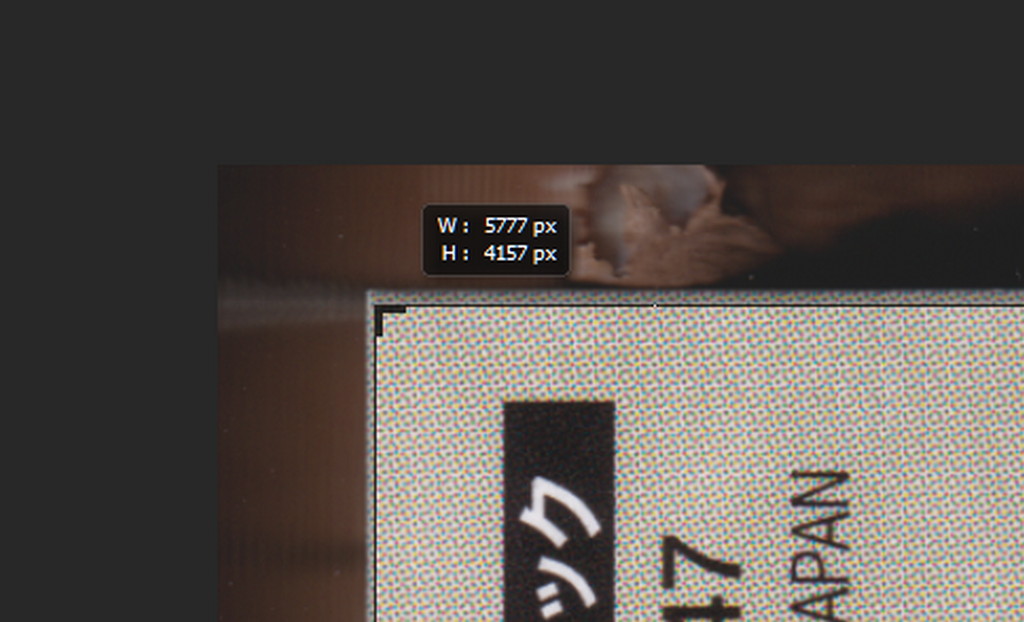
Using the `Crop tool (C)` and zoom into one corner of the Obi. Make sure to holding `Space` and drag to move around quickly just like `Hand tool (H)` and holding `Alt` while scrolling to zoom in and out like `Zoom tool (Z)`.

Hold `Alt` and click inside of the Obi change its center of the rotation.
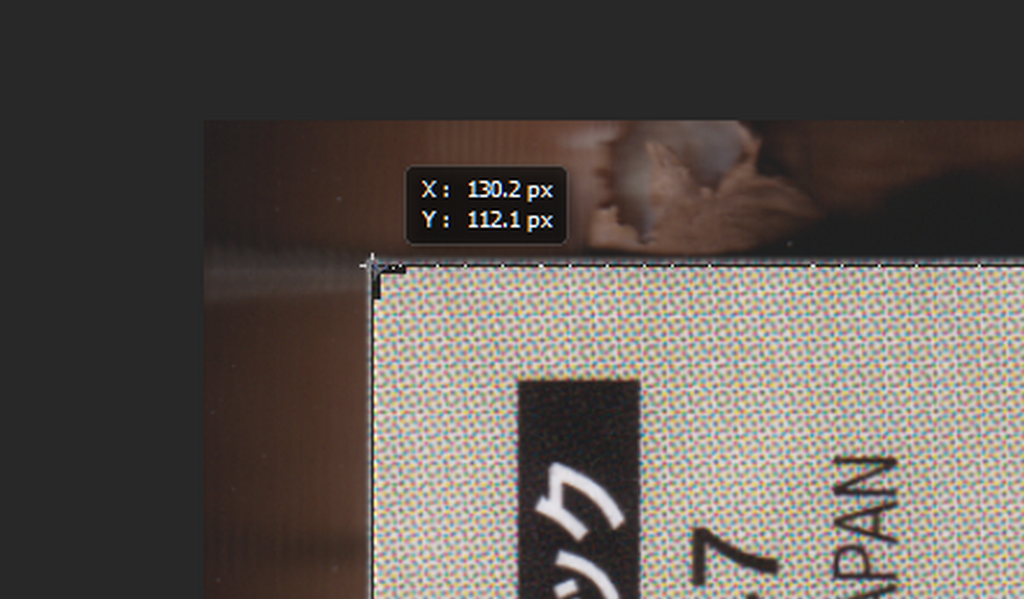
Then move it to the corner. (There're different methods but I just found this one is the fastest one for me)
Then move to view to another corner and drag the corner to inside of the obi. Then rotate while holding `Ctrl` to so you can rotate a very small degree.
After cropping for that corner, check 2 other corners and do the same thing.
### Cleaning the scan
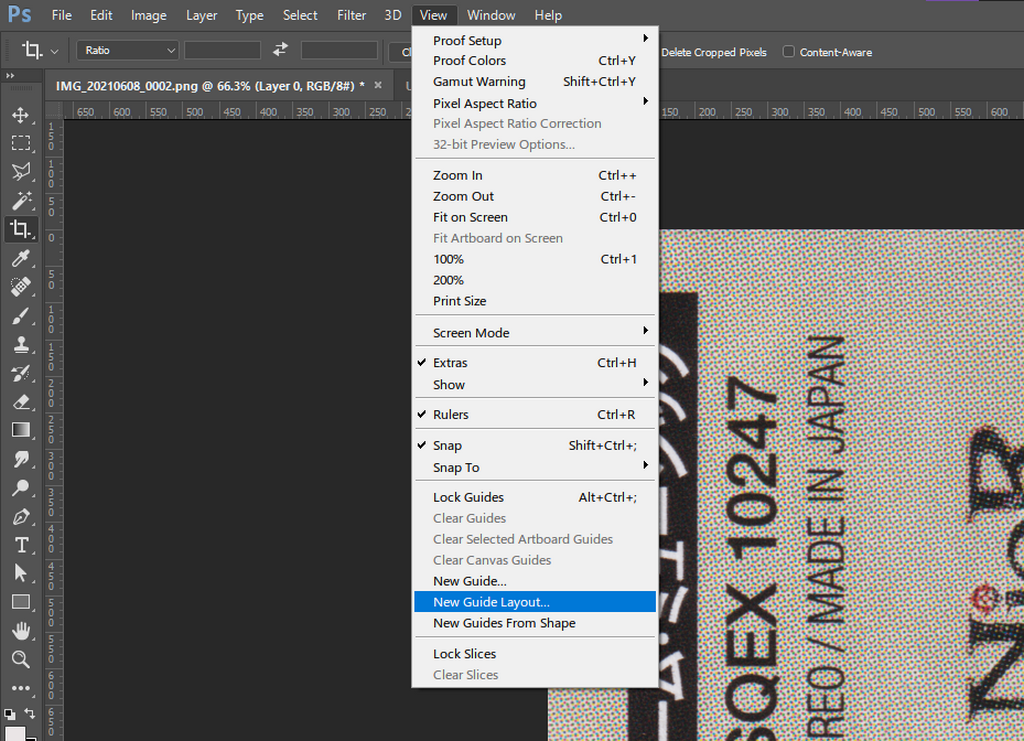
Firstly, click `View > New Guide Layout` and using these options:
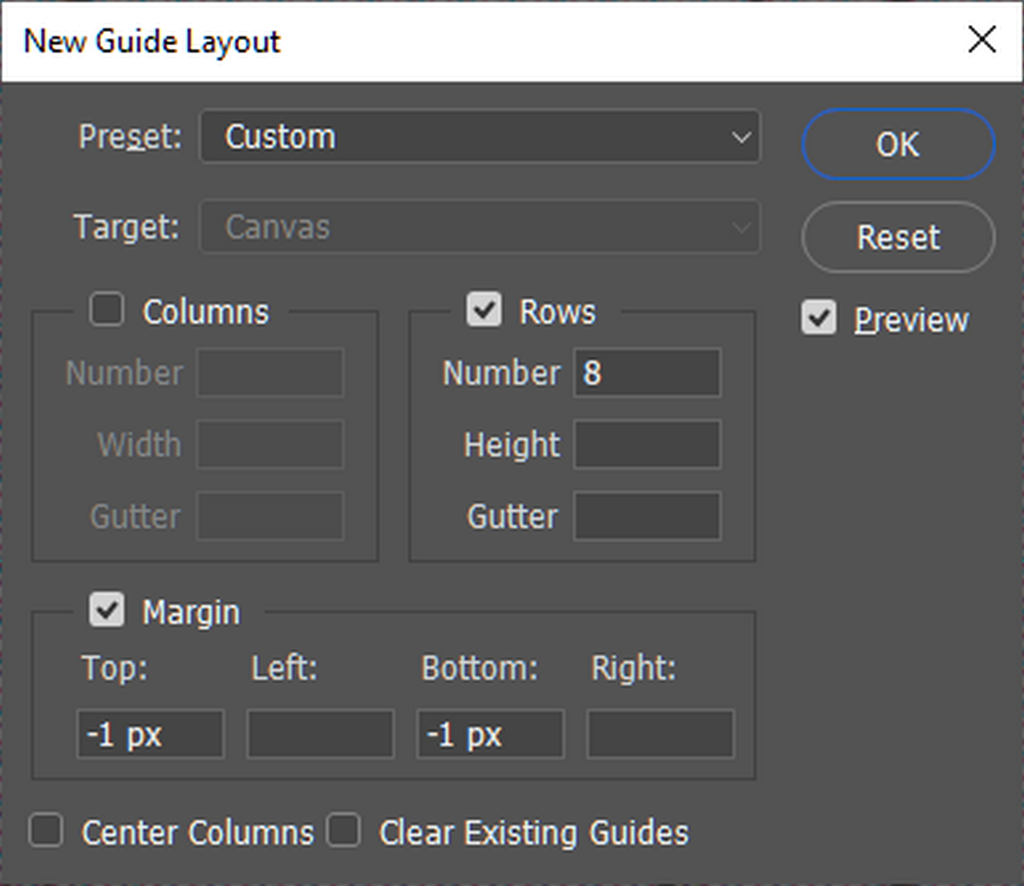
This guide layout will divine the image into 8 rows and we cleaning each of them one by one. (The margin is just to make sure it doesn't overlap the border pixel line)
In case you ask why I didn't divine it by 6 and use top and bottom as `12.5%` as their values, every time you use percentage value in this guide layout. It automatically convert them to `px` instead of `%` for the next time you use it (for Ps 2017).
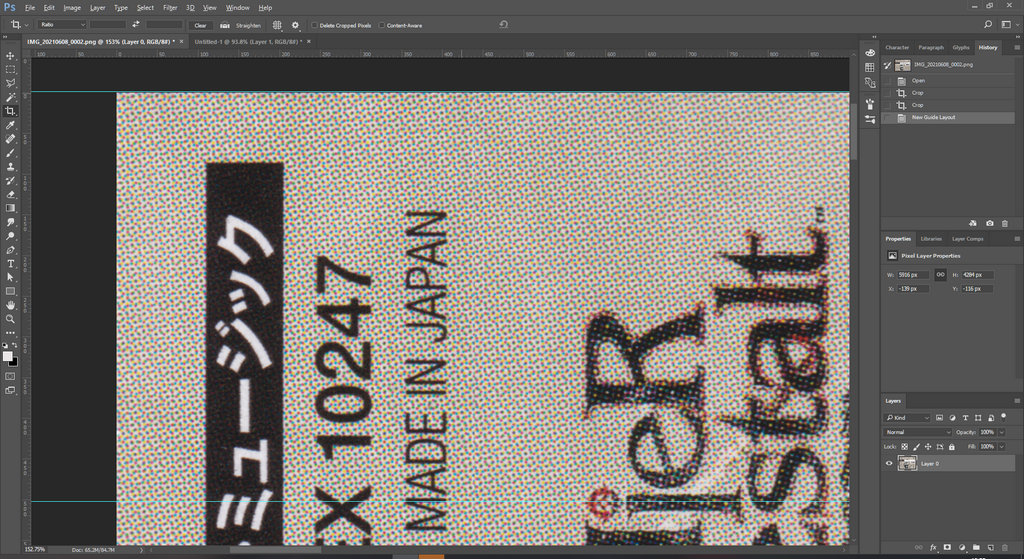
Next, zoom until one row fit the whole screen. Then using either `Clone Stamp Tool (S)` or `Spot Healing Brush Tool (J)` to clean all of dust/hair.
If there's any wrinkle that makes the one half of the scan are lighter/darker than the other. Try using `Dodge Tool (O)` and `Burn Tool (O)` to lighten/darken to make the areas in almost the same color and then use `Spot Healing Brush Tool (J)` to remove the wrinkle.
### Merging
` # TODO`
### Saving the file

Self-explanatory step. Preferably, save with maximum compression option. Interlacing doesn't help anything for images like this so just turn it off. [Interlacing](https://en.wikipedia.org/wiki/Interlacing_(bitmaps))
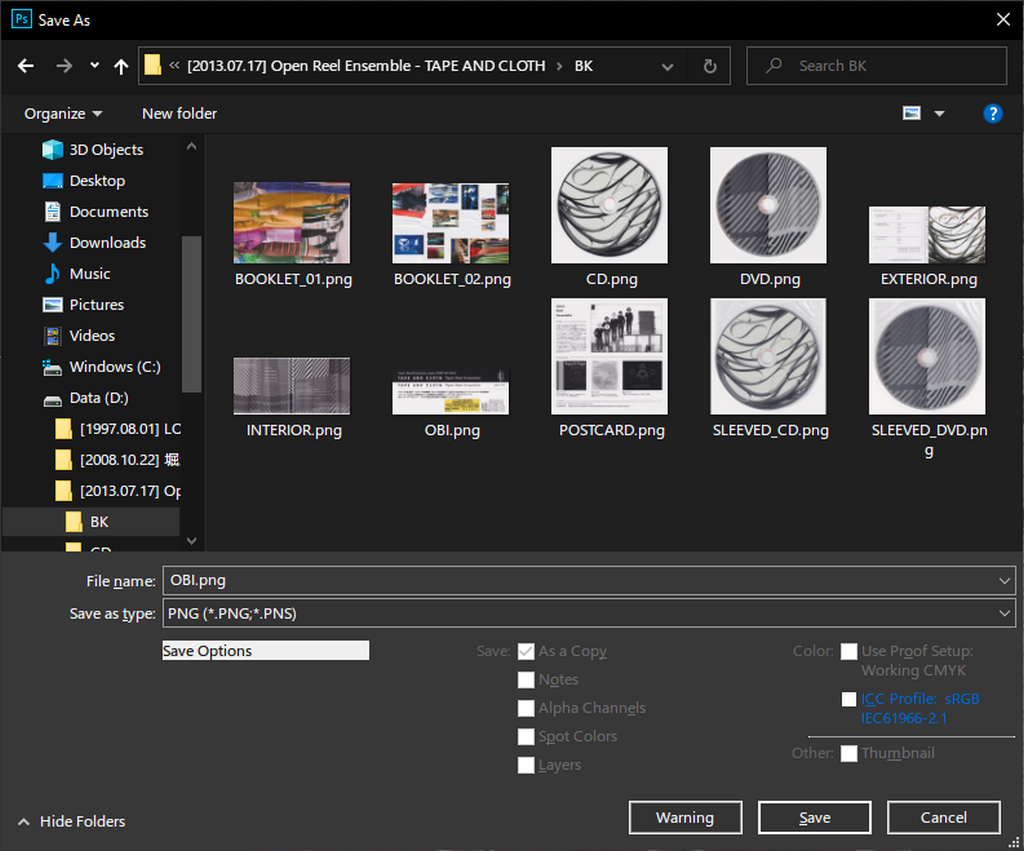
Personally, I like to save with naming convention to clarify which scans are from what in the album.
## CD, DVD,...
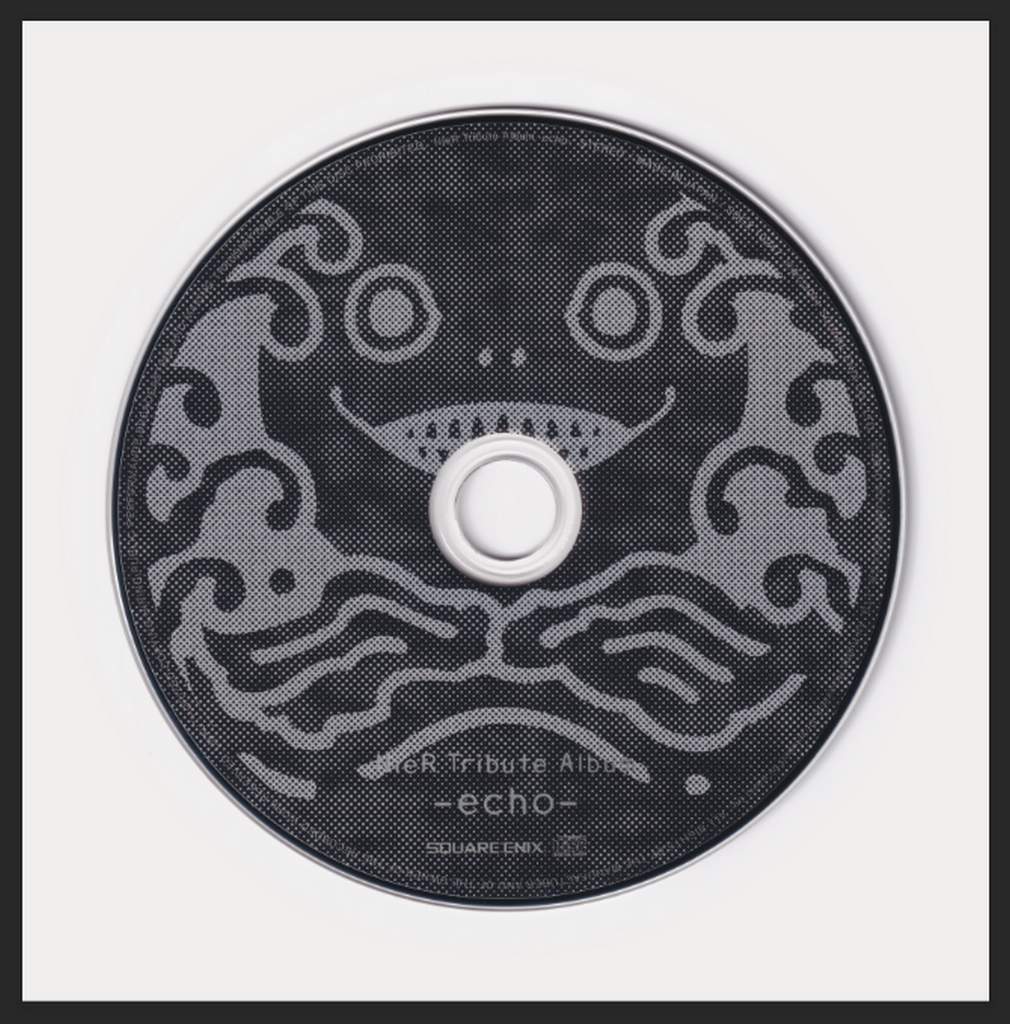
Raw scan of the CD that I'm going to clean in this guide:
### Cropping the image
Turn on the ruler with `Ctrl + R`.
Click on the ruler and drag it to the center of disc to make guides. You don't have to do this perfectly we will fix it later. You need both horizontal and vertical guide. If you want to remove the guide, hold `Ctrl` and drag it back to the ruler on the border of the view.
Holding `Ctrl` if it keeps snapping your guide to center of the image (which we don't want, we want the center of the disc instead).
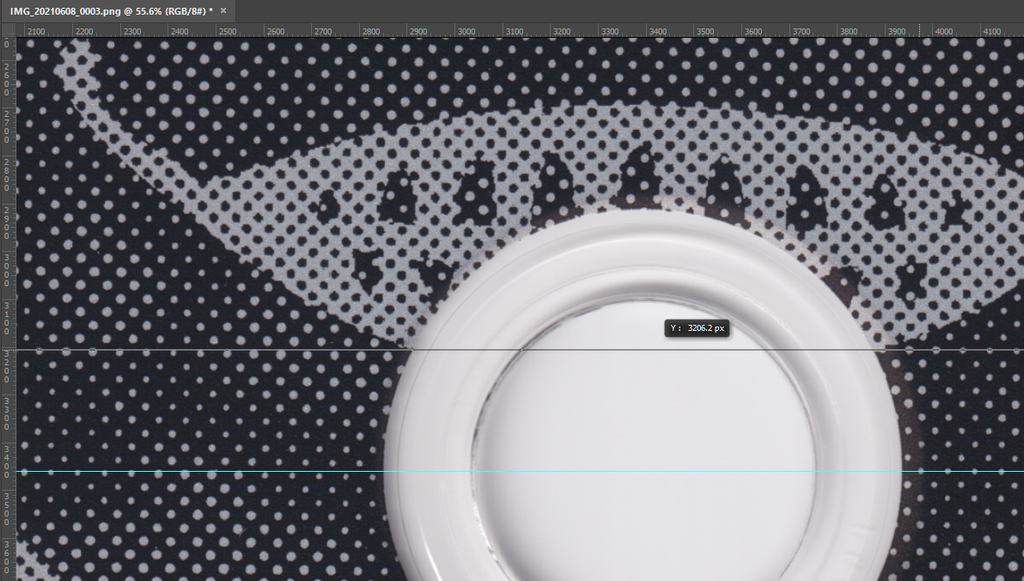
After that, using `Elliptical Marquee Tool (M)` hover the center of the disc (intersection of 2 guides you just created). Then holding `Alt` (this will make the ellipse expands from the center) and `Shift` button which makes the the selection to be circular, then click. Drag until the selection part touches the inner hole of the disc.
Based on how it touch, we will move the guide around until it touch 4 intersections of the guides and the inner hole. Generally, you need move slowly the guide toward the intersection that haven't touched the inner hole (while holding `Ctrl` to make it not snapping to the old location).
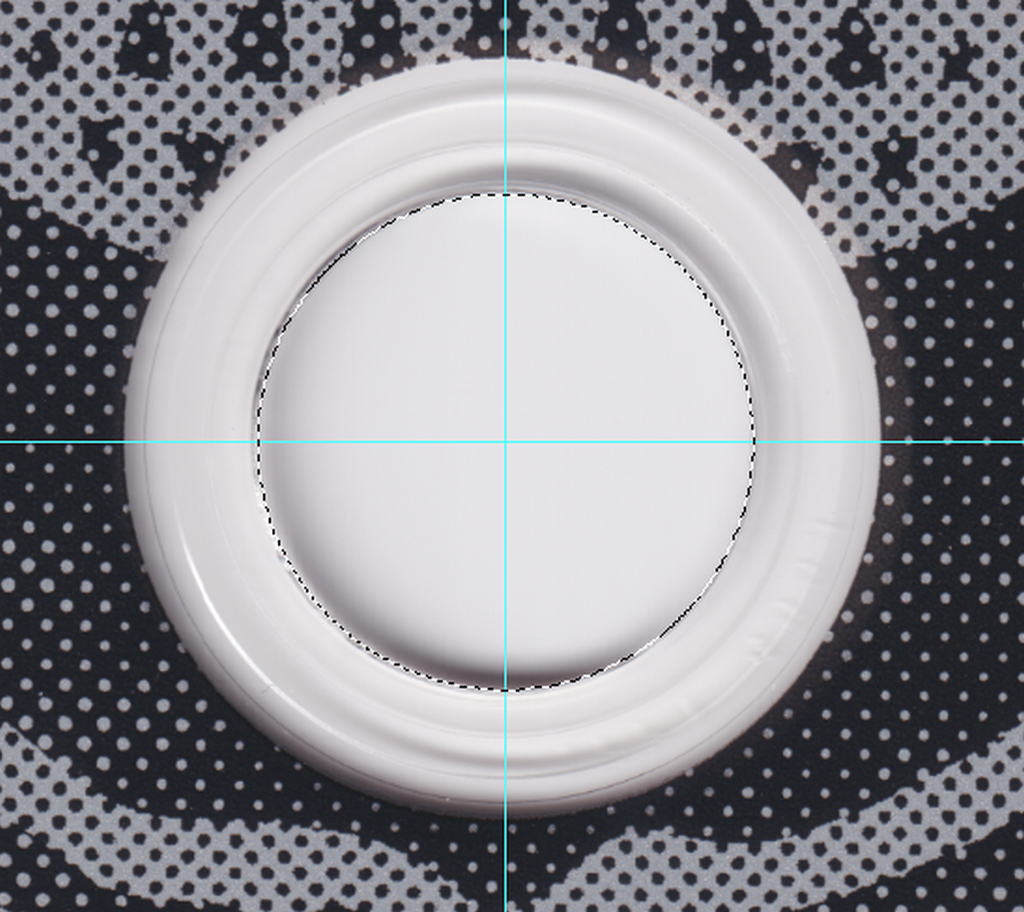
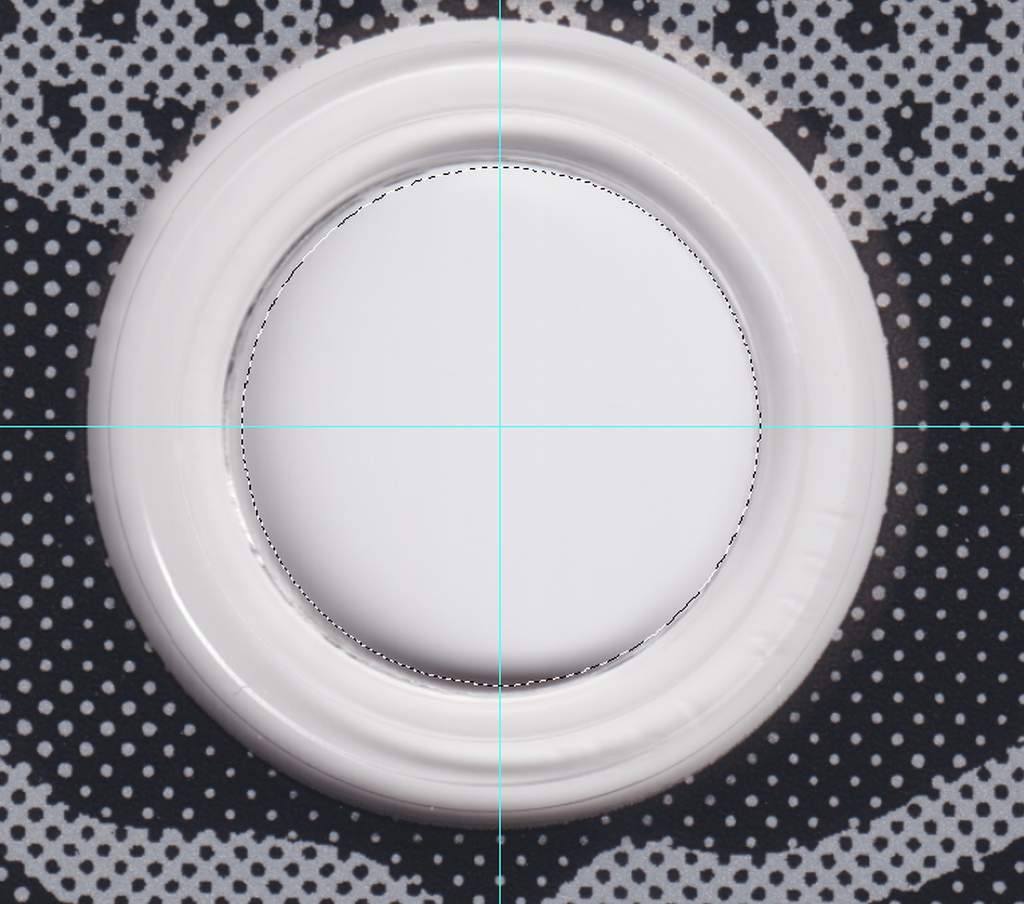
When it touch all 4 intersections, zoom out. Using the same method with `Elliptical Marquee Tool (M)` and select the whole disc keeping some padding spaces.
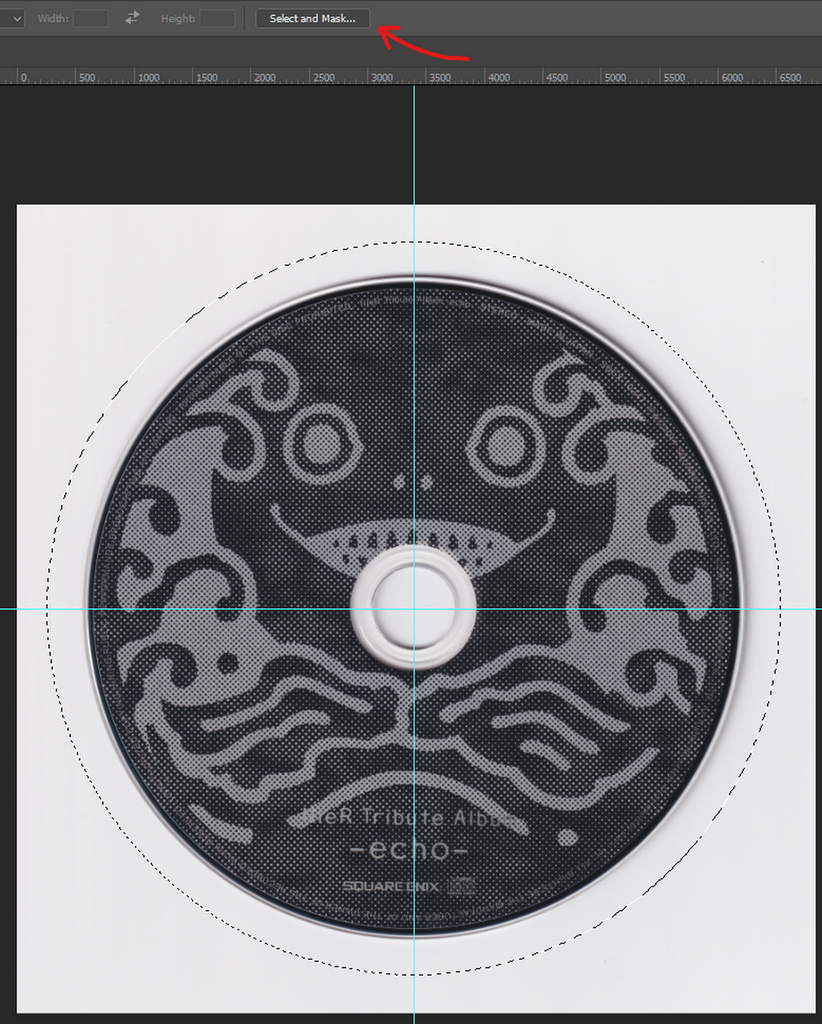
Click on `Select and Mask`.
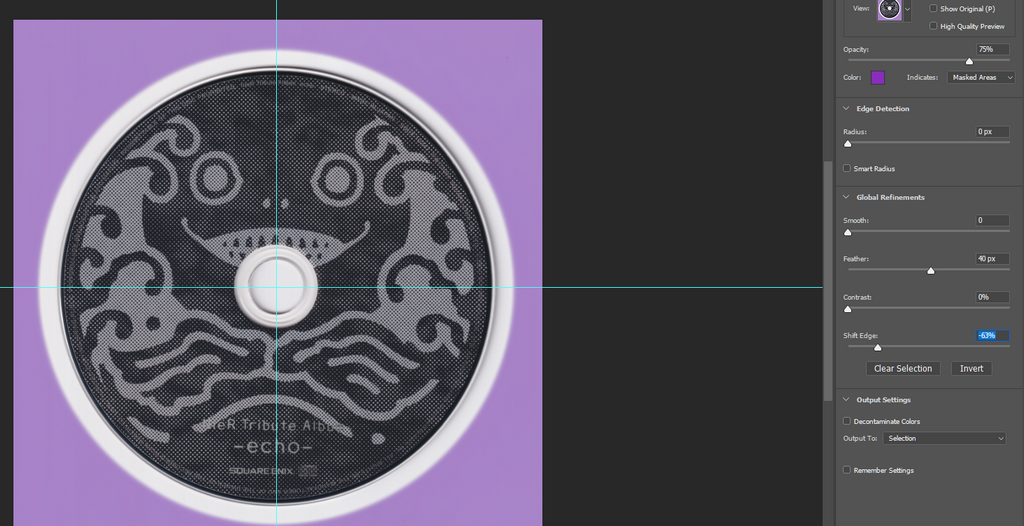
Change the Feather value to `40px ` and Shift Edge until you have bare minimum margins without cutting off any shadows in from the scan. and hit `OK`.
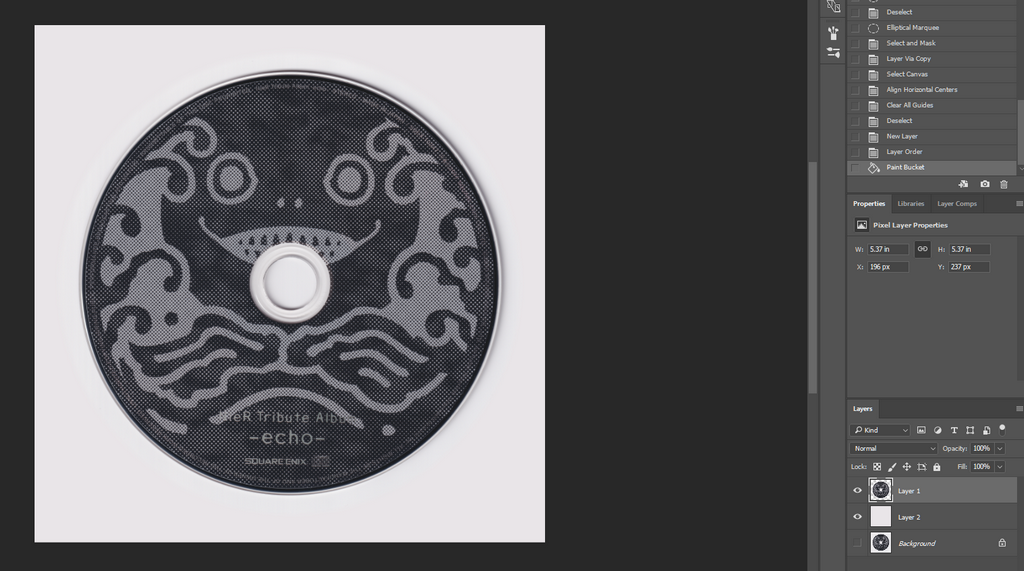
Press `Ctrl + J` while selecting that layer to duplicate the selection part. (I hide the background layer to make it easier to work on).
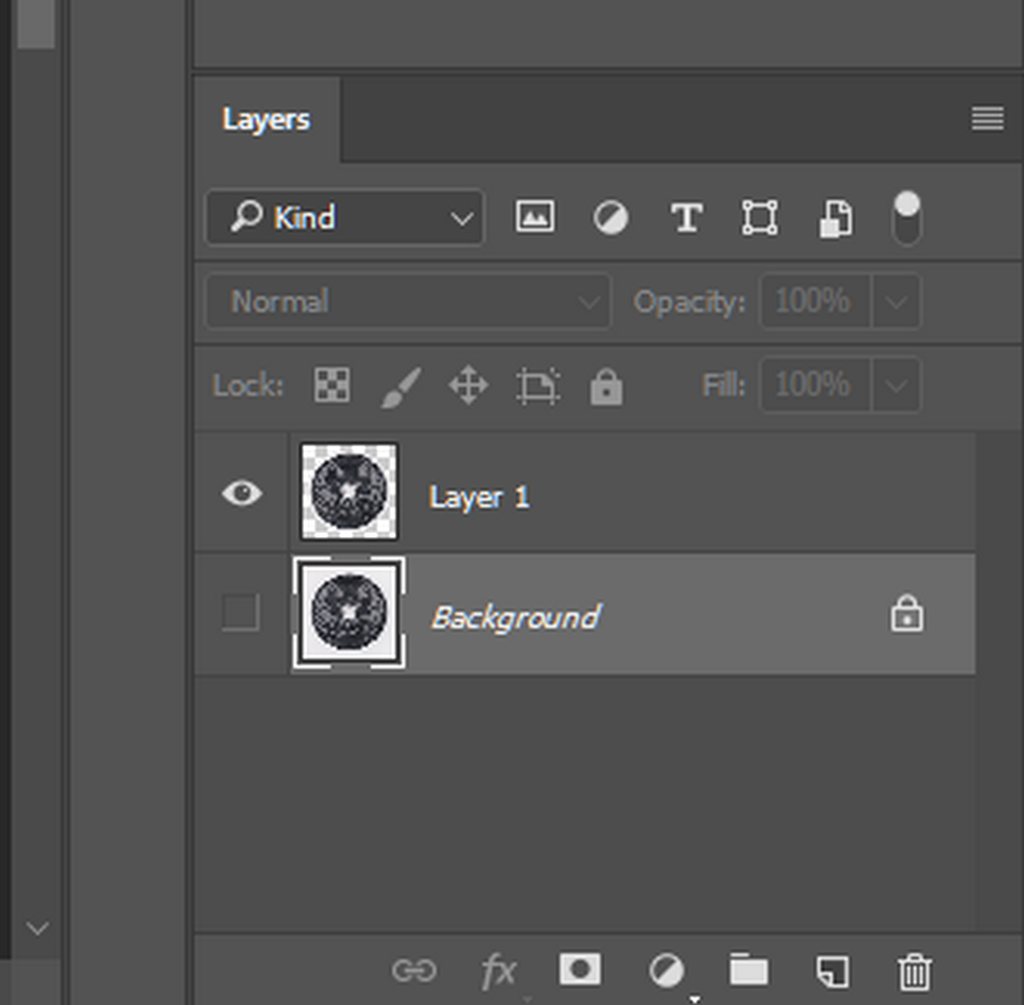
This will result in a disc layer without the background.
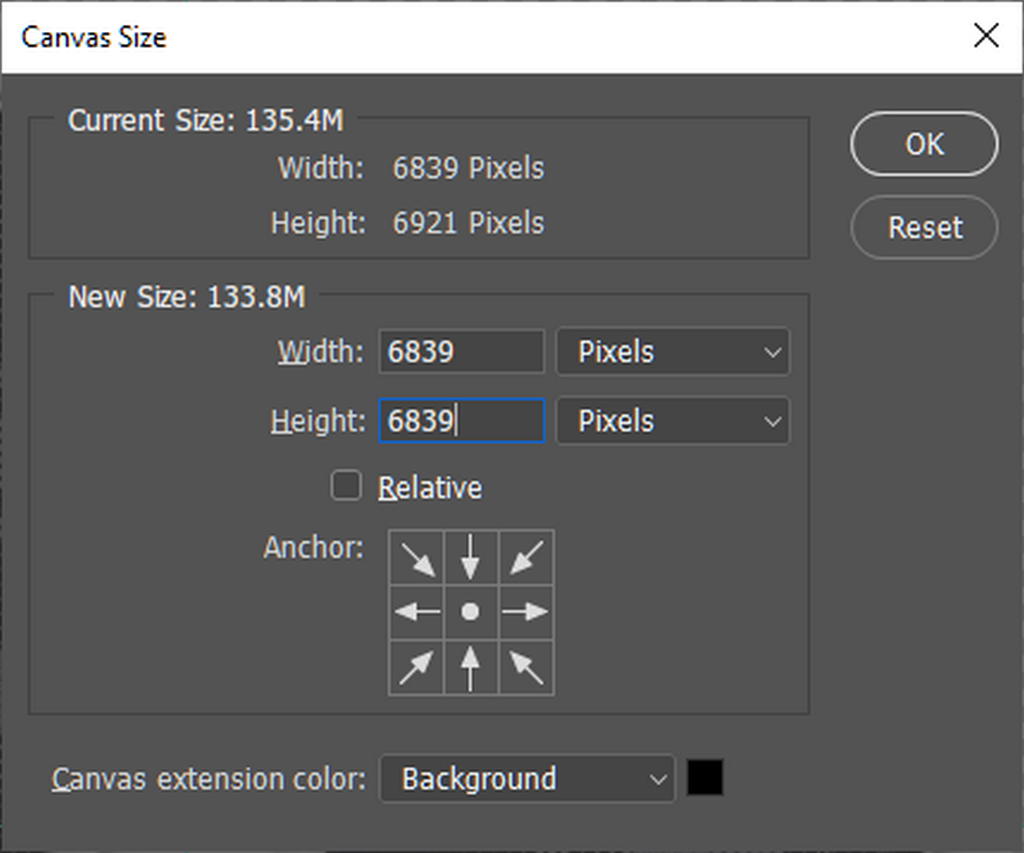
Next, Press `Ctrl + Alt + C` to update the canvas size and making it as a square image.
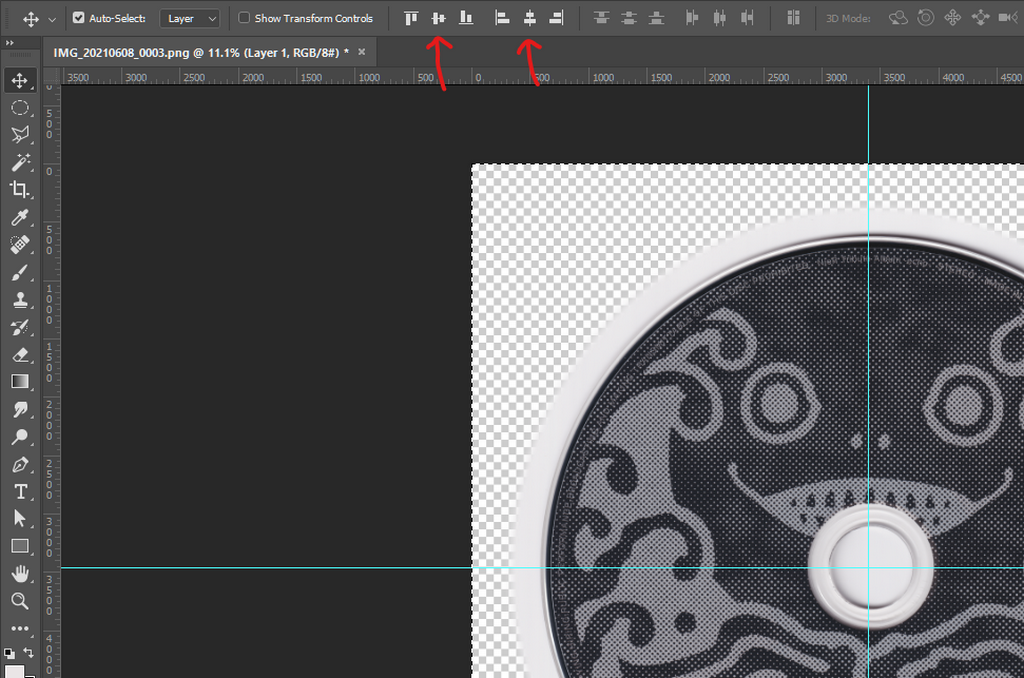
Then on disc only layer. Press `Ctrl + A` to select all and press `V` to change to `Move Tool (V)` and align it to center of the image with these two buttons.
Then clear the guides. press `G` to select the `Paintbucket Tool (G)`. press `Alt` in the outer of the disc image to select the background color. Then create a new blank layer. Paint it with the color you just select then move it under the disc only layer.
After that, choosing the disc layer. Press `Ctrl + T` to transform then zoom in.
Rotating the disc, using the straight text as reference. Making a guide to make the disc is rotated to perfect angle. (holding `Ctrl` if it keeps snapping)

Use multiple guide if you not sure if the reference text you choose straight enough or not. After you finish, `Enter` to commit.
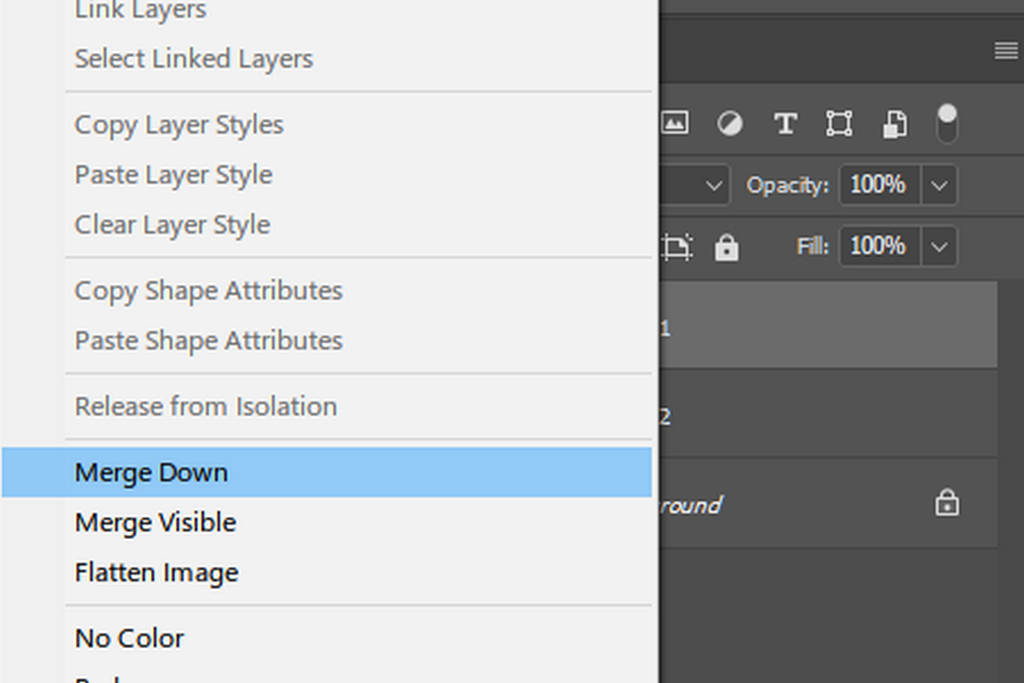
Then `Right click` on the disc only layer and choose `Merge Down` .
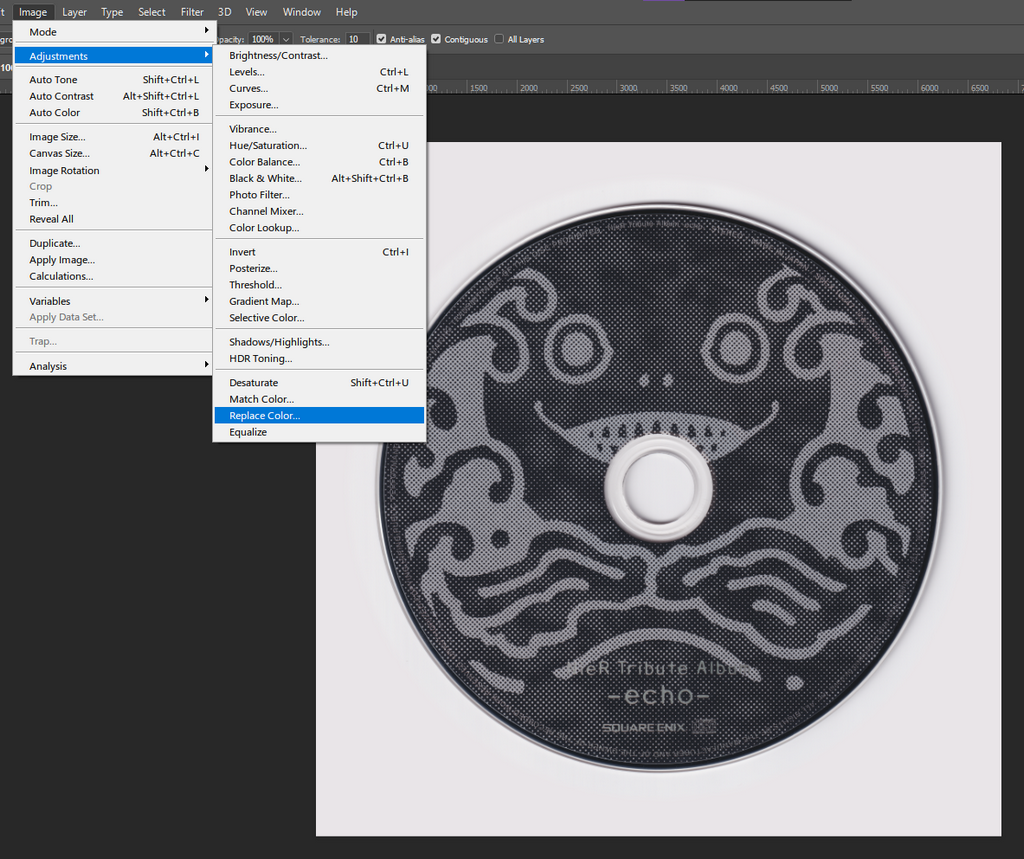
Since my scanner background is actually not quite a white background. I need to fix it a bit with `Image > Replace Color`. Or if you lazy, press `Ctrl + Shift + L` to use `Autotone` feature. It may works really well or.. not.
First picking the background color while the `Replace Color` window opens. Change the `Fuzziness` value until it's no longer has anything inside the disc.
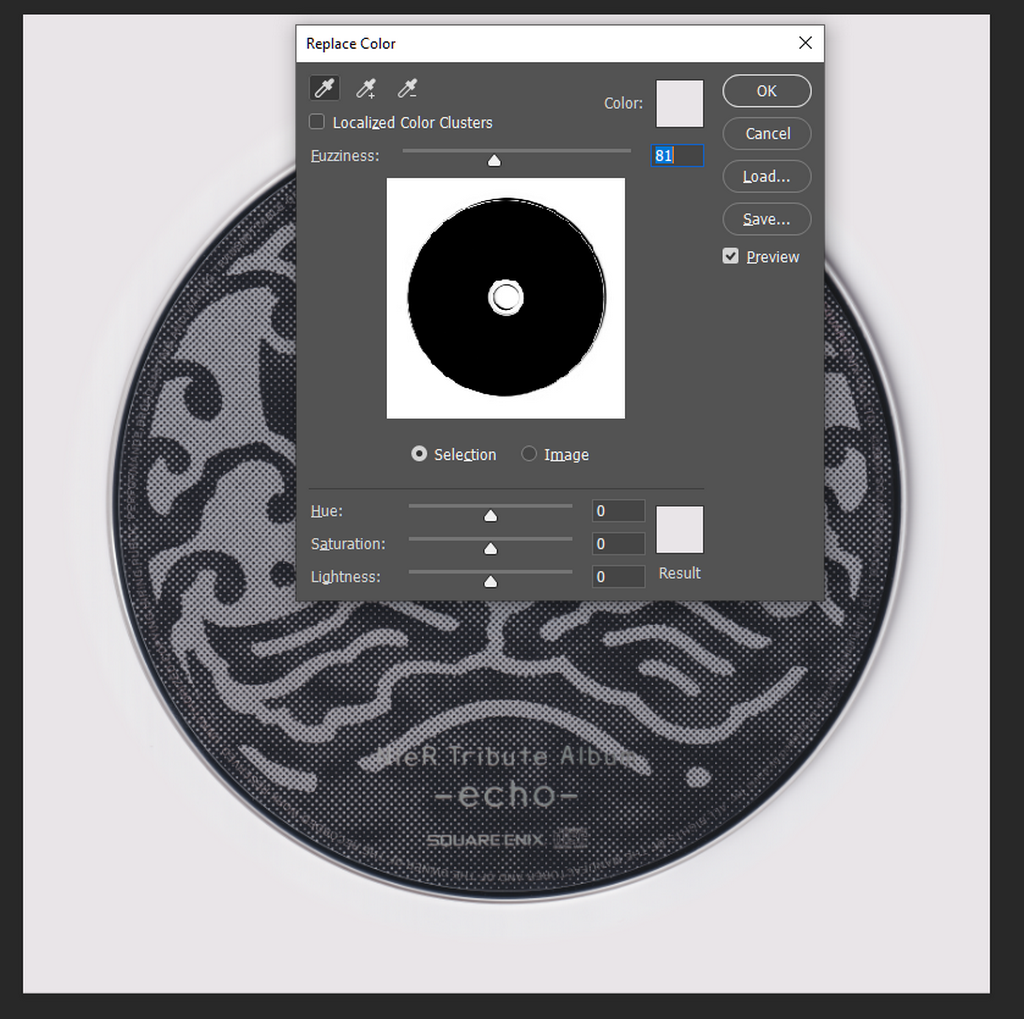
Then click on the result color and change it to `#FFFFFF` . And boost the lightness a little if you want. Be careful not boosting it's too much or else it will look very unnatural on the edge of part got replaced colors.
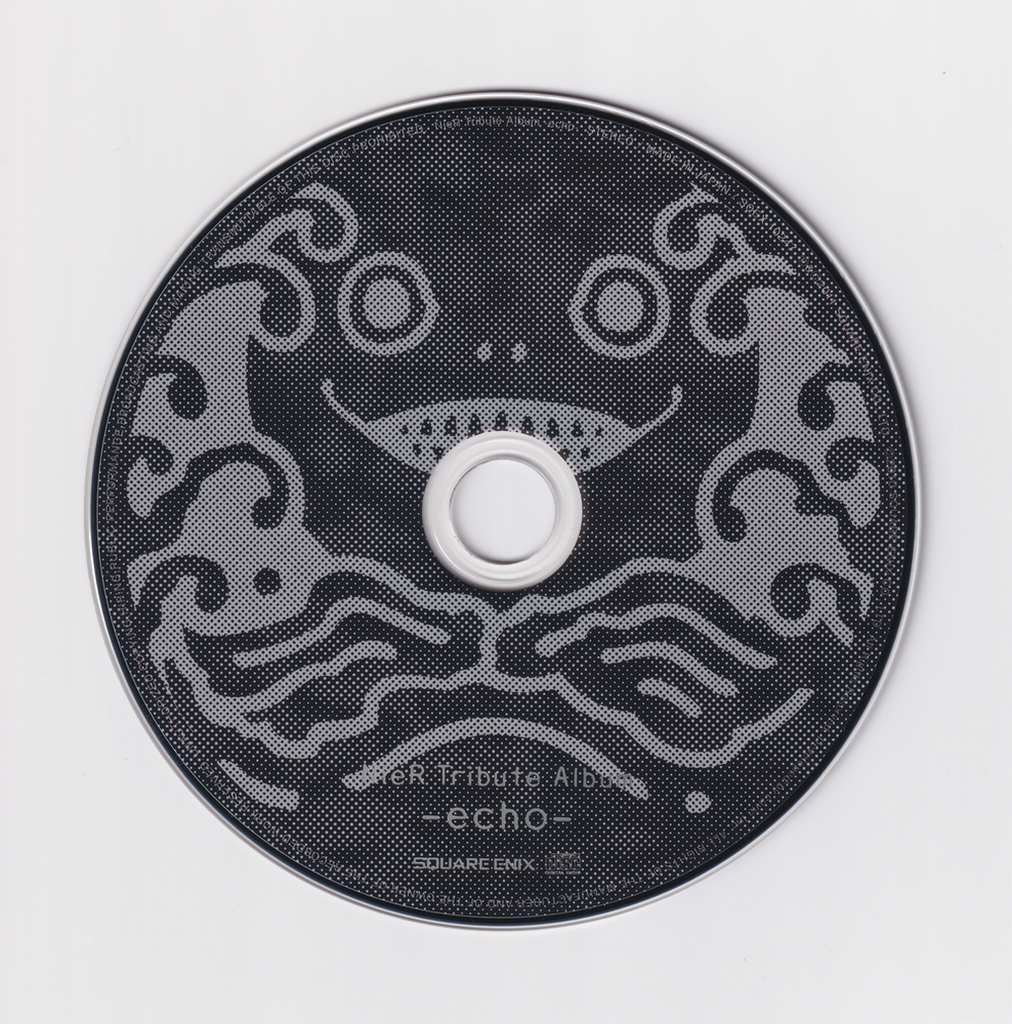
Result:
### Cleaning the scan
Same as [Cleaning the scan](#Cleaning-the-scan)
### Saving the file
Same as [Saving the file](#Saving-the-file)