# An outdoor plant environment sensor
###### tags: `iot`, `pycom`, `sensor`, `lora`, `API`
## About
**Author:** Lisa Veltman (lv222fz)
**Time estimation:** 8h
**Short project overview:**
This tutorial describes how to set up an outdoor plant environment sensor that measures temperature, humidity and soil moisture. The data is send via Lora and Helium and then to an API on a self-hosted server. A front end application is included in the API to demostrate use of the API.
**Table of Content:**
[ToC]
---
## Objective
I have a roof top terrace with a lot of plants, but is not on the same floor as I live. I have to to go out to the buildings staircase, go up one flor and basically open 3 doors before I can get to my plants.
I live in Spain, Barcelona and the weather conditions can be quite extreme here, the sun is very hot and it can get very windy. Some days it rains a lot in short time.
My problem is that I want to monitor and understand if I need to water the plants without having to go upstairs, specially when there are extreme weather conditions. I also want to understand how the different weather conditions impact on the plants. For example, at what temperatures is the soil moisture decreasing significantely?
For this project I am using one soil moisture sensor only, in one of the biggest and most sensetive plant, to see if it works well and to not have cables all around the terrace.
---
## Material
I am currently in Spain and the products I bought can be delivered to Spain. The material can be found online worldwide anyway.
I already had one starterkit at home with some sensors, wires and breadboard and used them for this project. The link is to the kit but the pieces can be purchased individually for a low price.
Initially, I purchased another soil moisture sensor that was waterproof (very preferable for outdoor use) but it came without specifications so last minute, I changed to a Hygrometer v1.0 Module which was very easy to use and there were many examples on the web.
| Thing | Use | Price | Purchased at | Image |
| -------- | -------- | -------- | -------- |-------- |
| Lopy4 | Development board that works with Lora | 31,51€ | [mouser.es](https://www.mouser.es/ProductDetail/365-LOPY4) |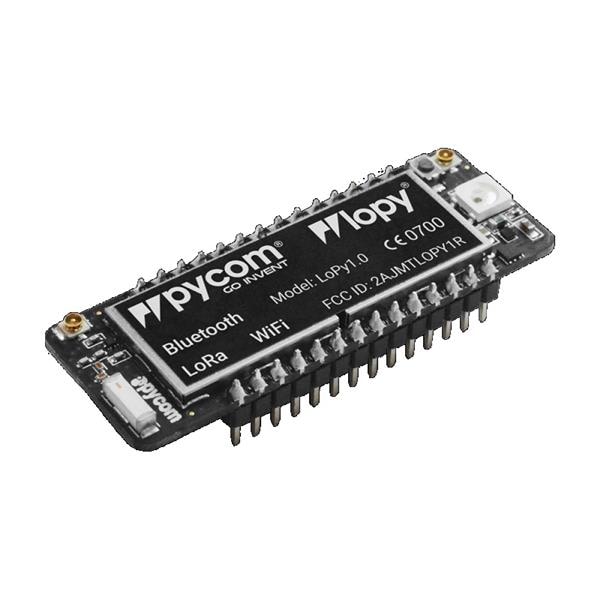|
| Expansion board 3.0 | Expansion board for easier development and charging | 16,28€ | [mouser.es](https://www.mouser.es/ProductDetail/365-EXPANSIONBOARD) | 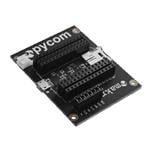|
| LoRa/SigFox antenna | Antenna to connect to Lora network | 11,75€ | [mouser.es](https://www.mouser.es/ProductDetail/365-700461242598) ||
| DHT11 | Temperature and humidity sensor | Part of kit | [amazon.es](https://www.amazon.es/gp/product/B01M9J4GCU/ref=ppx_yo_dt_b_asin_title_o02_s00?ie=UTF8&psc=1) |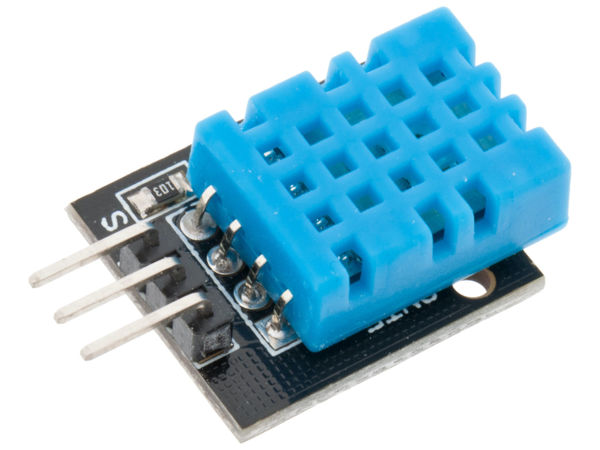|
| Breadboard | To connect pins and sensors | Part of kit | [amazon.es](https://www.amazon.es/gp/product/B01M9J4GCU/ref=ppx_yo_dt_b_asin_title_o02_s00?ie=UTF8&psc=1) ||
| Breadboard jumper wire | Wires to connect breadboard and expansionboard, 3 pieces? | Part of kit | [amazon.es](https://www.amazon.es/gp/product/B01M9J4GCU/ref=ppx_yo_dt_b_asin_title_o02_s00?ie=UTF8&psc=1) ||
| Female to male Dupont Wire | Wires to connect breadboard and sensors, 3 pieces? | Part of kit | [amazon.es](https://www.amazon.es/gp/product/B01M9J4GCU/ref=ppx_yo_dt_b_asin_title_o02_s00?ie=UTF8&psc=1) |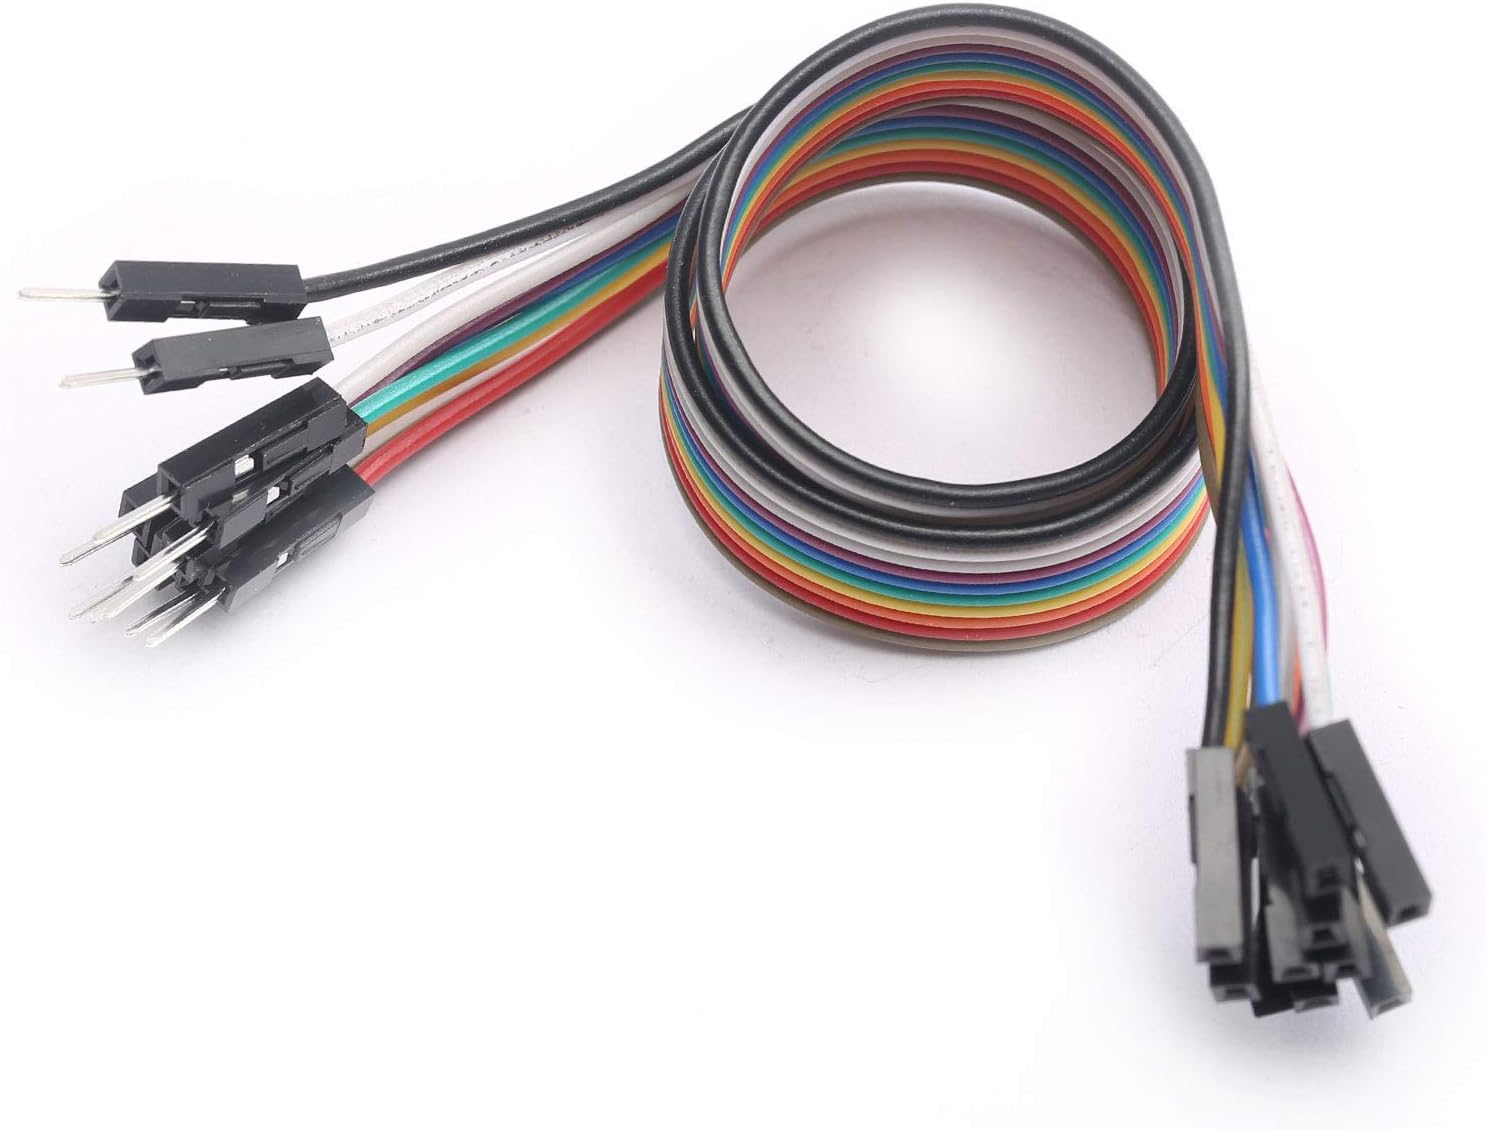|
| Battery holder | 3xAAA Battery Holder w/ On/Off Switch | 1,65€ | [mouser.es](https://www.mouser.es/ProductDetail/adafruit/727/?qs=GURawfaeGuCvU0VJ22UgNg==&countrycode=DE¤cycode=EUR) ||
| Hygrometer v1.0 Module | Soil moisture sensor to measure humidity in soil | 6,99€ | [amazon.es](https://www.amazon.es/dp/B07V6SZYZW?psc=1&smid=A1X7QLRQH87QA3&ref_=chk_typ_imgToDp) ||
| Micro USB cable | **Important!** has to be able to transfer data. | aprox 8 € | Had one at home ||
| Box | A lunchbox that I personalized to protect the device. | 3,5 € | Any store ||
| **Total** | | **79,68 €** ( + DHT, wires and breadboard) | ||
---
## Computer setup
### IDE - VS Code
I used VS code to write the code, debug and upload to the device. Atom can also be used but this tutorial is based on VS code. You can download it [here](https://code.visualstudio.com/Download).
### Node
You’ll need to install Node.js on your computer, download it [here](https://nodejs.org/en/)!
### Pymakr plugin and terminal
- Install the extension "Pymakr" in VS code
- Choose device and upload code to device:
1. Connect the device and the computer with the USB cable
2. Click on "All commands" in the blue bottom menu.
3. Select action "Pymakr -> Extra -> List Serial Ports" and choose the port you used to connect your device
4. Make sure you are using the terminal "Pymakr console"
5. Upload the [source code](https://hackmd.io/kZ3fwCa2Q7GOCZEdBgfldw?both#Code-device)* by pressing "Upload"

**The code used in this tutorial*
### Update firmware device
- Update Lopy4 according to guide: https://docs.pycom.io/updatefirmware/device/
---
## Put it together
### The device
The Lopy4 is connected to the expansion board for better connectivity and easier use of, for instance, battery. I am using battery as I don't want to put cables all over the roof top. The battery holder has a switch bottom, a good choice when you manually want to turn the device off.
I use a quite big breadboard (the one I had at home) but I suggest using a smaller as it will save space. The 2 sensors used are sharing pins (GND anc 3V3) and therefore the breadboard is used, to share the pins.
The hygrometer sensor has a sensor that is connected to it's control board that enables current flow through the hygrometer sensor, the soil and back to the control board.
DHT11 is connected to pin23 and the moisture sensor is connected to pin15. These pins where used in examples and spec. sheets. You might be able to change the pins, check the [lopy4-pinout diagram here](https://docs.pycom.io/gitbook/assets/lopy4-pinout.pdf).
No resisitors are needed!
:::danger
**Connect the antenna properly before trying to connect to Lora, otherwise you can break your device!**
:::
### Circuit diagram

### The box and sensors
The device has no customized box (made with a 3D printer) and therefore it is not very suitable for production. It is clearly a prototype. Also, the wirering is not perfect and is not 100% waterproof.
When making the box, try to make it waterproof. I used isolating sticky tajp everywhere and a feedig bottle for babies for the dht sensor to make sure air was circulating but no water could come in.
---
## Code, device
The device is programmed using Micropython.
Just copy the code from the files and make sure to keep the folder structure the same. The code can be modified.
```
-lib
|-dht.py
-boot.py (optional, not used in this tutorial)
-keys.py
-main.py
```
### dht.py
There is a [DHT library](https://github.com/JurassicPork/DHT_PyCom) included in the source code for the device. Please don't forget to include it in the *lib* folder to be able to work with the sensor data.
### keys.py
The keys needs to be changed to your own keys (keys.py) from helium console. See next chapter about the platform on how to get the keys.
```python
import ubinascii
# create an OTAA authentication parameters, change them to the provided credentials
APP_EUI = ubinascii.unhexlify('YOUR_EUI_KEY')
APP_KEY = ubinascii.unhexlify('YOUR_APP_KEY')
```
### main.py
```python
# Data is sent to Pybytes. Needs to flashed with Pybyte firmware
import pycom # "pycom" will be an error in your
# IDE because it's not on your computer, but on the device
import time
import keys # Import the keys file
import machine # Interfaces with hardware components
from machine import Pin # To configure pins
from machine import ADC # To convert values, analog to digital
from dht import DHT # Library, https://github.com/JurassicPork/DHT_PyCom
### LORA CONNECT (CAN BE MOVED TO A SEPARATE BOOT) ###
from network import LoRa
import socket
lora = LoRa(mode=LoRa.LORAWAN, region=LoRa.EU868) # Initialise LoRa in LORAWAN mode.
lora.join(activation=LoRa.OTAA, auth=(keys.APP_EUI, keys.APP_KEY), timeout=0) # join a network using OTAA (Over the Air Activation)
while not lora.has_joined(): # wait until the module has joined the network
time.sleep(2.5)
print('Not yet joined...')
print('Joined')
s = socket.socket(socket.AF_LORA, socket.SOCK_RAW) # create a LoRa socket
s.setsockopt(socket.SOL_LORA, socket.SO_DR, 5)# set the LoRaWAN data rate
### END LORA CONNECT ###
pycom.heartbeat(False) # Turn off light
th = DHT(Pin('P23', mode=Pin.OPEN_DRAIN), 0) # The dth sensor data
adc = ADC(bits=10) # The soil moisture sensor data
pin15 = Pin('P15', mode = Pin.IN)
sm = adc.channel(attn=adc.ATTN_11DB, pin=pin15)
while True: #Forever loop
result = th.read()
soil = sm.value()
while not result.is_valid():
time.sleep(.5)
result = th.read()
soil = sm.value()
# Convert volt to percentage
soilLevel = int(100 - (soil / (1023 / 100)))
# For development
print('Temperature:', result.temperature)
print('Humidity:', result.humidity)
print('Soil Moisture:', soilLevel)
# Send to helium console
s.setblocking(True)
s.send(bytes([result.temperature, result.humidity, soilLevel]))
s.setblocking(False)
machine.deepsleep(1000*3600) # Every hour 3600
```
### boot.py
Optional to put connection related code.
---
## Platform
There is no specific platform used for this project as the data is send to a server that works as an API (a self hosted application). All the latest data can be requested from the API in JSON-format:
https://little-p.herokuapp.com/api/v1/all
It is the backend of an application. This solution is good if you want to develop a sensor or sensors that many other applications can access the data from and develop their own applications, or develop applications based on just a part of the data (only soil moisture history for example). In this project, it is not required but it is a good design to get used to for future projects.
### Web application
Visit the live application here: https://little-p.herokuapp.com/
If you wish, you can use my [source code](https://github.com/liha16/IOT) of the API and deploy it. It is a [Node.js](https://nodejs.org/en/) and [Express](https://expressjs.com/) application. I used [Heroku](https://heroku.com) to deploy the application as it is easy to deploy from a GitHub repo and free.
You also need to set up a database at [Mongo DB cloud](https://cloud.mongodb.com/). It is free and easy to use.
Don't forget to specify your environment variables in Heroku, *config vars* and the variable DB_CONNECTION_STRING and the string can be retrieved from Databases->Connect->Connect your application in Mongo DB Cloud.
---
## Connectivity
The data is sent every hour. It is often enough to get a good overview of the climate on the terrace and the soil moisture. More often could be cunsuming too much battery. I choose to use normal exchangable batteries to make it easy to use. It is easy to change a couple of batteries if they are running out...
The data is only sent via Helium network (a LoRaWAN service). LoRaWAN is a LPWAN-connectivity protocol. LPWAN stands for *Low Power Wide Area Network* and is a good choice for low battery consumtion. I also have wifi coverage on my roof top but it consumes more and I wanted to experiment with LoRa. Each hour, the device sends the data in bytes to Helium.
:::info
Check your [Helium coverage here](https://explorer.helium.com/coverage)! You can also use TTN if it has better covarage but this tutorial does only cover Helium.
:::
### Helium setup
OTAA method of connecting to LoRaWAN is used for authentication. To authenticate, add a device to Helium Console and record device details there is a good [tutorial here](https://docs.helium.com/use-the-network/console/quickstart/).
My advice is to not use the autogenerated *DevEUI key* but use the device's *DevEUI key*. To get the key, run the following code on your device;
```python
>>> import binascii
>>> from network import LoRa
>>> print(binascii.hexlify(LoRa().mac()).upper())
```
### Code to connect
The device needs to connect to LoRa and there is a [good example ](https://docs.pycom.io/tutorials/networks/lora/lorawan-otaa/#app) provided by Pycom.
The code in this tutorial is inspired by Pycom's example but changed. The are moved to the separate file *keys .py*.
First, it connects to Lora with LoraWAN mode and joins with the credentials (the keys). It tries to connect until it's connected and then creates a socket (a connection channel)
Later in the program, the bytes are sent.
Get [the complete device code here](https://hackmd.io/kZ3fwCa2Q7GOCZEdBgfldw?both#Code-device).
### Integration and HTTP
We want Helium Console to send the data to our own server (API) and for that, we create an integration (uplink). A tutorial for that can be found [here](https://docs.helium.com/use-the-network/console/integrations/http/).
You have to have your application deployed to be able to implement this step as you need to specify your URI. Make the integration send a POST request to something like https://myapp.herokuapp.com/**api/v1/all**
---
## Presenting the data
The data is saved forever at the moment. This is because I want all the data so that I can build different applications with different purposes. As is is now, we can get the data as a JSON object from the API, something like this:
`{"temperature":{"unit":"C","_id":"61081d7c865d4100151a1ca5","value":28,"createdAt":"2021-08-02T16:29:48.686Z","updatedAt":"2021-08-02T16:29:48.686Z","__v":0},"humidity":{"unit":"%","_id":"61081d7c865d4100151a1ca7","value":58,"createdAt":"2021-08-02T16:29:48.693Z","updatedAt":"2021-08-02T16:29:48.693Z","__v":0},"soilMoisture":{"unit":"%","_id":"610816b2e159903557ca0302","value":60,"createdAt":"2021-08-02T16:00:50.116Z","updatedAt":"2021-08-02T16:00:50.116Z","__v":0}}`
The "dashboard" is my client application that can be viewd here:
https://little-p.herokuapp.com/ and it looks like this:

How it's build can be found [here](https://hackmd.io/kZ3fwCa2Q7GOCZEdBgfldw?both#Web-application), in a previous chapter.
---
## Finalizing the design
The parts of the device are easier to show outside the final box.
Indoors:

Inside the box:

Outdoors:

---
## Future improvements
There are a few easy improvements that could make the "thing" better.
**Light intensity (sunny or cloudy)**
For example it could be good to have a sensor that detects light intensity (sunny or cloudy) as this is a weather condition that affects the plants.
**App with authentication**
I could also develop the API and front end application much further. I just made the minimum to make it all work. For example, some kind of authentication could be a good idea so that not everybody can post to my API.
**Wifi**
Most people might have wifi at home and a cheaper solution would be to use an ESP32, if the "thing" is located within the range.
Also, if the Lora has bad covarage, it could be a good idea to connect to Wifi if the Lora does not joing the network.
**Solar energy**
One of my best future improvements that could really make the "thing" sustainable and better, would be to use a solar energy instead of batteries.
 Sign in with Wallet
Connect another wallet
Sign in with Wallet
Connect another wallet