# Interface
- [Fab Academy Interface ](http://academy.cba.mit.edu/classes/interface_application_programming/index.html)
- [Vote and prototype your application idea](https://miro.com/app/board/o9J_lGV-AYI=/)

- [Hello World](http://helloworldcollection.de/)
## IoT Design

### WebSocket
The WebSocket is an advanced technology that makes it possible to open a two-way interactive communication session between the user's browser and a server. With this API, you can send messages to a server and receive event-driven responses without having to poll the server for a reply.

#### Example:
Source: https://esp8266-shop.com/blog/websocket-connection-between-esp8266-and-node-js-server/
## JSON
JSON is a lightweight format for storing and transporting data
JSON is often used when data is sent from a server to a web page
JSON is "self-describing" and easy to understand
- Example SmartCitizen:
+ [Map](https://smartcitizen.me/kits/)
+ [JSON](https://api.smartcitizen.me/v0/devices/world_map)
## A-Frame
A-Frame is a web framework for building virtual reality (VR) experiences. A-Frame is based on top of HTML, making it simple to get started. But A-Frame is not just a 3D scene graph or a markup language; the core is a powerful entity-component framework that provides a declarative, extensible, and composable structure to three.js.

- [Official WebSite + Examples](https://aframe.io/)
- [A-Frame School](https://aframe.io/aframe-school/#/)
- [Server WebVR - A_Frame](http://15.237.42.128:1880/aframe/)
- [Glitch -> Editor](https://glitch.com)
## App Inventor
- [Download Example](https://drive.google.com/file/d/1vrDfUdV1SZK2rNtoWDHSSWezXMpudodw/view?usp=sharing)
### Extensions
- [MQTT Extension](https://drive.google.com/file/d/1YOfH7gJwZqjPF3pk5Ok_AtPMRXJRd2Mp/view?usp=sharing)
- [Sound Pressure Level](https://drive.google.com/file/d/1zsXg5OXODRPmIBTfz3QxMWsY_RYLEOJu/view?usp=sharing)
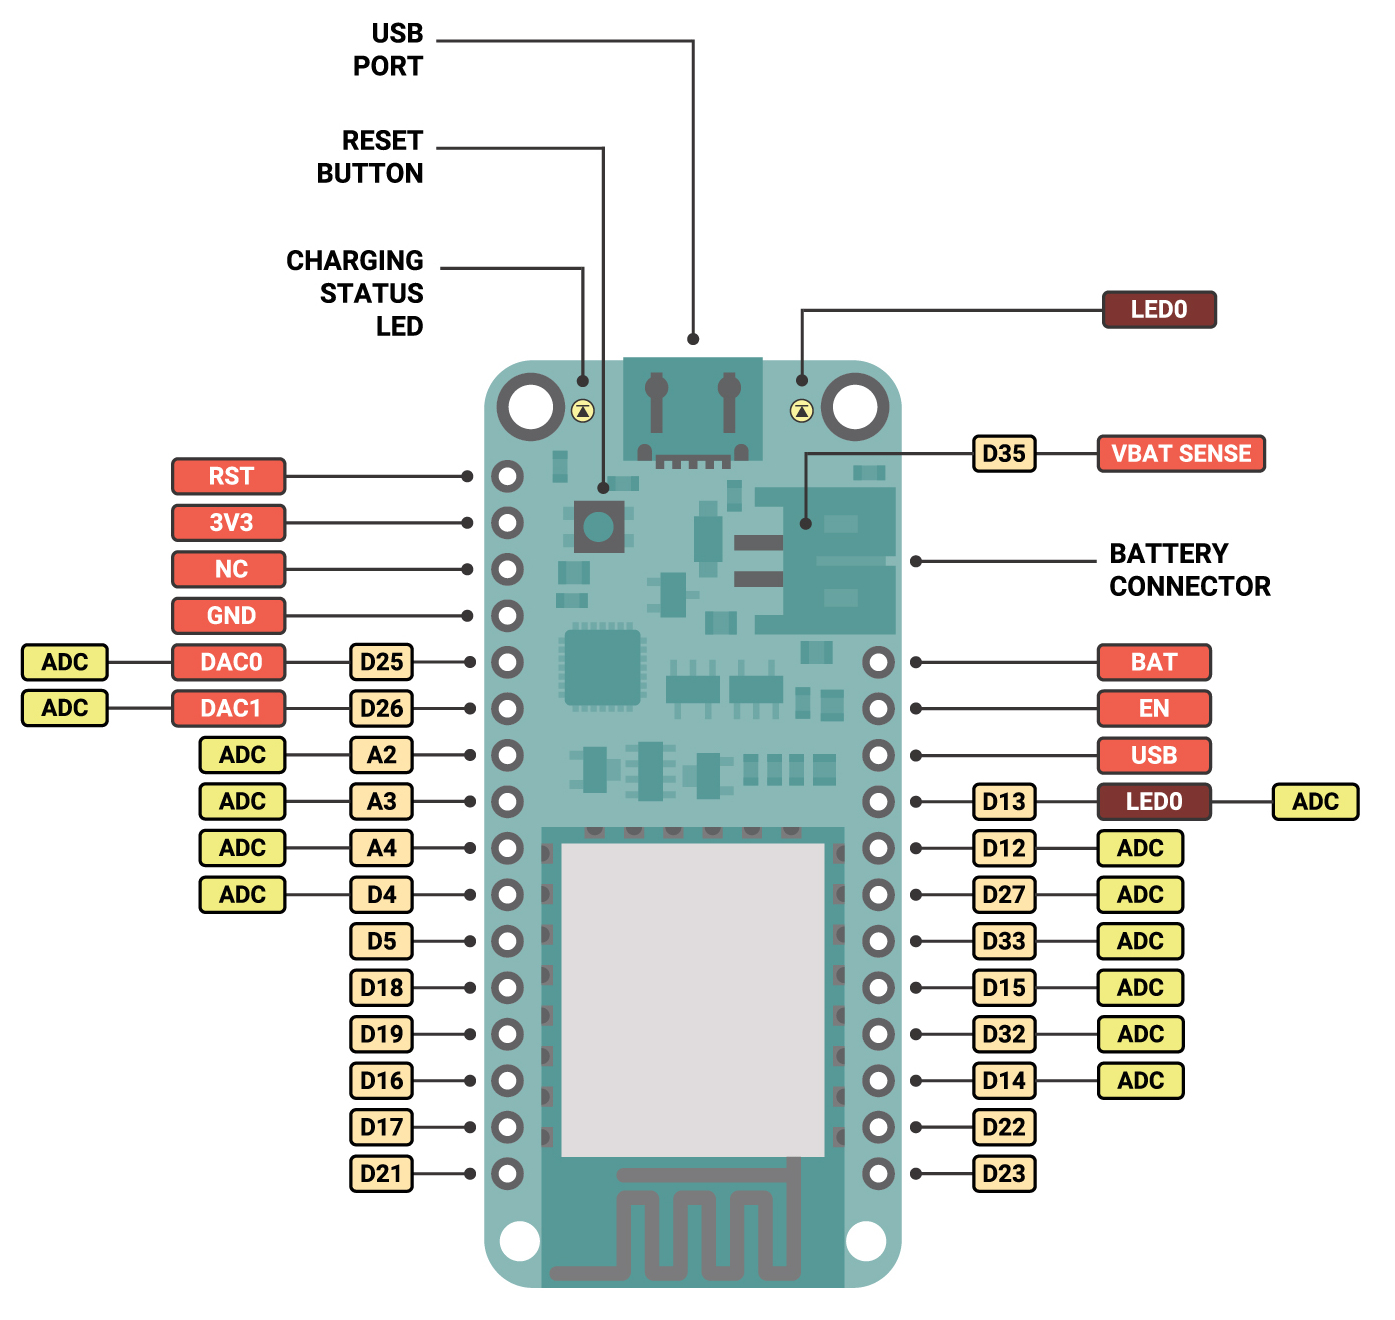
## MQTT in ESP32 Feather
:::success
IP address of BROKER:
91.126.132.8
or
um.fablabbcn.org
MQTT: um.fablabbcn.org:1883
NODE-RED: um.fablabbcn.org:1880
:::
[Here]() you can find information about the MQTT protocol and how it works.
You need the [Arduino IDE](https://www.arduino.cc/en/software) installed. And the [PubSubClient](https://github.com/knolleary/pubsubclient) library.
If you don't know how to install libraries on the Arduino IDE here is a [guide](https://www.arduino.cc/en/guide/libraries).
### Code Example
:::spoiler Full Code
~~~c=
#include <WiFi.h>
#include <PubSubClient.h>
const char* ssid = "Iaac-Wifi";
const char* password = "iaacpassword";
WiFiClient wifiClient;
const char* mqttBroker = "um.fablabbcn.org";
const char* mqttClientName = "teamx";
const char* topicToSub = "teamx/in";
const char* topicToPub = "teamx/out";
bool timeToPublish = false;
PubSubClient mqttClient(wifiClient);
void mqttConnect() {
while (!mqttClient.connected()) {
Serial.print("Attempting MQTT connection...");
if (mqttClient.connect(mqttClientName)) {
Serial.println("connected");
mqttClient.publish("hello", mqttClientName);
// Topic(s) subscription
mqttClient.subscribe(topicToSub);
} else {
Serial.print("failed, rc=");
Serial.print(mqttClient.state());
Serial.println(" try again in 5 seconds");
delay(5000);
}
}
}
void callback(char* topic, byte* message, unsigned int length) {
String receivedMsg;
for (int i = 0; i < length; i++) {
receivedMsg += (char)message[i];
}
Serial.print("Message arrived on topic: ");
Serial.print(topic);
Serial.print(". Message: ");
Serial.println(receivedMsg);
if (String(topic) == topicToSub) {
// Add here the code to act on input --------------
// Arduino String obejct reference :
// https://www.arduino.cc/reference/en/language/variables/data-types/stringobject/
if (receivedMsg == ("on")) {
Serial.println("on");
digitalWrite(LED_BUILTIN, HIGH);
} else if (receivedMsg == "off") {
Serial.println("off");
digitalWrite(LED_BUILTIN, LOW);
}
//-------------------------------------------------
}
}
void setup() {
Serial.begin(115200);
// Connect to wifi
WiFi.begin(ssid, password);
while (WiFi.status() != WL_CONNECTED) {
delay(500);
Serial.print(".");
}
Serial.print("Connected to ");
Serial.println(ssid);
Serial.print("IP address: ");
Serial.println(WiFi.localIP());
// MQTT setup
mqttClient.setServer(mqttBroker, 1883);
mqttClient.setCallback(callback);
// Led setup
pinMode(LED_BUILTIN, OUTPUT);
}
unsigned long lastMsg = 0;
char msg[50];
void loop() {
// Check if we are still connected to the MQTT broker
if (!mqttClient.connected()) {
mqttConnect();
}
// Let PubSubClient library do his magic
mqttClient.loop();
// Add your publish code here --------------------
// OPTION 1 -- Publish based on events
if (timeToPublish) {
timeToPublish = false;
myValue = 23; // Replace this with the value of your sensor
snprintf (msg, 50, "%i", myValue);
mqttClient.publish(topicToPub, msg);
}
// OPTION 2 -- Publish based on Timer
// Only publish every 5 seconds
unsigned long now = millis();
if (now - lastMsg > 5000) {
lastMsg = now;
snprintf (msg, 50, "%ld - hello again!", now);
Serial.print("Publish message: ");
Serial.println(msg);
mqttClient.publish(topicToPub, msg);
}
//-----------------------------------------------
}
~~~
:::
### Global setup
#### Include Libraries
~~~c
#include <WiFi.h>
#include <PubSubClient.h>
~~~
#### Wifi
Change the WiFi **ssid** and **password** to fit your's.
~~~c
const char* ssid = "myWiFiName";
const char* password = "myWifiPassword";
WiFiClient wifiClient;
~~~
#### MQTT
Set the **IP address or name of your MQTT broker**, the name that will identify your device and the names of a topic(s) to subscribe and/or publish.
~~~c
const char* mqttBroker = "172.16.20.17";
const char* mqttClientName = "myAwesomeDevice";
const char* topicToSub1 = "led";
const char* topicToSub2 = "motor";
const char* topicToPub = "myOutput";
PubSubClient mqttClient(wifiClient);
~~~
:::info
Adding **variables for topic names is optional** but in this way if you need to change them you can do it in one point instead of tracking all the places where they are used.
:::
### Helper functions
#### MQTT connect function
This function is called on the main loop, it checks if the connection with the MQTT broker is alive and reconnects if necessary.
Here **we subscribe to the topics we want to receive.**
~~~c
void mqttConnect() {
while (!mqttClient.connected()) {
Serial.print("Attempting MQTT connection...");
if (mqttClient.connect(mqttClientName)) {
Serial.println("connected");
mqttClient.publish("hello", mqttClientName);
// Topic(s) subscription
mqttClient.subscribe(topicToSub1);
mqttClient.subscribe(topicToSub2);
} else {
Serial.print("failed, rc=");
Serial.print(mqttClient.state());
Serial.println(" try again in 5 seconds");
delay(5000);
}
}
}
~~~
#### Subscription callback
This function is executed every time a message is received. In this example if we receive the words _on_ or _off_ in a specific topic we change the led state.
~~~c
void callback(char* topic, byte* message, unsigned int length) {
String receivedMsg;
for (int i = 0; i < length; i++) {
receivedMsg += (char)message[i];
}
Serial.print("Message arrived on topic: ");
Serial.print(topic);
Serial.print(". Message: ");
Serial.println(receivedMsg);
if (String(topic) == topicToSub1) {
if (receivedMsg == ("on")) {
Serial.println("on");
digitalWrite(LED_BUILTIN, HIGH);
} else if (receivedMsg == "off") {
Serial.println("off");
digitalWrite(LED_BUILTIN, LOW);
}
} // Here you can check for other subscribed topics
}
~~~
:::info
Subscribing to a new topic is done in three points of the code:
1. Near the top create a variable with the **topic name** you want to subscribe to.
2. In the `mqttConnect()` function add a line **subscribing to the new topic**: `mqttClient.subscribe(newName)`
3. In the `callback()` function check if the new topic is **receiving** something, **evaluate** the message and **take some actions!**
:::
### Main functions
#### Setup
Start Serial communication, WiFi, MQTT and the pin to control internal led.
~~~c
void setup() {
Serial.begin(115200);
// Connect to wifi
WiFi.begin(ssid, password);
while (WiFi.status() != WL_CONNECTED) {
delay(500);
Serial.print(".");
}
Serial.print("Connected to ");
Serial.println(ssid);
Serial.print("IP address: ");
Serial.println(WiFi.localIP());
// MQTT setup
mqttClient.setServer(mqttBroker, 1883);
mqttClient.setCallback(callback);
// Led setup
pinMode(LED_BUILTIN, OUTPUT);
}
~~~
#### Loop
In the main loop we **check if the MQTT connection is still alive** and call the `mqttConnect()` function if needed.
We need to call the `mqttClient.loop()` function every cycle so the _PubSubClient_ library has time to do his inner works.
~~~c
// Declare needed variables
unsigned long lastMsg = 0;
char msg[50];
void loop() {
// Check if we are still connected to the MQTT broker
if (!mqttClient.connected()) {
mqttConnect();
}
// Let PubSubClient library do his magic
mqttClient.loop();
// Only publish every 5 seconds
unsigned long now = millis();
if (now - lastMsg > 5000) {
lastMsg = now;
snprintf (msg, 50, "%ld - hello again!", now);
Serial.print("Publish message: ");
Serial.println(msg);
mqttClient.publish(topicToPub, msg);
}
}
~~~
Now make sure your broker is running and it is on the right address and power your feather!
:::info
**Publishing a MQTT message** can be done just adding a call to the `publish(topic, message)` function of the MQTT client.
:::
### Troubleshooting
* Check the output of the Feather **Serial port**
* Is WiFi connection successfull?
* Is your Feather finding the MQTT broker?
* To **interact with MQTT from your computer** you can use
[mosquitto](https://mosquitto.org/) software.
* Try sending a MQTT message to a subscribed topic and check if the feather receives it.
* Subscribe to a topic whre your Feather is posting and check if you receive something.
* **Log in** your Raspberry Pi MQTT broker.
* Check the logs of the Mosquitto broker (`/var/log/mosquitto/mosquitto.log`)
* Stop the broker `sudo systemctl stop mosquitto` and run it manually (just type `mosquitto` and hit enter) to see the the console output.
:::info
Printing **debug messages to the Serial port** can make your code big and more complicated, but when something doesn't work you will be gratefull of those lines!
:::
| Column 1 | Column 2 | Column 3 |
| -------- | -------- | -------- |
| Text | Text | Text |
| Text | Text | Text |
| Text | Text | Text |
| Text | Text | Text |
| Text | Text | Text |
| Text | Text | Text |
| Text | Text | Text |
| Text | Text | Text |