---
tags: portfolio, lluf, caroline-g, spring-22
---
# Caroline-G
### Here's a collection of my work from the last two months!
Learning all these new tools wasn't easy, but I'm happy with the progress I made along the way. Blender is one of my favorite tools that I learned - it definitely has a lot of potential in various areas of my academic interests!
Main skills learned:
Blender
InDesign
Photoshop
Final Cut Pro
# March: Blender and InDesign
This project was for essentialsLab. We were tasked with creating an annotated object in Blender, which would be easily adaptable to many courses and subjects. I approached this from the perspective of a STEM class.
### Learning Blender
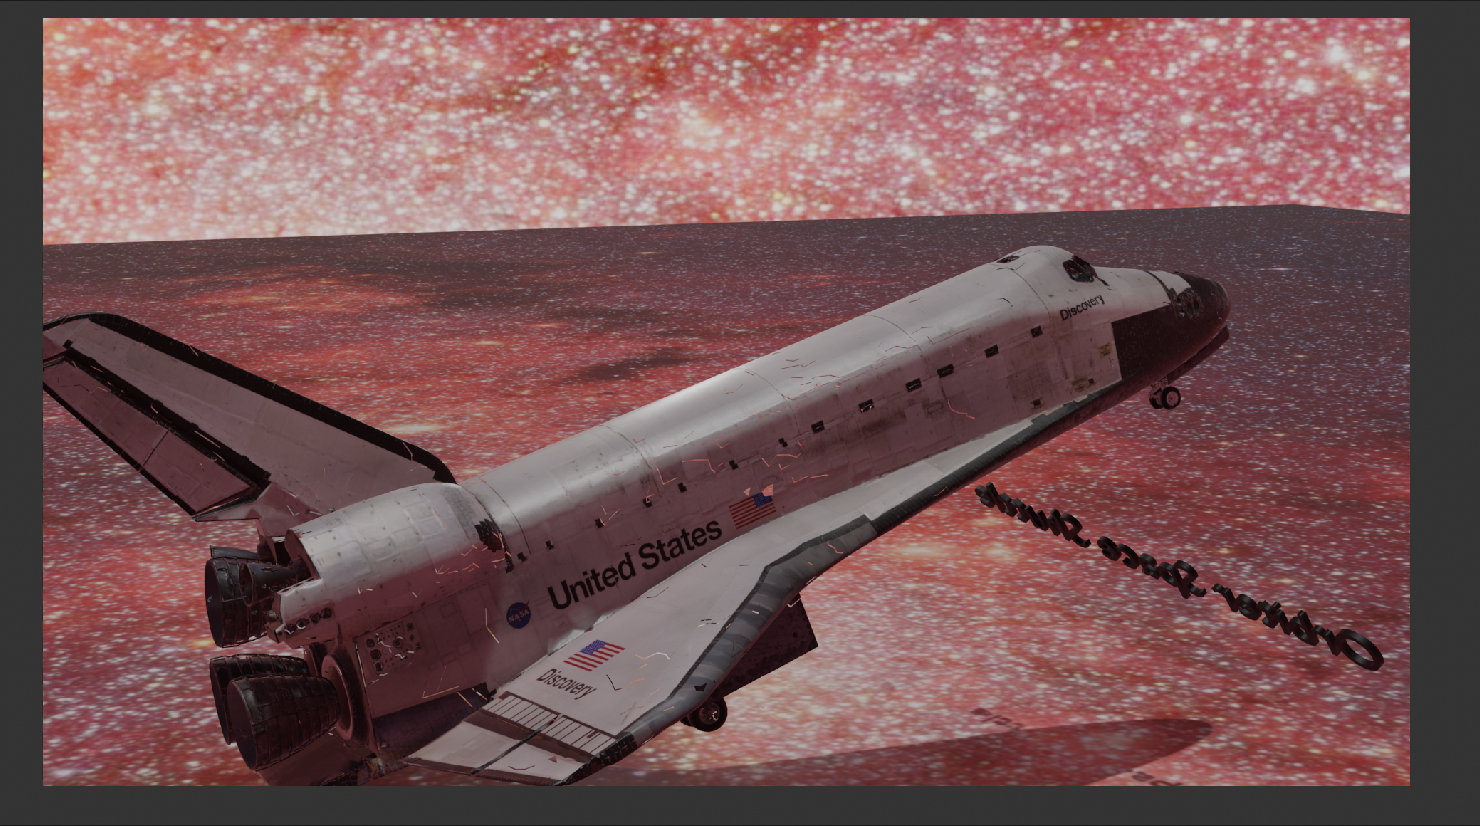
My first foray into Blender was this model of a spaceship. I downloaded the file from Sketchfab. This was very, very challenging for me; it took many hours to learn how to navigate Blender. Even so, I enjoyed it! I wanted to give the effect of the spaceship in actual space, so I added this star background. If I were to do it again, I'd probably go with a different background so the corners weren't so obvious. I also learned how to set up a camera rig using a Bevier circle. This project was certainly difficult, but also left me with all the tools I needed to move ahead with other projects in Blender.
### Blender - Rendering a 3D Brain!
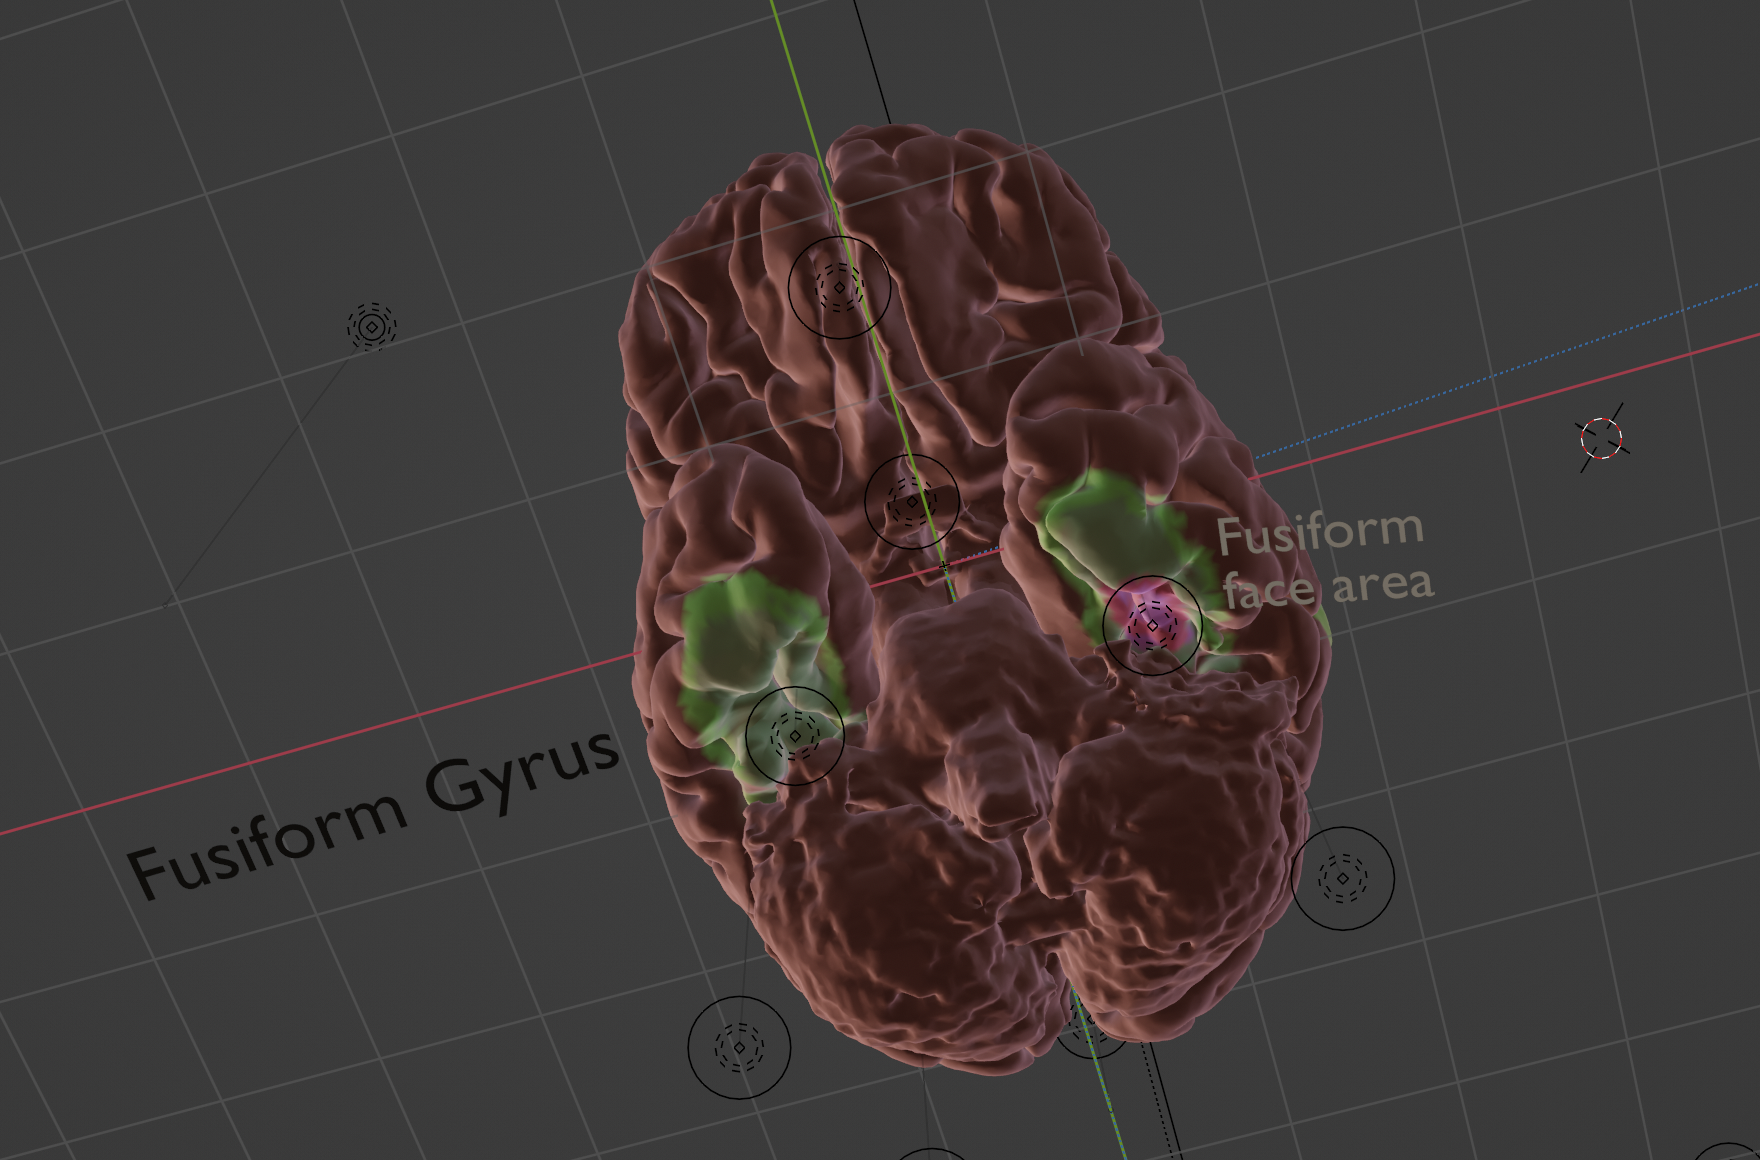
I worked in Blender to render out a highlighted model of the brain. For my layout I was focusing on the phenomenon of face blindness, which is a result of irregularities in the fusiform gyrus, located in the occipital lobes. I used the vector paint tool in Blender to highlight the areas I wanted to focus on. I also set up two separate camera rigs to capture various angles of the brain for the purposes of including them in my magazine. I was really happy with how this turned out!
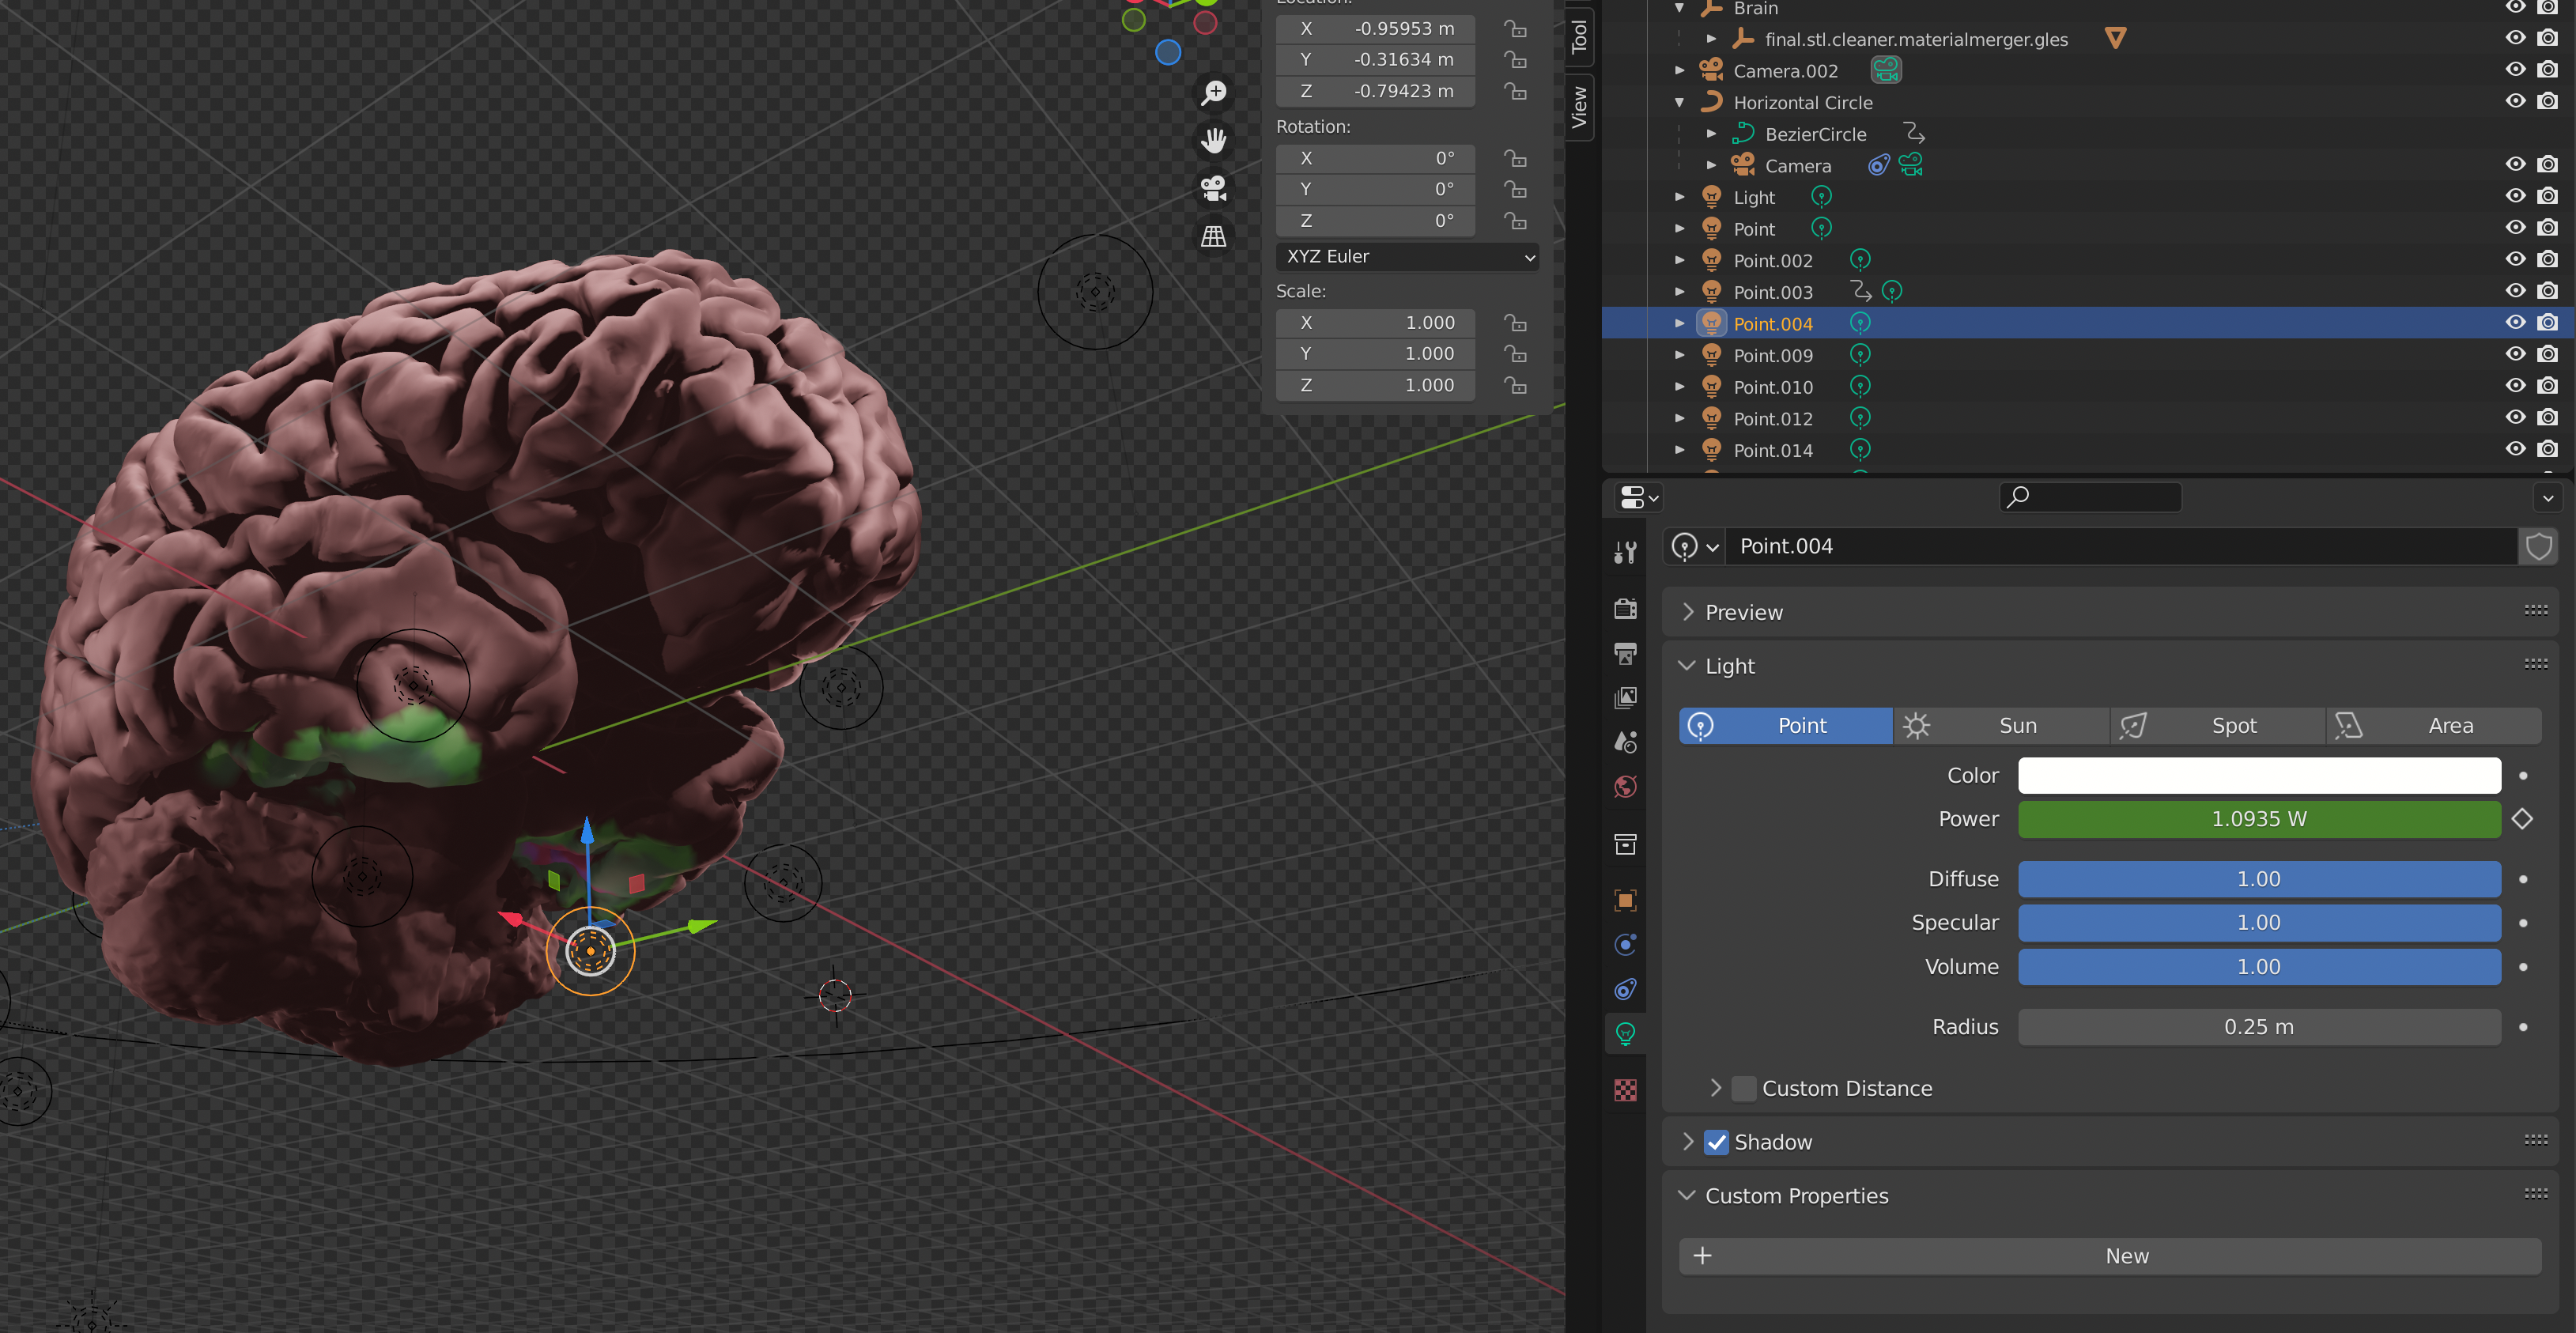
I animated the light on the brain so that it would light up as the camera went by, illuminating the highlighted areas. This added a lot of moving parts but I think it also made the renders look better! In the process of this I also learned how to make an object eminate light.
# Magazine Layout
Another project we were tasked with in EssentialsLab was creating a magazine layout in inDesign as a means of presenting a final project. The idea was to communicate ideas in a really engaging way. I actually ended up using this method for a final project in one of my own classes, which is shown later in this document.
### Initial Sketches
For my magazine project, I wanted to create a layout which would blend a scientific article with more approachable language and imagery. I chose to focus on the brain. My inspiration for the layout was magazines like Scientific American or National Geographic, which usually have a nice blend of text and images.
### Final Magazine Layout
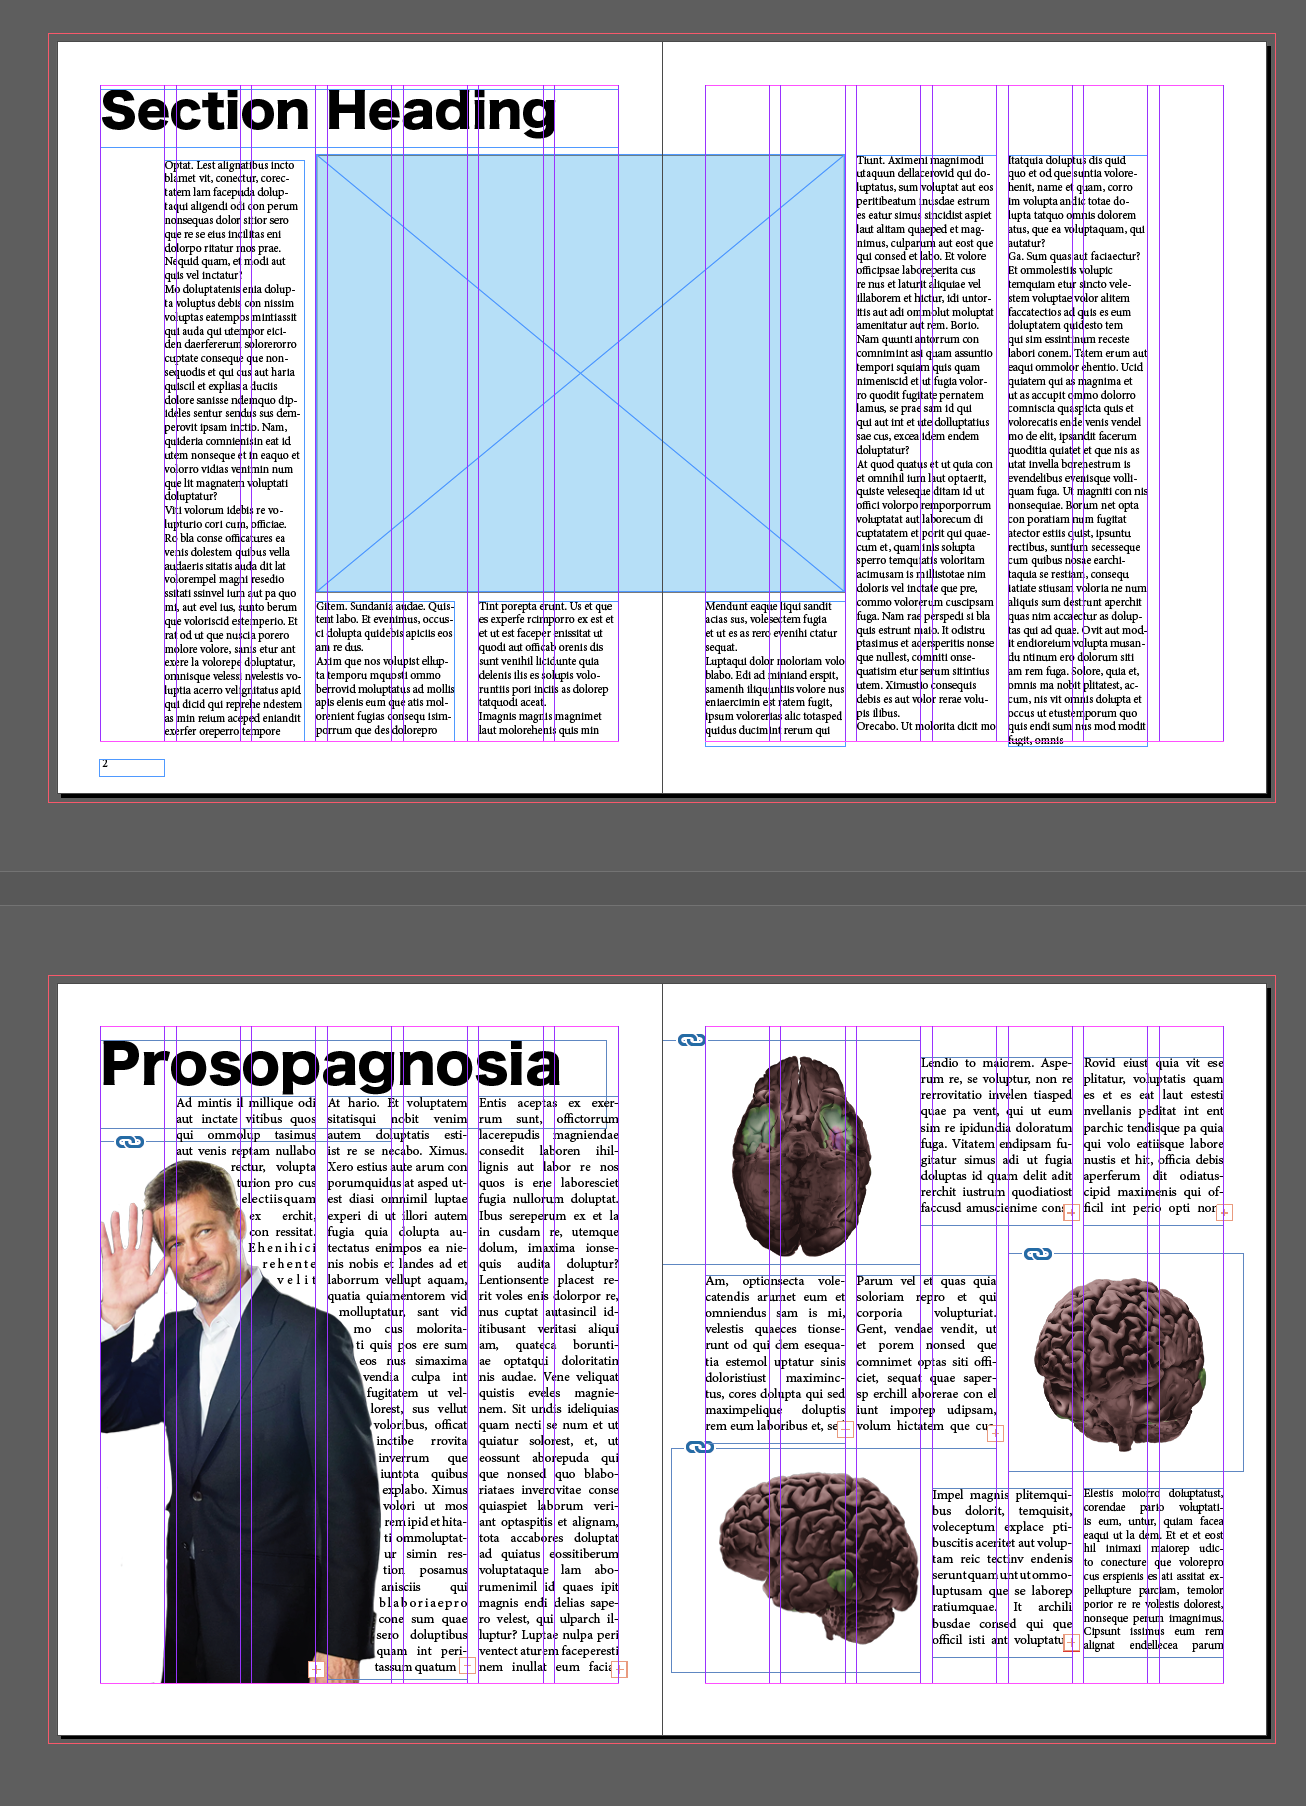
This was the final layout I created using InDesign and Blender, not including the cover page. I incorporated the brain renderings I made in Blender as PNGs. I wish they were a bit brighter; I didn't learn until after this that you can adjust the light emission levels of each point light! Overall, this was a pretty smooth process. I learned how to wrap text around an image (seen with Brad Pitt on the lefthand page). I think this would look really clean as a final project in a psychology class.
# April: InDesign Template
### LLUF inDesign Template Progress
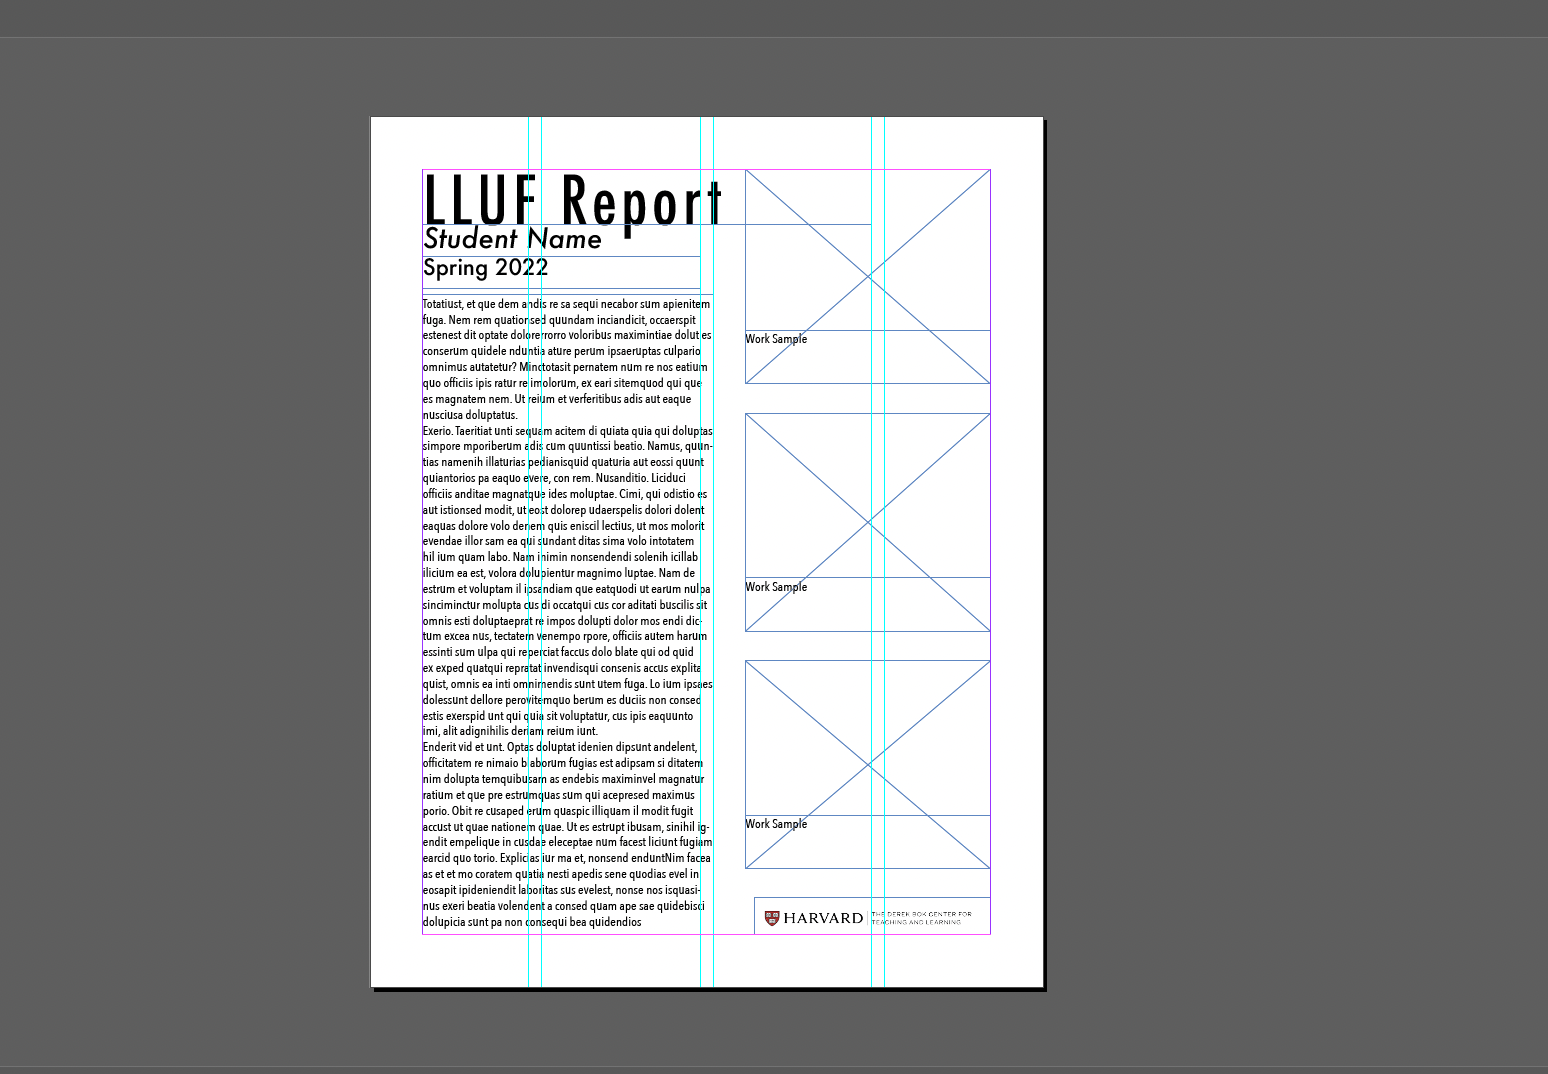
I worked asynchronously to create a template in InDesign which could be used to display LLUF progress from the semester. My goal was to create a combination bio and show-your-work sheet which was easy to edit and adapt.
### LLUF Report: Adding Graphics
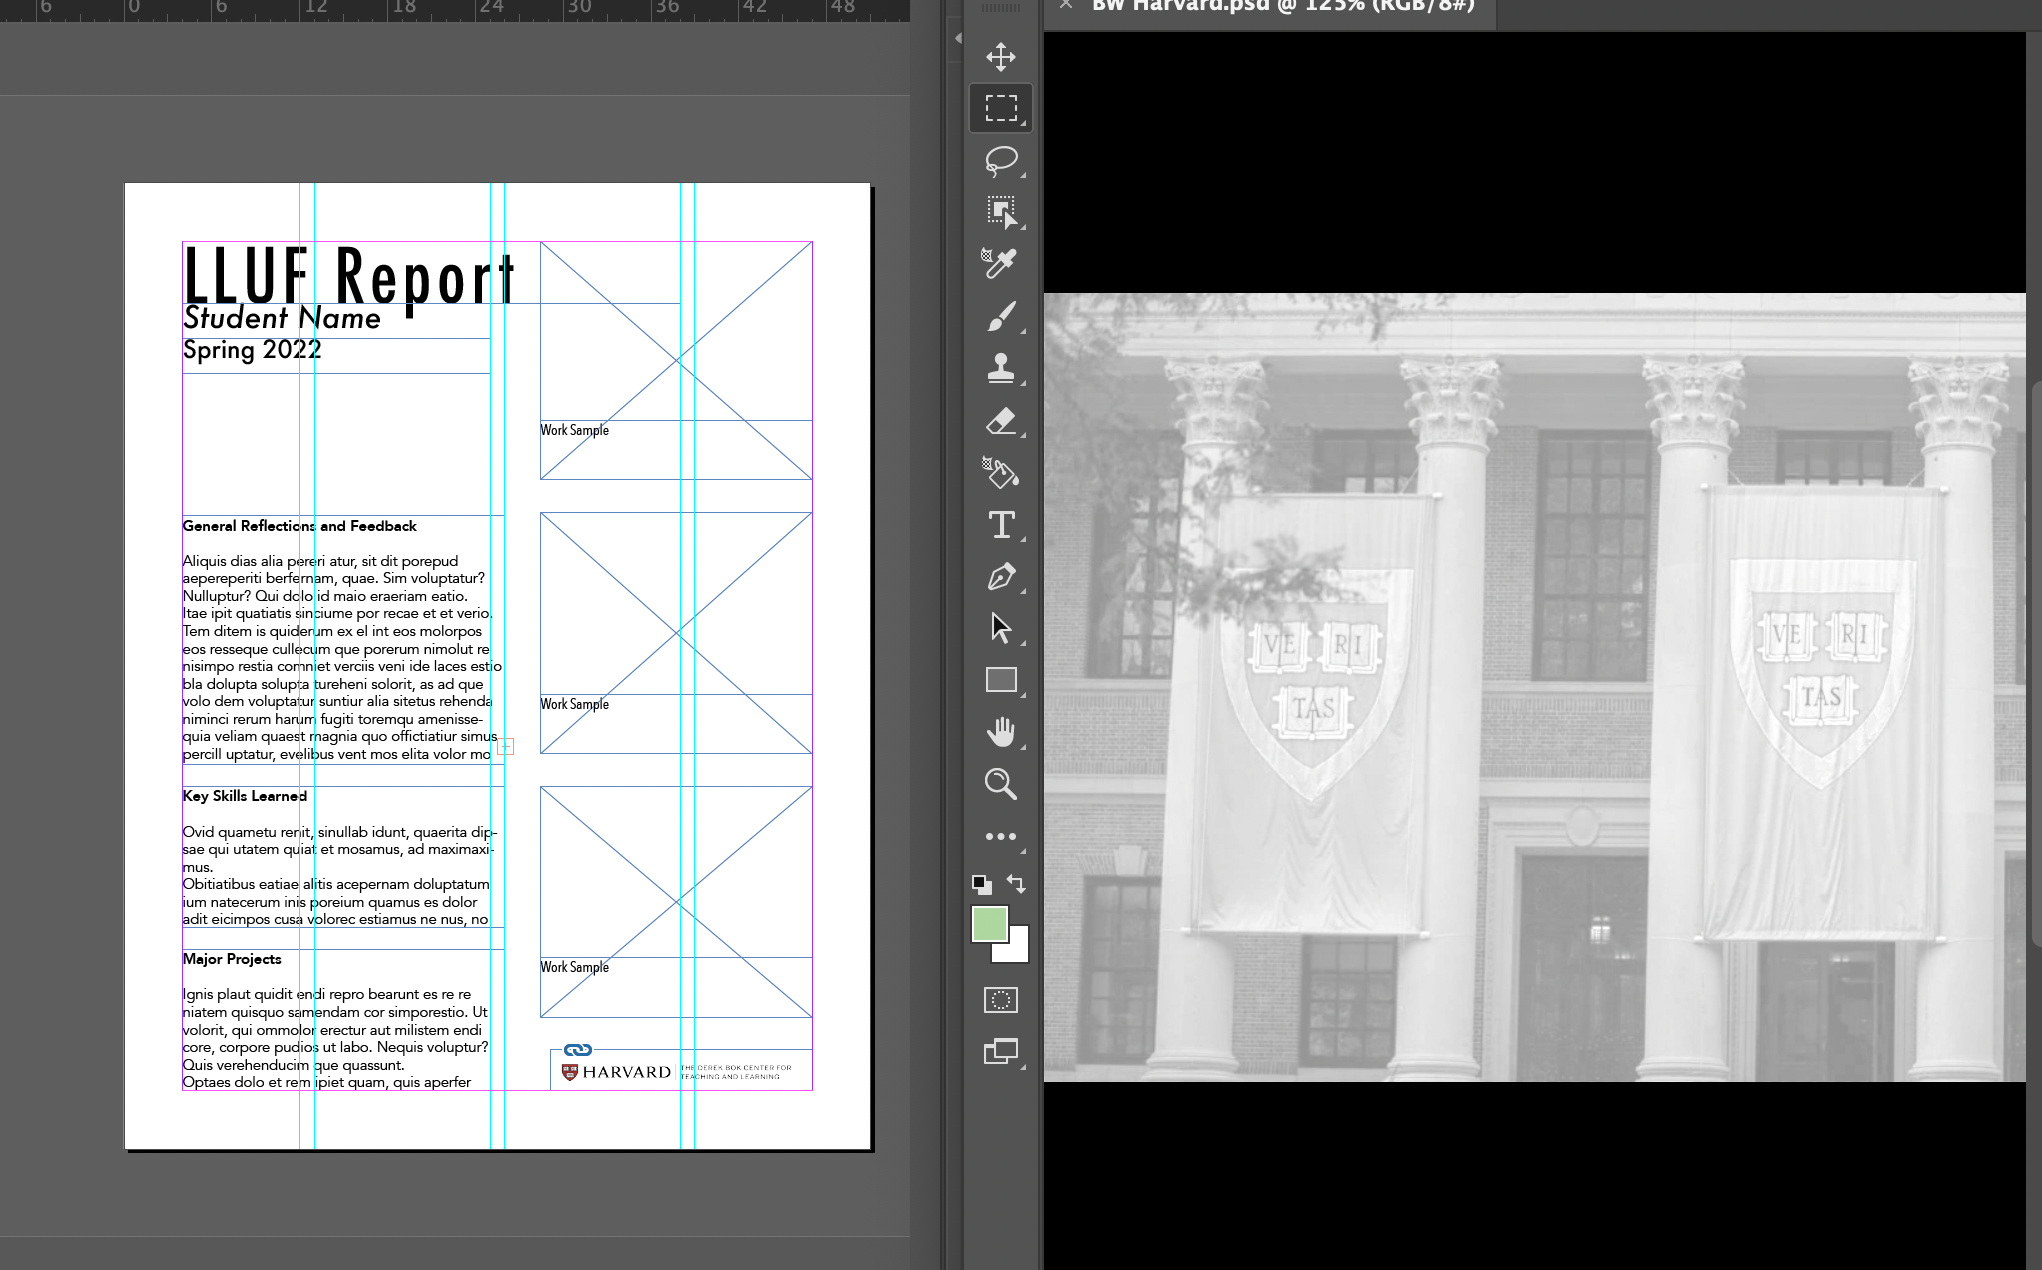
When creating the LLUF report, I wanted to add in some images from Photoshop which would add some visual interest and make the entire thing *hopefully* look more professional. I decided to keep the theme black and white so it didn't overwhelm anything, and picked a Harvard image. This isn't pictured, but I ended up adding some illustration to this, using Adobe Fresco, for a pop of color.
### LLUF Report: Putting it All Together
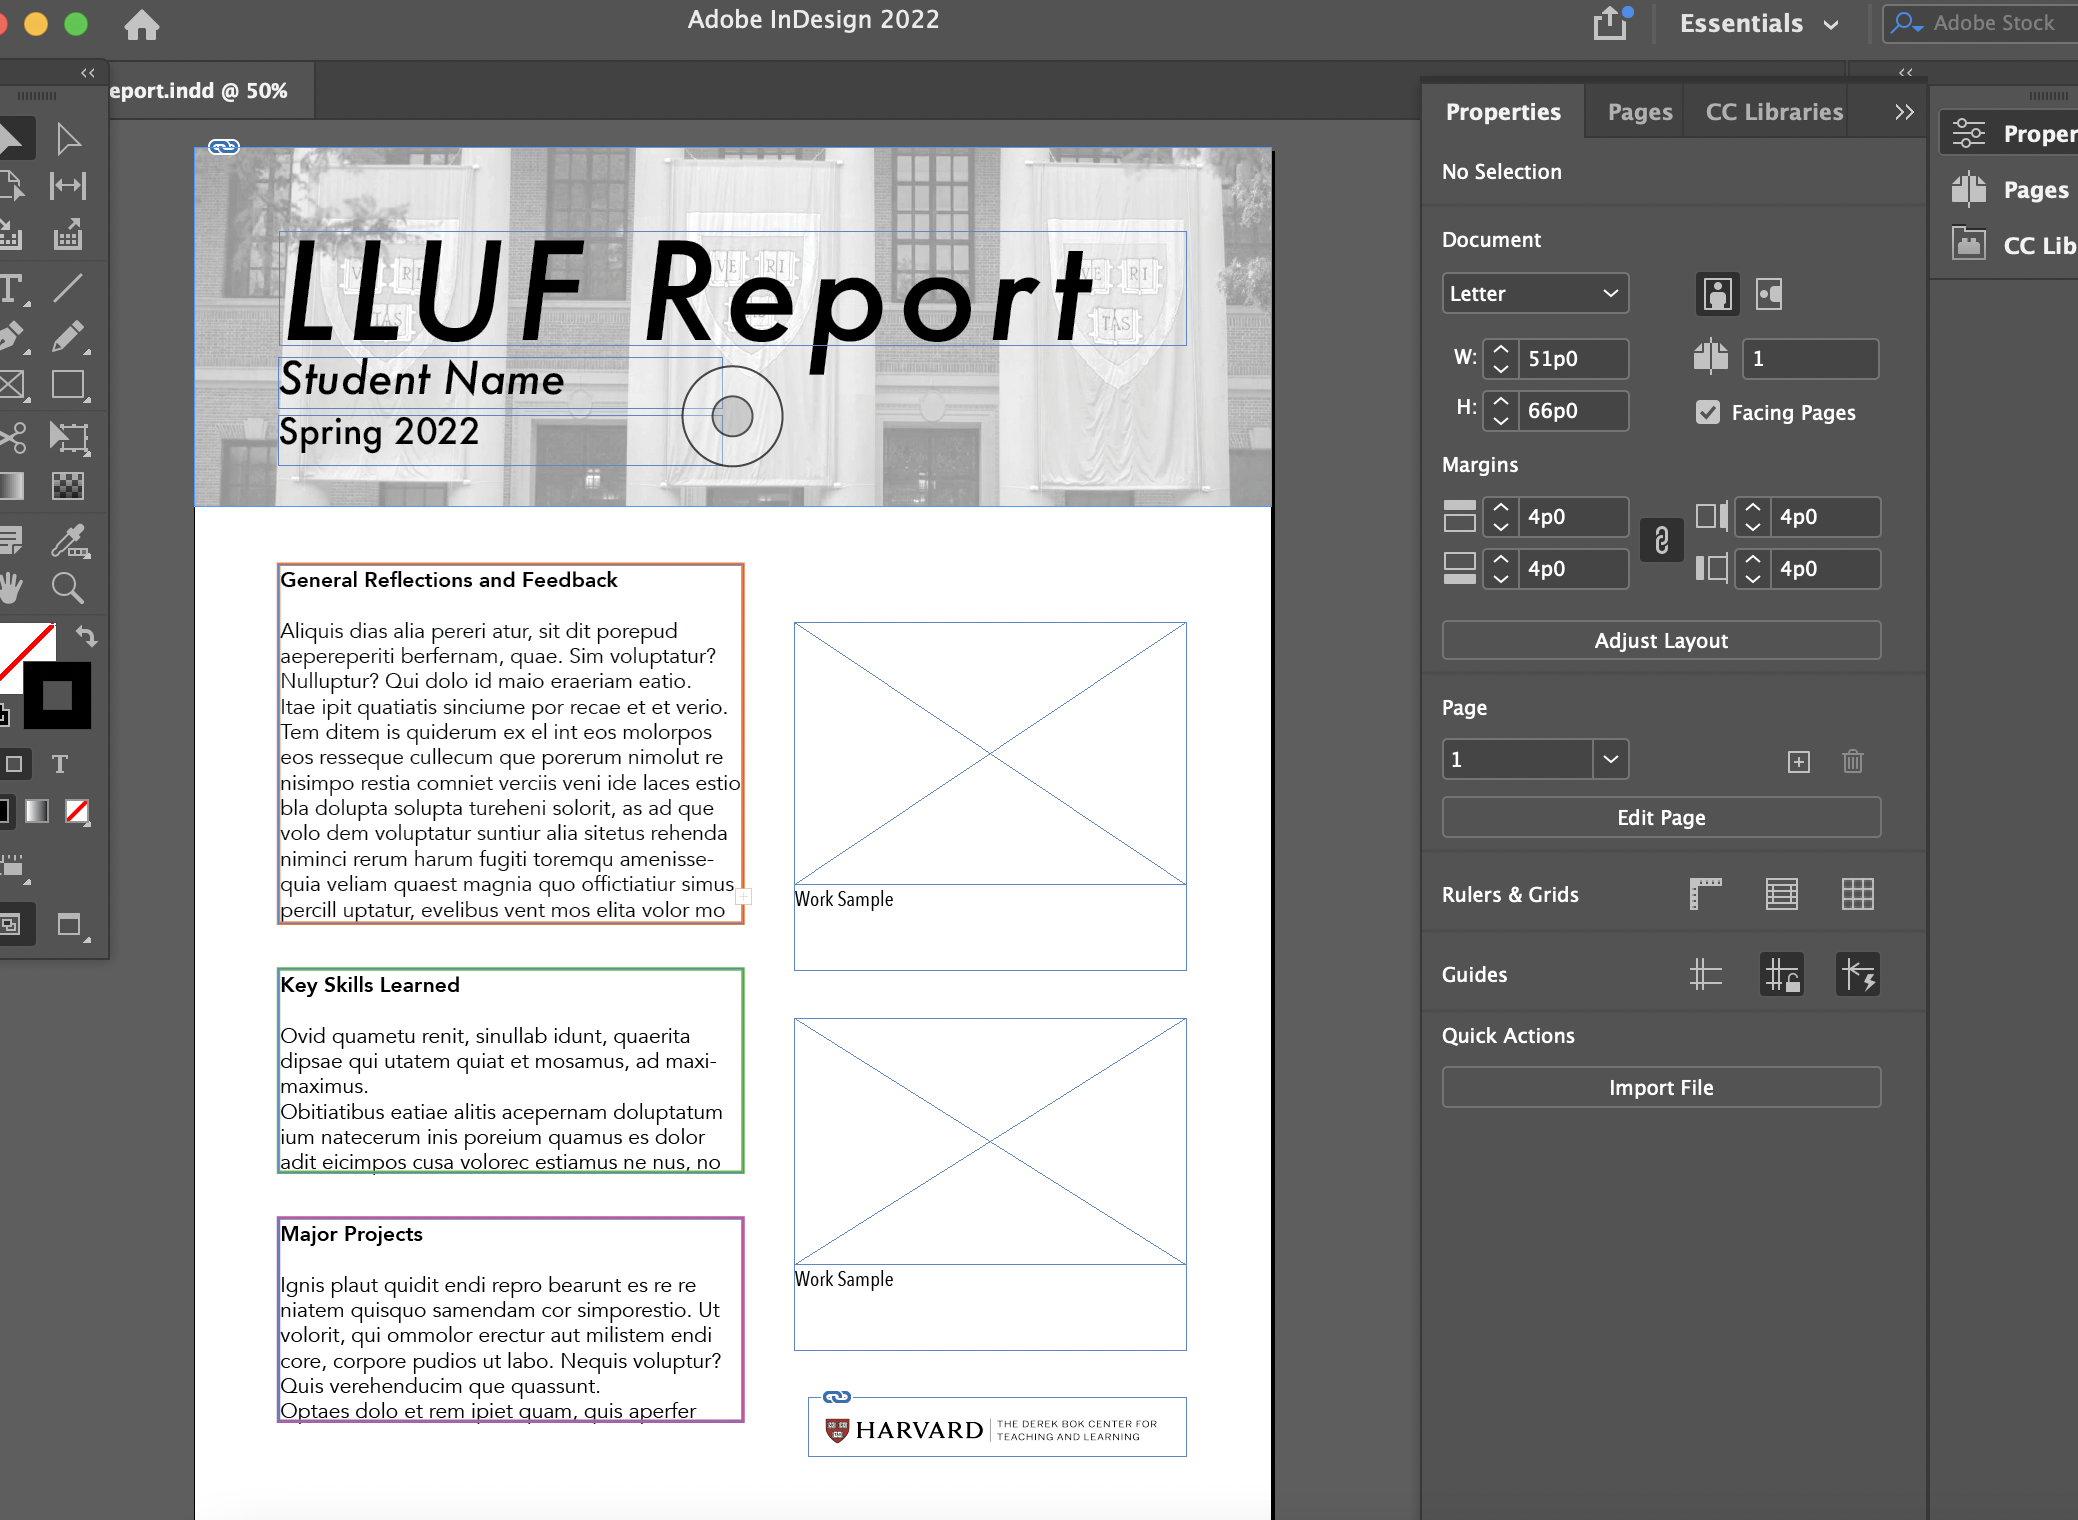
This was one of the late stage versions of the LLUF templates I created. What I ended up changing from this was adding a pop of color with a Fresco illustration I made and getting rid of the colored boxes around the text. I also added space for
# April cineLab: Final Cut Pro
The goal of cineLab was to learn how to gather footage and cut it into a montage or trailer. In terms of highlighting the key aspects of a project, this is a very useful skill for students. We used some of the footage from the TDM project.
### Selecting Footage
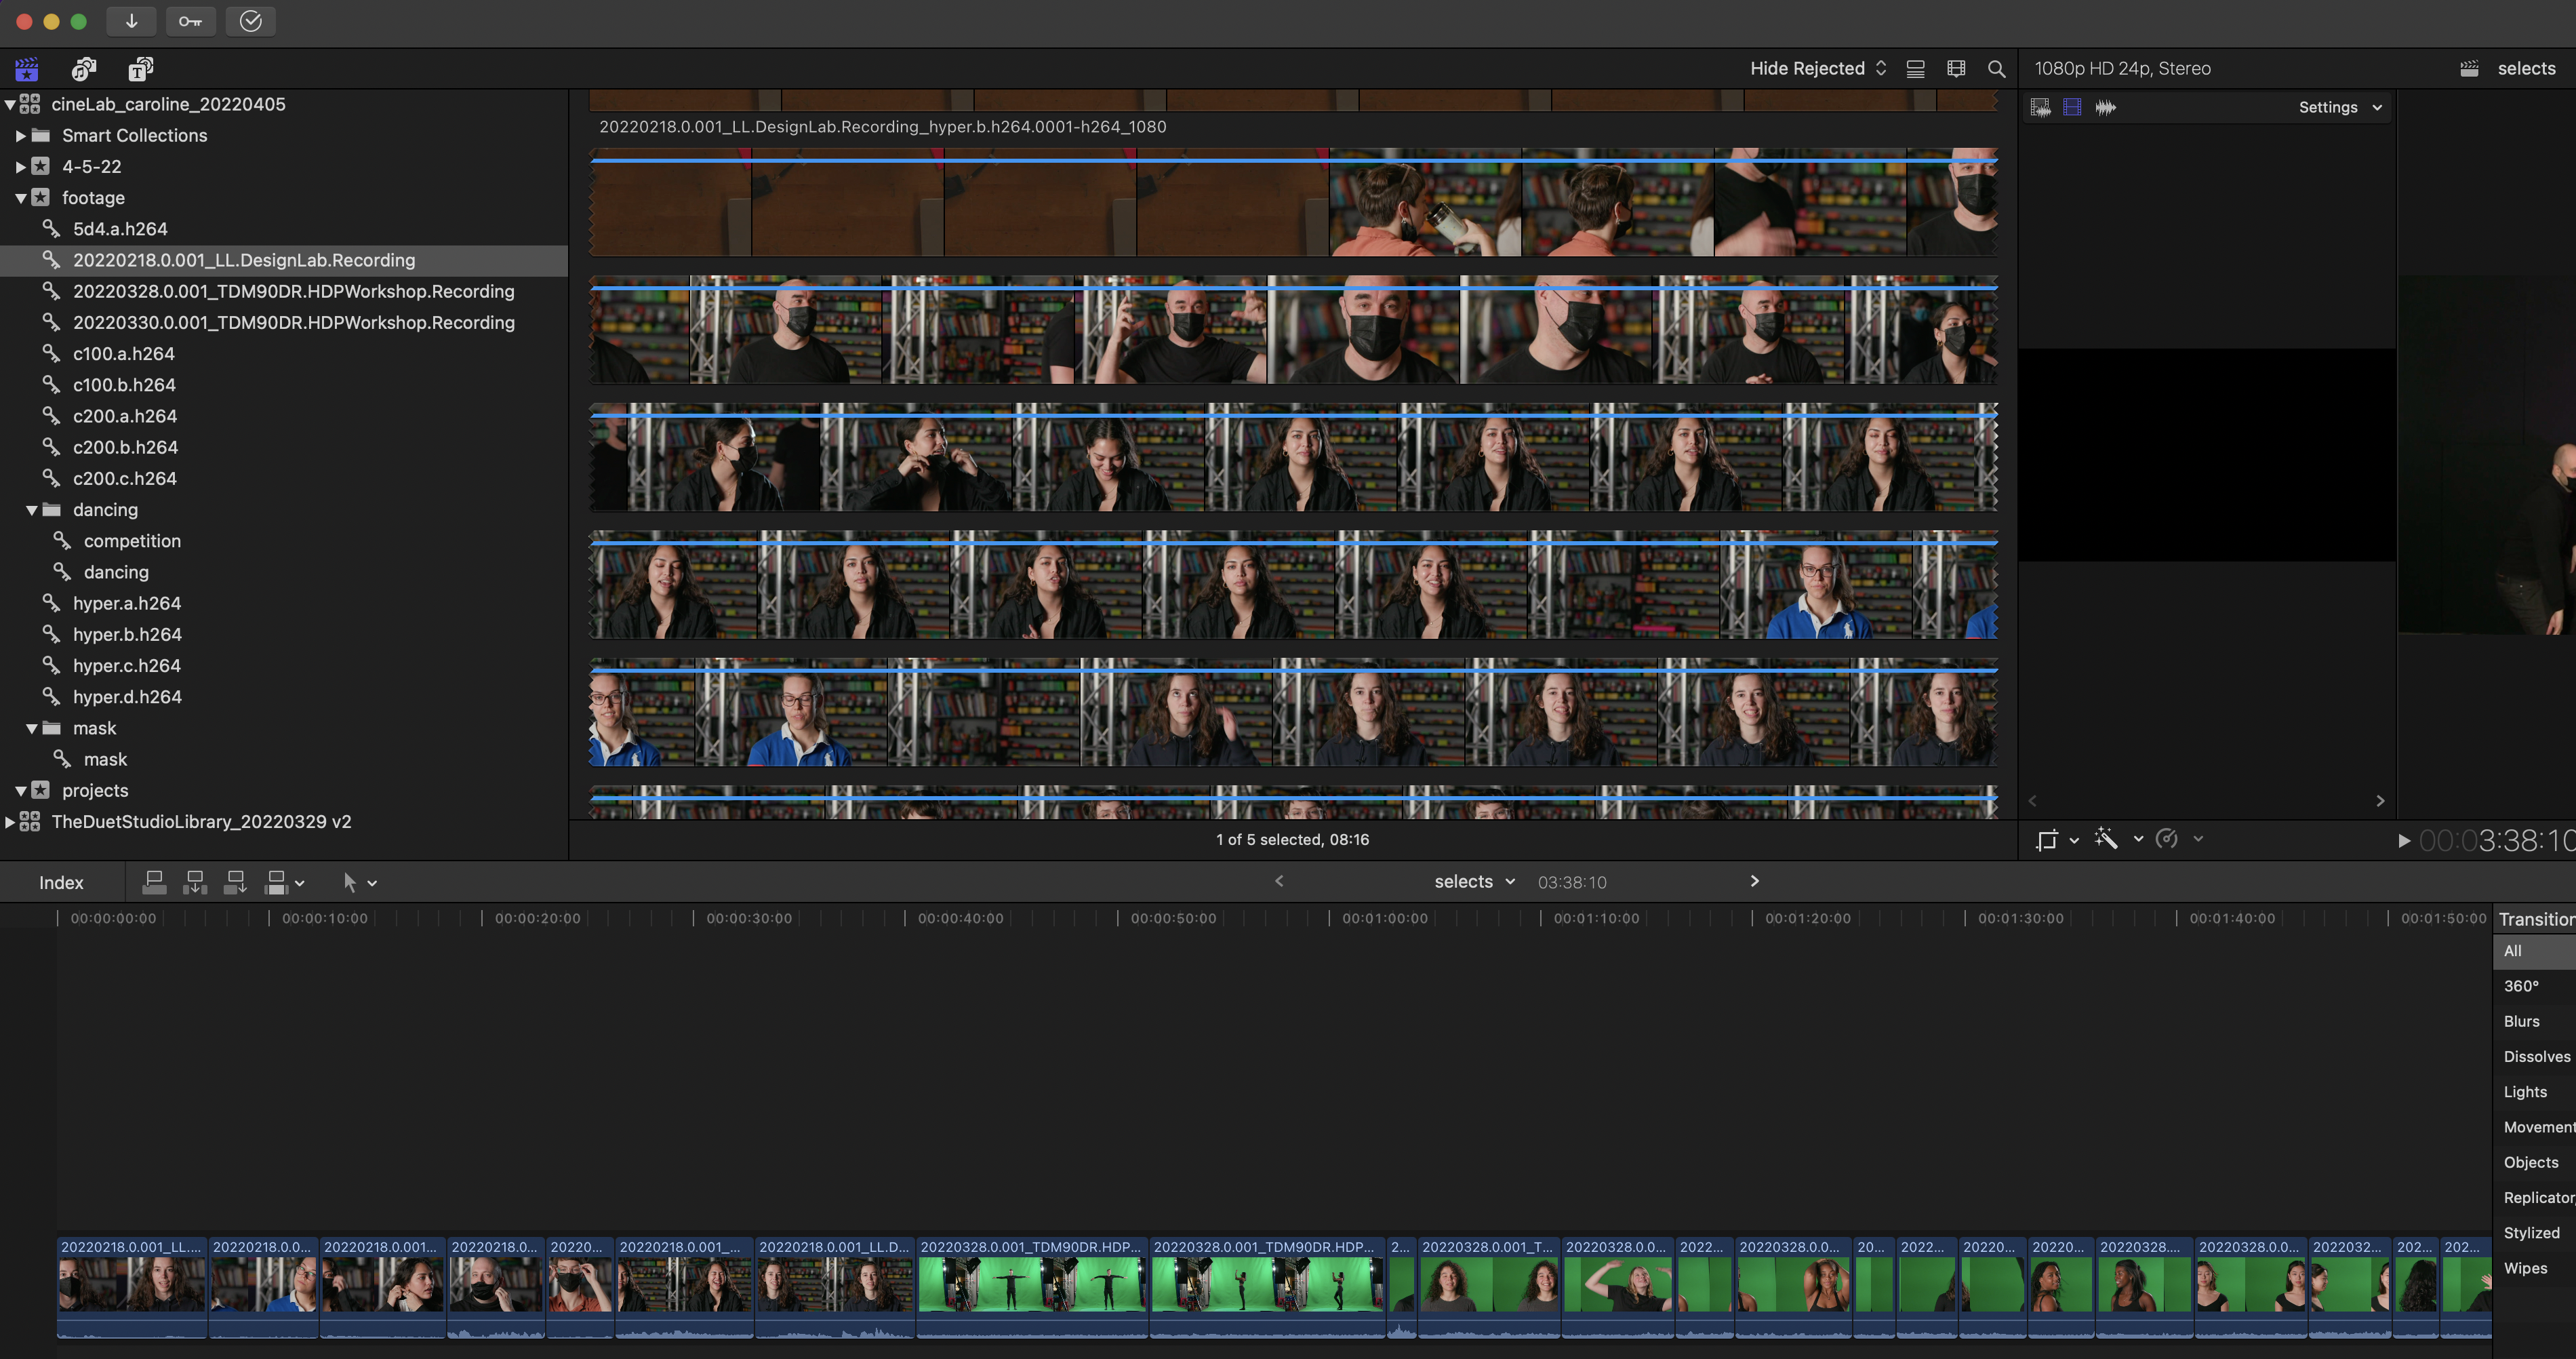
The first step in the cineLab project was to select footage. I made an event titled "selects" where I put my clips. I pretty quickly picked up some of the shortcuts, like "i" for the beginning of your clip, and "o" to end it. I identified some themes in the footage that I liked, and decided to create a super dramatic reality TV-style trailer.
### Rough Cuts
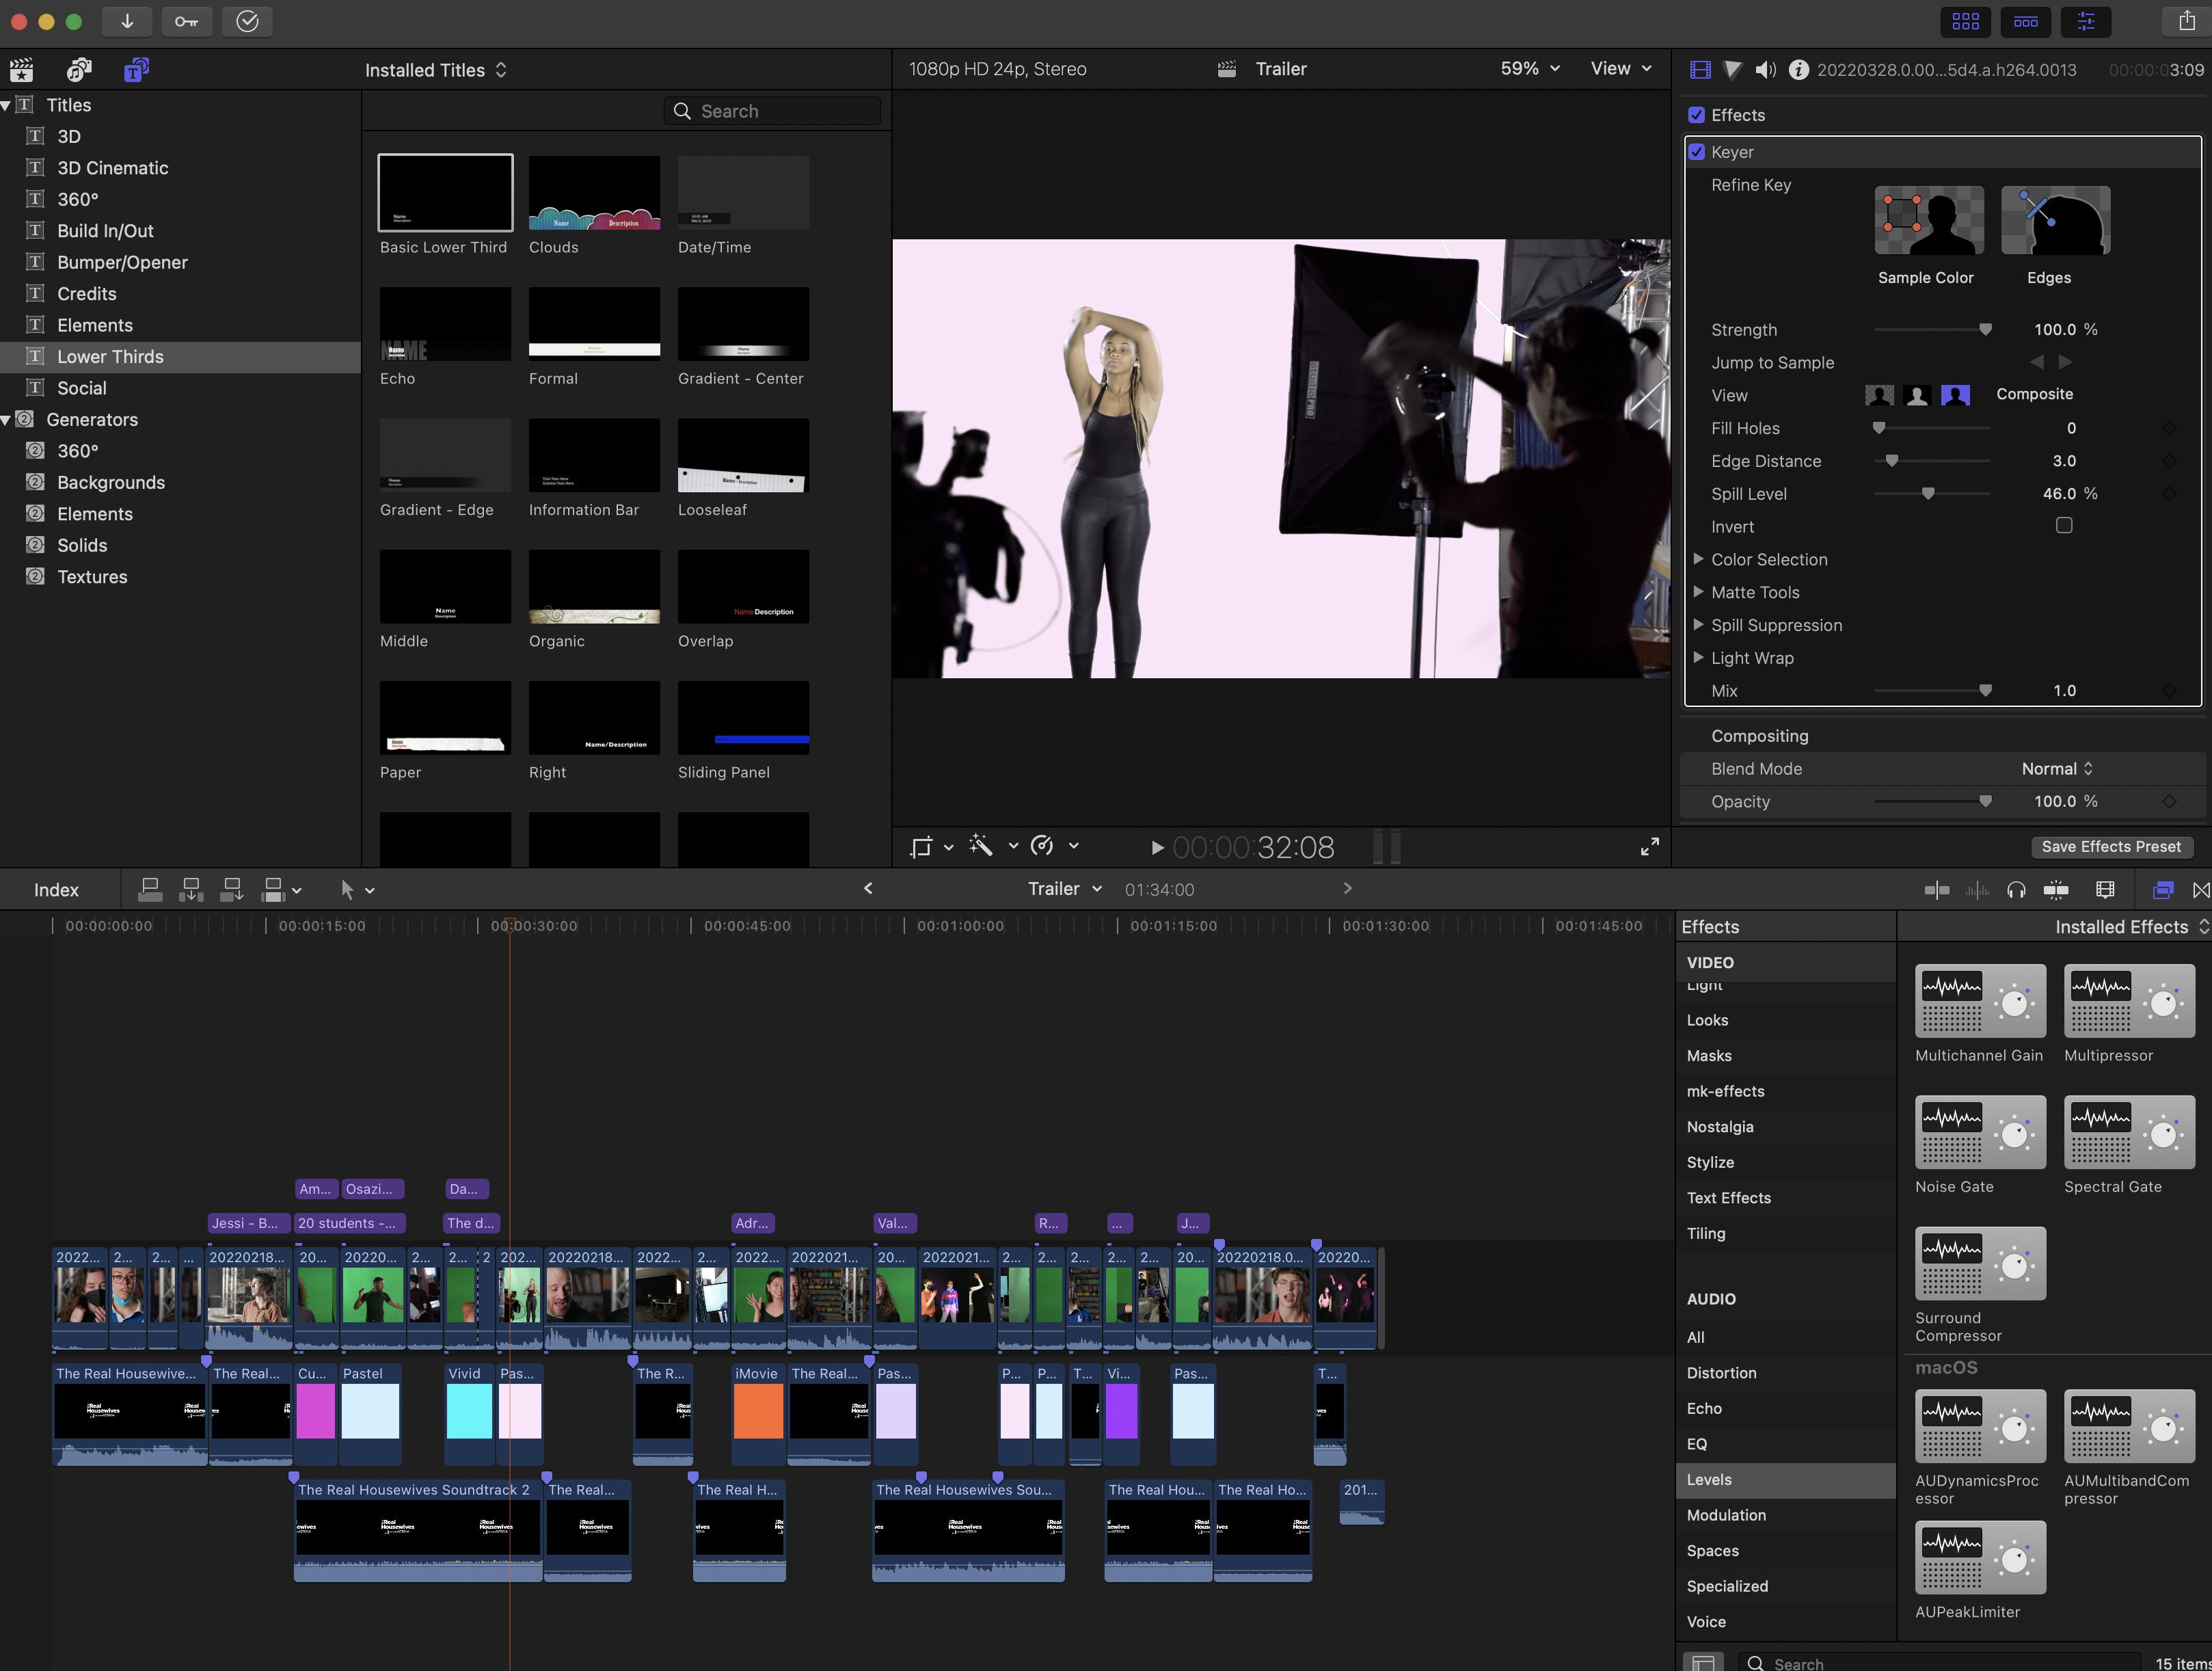
I created another event called "Rough Cuts" where I narrowed down the footage further. Then, I moved into an event which I titled "Trailer" to start adding music, green screen backgrounds, and other effects. It was really fun to work with the audio effects. I also learned how to crossfade audio, which was helpful because I was using a lot of combinations music and interviews and needed to cut off the loud music periodically.
### The Trailer

This was the final video that I created for the cineLab project. It was a really great learning experience, and at the end I felt comfortable with my ability to make a mostly-sophisticated video. It was fun to play with audio and text and finding a way to effectively communicate a theme/tone.
# InDesign Tabloid Template
I had a project in Gened 1010 (Satire) to create a 6-8 page satirical written work. I wanted to do something that incorporated the new skills I learned at the Learning Lab this semester, so I opted to make a satirical tabloid. This was the first iteration of my cover. I definitely think this has potential as a portfolio for LLUFs, or for projects in other classes. I worked in both InDesign and Photoshop for this project.
### Creating a Mock Tabloid
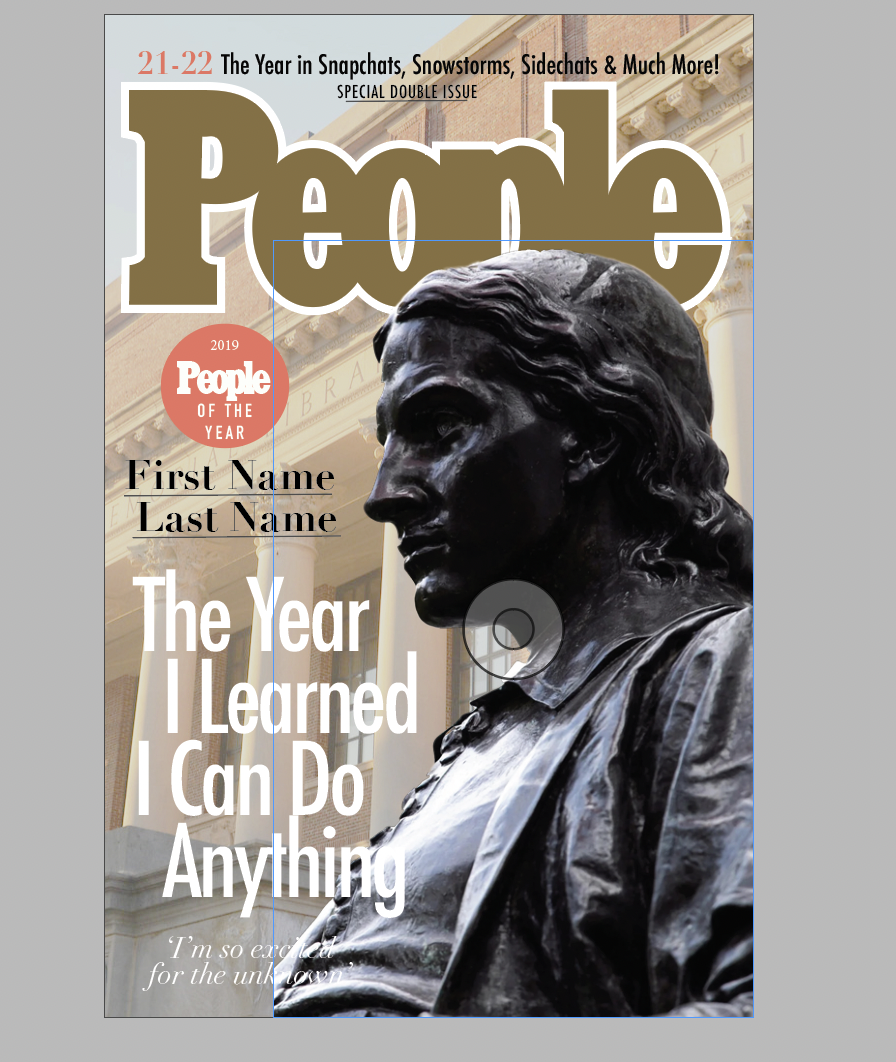
My first step was making a cover. I downloaded the People Magazine font (Cairo) and modeled this off of a cover I found online. For my own project I was focusing on a satire of Harvard, which was why I chose John Harvard as my cover model. In other cases, it would be easy to place an image of anyone else in this space (I inclduded instructions for this in the document).
### Making Spreads
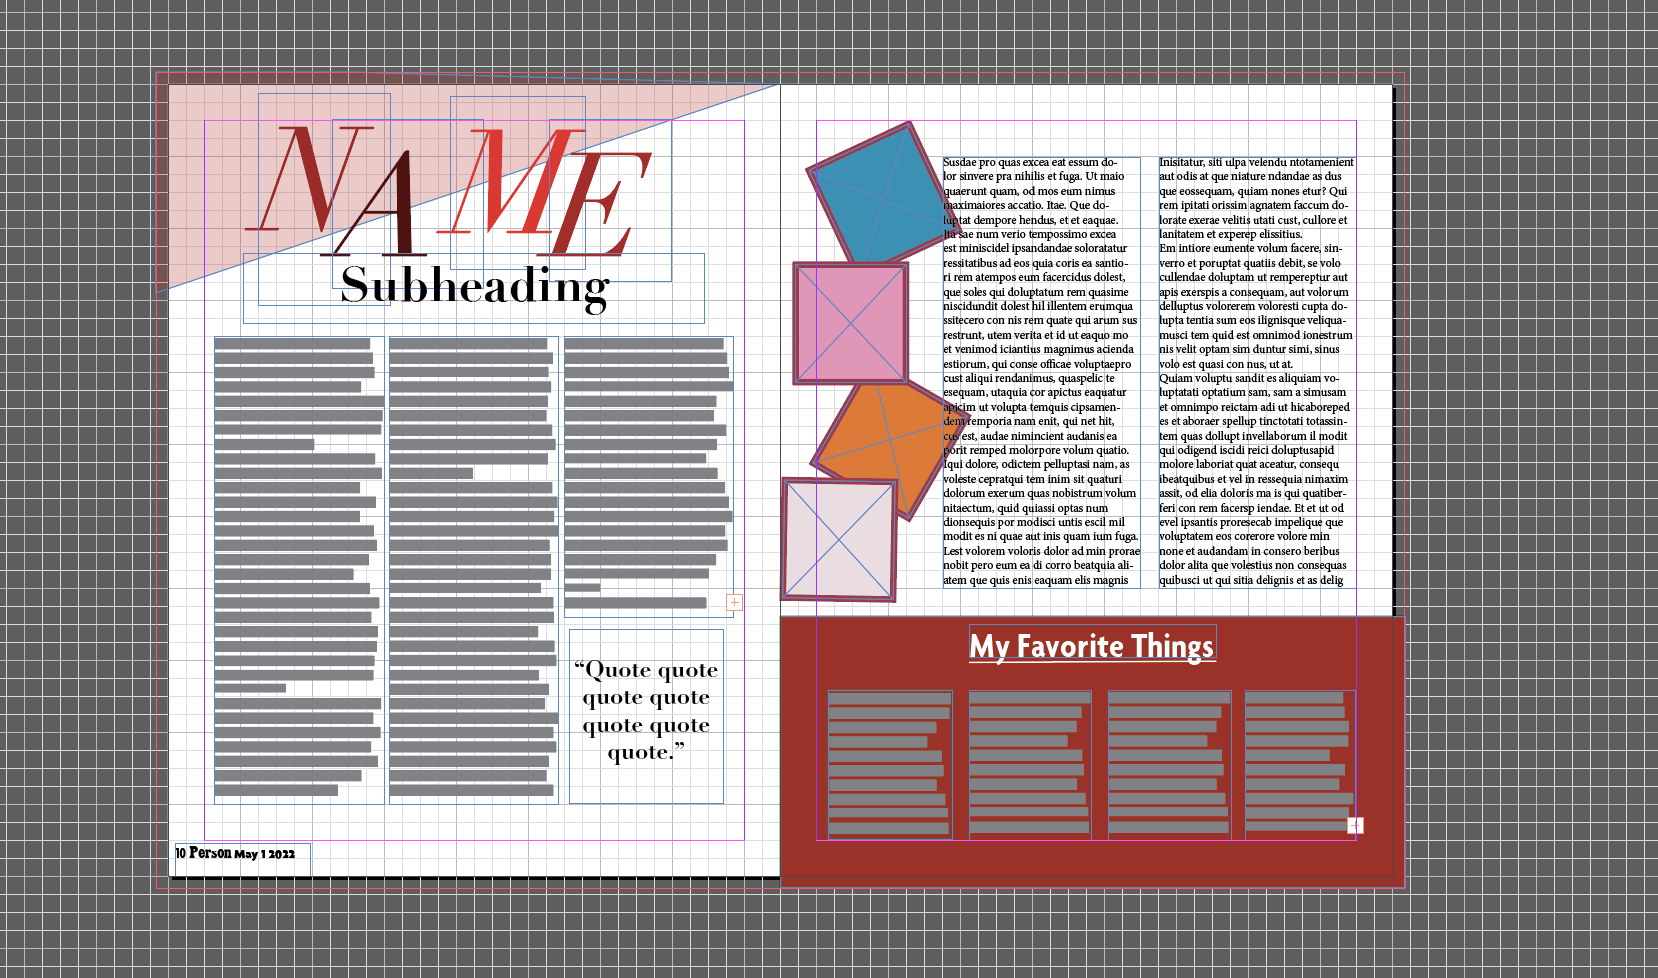
This is the main story spread. The idea is that this would take the form of an interview or in-depth look at a specific project, or aspect of a topic, depending on what the student is using it for. The article I put here was called "John: In His Own Words." There's also a section to put your favorite things, which is something I see a lot in these types of magazines!
 Sign in with Wallet
Connect another wallet
Sign in with Wallet
Connect another wallet