# PHAS0100 - week 10 (24th March 2023)
**Exercises:** <https://github.com/UCL-PHAS0100-22-23/week10_mpi_exercises>
You should be able to use `git` on Myriad by default but unless you have set up SSH key forwarding you will have to clone using the https URL: <https://github.com/UCL-PHAS0100-22-23/week10_mpi_exercises.git>
## Part 1: Getting started on Myriad
You have been given a temporary account on one of UCL's clusters, Myriad. In the first part of today's session, we'll be getting used to running code on the cluster.
### What is a cluster?
> A computing cluster is a collection of computers (each called a **node**) that can be used together to perform computations
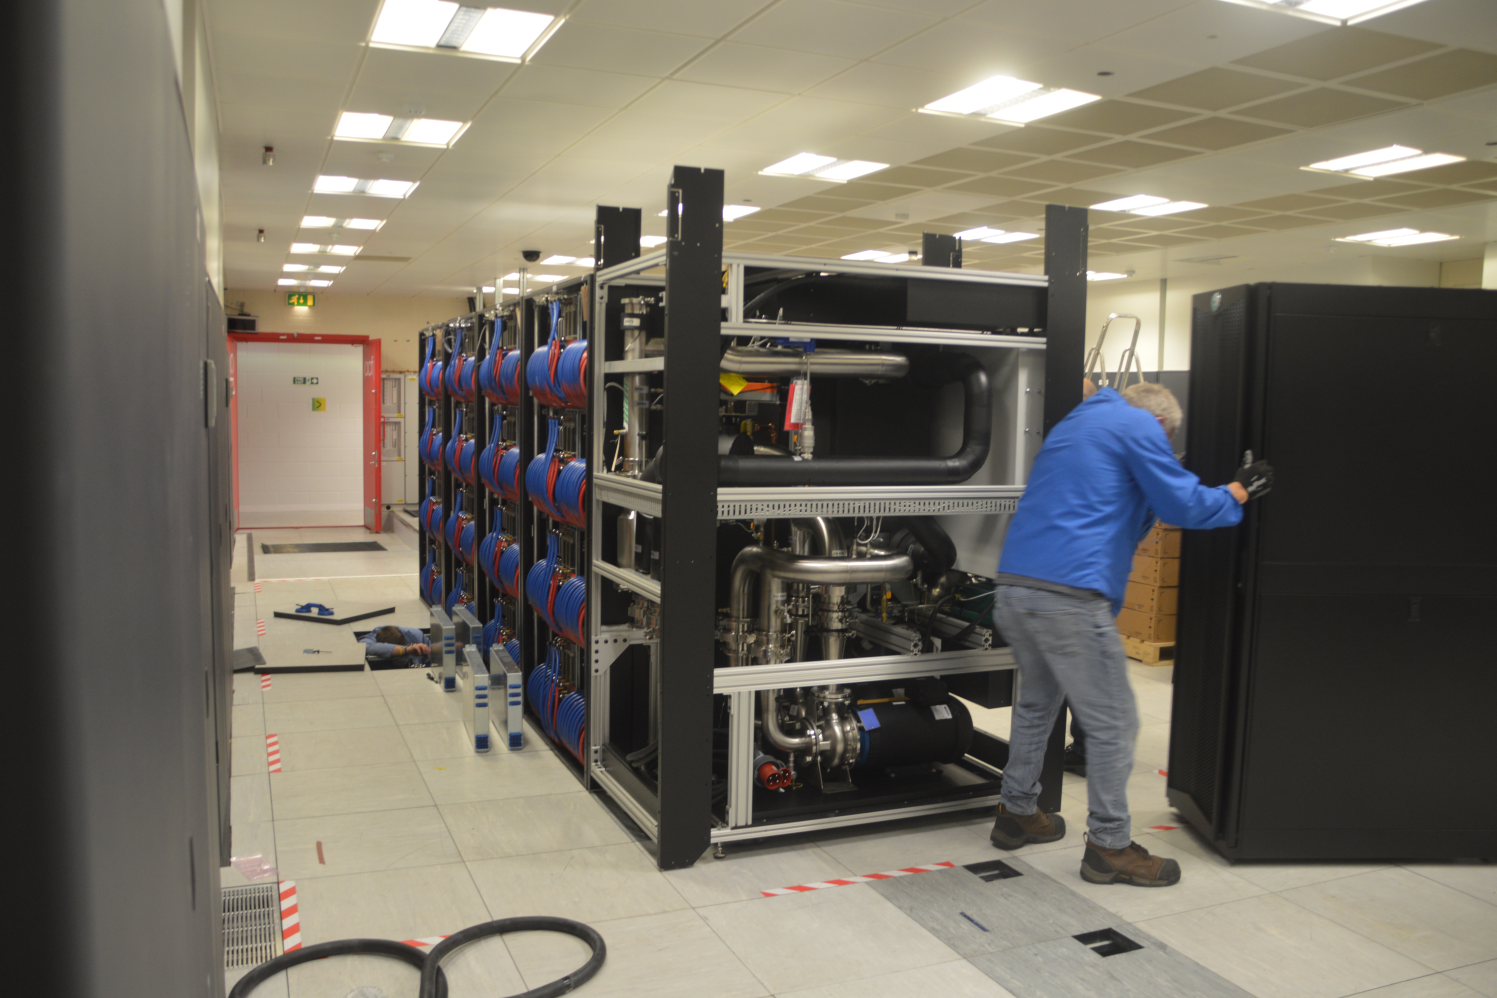
Here's a big cluster (Archer2, EPCC):
Here's a wee cluster (Wee Archie, EPCC):

> Wee Archie is made-up of 18 Raspberry Pi computers, which behave like supercomputer nodes. Each one is a tiny, single-board computer, size 85mm x 56mm x 17mm. Each has a central processing unit (CPU) to execute computer code, with 4 cores, meaning a node can run 4 different processes in parallel. ARCHER2 nodes are much larger than this - they have 2 CPUs with 128 cores total - more than the whole of Wee Archie. 16 of the nodes in Wee Archie are compute nodes, the other two are controller nodes.
The above description of Wee Archie mentions **controller nodes**, aka **head nodes** or **login nodes**, which are the nodes dedicated to allowing users access to the cluster, as opposed to **compute nodes** which actually run your code. This is a key difference between regular computers and clusters: you do not run programs directly on the compute nodes, instead you give a **job script** to the **scheduler**. These scripts may also be called **submission scripts**. A **job** could be a single run of a simulation, or loading data from an external source, performing some analysis and then saving some results to a particular location, or some other list of steps. The commands used to run all steps within a job are contained in the job script.
The **scheduler** is a program usually running on some special node of the cluster which manages all jobs. When you **submit** a job script, the scheduler reads it to understand how many cores and nodes you need, how much time your job should run for, and other information describing your job. When enough resources become free on the cluster, it will run your job on the required number of nodes and, if your job takes longer than specified, it will stop it. We'll discuss some good practices to handle this (sometimes unforgiving) behaviour.
One of the first things you should do when given access to a new cluster is *consult its documentation*. Although most clusters operate in a vaguely similar way, each cluster is unique, even quirky, so do ensure you understand how the cluster administrators expect you to use their machine.
In particular, cluster administrators should provide example job scripts to get you started. Let's use [UCL's Research Computing Dcoumentation](https://www.rc.ucl.ac.uk/docs/) to explore one example.
### What's in a submission script?
Go to [the Example Jobscripts section of the Research Computing Documentation](https://www.rc.ucl.ac.uk/docs/Example_Jobscripts/) and find the [Single-threaded Job Example](https://www.rc.ucl.ac.uk/docs/Example_Jobscripts/#serial-job-script-example). The script is a kind of bash script and starts off like most scripts with a line describing which shell should run this script, in this case `/bin/bash`:
```
#!/bin/bash -l
```
The next section gives information to the **scheduler**:
```
# Batch script to run a serial job under SGE.
# Request ten minutes of wallclock time (format hours:minutes:seconds).
#$ -l h_rt=0:10:0
# Request 1 gigabyte of RAM (must be an integer followed by M, G, or T)
#$ -l mem=1G
# Request 15 gigabyte of TMPDIR space (default is 10 GB - remove if cluster is diskless)
#$ -l tmpfs=15G
# Set the name of the job.
#$ -N Serial_Job
# Set the working directory to somewhere in your scratch space.
# This is a necessary step as compute nodes cannot write to $HOME.
# Replace "<your_UCL_id>" with your UCL user ID.
#$ -wd /home/<your_UCL_id>/Scratch/workspace
```
Any line that starts with `#$` is read *only* by the scheduler, in this case the *SGE scheduler*. Since the rest of the script is read by the bash shell, it will ignore these lines (to the bash shell they look like comments because of the `#`).
The following section then describes the exact commands that will be run on the compute nodes:
```
# Your work should be done in $TMPDIR
cd $TMPDIR
# Run the application and put the output into a file called date.txt
/bin/date > date.txt
# Preferably, tar-up (archive) all output files onto the shared scratch area
tar -zcvf $HOME/Scratch/files_from_job_$JOB_ID.tar.gz $TMPDIR
# Make sure you have given enough time for the copy to complete!
```
### Exercise 1.1: Running an example job on Myriad
1. Log onto Myriad with `ssh <username>@myriad.rc.ucl.ac.uk`
- If you are using Linux or MacOS you should be able to use `ssh` from the terminal
- If you are using Windows, you may be able to use `ssh` from the command prompt, or you may have to download an SSH client such as [Putty](https://putty.org/)
3. Get ready to run the example job:
- Run `ls` to see the current folder's contents
- Change directory to the scratch space with `cd Scratch`
- Create a directory with `mkdir workspace`
- Open a new file with `nano example.job`
- Copy and paste the example job script into the new file (you may have to paste with `<ctrl>+<shift>+p`)
- Replace `<your_UCL_id>` with your UCL ID in the line with `-wd`
- Save and exit nano with `<ctrl>-o` and `<ctrl>-x`
4. Submit the job script with `qsub example.job`
- This is a good moment to pray to your preferred higher power.
5. Check your job has submitted with `qstat`
- Continuously watch the queue with `watch qstat`
6. Wait for your job to finish; you should have new `.tar.gz` file in `Scratch`
7. Extract the archive with `tar xvzf <filename>.tar.gz`
- this will create a new folder called `tmpdir`
8. Move through the slightly bonkers folder structure of `tmpdir` to find the actual output `date.txt`
- The folder structure should look something like `tmpdir/job/<job_id>.undefined`. I don't know why.
9. Print the contents of `date.txt` with `cat date.txt`
10. Now change directory to the defined working directory: `cd ~/Scratch/workspace` and list the files with `ls`
- You should see two files: `Serial_Job.o...` and `Serial_Job.e...`
11. `cat` each of these files to see the output and error messages from the `tar` command
12. Congratulations, you have used a supercomputer.
### Exercise 2.2: Running an MPI job on Myriad
Starting from the [MPI Job Script Example in the Research Computing Documentation](https://www.rc.ucl.ac.uk/docs/Example_Jobscripts/#mpi-job-script-example), let's run the most basic MPI example from [this week's notes](https://github-pages.ucl.ac.uk/research-computing-with-cpp/09distributed_computing/sec02ProgrammingWithMPI). You do not have to copy and paste this code. It can be found in the [exercises repository for this week][exercises]. The example code is:
```cpp
#include <mpi.h>
#include <iostream>
using namespace std;
int main(int argc, char** argv) {
MPI_Init(NULL, NULL);
cout << "Hello World!" << endl;
MPI_Finalize();
}
```
Build this by running:
```
mpicc main.cpp
```
`mpicc` is nothing more than a wrapper around the currently loaded compiler/MPI which by default is Intel's C++ compiler and Intel MPI on Myriad. See the end of this document if you would like to load alternative compilers/MPI through the module system.
We'll submit this with the jobscript:
```bash
#!/bin/bash -l
# Batch script to run an MPI parallel job under SGE with Intel MPI.
# Request ten minutes of wallclock time (format hours:minutes:seconds).
#$ -l h_rt=0:10:0
# Request 1 gigabyte of RAM per process (must be an integer followed by M, G, or T)
#$ -l mem=1G
# Request 15 gigabyte of TMPDIR space per node
# (default is 10 GB - remove if cluster is diskless)
#$ -l tmpfs=15G
# Set the name of the job.
#$ -N My_First_MPI_Job
# Select the MPI parallel environment and 16 processes.
#$ -pe mpi 16
# Set the working directory to the directory `qsub` is run from
#$ -cwd
# Run our MPI job. GERun is a wrapper that launches MPI jobs on our clusters.
gerun ./a.out
```
Notice I've used `-cwd` to set the working directory to the *current* working directory, i.e. the directory `qsub` is called from.
### Exercise 1.3: Extending the MPI code
1. You should use the MPI functions found in [this week's notes](https://github-pages.ucl.ac.uk/research-computing-with-cpp/09distributed_computing/sec02ProgrammingWithMPI) to adapt this example into a program that prints out its own **rank** and the total size of `MPI_COMM_WORLD`. Since the code isn't running for very long, feel free to test this on the login nodes.
2. Submit the job a few times changing the number of processes requested from the scheduler. Does your code print out what you expect?
- Remember the output from code run on a compute node is captured in a file called `<job_name>.o<job_id>` in the working directory set in the job script.
3. Modify your code so that *only* the process with rank 0 prints "Hello World!".
4. Test what happens if you leave out `MPI_Finalize`.
- For an advanced example, load a different version of MPI using an appropriate module (see the end of this document) and see if the behaviour changes
5. (optional) Use `MPI_Get_processor_name()` to print out the hostname of the compute node the process is running on
## Part 2: More advanced MPI
### Exercise 2.1: Calculating pi
Oh look, our old friend, a numerical integration of pi! But this time, let's parallelise using MPI! You can find the code in folder `02_pi` of [this week's exercise repo][exercises] Here's the starter code:
```cpp
#include <iostream>
using namespace std;
int main() {
int N = 1'000'000'000;
double dx = 1.0f/(N-1);
std::cout << N << std::endl;
double sum = 0.;
for(int i=0; i<N; ++i) {
double x = i*dx;
sum += 4.0f/(1.0f + x*x)*dx;
}
std::cout << "Result: " << sum << '\n';
return 0;
}
```
1. Add MPI to this code so that each process independently calculates its own version of pi.
2. Now ensure that each process calculates only a part of the sum, so if there are 2 processes, rank 0 should calculate the first *half* of the for loop, and rank 1, the second half. Print out the partial sums and manually check they add up to the correct answer.
3. Now add a step after the calculation of partial sums where each process sends its partial sum to rank 0, which accumulates the final sum. It should print out this value.
- You should use `MPI_Ssend` and `MPI_Recv` for this part.
- You may have seen `MPI_Send` in the notes; you should use the *synchronous* version `MPI_Ssend` until you learn more about MPI.
4. Use the function `MPI_Wtime` to record the time it takes to perform the full calculation. You should ensure all processes are synchronised with `MPI_Barrier(MPI_COMM_WORLD)` before recording the time to ensure each process records the same time.
- How does your code scale as you vary the number of processes and `N`?
5. Check your code still functions when `N` is *not* an exact multiple of the number of processes.
### Exercise 2.2: Ping Pong
Write a program where two processes repeatedly pass a message back and forth with `MPI_Ssend` and `MPI_Recv`. For simplicity use a message that is an array of integers. Time the code with `MPI_Wtime`. You should be able to vary:
- The number of iterations
- The size of the messages
Use this data, along with the total runtime, to calculate:
1. Bandwidth - how many bytes are transferred per second?
2. Latency - how long do single messages take on average?
Vary the number of iterations and the size of the messages to understand the characteristics of Myriad. Unfortunately we can only run on a single node so we can't measure the characteristics of Myriad's network, only the internal bandwidth and latency.
## What haven't we discussed?
- In MPI:
- Asynchronous vs synchronous communications
- Broadcast and scatter
- Collectives
- Topologies
- File IO
- About clusters:
- Modules (see below)
### The module system
- the way that most clusters manage different versions of libraries on the one computer
- `module list` - currently loaded modules
- `module avail` - all available modules
- `module load <module>` - load a module
- `module unload <module>` - unload a module
- These have to be included in the job script!!
[exercises]: https://github.com/UCL-PHAS0100-22-23/week10_mpi_exercises
 Sign in with Wallet
Connect another wallet
Sign in with Wallet
Connect another wallet