# Firebaseの設定
ここにアクセス
https://console.firebase.google.com/u/0/?hl=ja
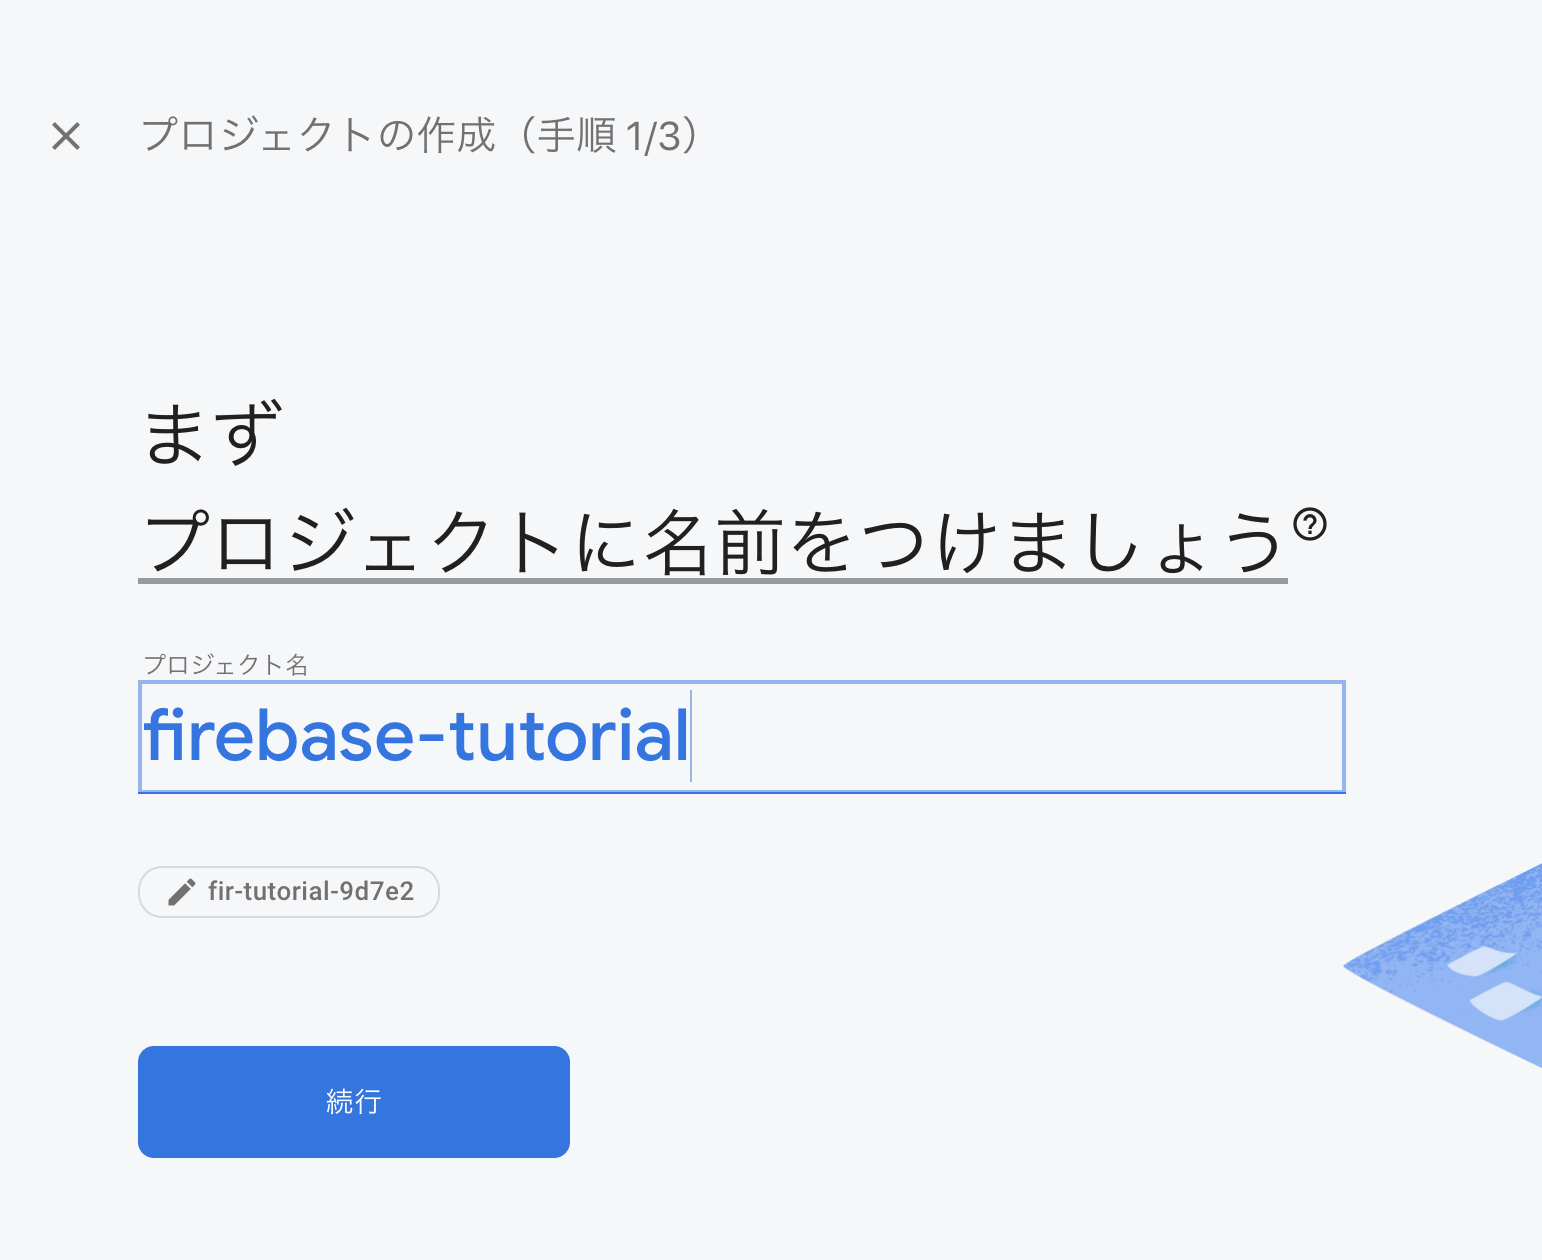
「プロジェクトを追加」
[](https://gyazo.com/482700ca78d719edd8276ef68d99b999)
プロジェクト名はお好きに。
[](https://gyazo.com/a5d45cc5281cf237b7e53a51a4e29730)
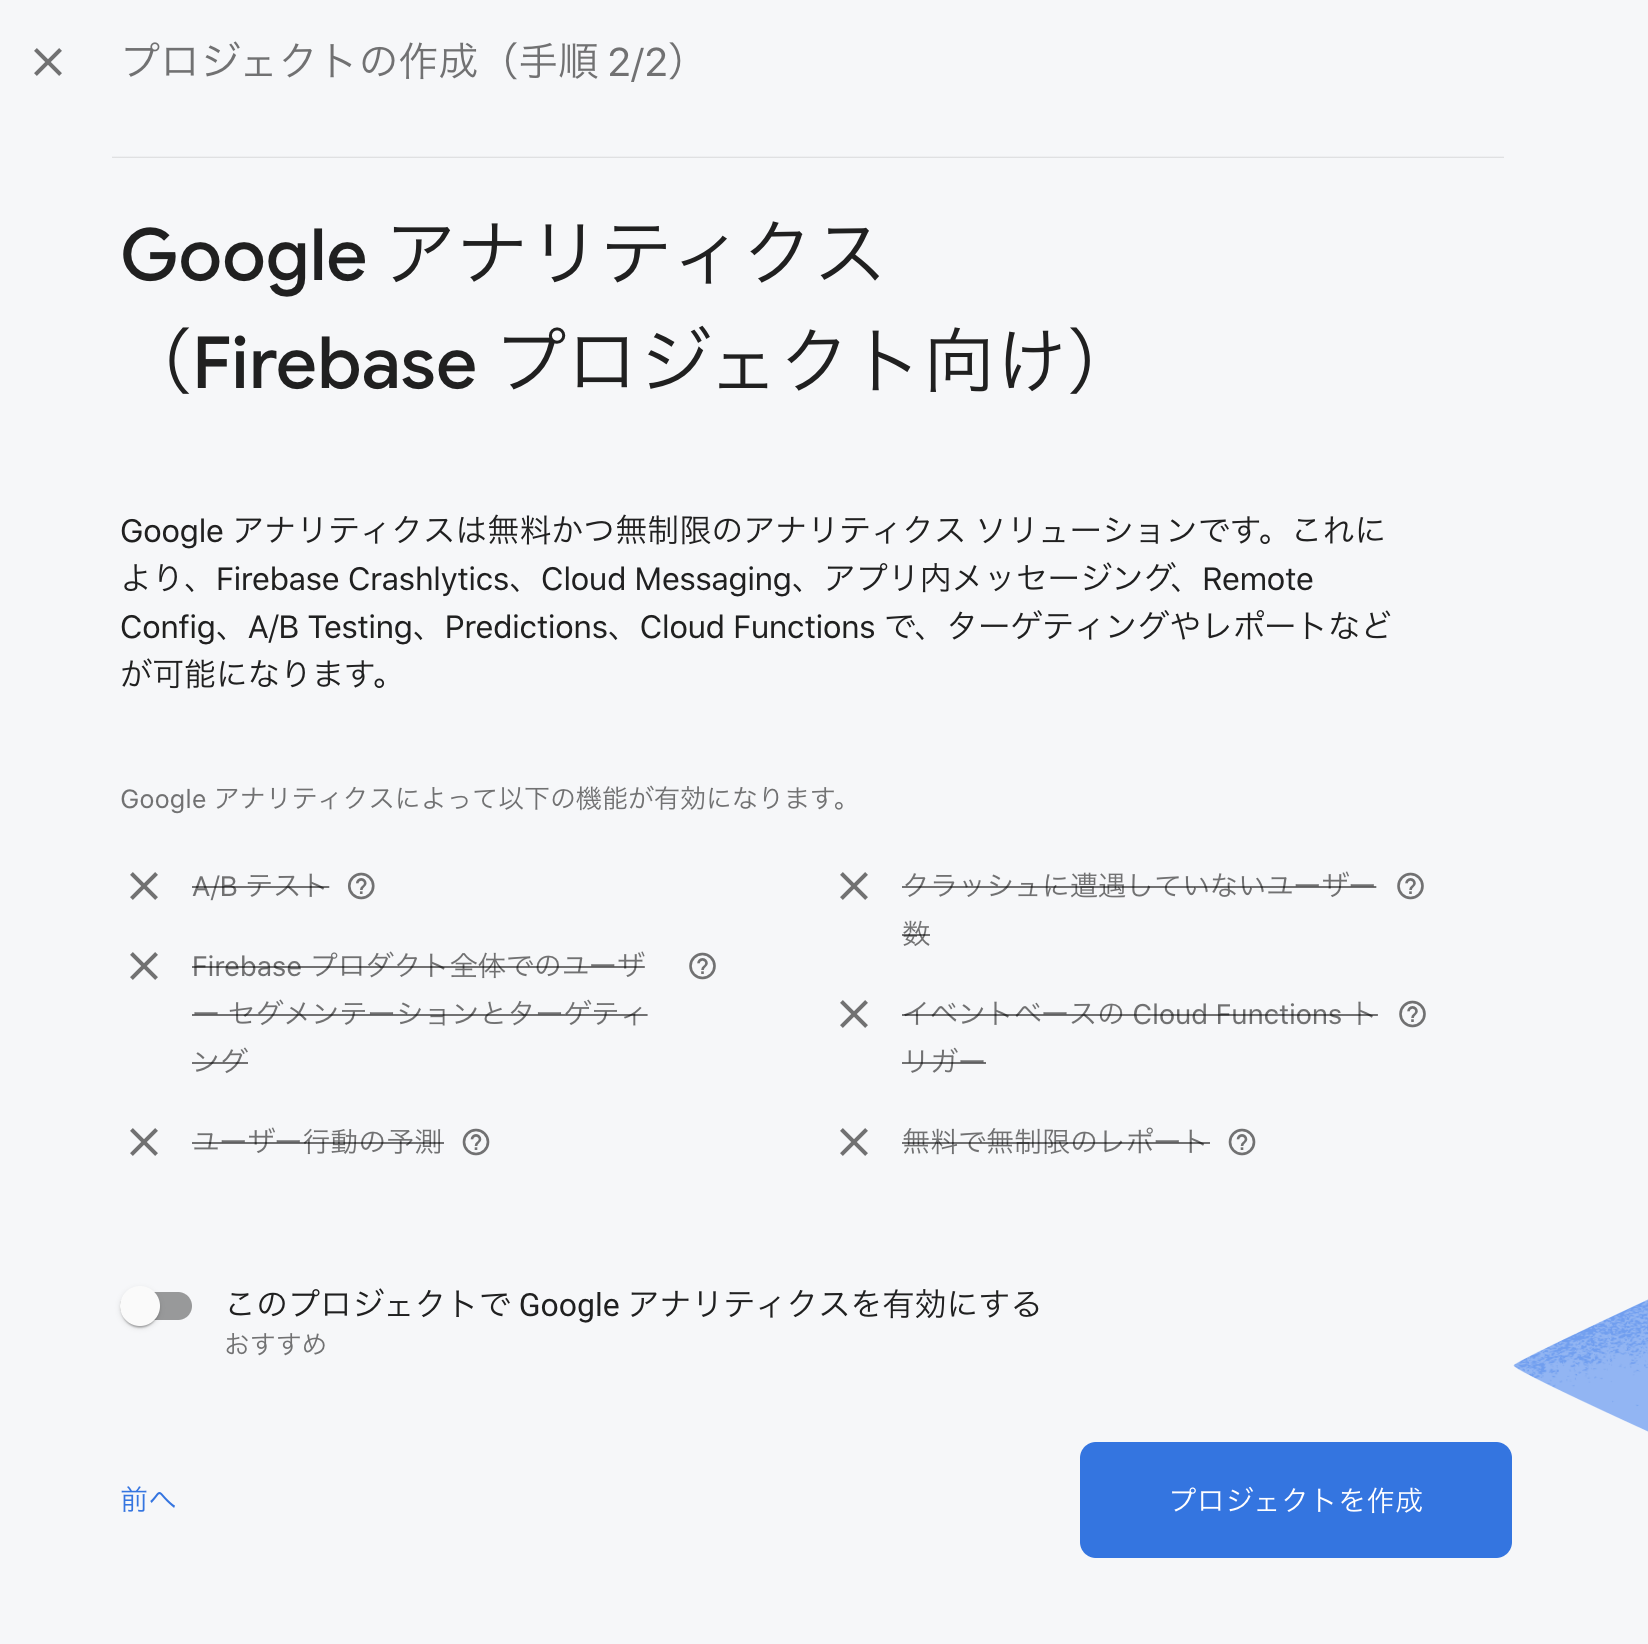
GAは今回は設定しなくてOK。
[](https://gyazo.com/ff2ec9066a7532a50b13006e1a184c3e)
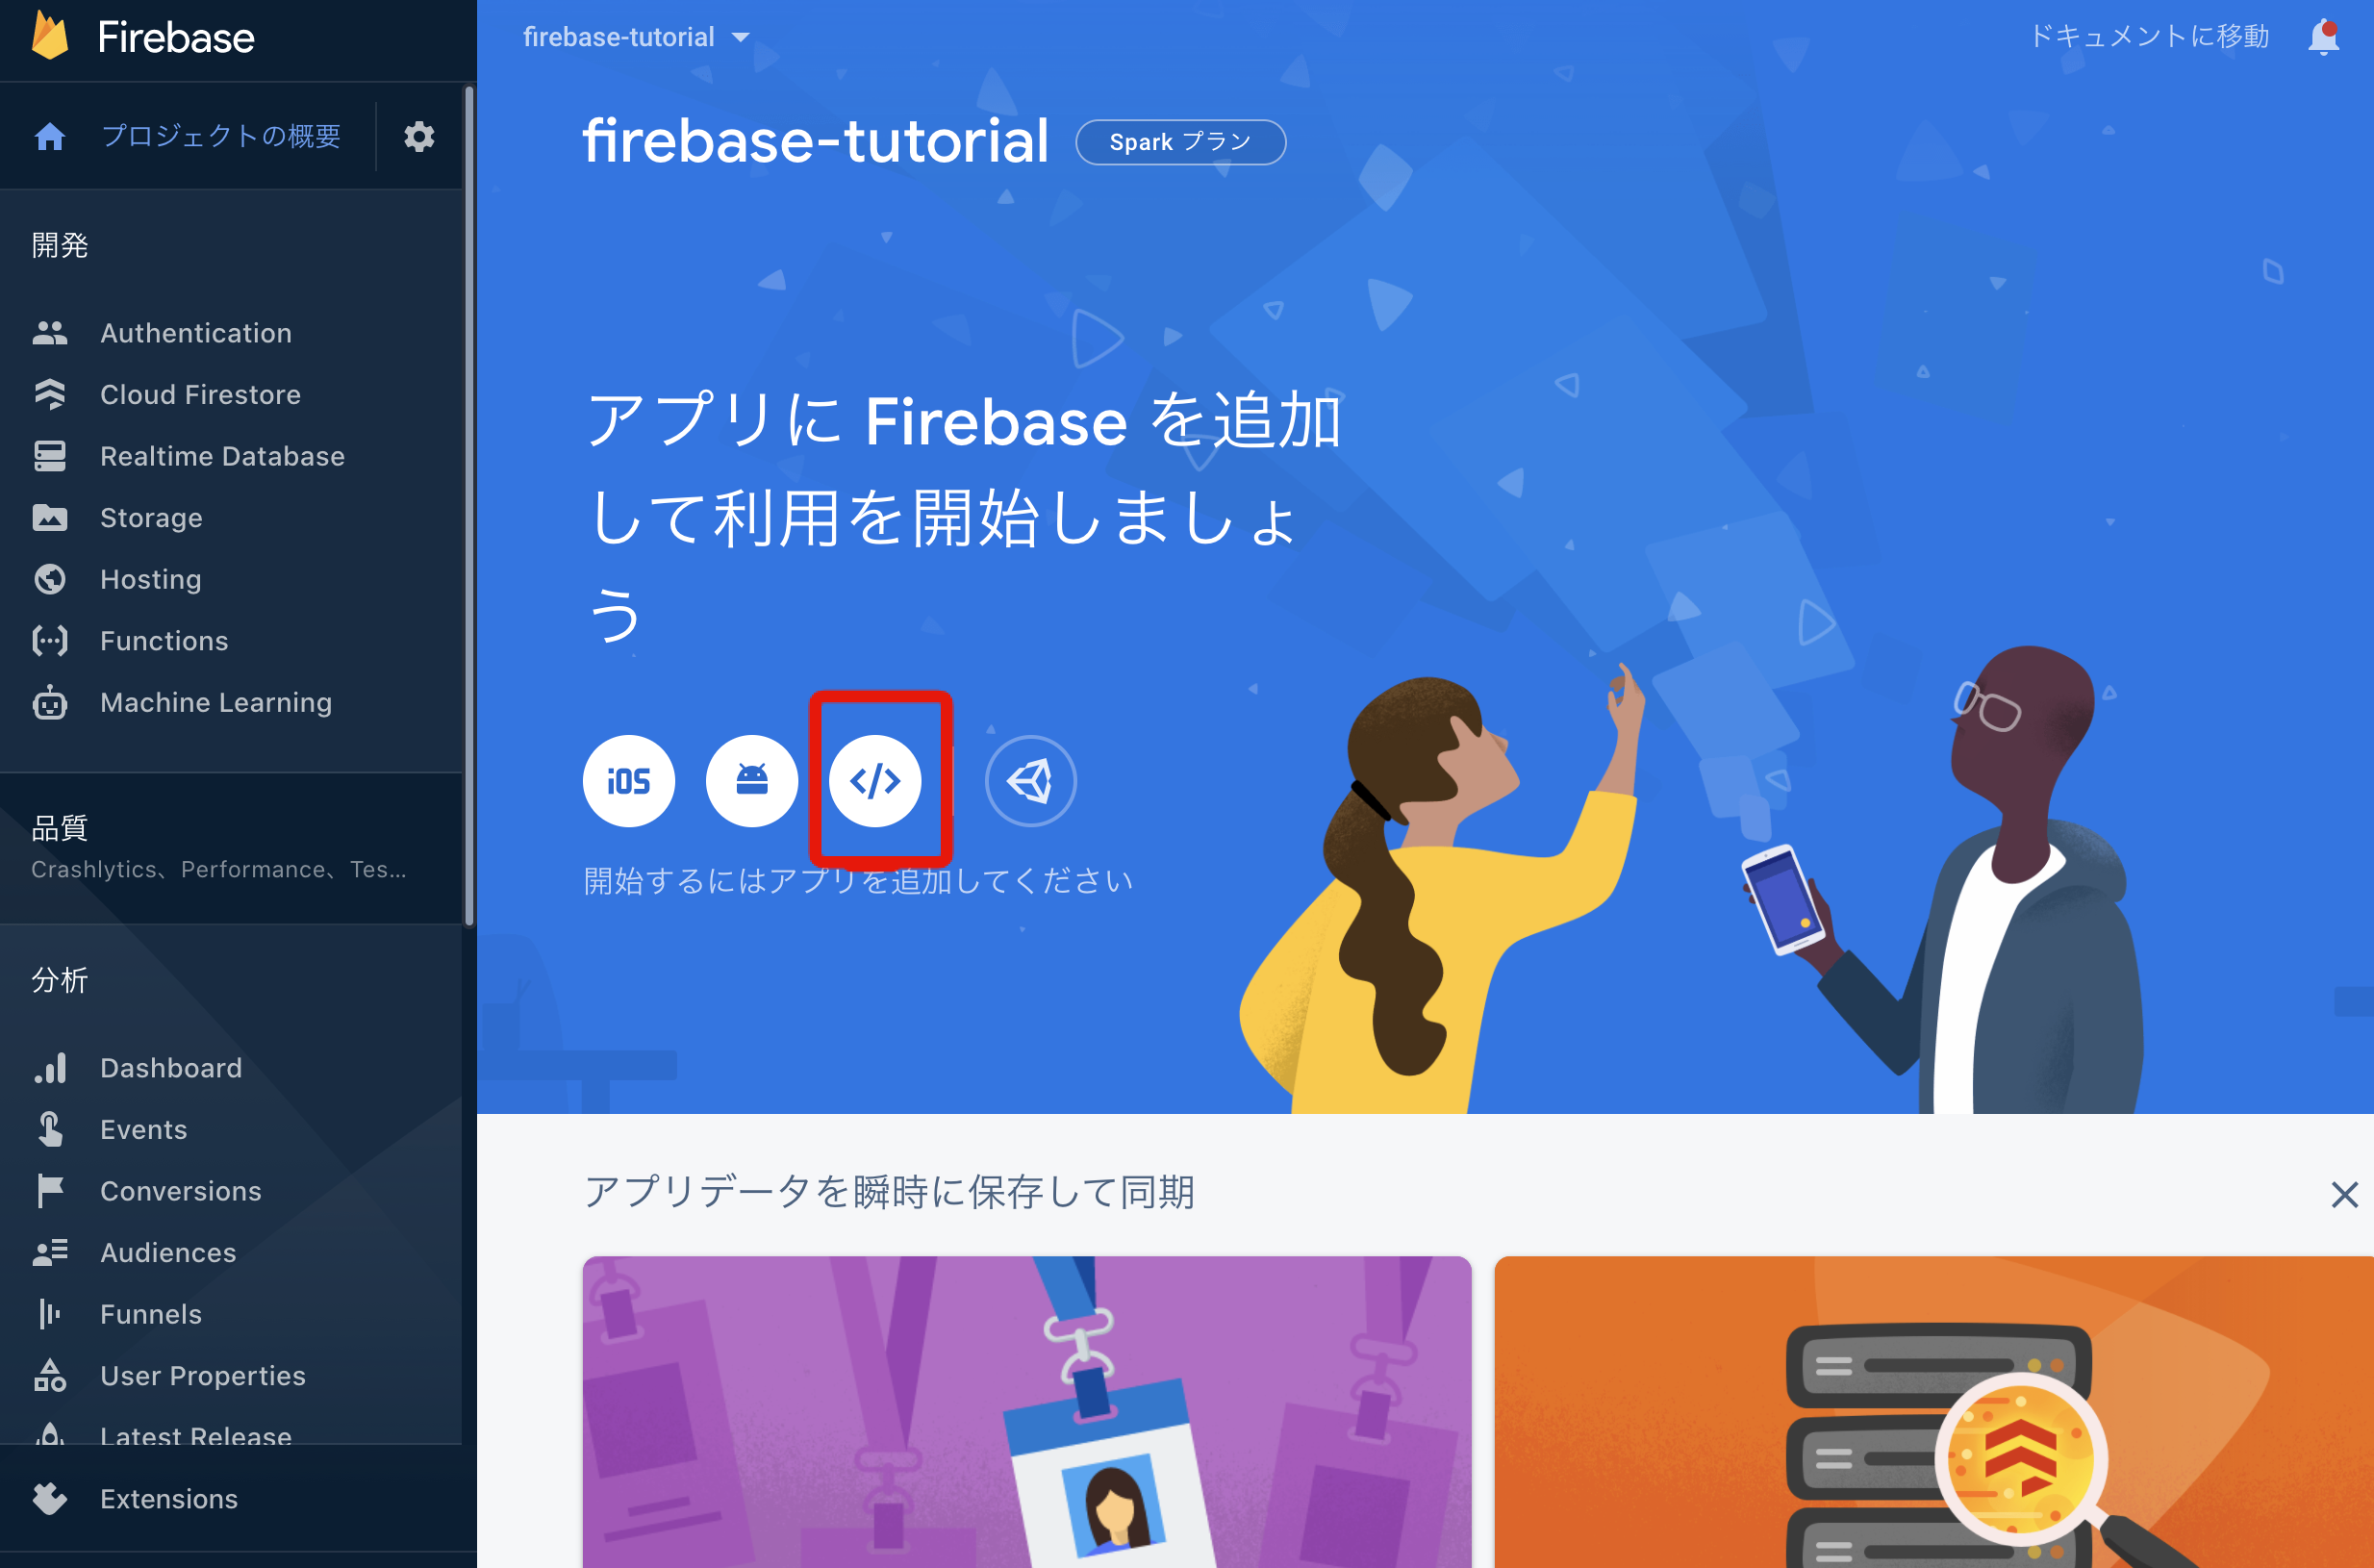
ダッシュボードに遷移するはず。
とりあえず抑えておくこと
- FirebaseとはBaaS(backend as a searvice)の一種
- いろんなサービスがある
- Authentication → 認証
- FireStore → データベース
- Storage → ストレージ
- Functions → AWSでいうLambda的なもの
- Hosting → ホスティングサービス
[](https://gyazo.com/1b24ad6317374f4db56db0458fe3501a)
事前準備をしましょう。
「Webアプリを追加」的なボタンを押す。
[](https://gyazo.com/87668de09c338775a728b8e37bc62b80)
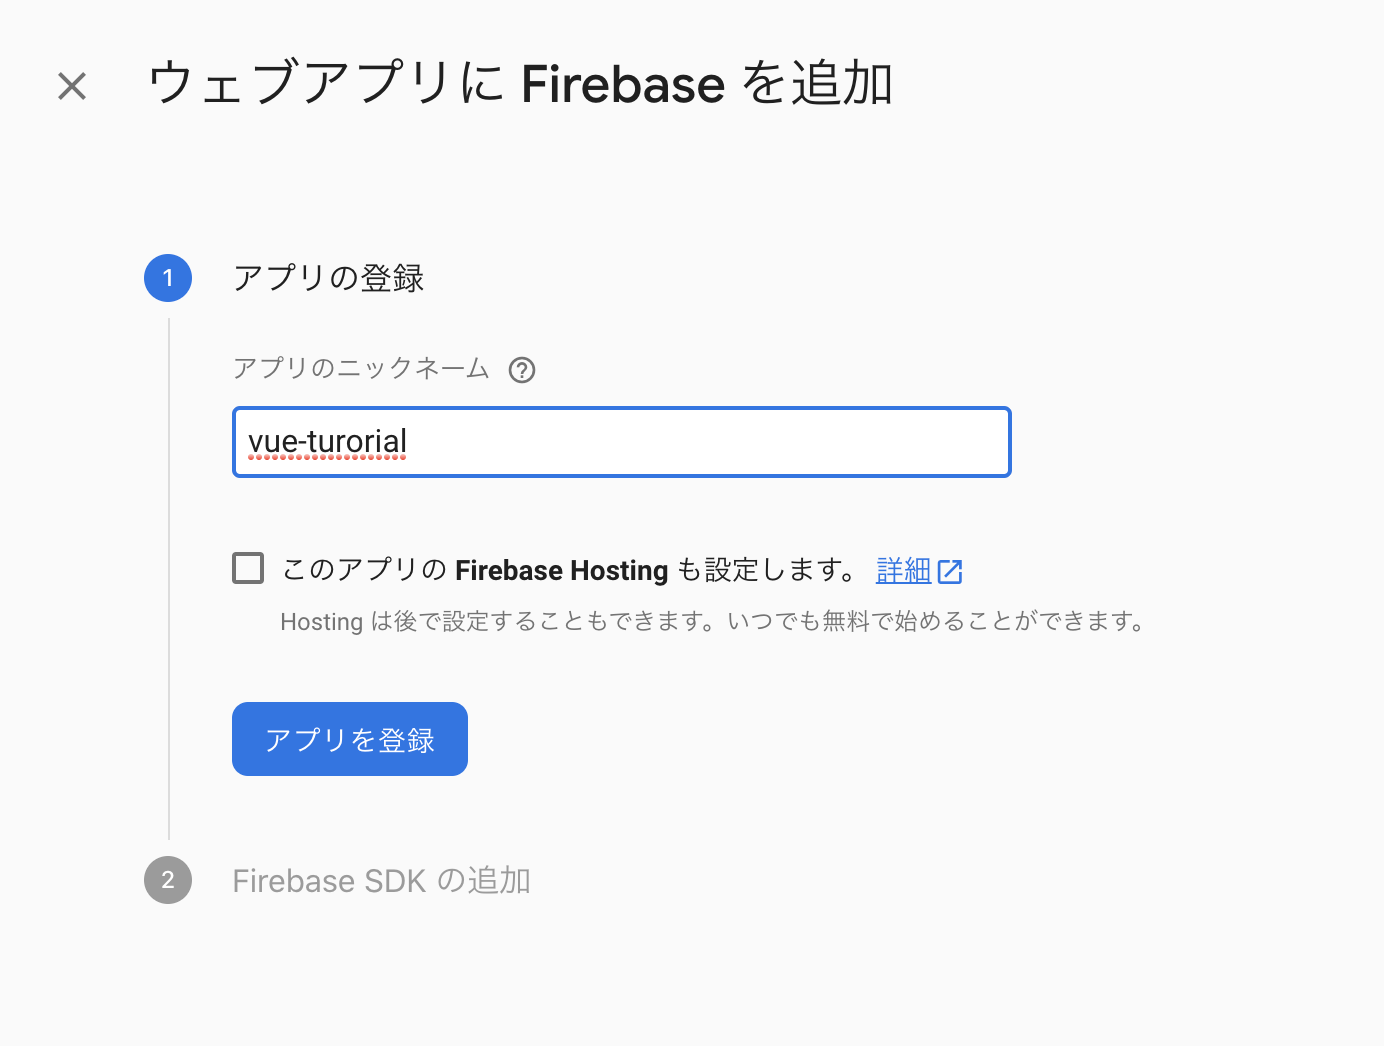
アプリ名はなんでもOK。
Hostingの設定はチェックはずしちゃってOK。
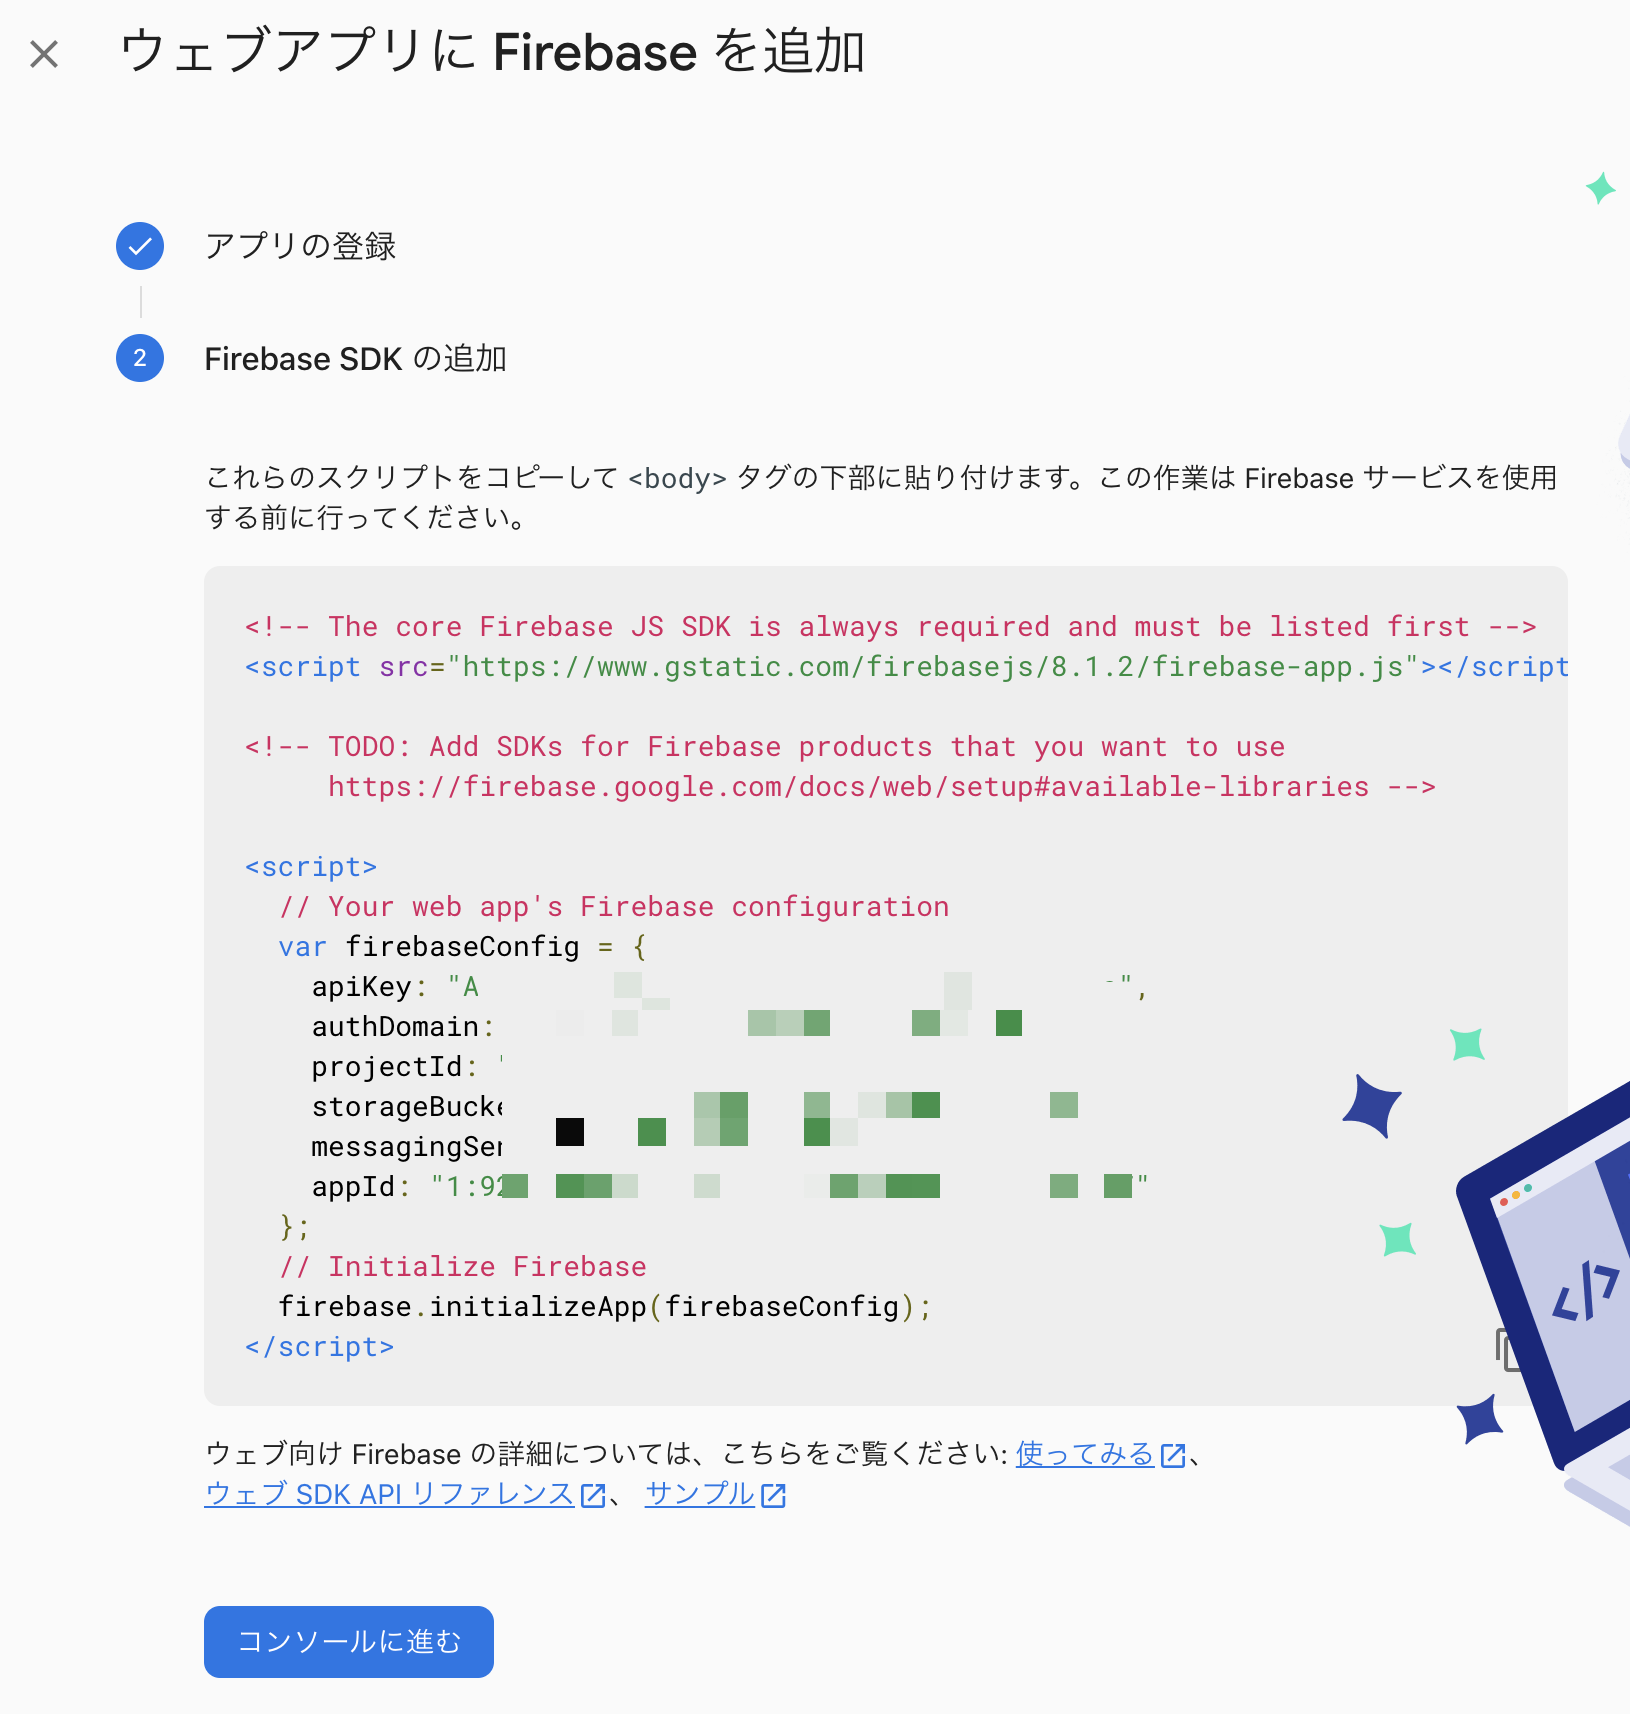
[](https://gyazo.com/d88432f799c517d5045f660d47aaa86e)
この情報をまるっとどこかにメモっておく。
[](https://gyazo.com/49510bef15212f74588a021045da85e3)
[](https://gyazo.com/60effd6b9ec0082008f3f53e6b97eae6)
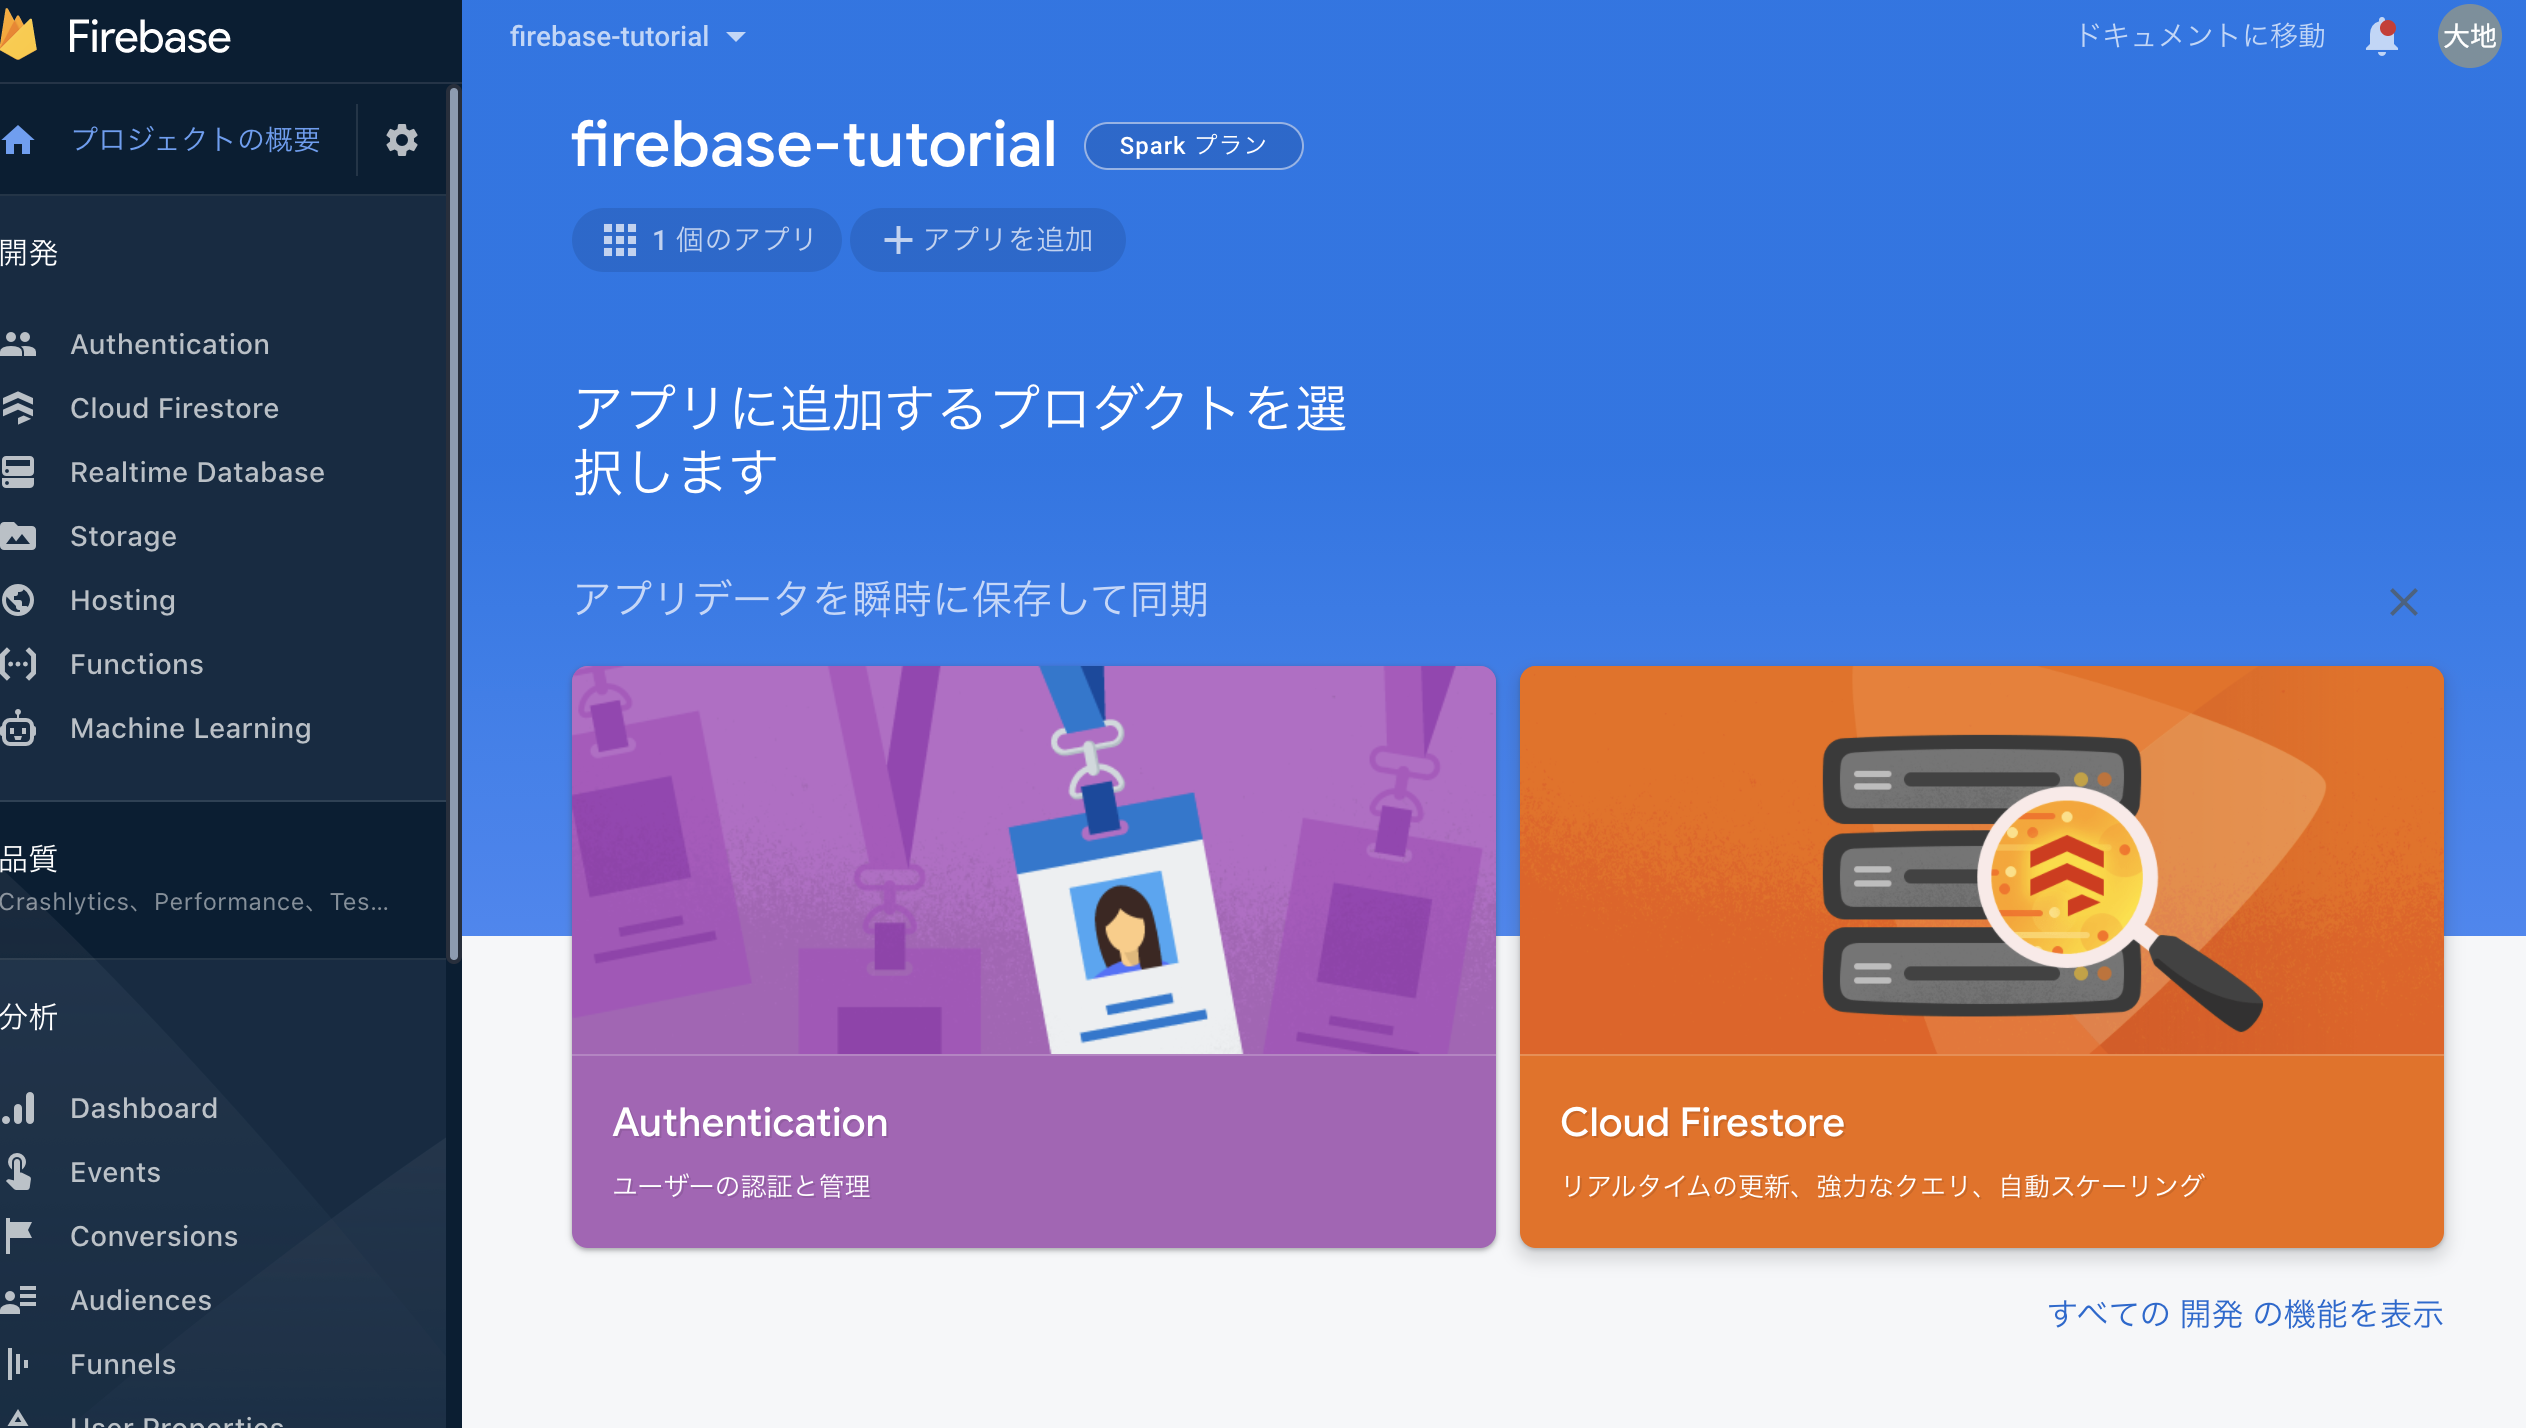
次にFirestoreを使う準備をする。
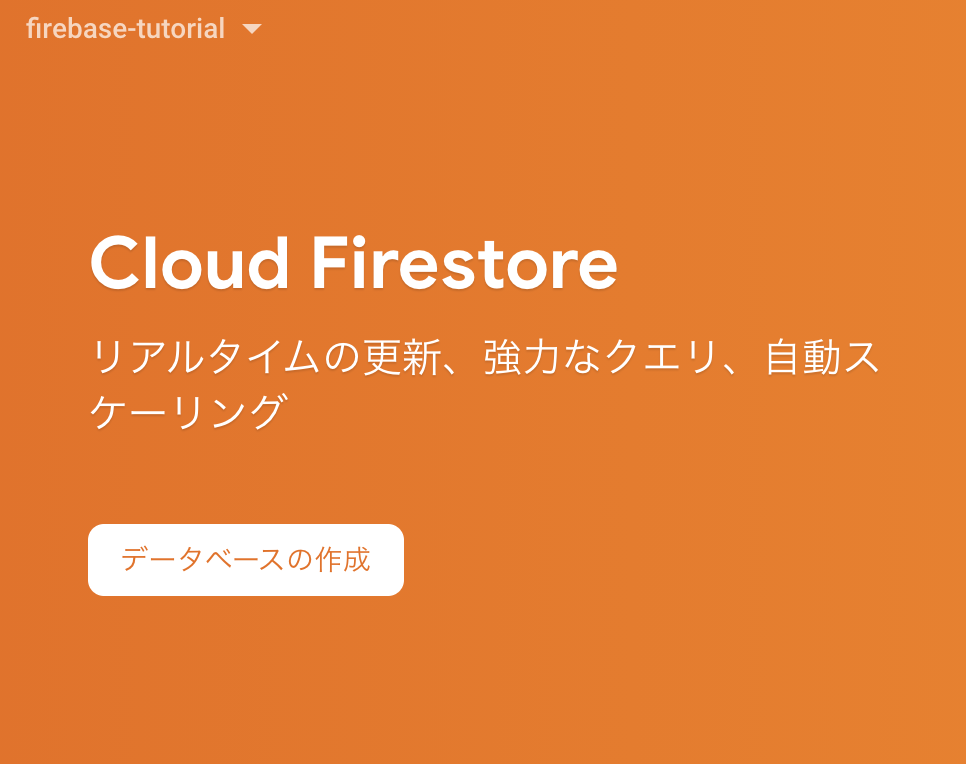
CloudFirestoreのメニューにいって、「データベースの作成」を押す。
[](https://gyazo.com/cb5c35be2f9bc59e266ca085034af384)
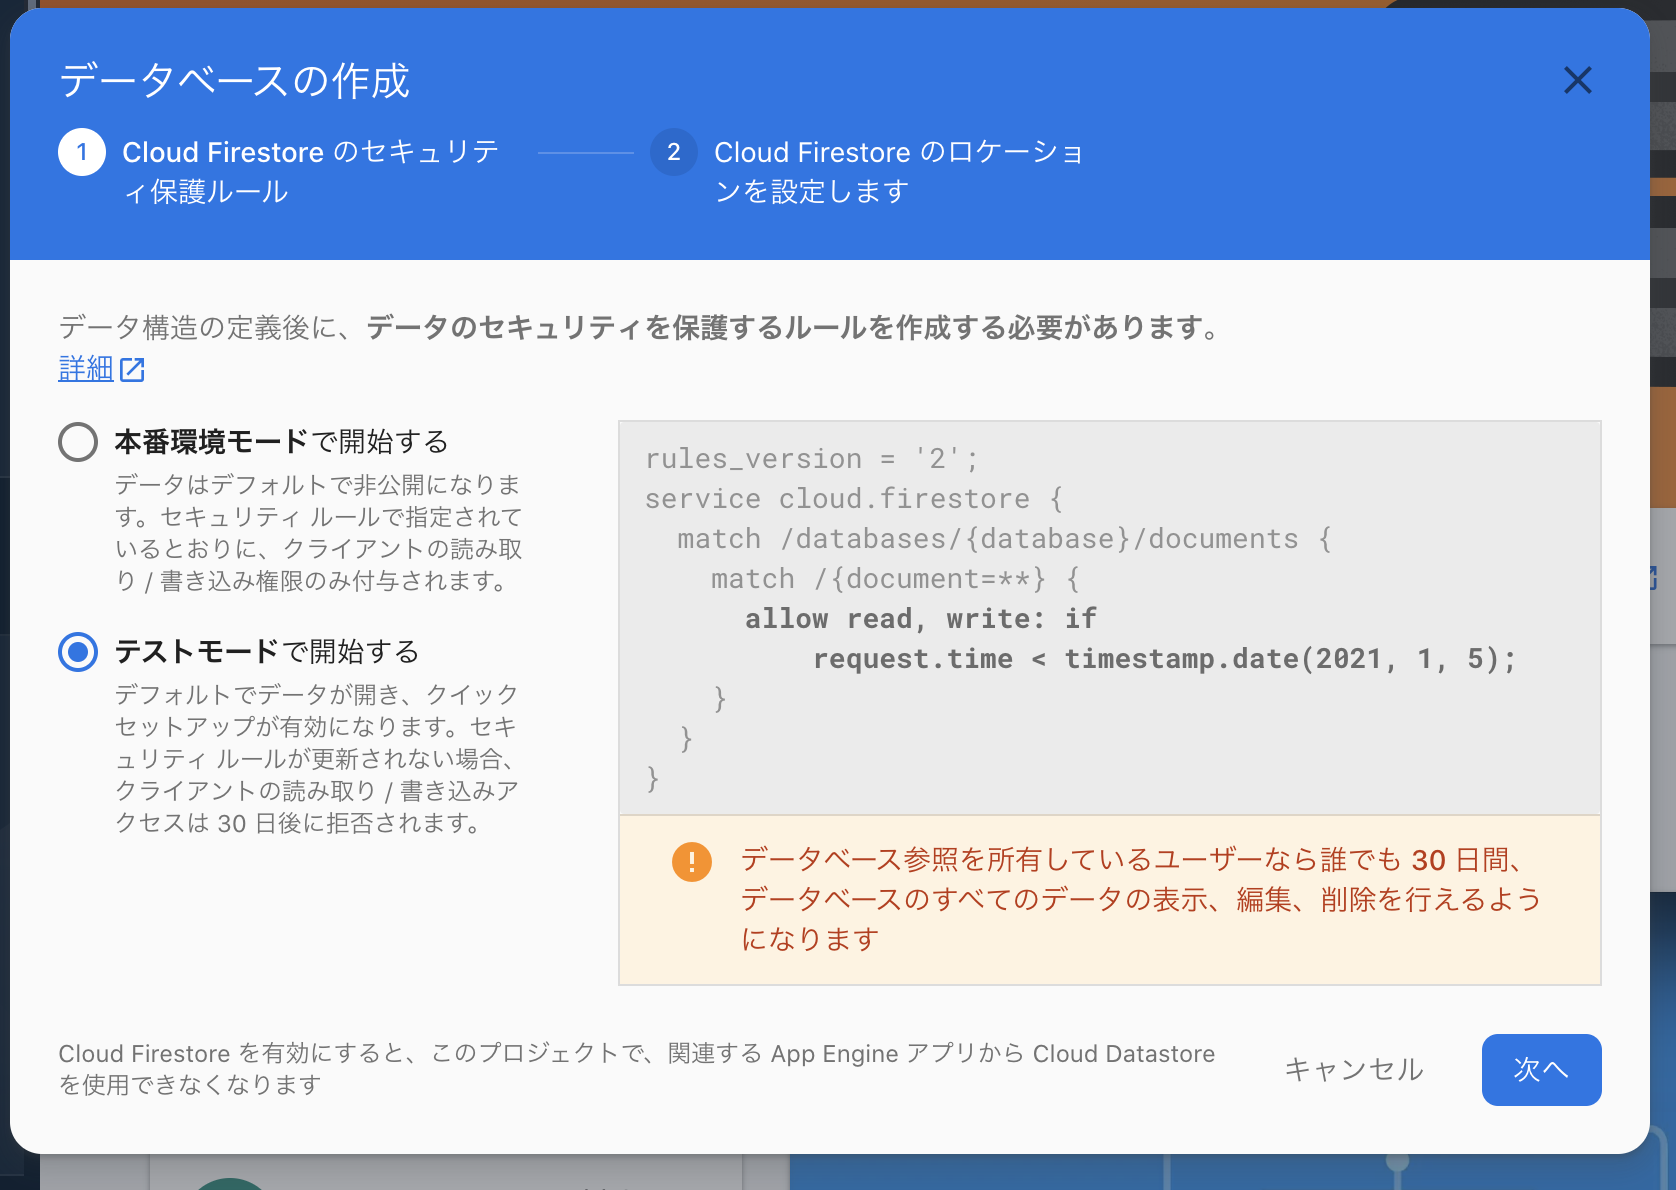
「テストモードで開始する」にチェックを入れて次へ。
[](https://gyazo.com/3f0492e619c3a03a9b1b54439baf2d99)
みなさん日本にお住まいだと思うので「asia-northeast1」にしておきましょう。
[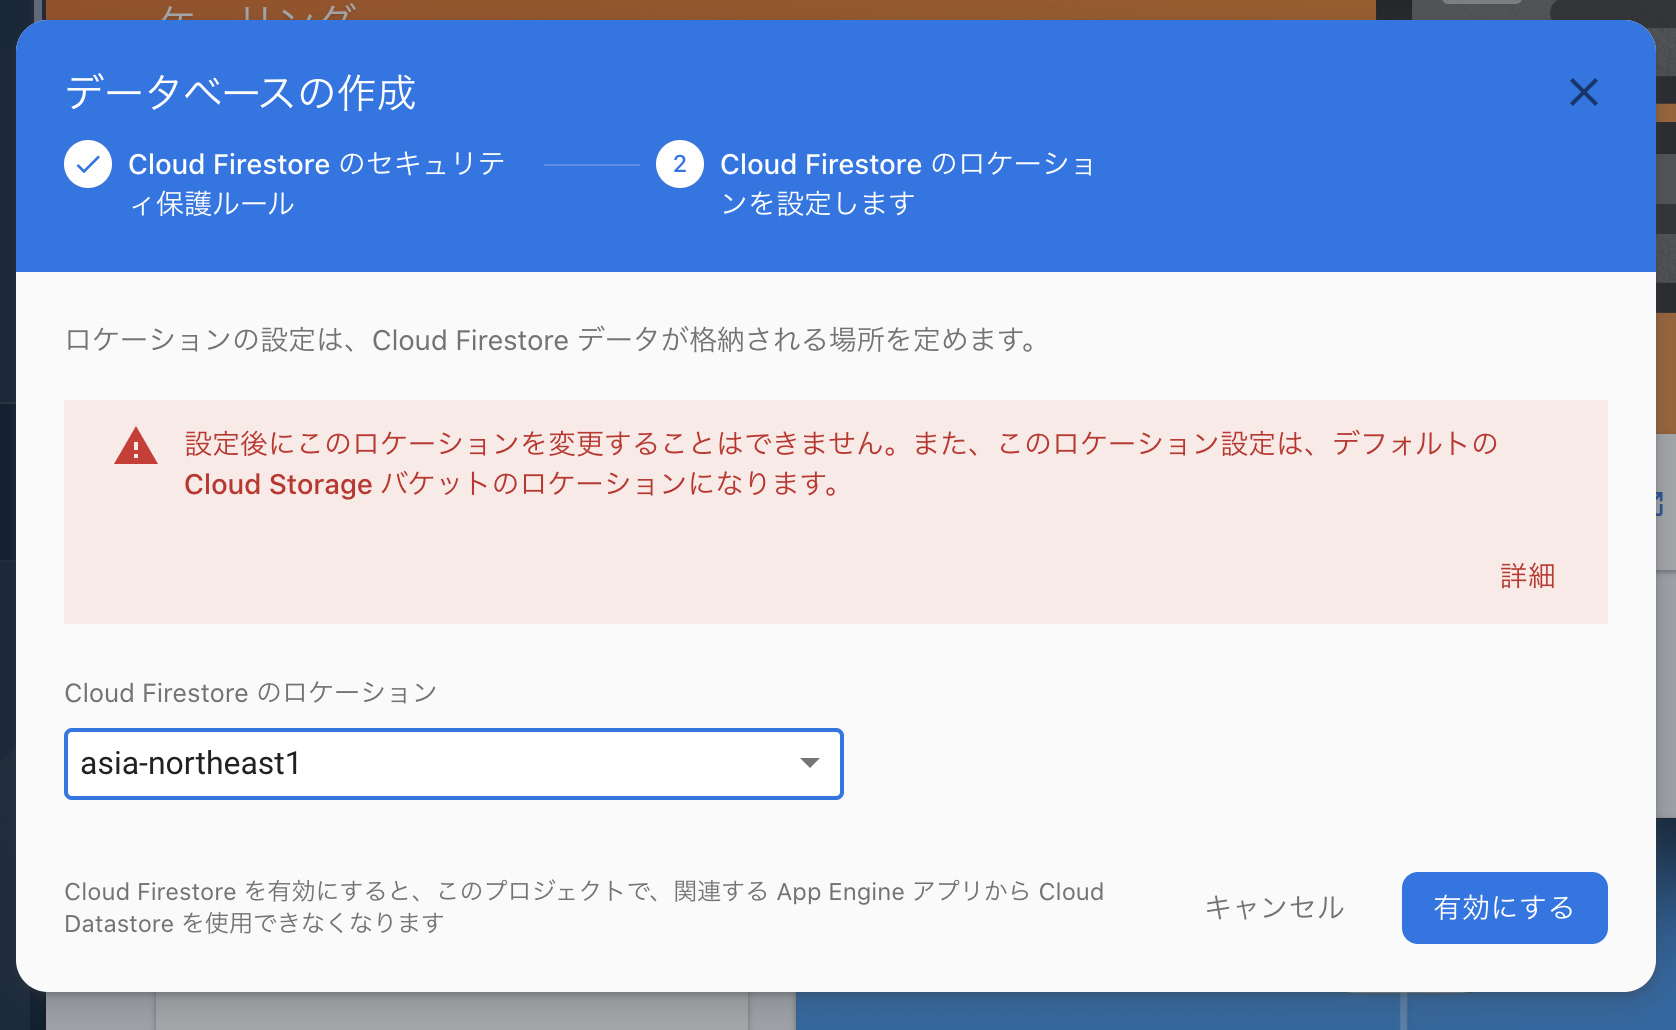](https://gyazo.com/ceea9cbde08fb3ac850a7acfee361023)
こんな感じでFirestoreの画面が。
[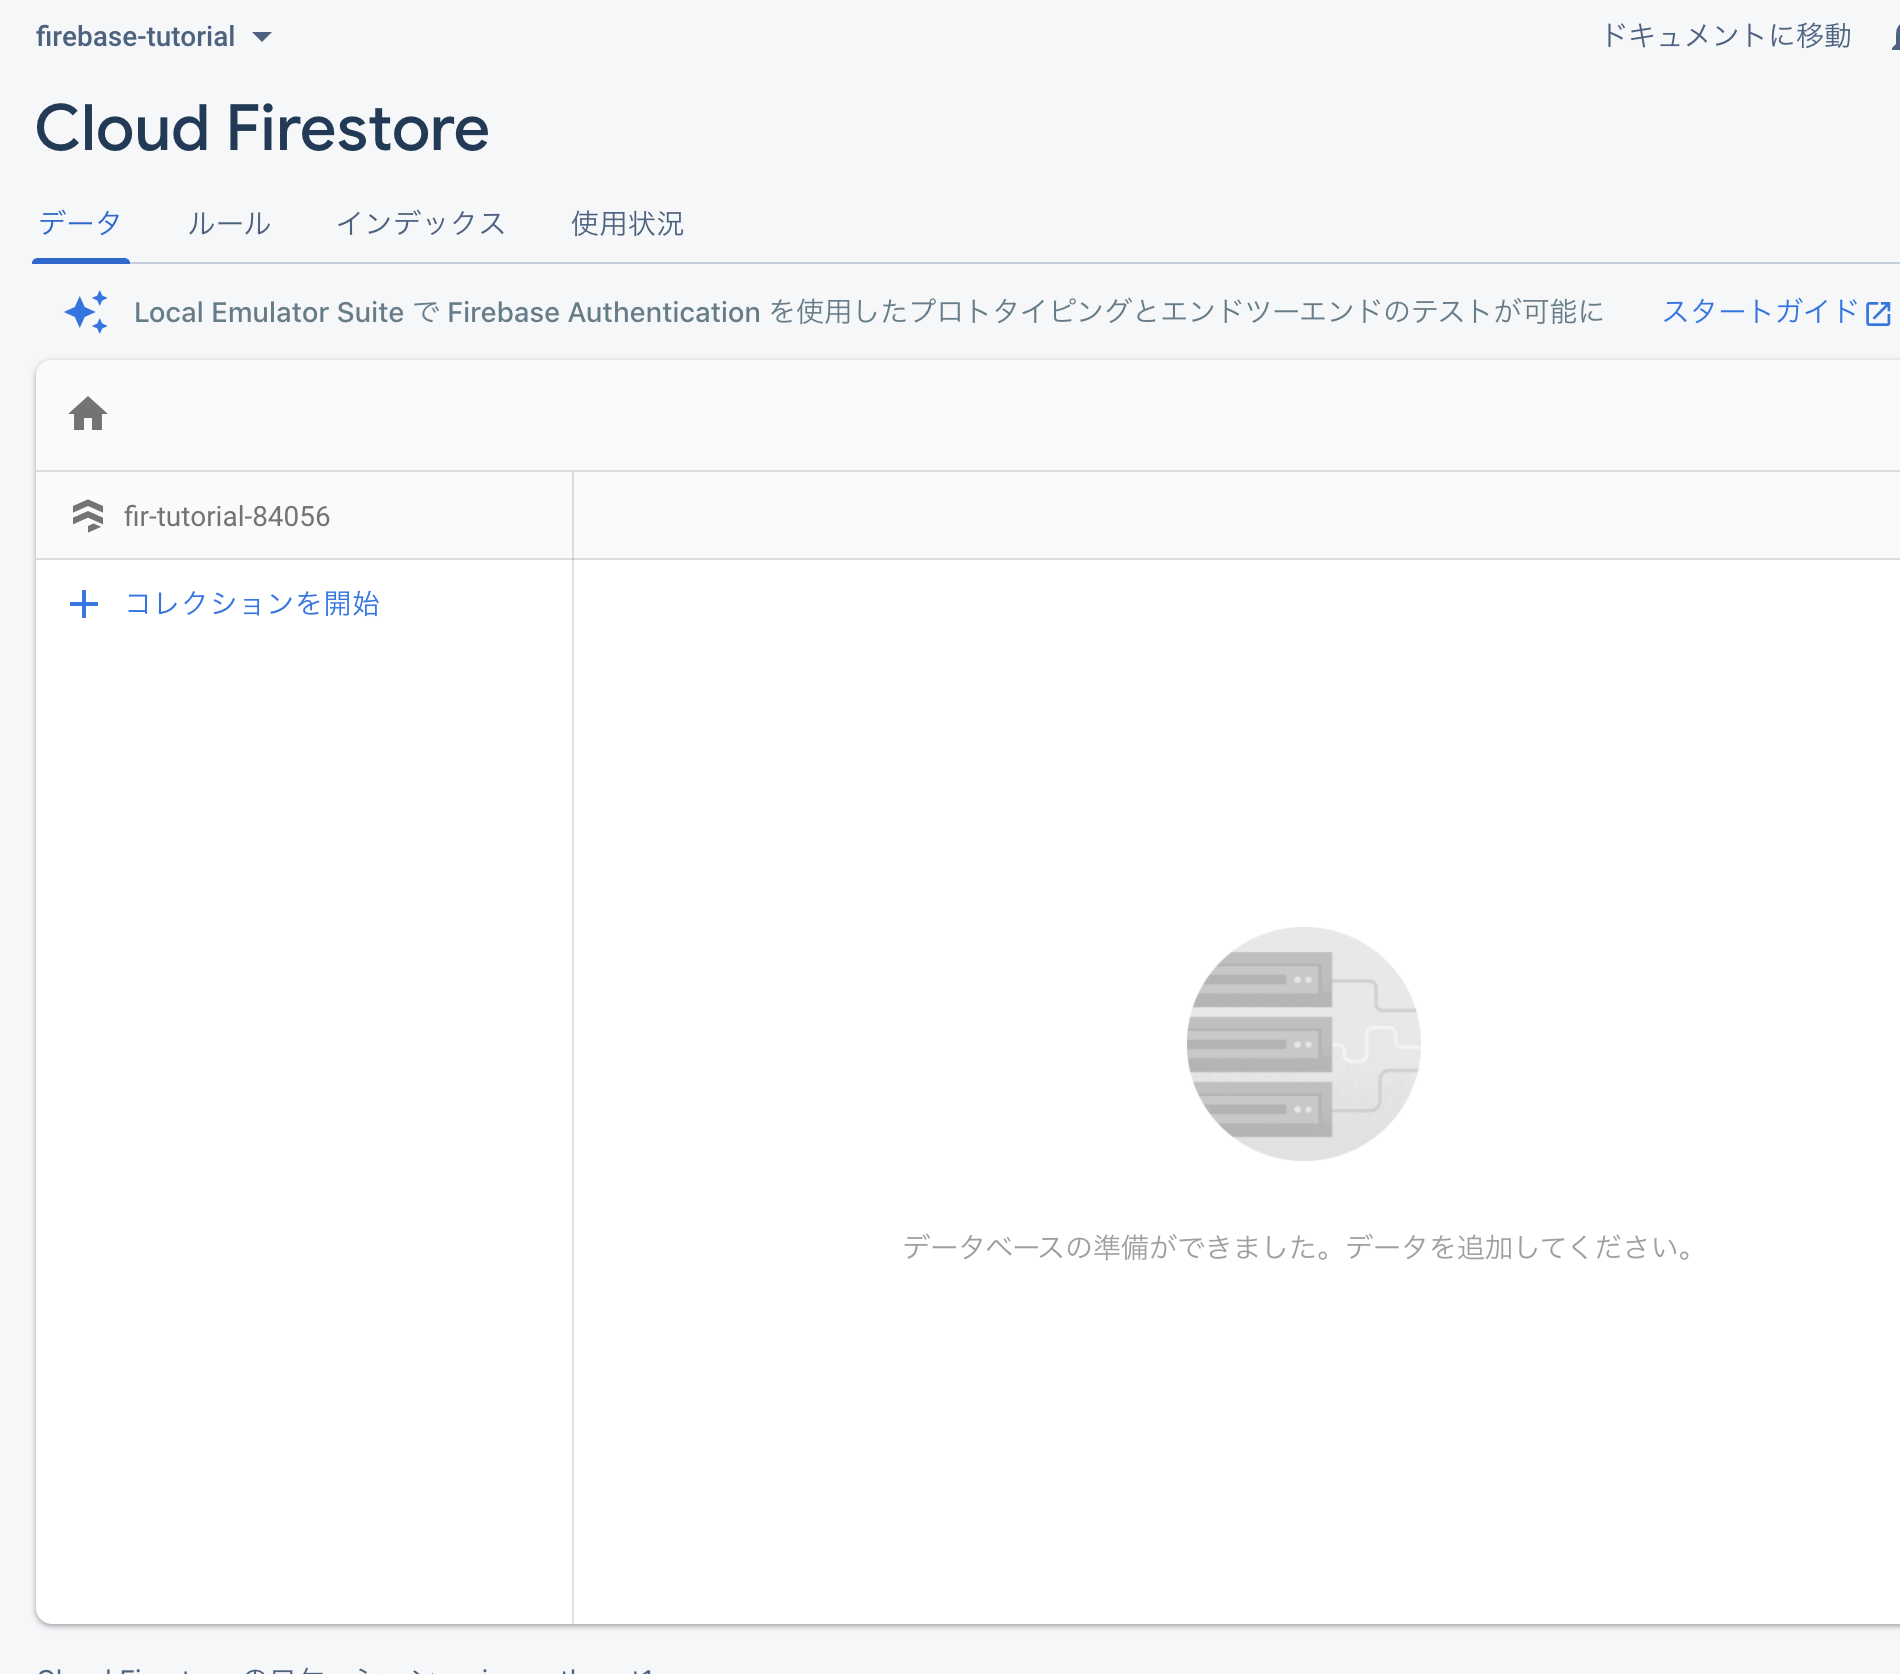](https://gyazo.com/75e538e148ed0981832e834b35ac5648)
Firestoreはとは?これを見ましょう。
https://firebase.google.com/docs/firestore?hl=ja
この絵が全て。

コレクション
∟ドキュメント
∟データ(email, name, age etc)
テーブルとレコードとカラムの関係に似てる(実態はまったく別物)
# Vueの前に超絶単純なHTMLでFirebaseを触ってみる
```htmlembedded=
<html>
<head>
<title>FirebaseTutorial</title>
</head>
<body>
<script src="https://www.gstatic.com/firebasejs/8.1.2/firebase-app.js"></script>
<!-- Firestore使うにはこれ追加しときましょう -->
<script src="https://www.gstatic.com/firebasejs/8.1.2/firebase-firestore.js"></script>
<script>
// Your web app's Firebase configuration
var firebaseConfig = {
apiKey: "xxxxxxxxxxxxxxxx",
authDomain: "xxxxxxxxxxxxxxxx",
projectId: "xxxxxxxxxxxxxxxx",
storageBucket: "xxxxxxxxxxxxxxxx",
messagingSenderId: "xxxxxxxxxxxxxxxx",
appId: "xxxxxxxxxxxxxxxx"
};
// Initialize Firebase
firebase.initializeApp(firebaseConfig);
</script>
<div>
<button id="submit">送信</button>
</div>
<script>
document.addEventListener('DOMContentLoaded', () => {
const db = firebase.firestore();
const submitElement = document.querySelector("#submit")
submitElement.addEventListener('click', () => {
db.collection("users").add({
first: "Ada",
last: "Lovelace",
born: 1815
})
.then(function(docRef) {
console.log("Document written with ID: ", docRef.id);
})
.catch(function(error) {
console.error("Error adding document: ", error);
});
})
})
</script>
</body>
</html>
```
こんな画面になるはず。ボタンしかない。
送信ボタンを押すと...
[](https://gyazo.com/e95ff6cd7cb1ef766a20fd4b17f2a804)
Firestoreの方リロードしてみると、データが登録されてる。
[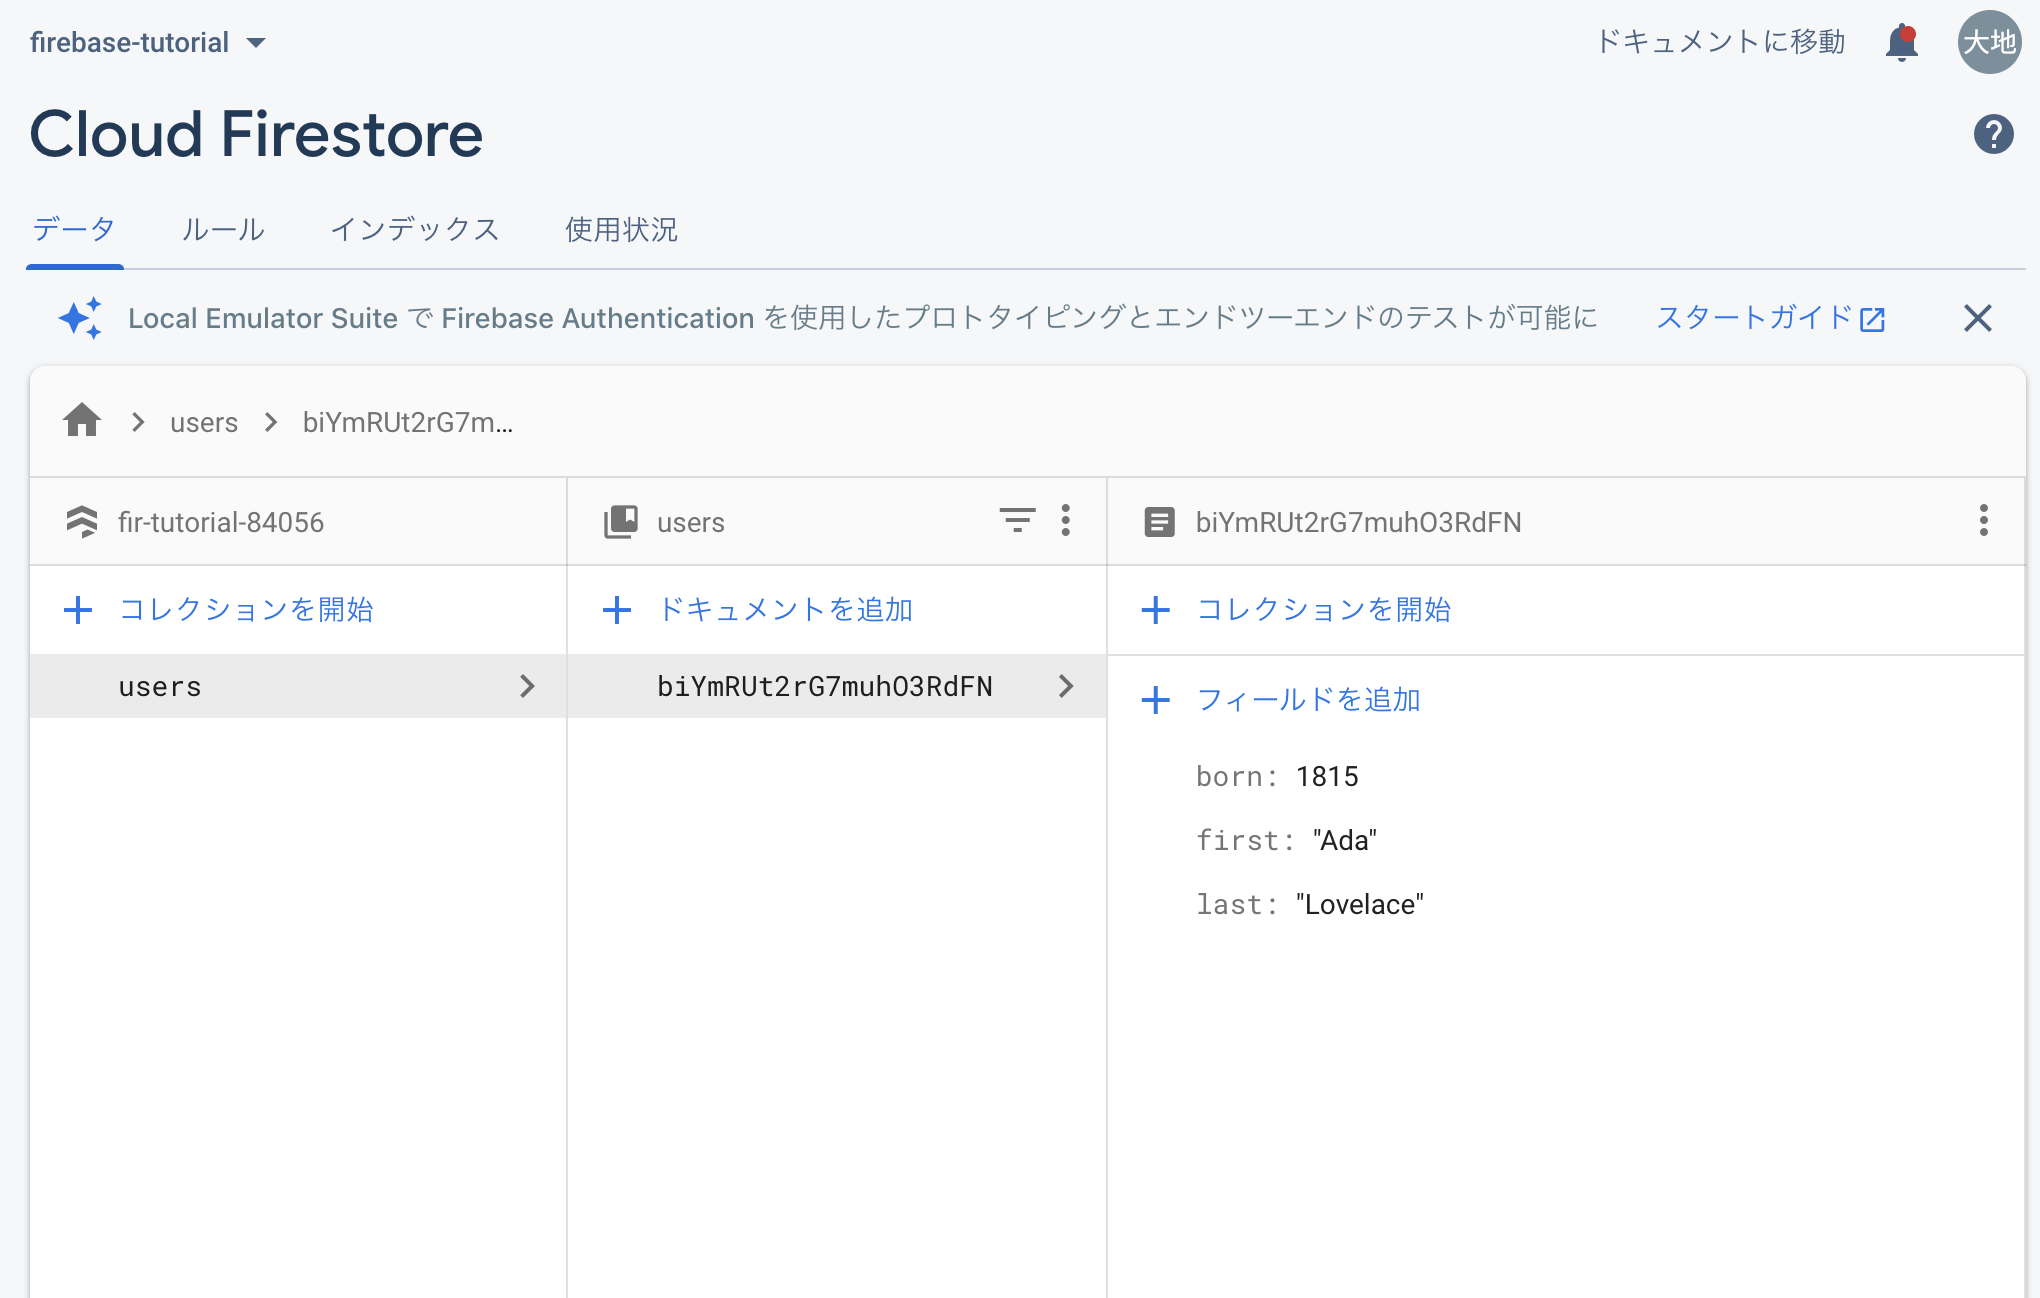](https://gyazo.com/3f4a123a0af3d12ad7ccf00711fca428)
ちょっと改変してみましょう。
自分でメッセージを入力できるようにしたい。
**JSがちょっとわかる人ならわかるはず。**
**下に答えが載っちゃってますが、見るか見ないかはあなた次第です**
```htmlembedded=
<html>
<head>
<title>FirebaseTutorial</title>
</head>
<body>
<!-- The core Firebase JS SDK is always required and must be listed first -->
<script src="https://www.gstatic.com/firebasejs/8.1.2/firebase-app.js"></script>
<!-- TODO: Add SDKs for Firebase products that you want to use
https://firebase.google.com/docs/web/setup#available-libraries -->
<script src="https://www.gstatic.com/firebasejs/8.1.2/firebase-firestore.js"></script>
<script>
// Your web app's Firebase configuration
var firebaseConfig = {
apiKey: "xxxxxxxxxxxxxxxx",
authDomain: "xxxxxxxxxxxxxxxx",
projectId: "xxxxxxxxxxxxxxxx",
storageBucket: "xxxxxxxxxxxxxxxx",
messagingSenderId: "xxxxxxxxxxxxxxxx",
appId: "xxxxxxxxxxxxxxxx"
};
// Initialize Firebase
firebase.initializeApp(firebaseConfig);
</script>
<div>
<h1>メッセージ</h1>
<textarea id="textarea"></textarea>
<button id="submit">送信</button>
</div>
<script>
document.addEventListener('DOMContentLoaded', () => {
const db = firebase.firestore();
const textareaElement = document.querySelector("#textarea")
const submitElement = document.querySelector("#submit")
submitElement.addEventListener('click', () => {
db.collection("messages").add({
body: textareaElement.value,
})
.then(function(docRef) {
console.log("Document written with ID: ", docRef.id);
})
.catch(function(error) {
console.error("Error adding document: ", error);
});
})
})
</script>
</body>
</html>
```
送信ボタンを押すと...
[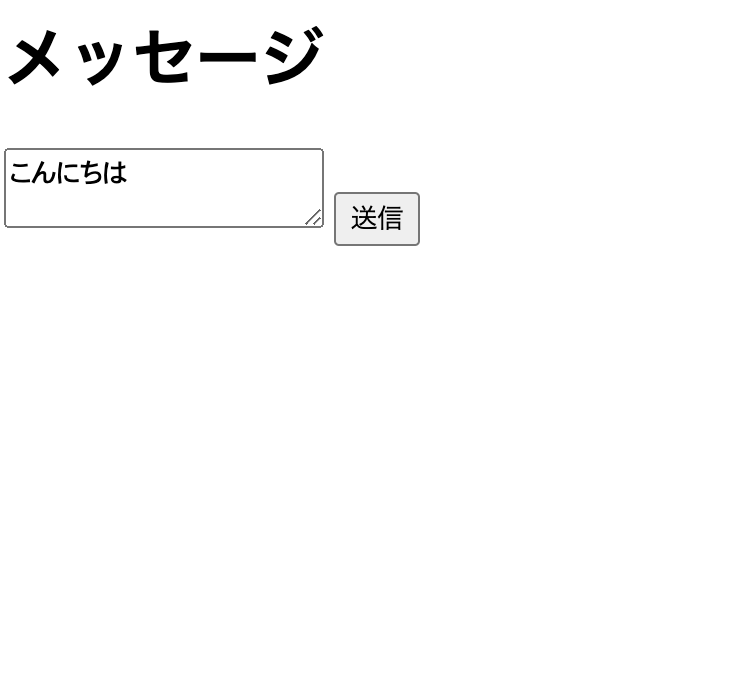](https://gyazo.com/04a6a7da10c211c922cfd5100928039a)
スクショ撮り忘れました...
ここまでで投稿はできた。
今度は取得。
【参考】
データを読み取る
https://firebase.google.com/docs/firestore/quickstart?hl=ja#read_data
→ 単純に取得する場合はこちらを使えばOK
リアルタイムアップデート
https://firebase.google.com/docs/firestore/query-data/listen?hl=ja
→ LINEとかSlackみたいにリアルタイムにデータを取得したい場合はこっちを使う。
いきなりリアルタイムアップデートを体験してみましょう。
```htmlembedded=
<html>
<head>
<title>FirebaseTutorial</title>
</head>
<body>
<!-- The core Firebase JS SDK is always required and must be listed first -->
<script src="https://www.gstatic.com/firebasejs/8.1.2/firebase-app.js"></script>
<!-- TODO: Add SDKs for Firebase products that you want to use
https://firebase.google.com/docs/web/setup#available-libraries -->
<script src="https://www.gstatic.com/firebasejs/8.1.2/firebase-firestore.js"></script>
<script>
// Your web app's Firebase configuration
var firebaseConfig = {
apiKey: "AIzaSyB-R3zyE0xWuTJi64P-xjXfUBiSRlNk7Qc",
authDomain: "fir-tutorial-84056.firebaseapp.com",
projectId: "fir-tutorial-84056",
storageBucket: "fir-tutorial-84056.appspot.com",
messagingSenderId: "924761264854",
appId: "1:924761264854:web:33f374bc1ae12db1a1ef77"
};
// Initialize Firebase
firebase.initializeApp(firebaseConfig);
</script>
<div>
<h1>メッセージ</h1>
<div id="messages">
</div>
<textarea id="textarea"></textarea>
<button id="submit">送信</button>
</div>
<script>
document.addEventListener('DOMContentLoaded', () => {
const db = firebase.firestore();
const messagesElement = document.querySelector("#messages")
const textareaElement = document.querySelector("#textarea")
const submitElement = document.querySelector("#submit")
submitElement.addEventListener('click', () => {
db.collection("messages").add({
body: textareaElement.value,
})
.then(function(docRef) {
console.log("Document written with ID: ", docRef.id);
})
.catch(function(error) {
console.error("Error adding document: ", error);
});
})
db.collection("messages")
.onSnapshot(function(querySnapshot) {
messagesElement.innerHTML = ''
var messages = [];
querySnapshot.forEach(function(doc) {
console.log(doc.data().body)
messages.push(doc.data().body)
});
messagesElement.append(messages)
});
})
</script>
</body>
</html>
```
# Firease Hostingでデプロイ
# Netlifyでデプロイ
Netlifyにサインアップしてください。
Siteタブを開きます。
[](https://gyazo.com/caf6871d052d387a7bb2539398312406)
さっき作ったファイルの名前をindex.htmlに変更しておく。
ここに`index.html`が入ったディレクトリをドラッグ&ドロップする。
[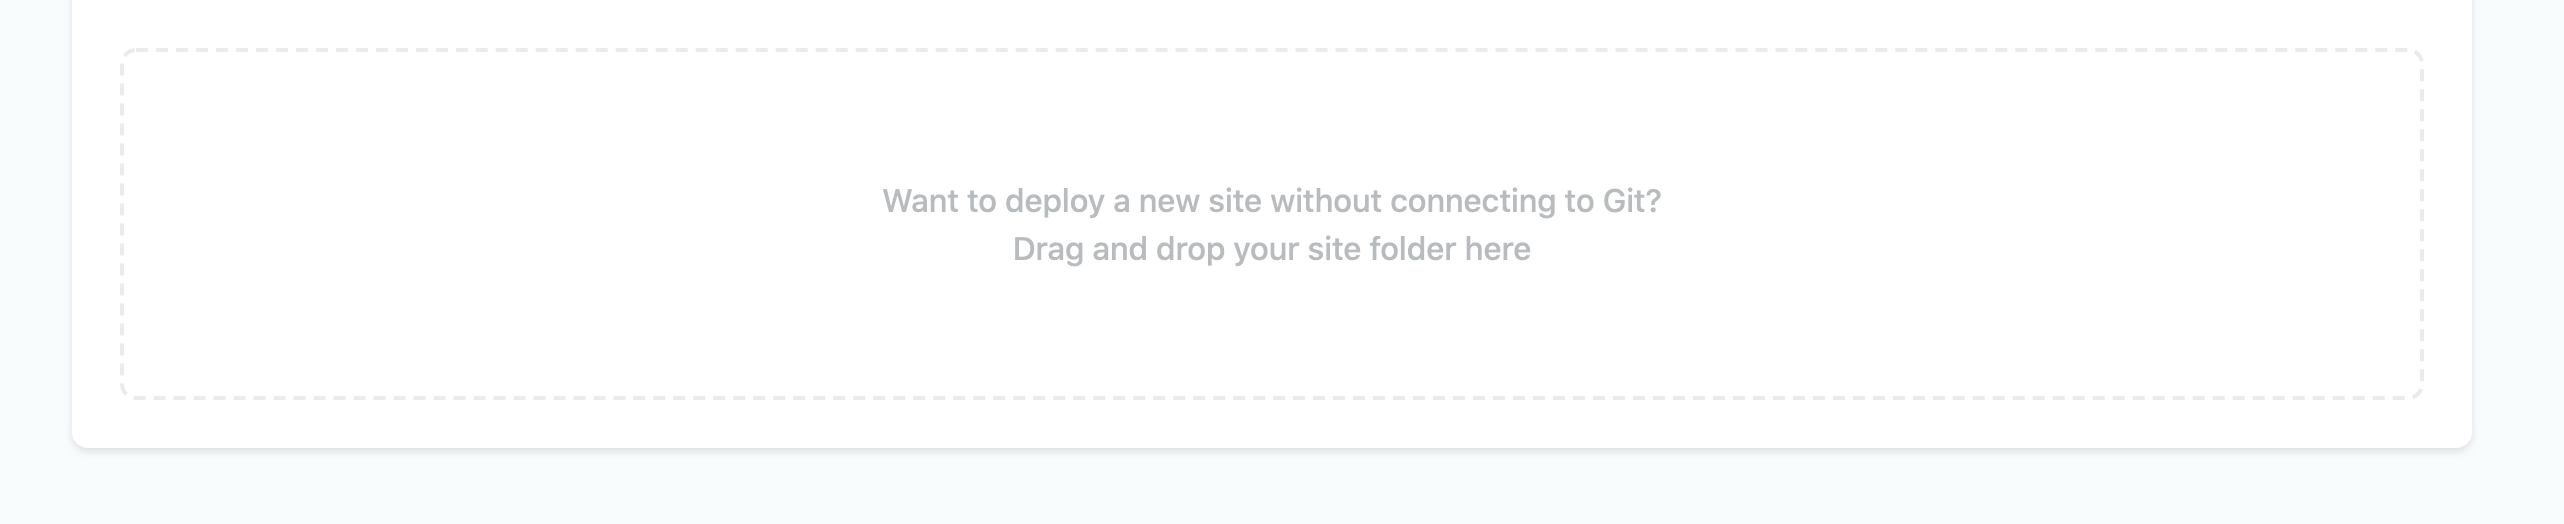](https://gyazo.com/f60787c01b1e689fa2328a1a6b91c404)
[](https://gyazo.com/5a7eae6bda2c1fbd87e37074b01a94d2)
# 時間が余ったらVue
公式ドキュメント
https://jp.vuejs.org/v2/guide/index.html
とりあえず新しくindex.html作って以下を貼り付けてブラウザで表示してみる。
```htmlembedded=
<html>
<head>
<script src="https://cdn.jsdelivr.net/npm/vue@2.6.12/dist/vue.js"></script>
</head>
<body>
<div id="app">
<div v-for="message in messages">
<div>{{message.id}} {{message.body}}</div>
</div>
<textarea v-model="newMessage"></textarea>
<button @click="sendMessage">送信</button>
</div>
<script>
new Vue({
el: "#app",
data() {
return {
messages: [
{ id: 1, body: "あああ" },
{ id: 2, body: "いいい" },
{ id: 3, body: "ううう" },
],
newMessage: ""
}
},
methods: {
sendMessage() {
alert(this.newMessage)
}
}
})
</script>
</body>
</html>
```
こんな感じになるはず。
[](https://startup-technology.gyazo.com/5b08bb66efd386eb7e9822287c68efcd)
**大事なところ**
- Vueを使えるようにするためにCDNで読み込む
- new Vueとは
- elとは
- dataとは
- methodsとは
- v-modelとは
- @clickとは
この知識とさっきのFirebaseの知識でもう「Zatsu」みたいなアプリはできます。
 Sign in with Wallet
Connect another wallet
Sign in with Wallet
Connect another wallet