# Tutorial on how to build a temperature and humidity sensor
by Faiz Tahir, ft222hr
## short overview
This tutorial is manly on how to build a temperature and humidity sensor using the [DHT11 sensor](https://www.electrokit.com/produkt/digital-temperatur-och-fuktsensor-dht11/).
The sensor will be connected to pycom devices (specifically pycom expansion board v 3.1 and the lopy 4) and to the pybytes iot-plattform. The device will communicate with pybetes through wifi.
### Estimated time to finish project
The difficulity level of this project is easy. Given that one have previous experience with setting up hardware and working from technical documentation the whole project should not take more than 4-6 to complete. If the user is new to working with hardware and software it will take more time.
## Objective
I am completly new to the iot-world so i chose to work using a simple sensor and display it's results on a dashboard on an iot platform. I believe this will be a very good way to familiarize oneself with the inrtenet of things and some of the iot-platforms that are available online. This tutorial is for the newcomers that whish to enter the IOT space. It is easy to build on this project and make it more advanced by adding a fan that will turn on/off depending on the temperature in the room but unfortunatley I could not get one in due time. That is the reason I chose this as a project, I can easily build on it and make something very useful for the extraordinarly hot summers that we have gotten latley. This is specially useful since my room tends to get quite warm in the evenings which makes it difficult to sleep. until then the project as is will provide temperature and humidity data that I can use to find the threshold temperatures which will turn the fan on and off. I Think that is a reasonable next step for the newbie so to speak. I think I might gain insight into how the Iot industry generally works right now and what it might morph into in the near future. I will obviously know what temperature range is optimal for me at home as well.
## Material
Explain all material that is needed. All sensors, where you bought them and their specifications. Please also provide pictures of what you have bought and what you are using. All the materials was bought as part of two kits:
* [lopy4 and sensor bundel](https://www.electrokit.com/produkt/lnu-1dt305-tillampad-iot-lopy4-and-sensors-bundle/) approx. cost 95 euros
* [26 sensor kit](https://www.electrokit.com/produkt/sensor-kit-26-moduler/) approx cost 30 euros
1. [LOPY 4](https://pycom.io/product/lopy4/)

2. [pycom expansion board v3.1](https://www.electrokit.com/produkt/lnu-1dt305-tillampad-iot-lopy4-and-sensors-bundle/)

3. [DHT11 sensor](https://www.electrokit.com/produkt/digital-temperatur-och-fuktsensor-dht11/).

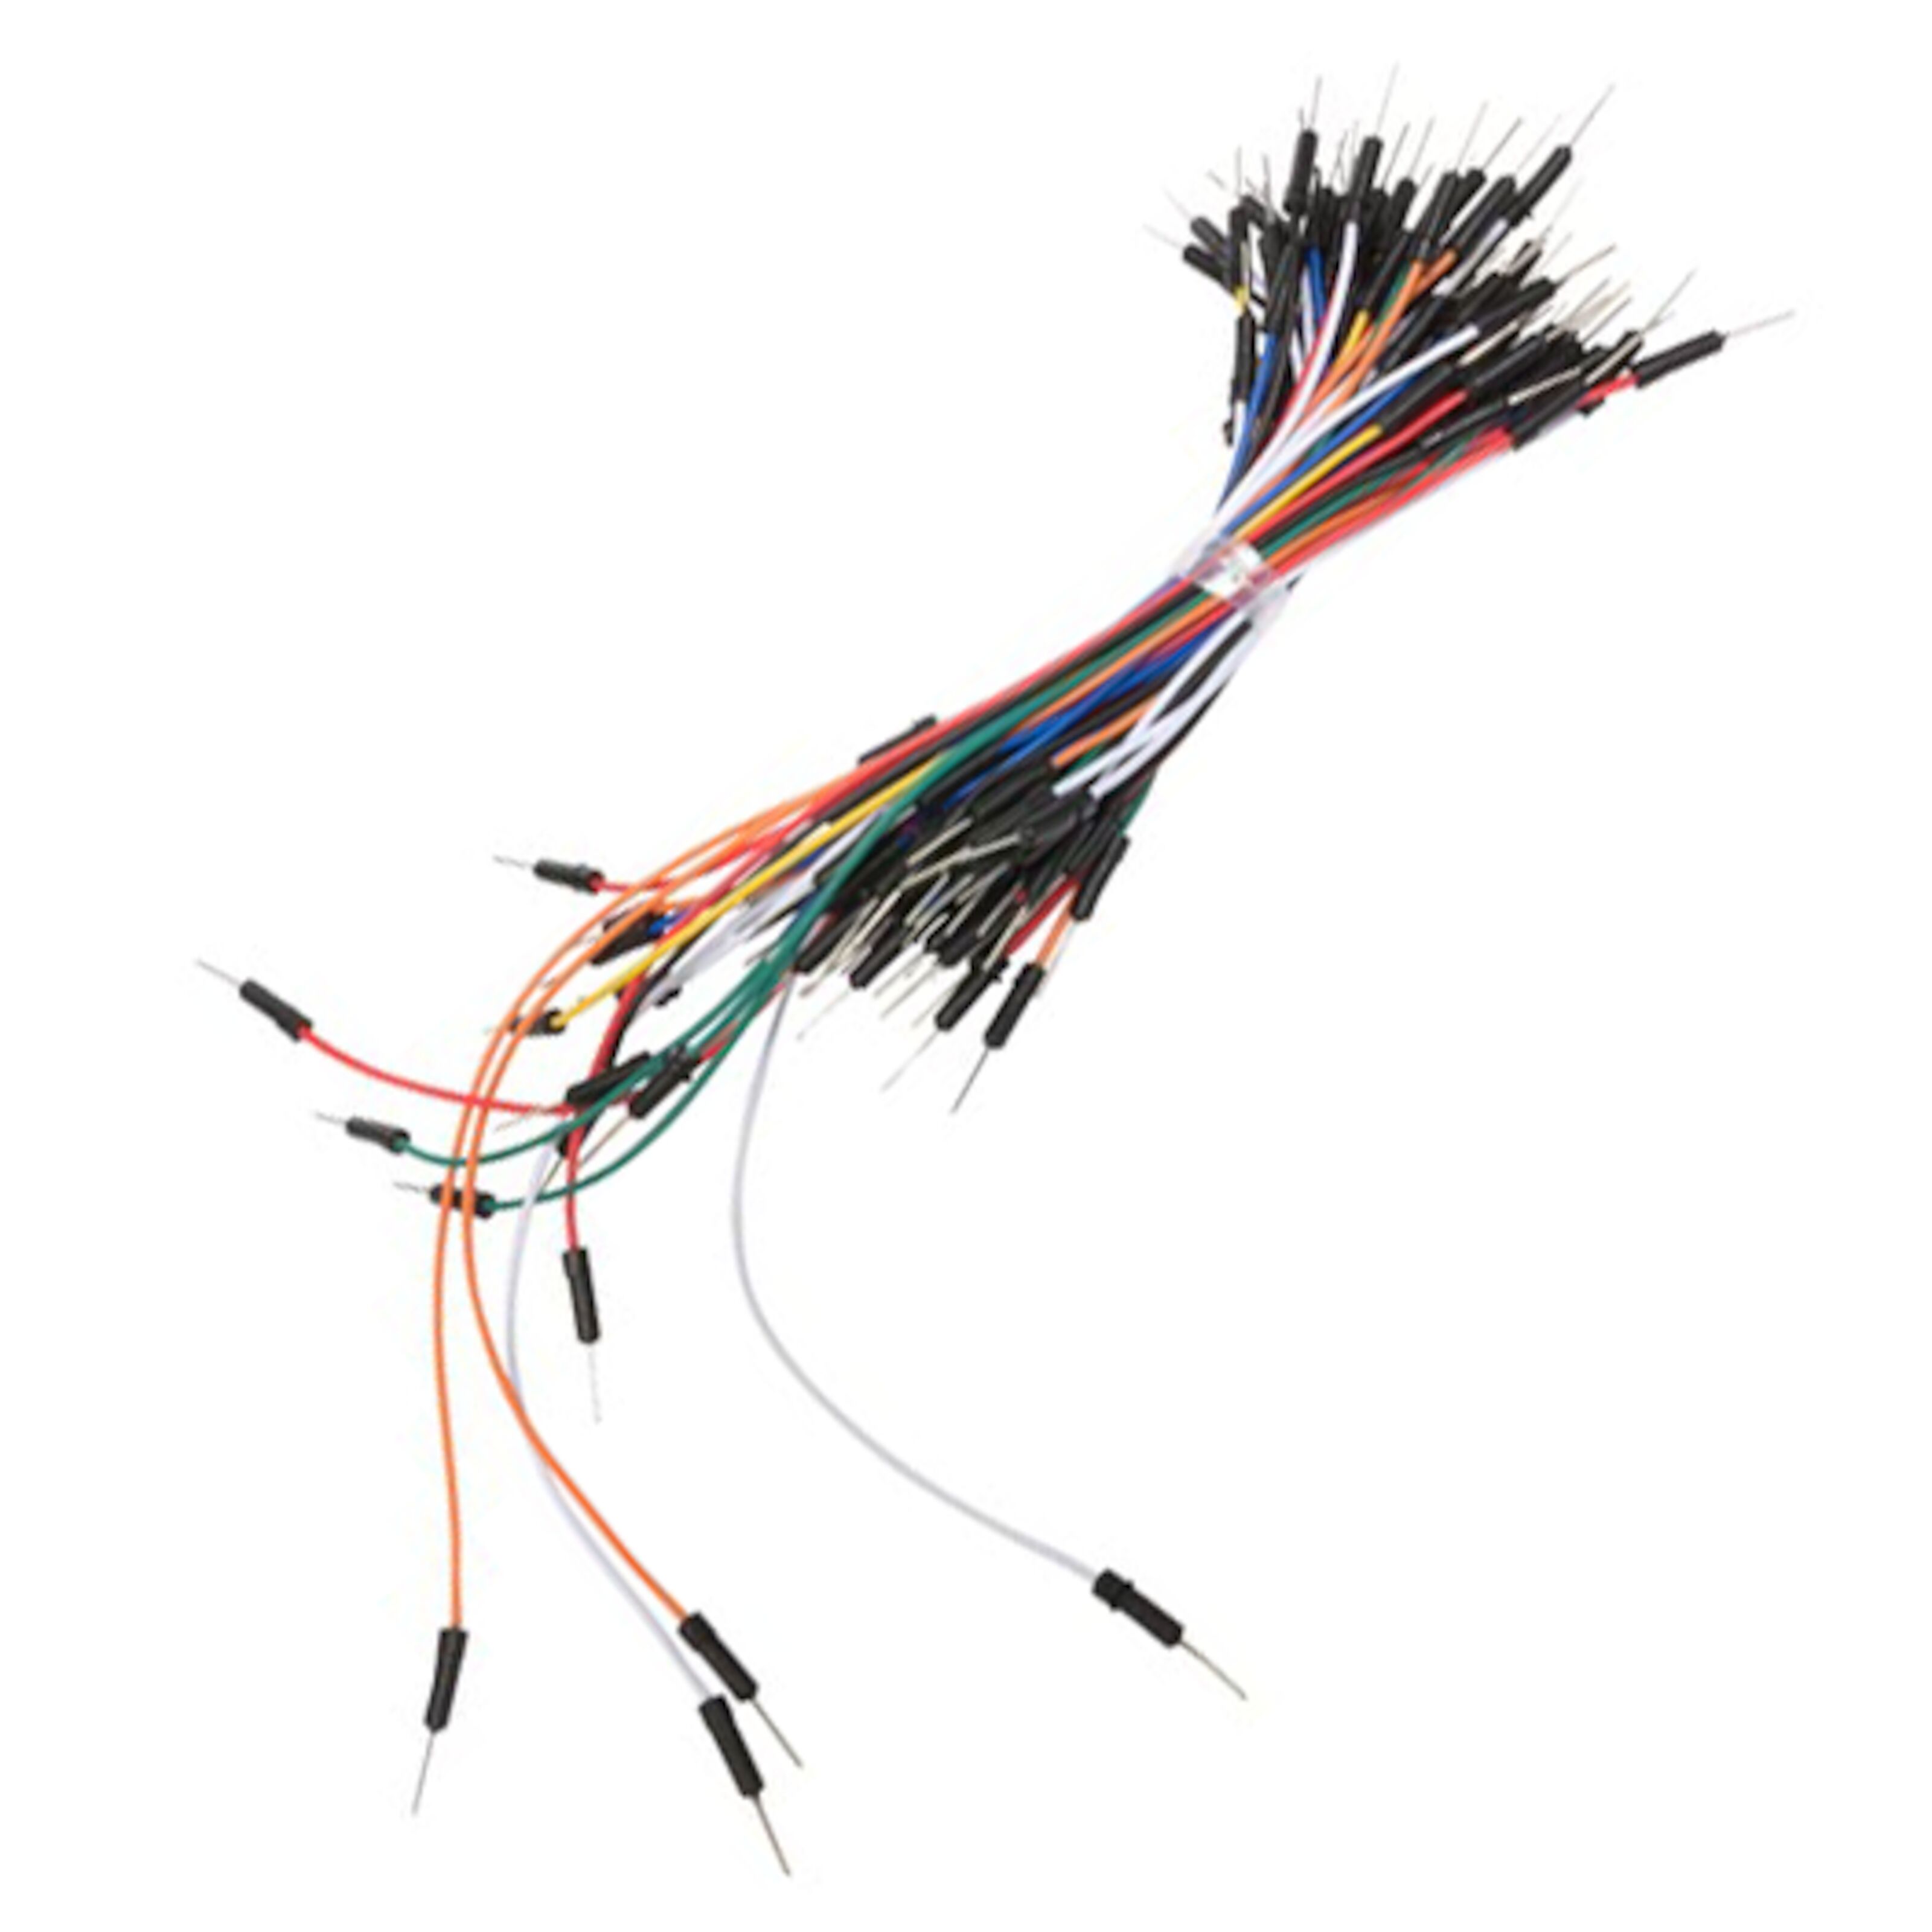
4. [male-to-male breadboard jumper wires](https://www.electrokit.com/produkt/lnu-1dt305-tillampad-iot-lopy4-and-sensors-bundle/) (optional)
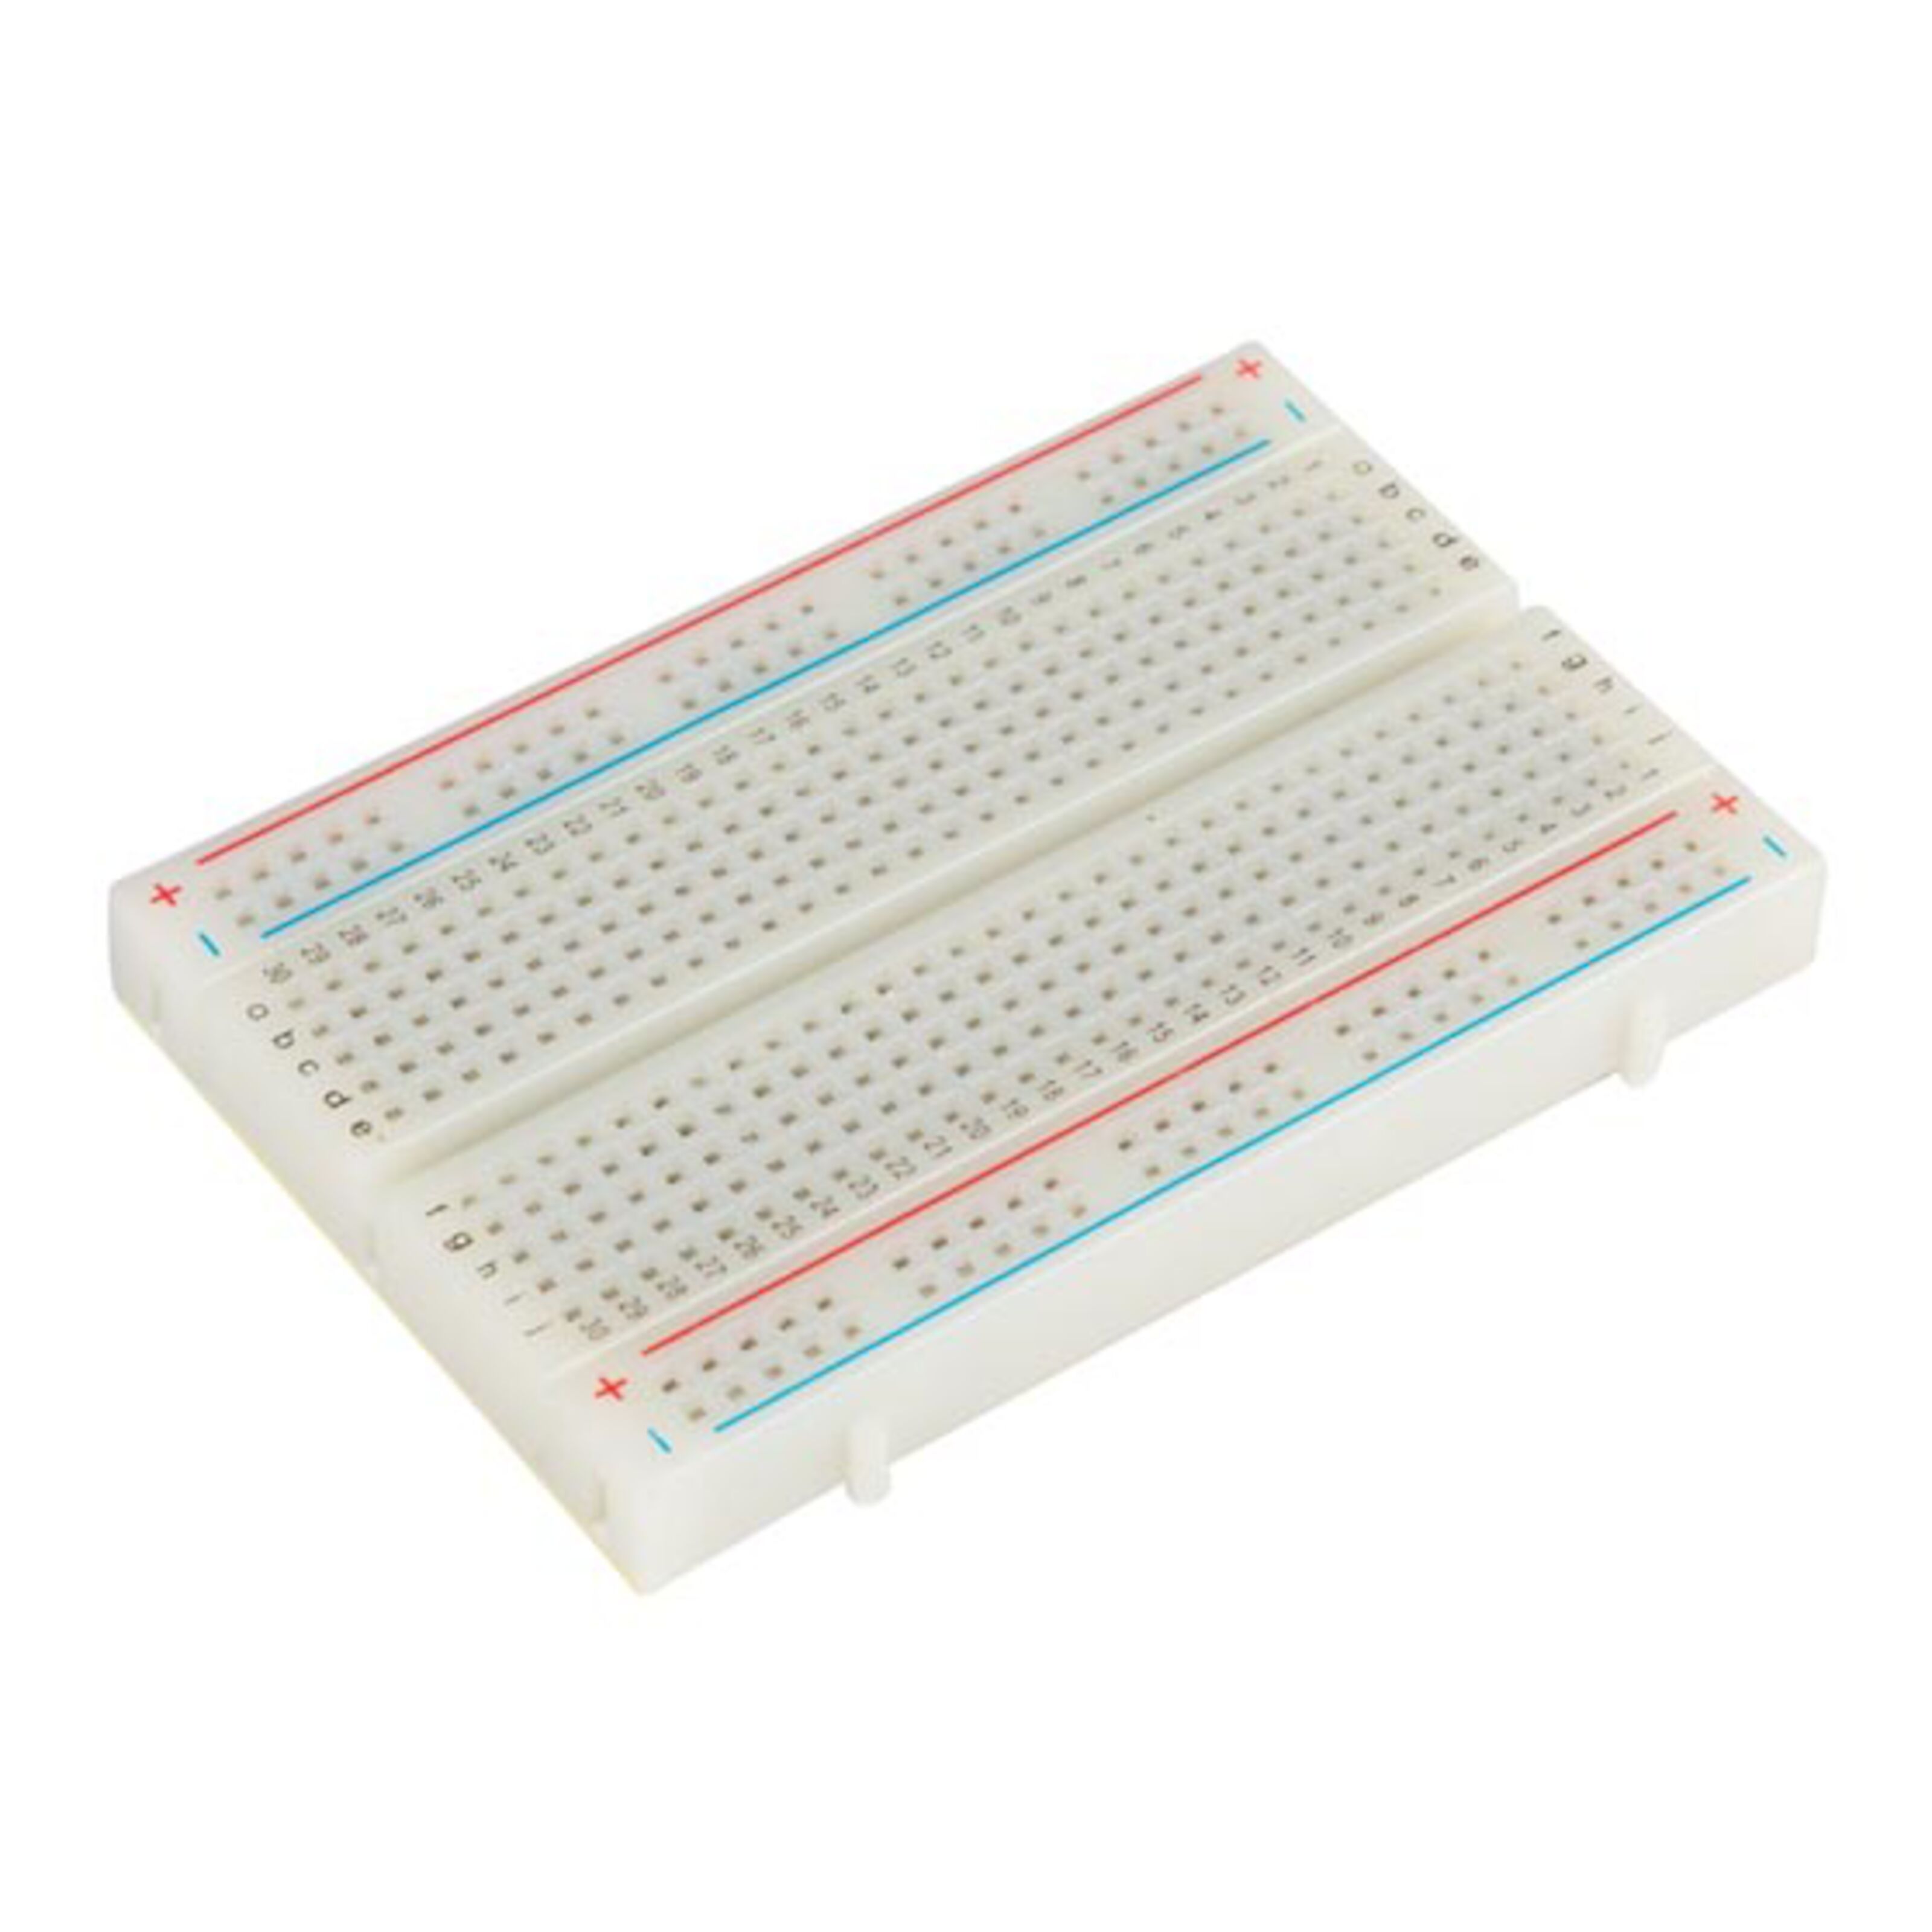
5. [breadboard](https://www.electrokit.com/produkt/lnu-1dt305-tillampad-iot-lopy4-and-sensors-bundle/) (optional)
#### short specifications
| device/comonent| specification |
| :--------------| :-----------------------------------------------------|
| LOPY4 | Wifi, sigfox, Lora and bluetooth enabled Micropython- programmable quadruple bearer board.This means that the code runs directly on hardware and there is no need for an OS. very user friendly and easy to get started. Simultaneous LoRa and Sigfox connectivity and it has ultra low power-usage. https://docs.pycom.io/gitbook/assets/specsheets/Pycom_002_Specsheets_LoPy4_v2.pdf |
| Expansion board v3.1| The expansion board primarly functions as a device to enable us to communicate and program the lopy4. It provides The GPIO pins used to communicate with sensors and external devices. It is USB and Lipo battery powered |
| DHT11 | The DHT11 temperature and humidity sensor outputs serial data. This data can then be sent to a microcontroller. pinout from left to right: data, vdd and gnd (ground) |
## Computer setup
* IDE: vscode or Atom (I use Atom)
* [Pymakr plugin for atom](https://atom.io/packages/pymakr)
* [pycom firmware updates flash tool](https://pycom.io/downloads/)
### step one: hardware setup
[documentation](https://docs.pycom.io/pytrackpysense/installation/firmware/)
Before we do anything it is important that the firmware of the devices are up to date. we start with the expansion board which can be updated throug usb connection:
* download and install the terminal tool DFU-util
- for arch-based systems (what I use): $ sudo pacman -Sy dfu-util
- for any other system follow [documentation](https://docs.pycom.io/pytrackpysense/installation/firmware/)
* to enter update mode
1. unplug the board (from usb)
2. press the s1 button on the board
3. plug usb to computer and release the button after 1 second
4. now you have 7 seconds to run the dfu-util tool
(for linux & mac: $ sudo dfu-util -D pytrack_x.x.x.dfu //the x is specific for your version)
* attach the lopy4 onto the expansion board firmly, the reset button should be pointing towards the usb connector of the board.
### step two: create an account on pybytes
[pybytes steps](https://sso.pycom.io/login/?client_id=pycom&redirect_uri=https%3A%2F%2Fpyauth.pybytes.pycom.io%2Fauth_code%2Fcallback&scope=profile&response_type=code&state=pybytes-browser)
### step three: software setup
relevant [documentation](https://docs.pycom.io/gettingstarted/installation/)
* some [drivers](https://docs.pycom.io/gettingstarted/installation/drivers) may be required for windows users
* download [the firmware update tool](https://pycom.io/downloads/)
* add device to pybytes
* [add a device to pybytes](https://docs.pycom.io/pybytes/connect/)
* [provision using usb](https://docs.pycom.io/pybytes/connect/quick/)
* once the pybytes activation token is entered to the firmware tool your device should be connected to the pybytes plattform
* once the update is done the [development environment](https://docs.pycom.io/pymakr/installation/atom/) should be set up. in our case we will use the Atom text editor and install the pymakr plugin:
* click packages --> srttings view
* select install packages/themes
* select install on the settings menu
* search for "pymakr" in the search box and install it
* now when atom is running and the lopy4+board are connected to the computer by usb you should see three arrows in the REPL interface (provided by Pymakr) in atom. That indicates that the connection was sucessful.
* download the git repository of this project
* in atom click File --> add new project folder and select the repository that you pulled from github.
* once the wiring is done (follow steps bellow) click "upload project to device" which will upload the code to the device.
## Putting everything together
the wiring is quite simple. As mentioned earlier having a breadboard and jumper cables is optional but highly recommended since it makes things easier. We will need to supply the sensor with power aswell as read data from it. as mentioned earlier the pinout of the sensors is left to right: data, vdd (power), gnd (ground). The data pin sends digital signal output And therefor it should be connected to a digital pin on the Lopy4 hence we are going with pin 23 (p23) on the lopy. We connect power supply of the pycom device (either 3.3 or 5 volts, we use 3.3) to the second pin ont the sensor and then we connect ground of device to ground (Gnd) of sensor as depicted in the diagrams below. It is all straight forward and there is no need for resistors or extra material. The lopy4 is in my case powered by the usb cable but can easily be replaced by a 5 volt battery (with jst contact).


this is a direct conntection but I used a breadboard to make things simpler
## Platform
The temperature and humidity data collected is to be displayed on a plattform somwhere. The platform of choice for me was pybytes which is a device managment platform. The device was connected to pybytes over wifi. pybytes does have dashboards which are easily customizable to suit the users needs. Pybytes is a good choice for pycom devices since it offers over the air firmware updates as-well as the possibility to upload code to the device/fleet of devices remotly. pybytes supports wifi, sigfox, Lora and LTE CAT M1 / NB1. Pybytes can be integrated with external services as well: such as AWS Iot, google Iot etc. I think if there is no specific reason to choose another platform, this one is the one to use for pycom devices simply because it is so easy to set up and integrate with the devices.
[pybytes documentation](https://docs.pycom.io/pybytes/)
## The code
The code uses the [dht library](https://github.com/Pho333nix/1DT305-temp/tree/master/dht/lib) to be able to communicate with the sensor. This way we are able to create a class, an instance of the sensor that we can work with in micro-python. I use a file called pybytes_config.json to create connection to pybytes over wifi.
* [github repository](https://github.com/Pho333nix/1DT305-temp)
``` python=
# dht11 temperature and humidity sensor
import time
from machine import Pin
from dht import DHT
import pycom
# Type 0 = dht11
# Type 1 = dht22
#th is the the object/instance we create to represent th actual sensor. we could
#have several instances if we had multiple sensor (for e.g th1, th2 etc).
th = DHT(Pin('P23', mode=Pin.OPEN_DRAIN), 0) #we specify that we use dht11
time.sleep(2) #after an instance is created, nothing is done for 2 seconds.
interval=5
def send_env_data(): #function that will do the reading and sending of data
while True: #infinity loop
result = th.read()
#if the read values are outside the specified parameters
#re-read from sensor
while not result.is_valid():
time.sleep(.5)
result = th.read()
print('Temp:', result.temperature) #prints the temperature read from dht to the REPL interface
print('RH:', result.humidity) #prints the humidity read from dht to the REPL interface
pybytes.send_signal(2,result.temperature) #The temperature value is send to channel two on pybytes
pybytes.send_signal(3,result.humidity)#The humidity value is send to channel three on pybytes
time.sleep(interval) # 5 second delay and execute from the beginning of the loop
send_env_data() #initiate program
```
### Transmitting data and connectivity
The data is read every five seconds and it is sent to pybytes at that same rate. The reason I use wifi is simply because there is no Lora gateway available in my area but wifi works pretty well. The transport protocol used in this project is MQQT which is a publish/subscribe simple and lightweight messaging protocol. It stands for message queuing telemetry transport and it is a very popular transport protocol and it designed to minimize network bandwidth and device resource requirements. The data sent has a resolution of 8 bytes by default which is way more than we need for our purposes. 1 byte is more than enough and it is usually wise to be resourceful when working with iot-devices since resource preserving is an important factor but since we are sending data over wifi we do not have to worry about that. If we were working with for e.g Lora that would be a totaly different thing and we would have to consider these things very carefully. The data is saved for about 5 minutes by default in pybytes.
## Presenting the data
the data is presented in simple dashboards on pybytes.
### Dashboard


## Finalizing the design
The image below shows how the final product looks like

As mentioned earlier I usually have it powered by the usb cable but I have tried using a Lipo battery with jst contact so it is portable and can work from anywhere as long as it is connected to the wifi.
 Sign in with Wallet
Connect another wallet
Sign in with Wallet
Connect another wallet